11 Mistakes that Make Your Squat Look Like GARBAGE

Starting Strength Coach Phil Meggers covers 11 common squat errors and how to fix them so you can have a stronger and more efficient squat.

Whenever you want even more Testify in your life, here are some free resources:

  • Book a free intro and strategy session with us HERE.

  • Pick up a free copy of Testify’s Squat Guide: 12 Tips to Improve Your Squat Now HERE.

  • Get our free weekly email - containing useful videos, articles, and training tips - HERE.

  • Follow Testify on Instagram HERE.

  • Subscribe to Testify’s YouTube channel HERE.


At Testify, we offer small group training, private coaching (in-person or remotely via Zoom), online coaching, and form checks. Interested in getting stronger, looking better, and having more energy?

The Testify Christmas Chronicle - December 23, 2024

THIS WEEK'S SUBMISSION

From our video Cleans vs Power Cleans vs Hang Cleans - What's the Difference?! (click the title to watch):

Margherita Claps
Thanks! - you’ve finally ‘cleaned’ all that confusion I had around those lifts and I could never remember which one’s which!

Phil
Ha! You’re very welcome, and I’m glad it was helpful!


TESTIFY ONLINE COACHING

Interested in getting stronger working remotely with one of our Starting Strength Coaches? Click here to book a free intro call and strategy session.

Get Stronger. Live Better. Start today.


ARTICLES & VIDEOS

4 Key Things to Do AFTER You Lift Weights
What should you be doing after you lift weights so that you get the most out of your strength training? Phil covers 4 actions to take when you finish lifting. Click here to watch.


Don't Let This Mistake RUIN Your Deadlift!
“You know the five step deadlift setup, and you’ve memorized it well - stance, grip, shins, chest, and pull. However, you very well might be screwing up…” Click here to read.


Blast from the Past: Improve Your Deadlift by FIXING These 3 Errors!
Fix these three errors for a stronger and more efficient deadlift. Phil and Becky explain and demonstrate as Addy, Anna, Milo, and Parker all help out. Click here to watch.


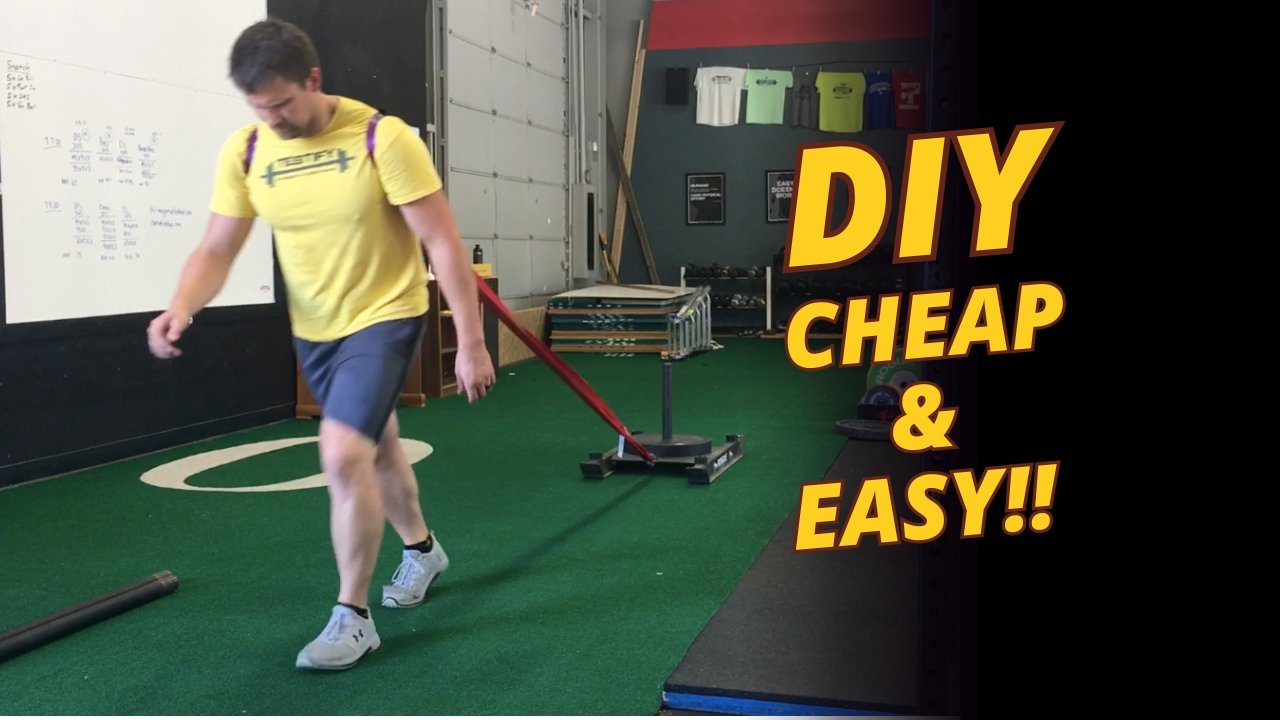
Blast from the Past: Cheap & Easy DIY Sled Drag Harness Options
“…you can also get in some great conditioning pulling it, so let’s cover a couple of options to construct a simple and cheap sled drag harness so you don’t have to go out and buy an expensive one…” Click here to read.


TESTIFY BEANIES ARE AVAILABLE!

Represent your favorite gym - even when it's cold outside!

And, it gets better - you can choose your beanie from EIGHT different colors!

Click here to head to the Testify Store.


WHAT'S COMING UP

Reminder: Below are the hours for the weeks of Christmas and New Year's (you can also find these on our Location & Hours page). Any days not listed retain their normal hours.

Christmas Week (2024)
Tuesday, 12/24/24: 5:00 a.m. - 9:30 a.m. (closed in the evening)
Wednesday, 12/25/24: Closed
Thursday, 12/26/24: 4:00 p.m. - 7:30 p.m. (closed in the morning)

New Year’s Week (2024-2025)
Tuesday, 12/31/24: 5:00 a.m. - 9:30 a.m. (closed in the evening)
Wednesday, 01/01/25: Closed
Thursday, 01/02/25: 4:00 p.m. - 7:30 p.m. (closed in the morning)

You can always find out what else is on the calendar by heading to our events page at www.testifysc.com/events as we’ll be posting some 2025 events soon!


THIS WEEK’S CONDITIONING

Option 1
“Prowler Base”
1. Load up a manageable weight.
2. Sprint 40m at 85% intensity.
3. Rest until breathing and heart rate slow down. (45 sec – 2 min)
4. Repeat 5-15 times.

Courtesy of “Death by Prowler” (on Starting Strength).

Compare to 2024.10.21.

Option 2
Bike/Row for 9 rounds:
1 min on
1 min off

Record distance for each round.

Compare to 2024.09.30.

Option 3
Outdoors:
10 rounds:
25 yd yoke carry
Rest 1 minute

Indoors:
10 rounds:
30 yd yoke carry (15 yd down-back)
Rest 1 minute

Compare to 2024.09.02.

Option 4
10 x 50 ft farmer carry
Each carry is 25 ft down and 25 ft back and is for time. Rest 1 minute between carries.

Women: 97# per handle (80# of plates)
Men: 137# per handle (120# of plates)
(Note: Each handle weighs 17#.)

Compare to 2024.09.02.


As always, we hope this helps you get stronger and live better!

Whenever you want even more Testify in your life, here are some free resources:

  • Book a free intro and strategy session with us HERE.

  • Pick up a free copy of Testify’s Squat Guide: 12 Tips to Improve Your Squat Now HERE.

  • Get our free weekly email - containing useful videos, articles, and training tips - HERE.

  • Follow Testify on Instagram HERE.

  • Subscribe to Testify’s YouTube channel HERE.

Don't Let This Mistake RUIN Your Deadlift!

You know the five step deadlift setup, and you’ve memorized it well - stance, grip, shins, chest, and pull. However, you very well might be screwing up steps four and five, i.e., the “squeeze your chest up to set your back” and the “pull - dragging the barbell up your legs” steps.

Let’s fix this.

If you don’t know the five step deadlift setup, be sure to watch the included video.

What This Error Looks Like (i.e., What NOT to Do)
When people make this mistake, they do so because they’re combining steps four and five instead of treating them like the distinct steps that they are and should be. In other words, if you are squeezing your chest up and then moving right into the pulling motion, you’re making this mistake.

This fool has combined steps 4 and 5 and has thus created a host of problems for himself. don’t be this guy.

It’s an easy bad habit to accidentally acquire, and it causes a number of problems for the lift. You’ll drop your hips, the bar will roll forward of mid-foot, it will continue to swing forward as it leaves the floor (if it’s light enough that you can get it off the floor in this suboptimal position), and you’ve now made your deadlift significantly harder than it should’ve been.

The Solution
This problem can occur in any of the pulls from the floor - deadlifts, snatches, cleans, even rows - and the solution is the same for each lift.

Remind yourself to pause between step four and step five.

It’s not much of a pause, mind you, but simply waiting a half second to a full second between the setting of your back (step four) and the start of the pull (step five) nicely fixes this error and thus prevents all of the subsequent problems that accompany it.

Try the following mental sequence the next time you deadlift:

1. Stance
2. Grip
3. Shins
4. Chest
—Pause—
5. Pull

Don’t be lazy during that pause - you should be applying a lot of tension to the bar since you’ve just set your back in extension. If you record yourself on video, during step four, you should see the bar bend upward slightly in the middle and you should hear a click as you pull the slack out of the bar, and you have to maintain that tension during this short pause. Watch the included video to see this in action.

Remember: “Chest - pause - pull.”

As always, we hope this helps you get stronger and live better.

-Phil

PS: Whenever you want even more Testify in your life, here are some free resources:

  • Book a free intro and strategy session with us HERE.

  • Pick up a free copy of Testify’s Squat Guide: 12 Tips to Improve Your Squat Now HERE.

  • Get our free weekly email - containing useful videos, articles, and training tips - HERE.

  • Follow Testify on Instagram HERE.

  • Subscribe to Testify’s YouTube channel HERE.

(Some links may be affiliate links. As an Amazon Associate, Testify earns from qualifying purchases.)


At Testify, we offer small group training, private coaching (in-person or remotely via Zoom), online coaching, and form checks. Interested in getting stronger, looking better, and having more energy?

Improve Your Deadlift by FIXING These 3 Errors!

Fix these THREE errors for a stronger and more efficient deadlift. Starting Strength Coach Phil Meggers and Becky Meggers explain and demonstrate as Addy, Anna, Milo, and Parker all help out.

(A Blast from the Past video originally published on 09/17/22)

Whenever you want even more Testify in your life, here are some free resources:

  • Book a free intro and strategy session with us HERE.

  • Pick up a free copy of Testify’s Squat Guide: 12 Tips to Improve Your Squat Now HERE.

  • Get our free weekly email - containing useful videos, articles, and training tips - HERE.

  • Follow Testify on Instagram HERE.

  • Subscribe to Testify’s YouTube channel HERE.


At Testify, we offer small group training, private coaching (in-person or remotely via Zoom), online coaching, and form checks. Interested in getting stronger, looking better, and having more energy?

Cheap & Easy DIY Sled Drag Harness Options

(A Blast from the Past article originally posted on 12/16/22)

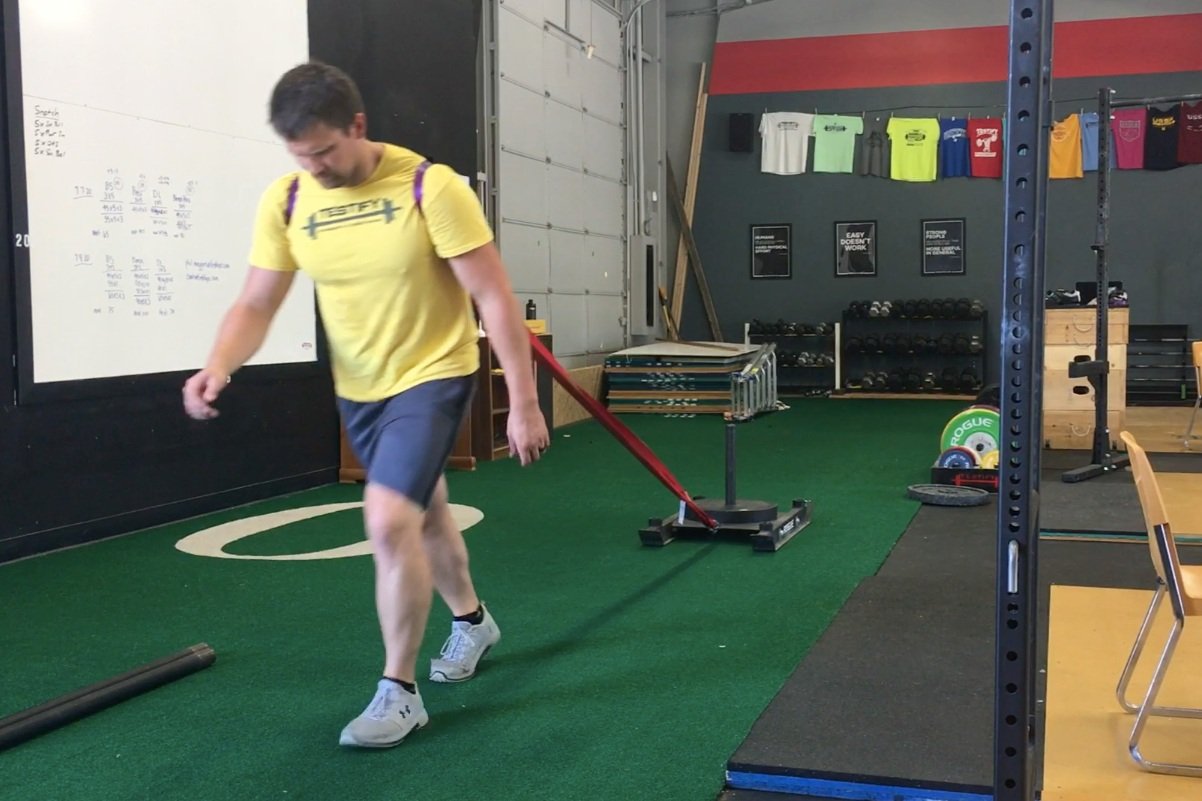
The sled or prowler is an extremely effective conditioning tool (albeit a rather evil one). You can get in some great conditioning pushing the sled, but you can also get in some great conditioning pulling it, so let’s cover a couple of options to construct a simple and cheap sled drag harness so you don’t have to go out and buy an expensive one.

First, a few notes . . .

Sled vs Prowler
A sled has 2 skids while a prowler has 3 skids. They accomplish the same purpose as they both can be pushed or pulled, and for our purposes, I’m going to use the word “sled” for both implements.

Don’t Have a Sled?
If you don’t have a sled for pulling, you don’t need to go out and put down a bunch of cash for a new one. You can construct a “tire sled” from an old tire and an eyebolt - it’s cheap, pretty quick, and it works very well for pulls.

Watch the included video - Free (or cheap!) Strongman and Conditioning Equipment - to see what I’m talking about.

And now, let’s get to the harness options . . .

Sled Drag Harness - Waist Option
You’ll need a fairly large carabiner, and you’ll also need to get an automotive recovery strap, which you can obtain at pretty much any hardware store or by clicking here. Each end of the strap has a loop, and we’ll simply connect each loop to the carabiner, and then we’ll hook the carabiner to the sled. Simply place the middle of the recovery strap around your waist, and you’ve now got a cheap and easy-to-make harness for walking either forward or backward while dragging the sled.

Shoulder Harness option

Sled Drag Harness - Shoulder Option
For this version, you’ll need to get some 1-inch climbing webbing. This is the same tubular webbing that we use for making lifting straps (see the video below) - you can find this type of webbing at an R.E.I. or a something store, or you can get some on Amazon by clicking here. You could probably use wider material if you want to make it more comfortable, but conditioning is not terribly comfortable anyway, and this is what we had on hand, and it works well.

Take 7-8 feet of webbing and tie a water knot with the ends to create one long, continuous loop. To tie a water knot (other knots won’t work as well with webbing), check out the DIY Sled Drag Harness Options video above. Feeding that loop through the loop created by your recovery strap, you have now created “backpack straps,” so simply put one arm through each end of the backpack straps, and you’re all set to go.

Seeing this on video helps quite a bit, so as mentioned earlier, I’d recommend watching the short DIY Sled Drag Harness Options video above (this video was the basis for this article).

As always, we hope this helps you get stronger (or at least more conditioned!) and live better.

-Phil

PS: Whenever you want even more Testify in your life, here are some free resources:

  • Book a free intro and strategy session with us HERE.

  • Pick up a free copy of Testify’s Squat Guide: 12 Tips to Improve Your Squat Now HERE.

  • Get our free weekly email - containing useful videos, articles, and training tips - HERE.

  • Follow Testify on Instagram HERE.

  • Subscribe to Testify’s YouTube channel HERE.

(Some links may be affiliate links. As an Amazon Associate, Testify earns from qualifying purchases.)


At Testify, we offer small group training, private coaching (in-person or remotely via Zoom), online coaching, and form checks. Interested in getting stronger, looking better, and having more energy?

4 Key Things to Do AFTER You Lift Weights

What should you be doing after you lift weights so that you get the most out of your strength training? Starting Strength Coach Phil Meggers covers 4 actions to take when you finish lifting.

Whenever you want even more Testify in your life, here are some free resources:

  • Book a free intro and strategy session with us HERE.

  • Pick up a free copy of Testify’s Squat Guide: 12 Tips to Improve Your Squat Now HERE.

  • Get our free weekly email - containing useful videos, articles, and training tips - HERE.

  • Follow Testify on Instagram HERE.

  • Subscribe to Testify’s YouTube channel HERE.


At Testify, we offer small group training, private coaching (in-person or remotely via Zoom), online coaching, and form checks. Interested in getting stronger, looking better, and having more energy?