3 Tactics to Triage Your Deadlift FAST (plus a bonus tactic) | Get a Bigger Deadlift NOW
/
Let’s briefly cover three tactics to help you fix your deadlift quickly and efficiently. It’s useful to remember that if you don’t have a coach, then – by default – you are your own coach, so let’s cover a few major technical points to look for when you watch your deadlift on video.
We’ll cover three positioning issues plus a bonus movement issue, and while these technique points are not the only things to look for, they certainly are large “bang-for-your-buck” items.
#1 Setup
When setting up to pull, you want the following three things – first, be sure that the barbell is over the middle of your foot. To do this, walk up to the bar and set up with your shins about 1” away from the bar when your shins are vertical.
Second, when you bend your knees, bend them just enough to bring your shins lightly into contact with the bar. The shins absolutely need to be touching the bar before you pull, but the shins should never move the bar.
Third, be sure that you are balanced over the middle of your foot. Not on the balls of your feet, not on your heels – on the middle of your foot.
Thus, when you’re setting up to pull, you can feel these three things - bar over midfoot, shins touching the bar, and midfoot balance. However, when you watch yourself on camera, the balance issue takes some practice to see and correctly identify, so in addition to looking at your feet, check to make sure that your shoulders are slightly in front of the bar.
#2 Flat and Rigid Back
Set your back in flat, rigid extension before you start the pull and make sure it stays that way throughout the lift.
You want your back to act like a steel beam, and with this in mind, the following cues can be useful to get your back flat before you pull:
Squeeze your chest up.
Push your belly down between your thighs.
Arch your back. (an overcue, but sometimes useful)
Wrinkles in your shirt
Be sure to brace hard with every muscle in your midsection (you will have taken a big breath right before setting your back) to then hold that back rigid throughout the lift.
If you’re not sure how to correctly breathe and brace when training, check out the very useful video below.
#3 Lockout
This is an easily and all-too-often missed component of a correctly executed deadlift. At the top of the pull, the deadlift lockout should have open hips (i.e., straight hips), straight knees, chest up, and shoulders slightly behind the bar.
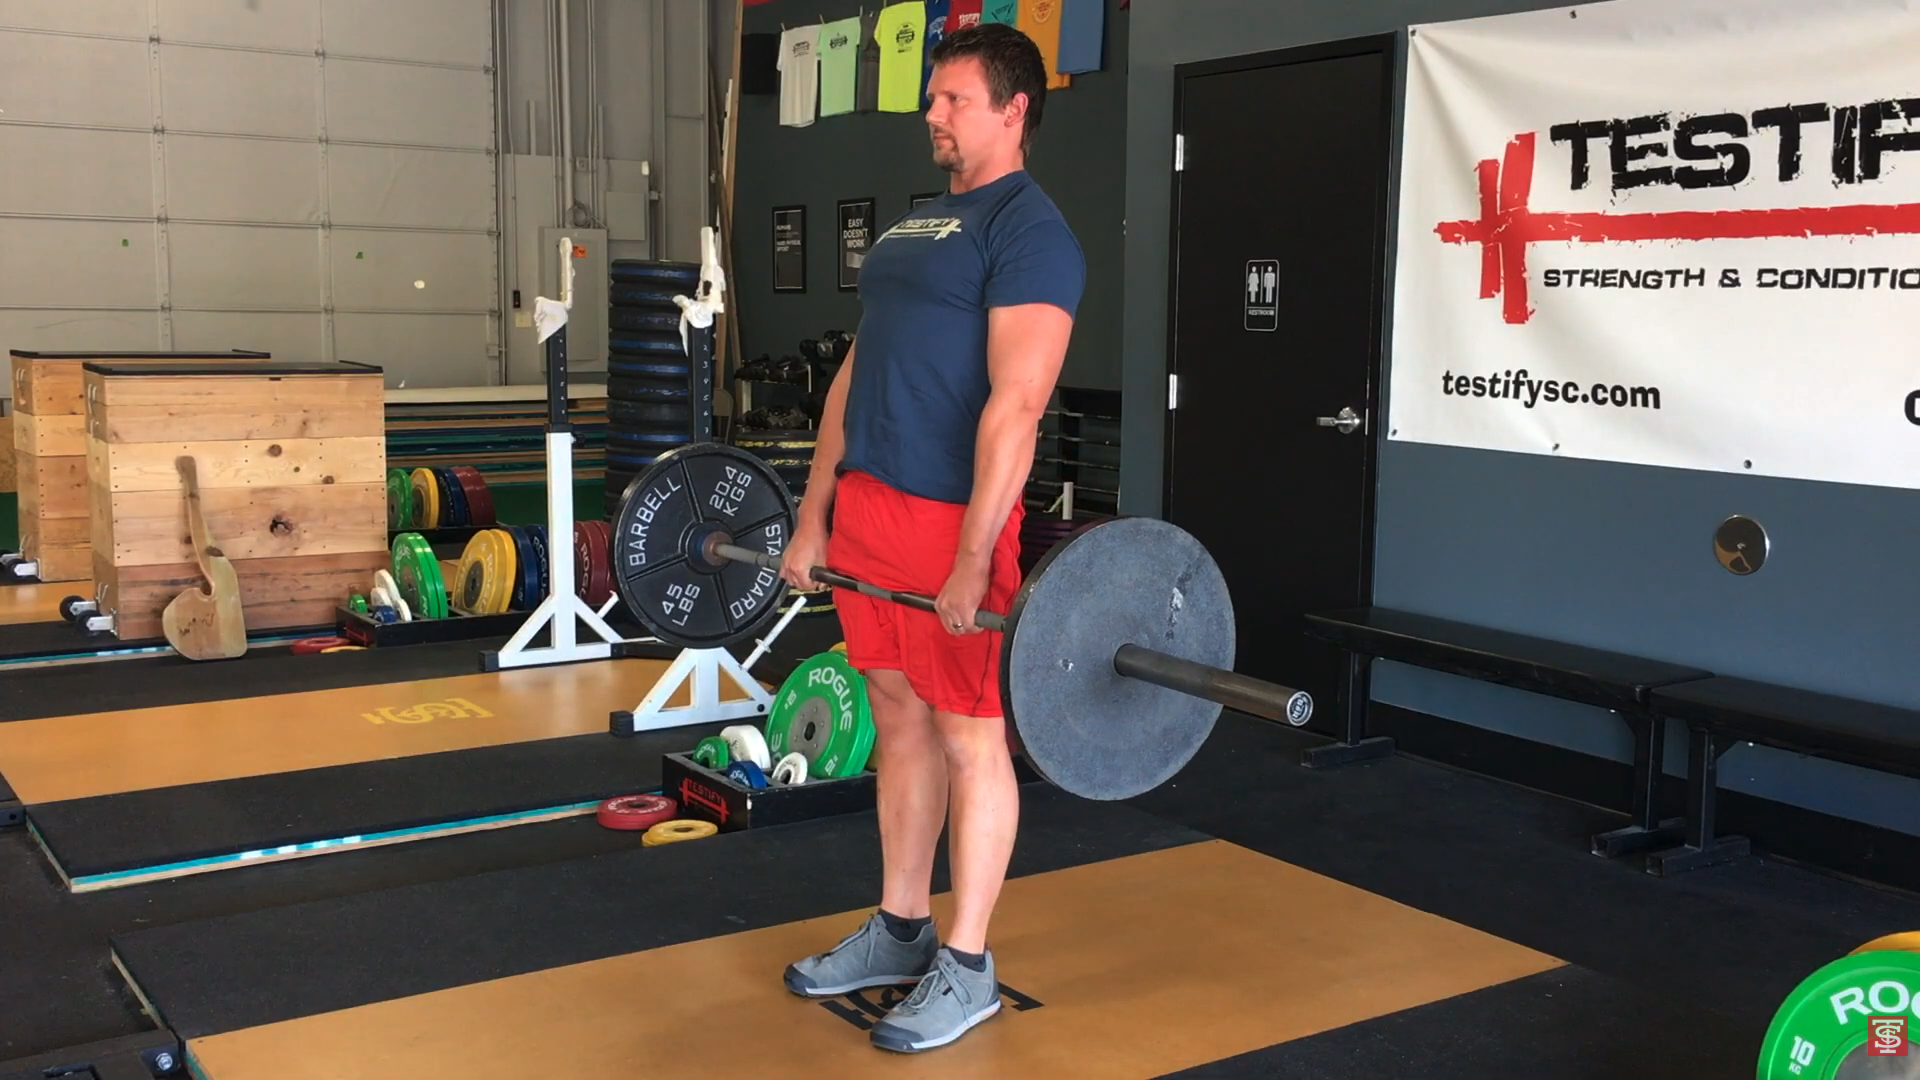
solid lockout position
Soft knees at the top or hips that aren’t completely open? The lift doesn’t count. Be honest with yourself and remind yourself to “stand tall” when finishing your deadlifts.
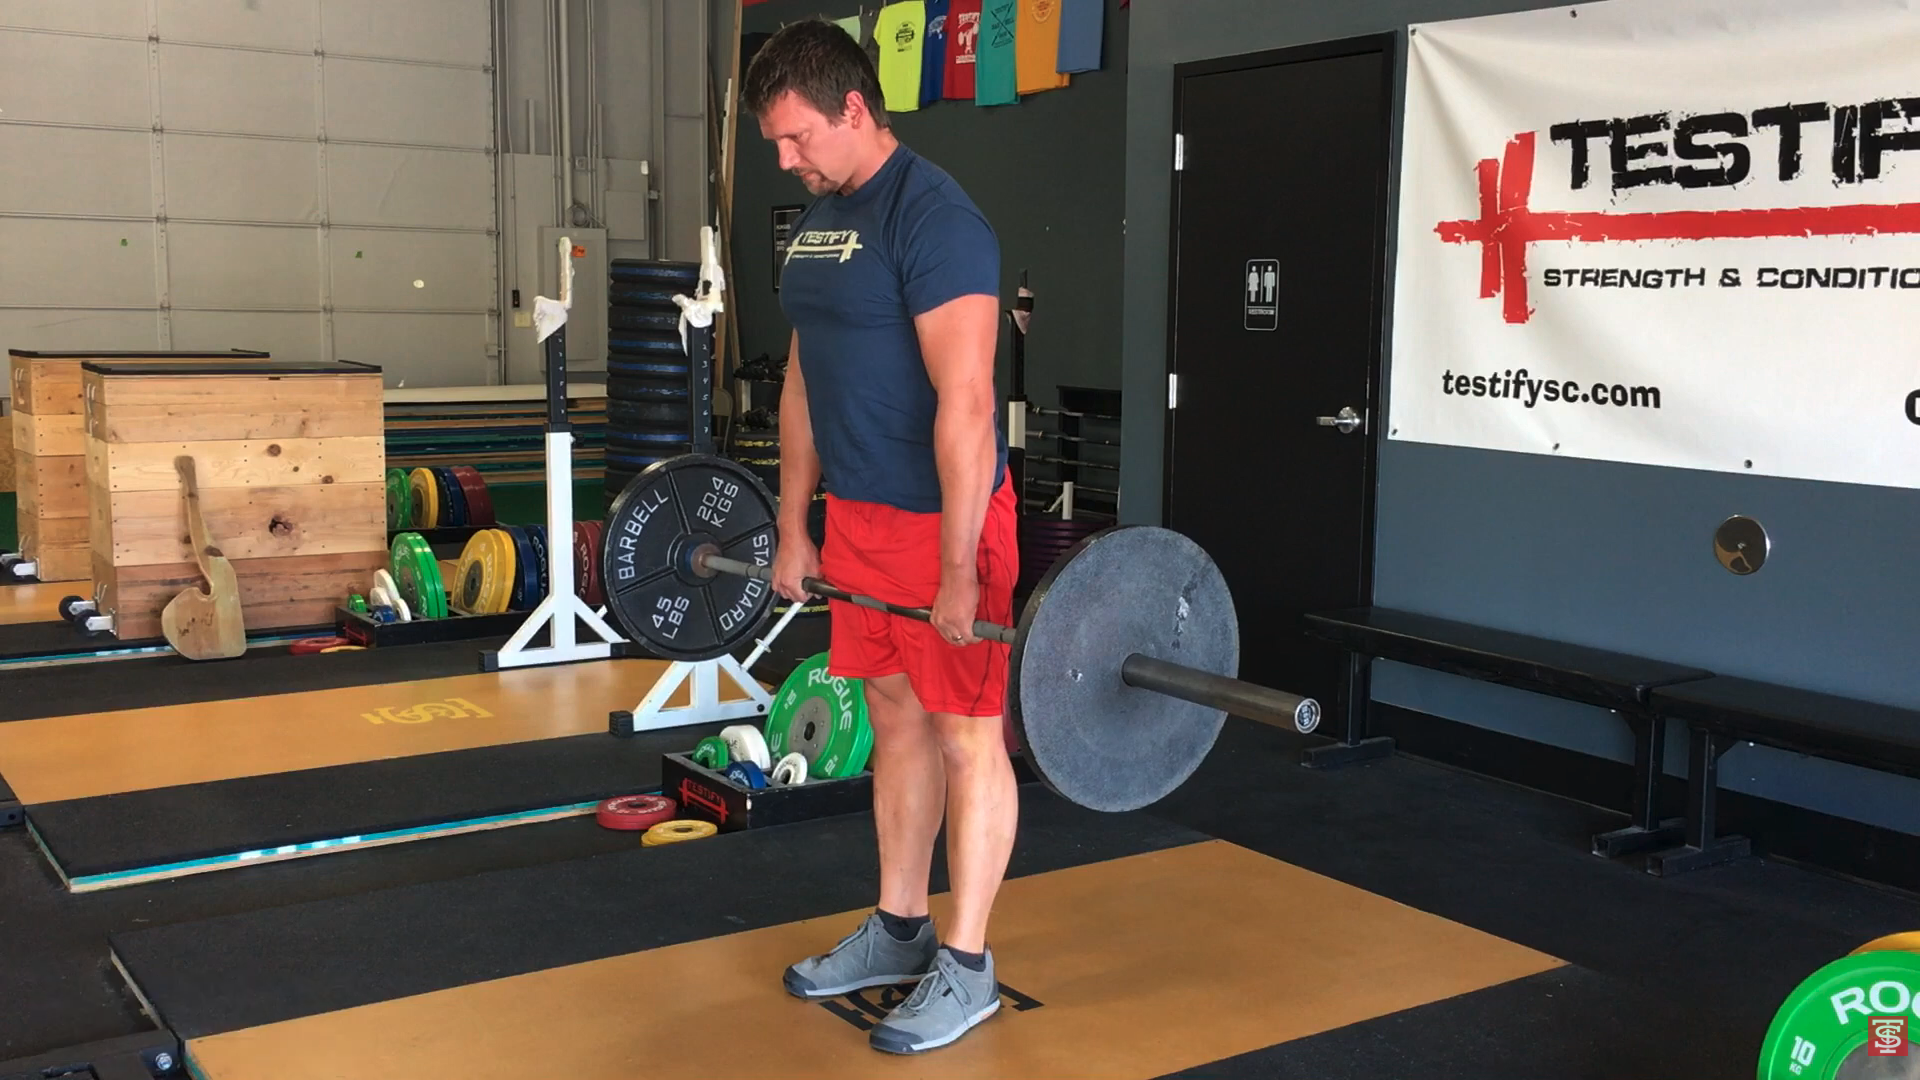
this deadlift is not finished as the hips are not fully open - this deadlift does not count.
Bonus: Knee Extension
The deadlift has both knee extension and hip extension throughout the ascent, so when it’s performed correctly, you’ll see the knees and hips both straightening as you pull the bar off the floor.
With that said, it is dominated by knee extension at the start, and if it isn't (i.e., if you’re attempting to raise your chest too soon, instead), you’ll be accidentally attempting to pull the bar around your knees. This is a miserable experience and makes the pull far, far harder than it needs to be.
Cues that help you execute the proper knee extension include:
Push the floor away (i.e., with your legs).
Leg press the floor away from you.
Stay over the bar.
Pull your kneecaps backward.
As always, we hope this helps you get stronger and live better.
-Phil
PS: Whenever you want even more Testify in your life, here are some free resources:
Book a free intro and strategy session with us HERE.
Pick up a free copy of Testify’s Squat Guide: 12 Tips to Improve Your Squat Now HERE.
Get our free weekly email - containing useful videos, articles, and training tips - HERE.
Follow Testify on Instagram HERE.
Subscribe to Testify’s YouTube channel HERE.
(Some links may be affiliate links. As an Amazon Associate, Testify earns from qualifying purchases.)