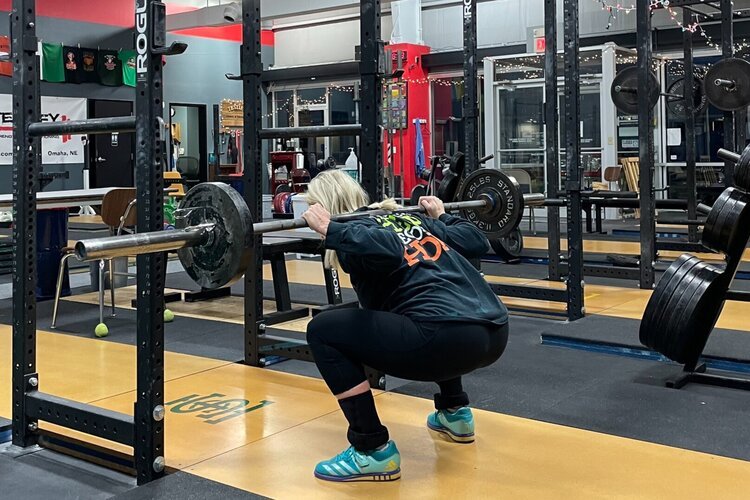
People Believed this Lie about Squatting for YEARS

If you’ve lifted weights long enough - or been in a high school weight room or at a powerlifting meet for about five seconds - you’ve heard it . . .

“You’ve got to look up to go up!”

Let’s put this silly nonsense to bed real quick-like.

You don’t look up to go up when you stand up from your bed in the morning.

You don’t look up to go up when getting up from the couch.

You don’t look up to go up when getting up off of the toilet.

Look up to go up? ridiculous.

In fact, with the notable exception of rock climbing and ladders, you rarely look up to go up in life, and you certainly don’t need to look up to go up when squatting.

Keep it simple. Find a focal point that helps reinforce what you’re trying to do. You’re trying to reach back with your hips and point your chest at the floor on the descent, and you’re trying to stay in that leaned over position as you drive your hips up out of the hole on the ascent.

Looking up tends to yank the head up, and that, in turn, causes the chest to come up sooner than you want - making for a harder, more inefficient squat.

With this in mind, pick a spot 4-6 feet in front of you on the floor and stare at it the entire time. Before your first rep, during each rep, and between reps - keep the same focal point.

This focal point helps you achieve the correct back angle, drive your hips effectively, and makes for a more efficient squat.

As always, we hope this helps you get stronger and live better.

-Phil

PS: Whenever you want even more Testify in your life, here are some free resources:

  • Book a free intro and strategy session with us HERE.

  • Pick up a free copy of Testify’s Squat Guide: 12 Tips to Improve Your Squat Now HERE.

  • Get our free weekly email - containing useful videos, articles, and training tips - HERE.

  • Follow Testify on Instagram HERE.

  • Subscribe to Testify’s YouTube channel HERE.

(Some links may be affiliate links. As an Amazon Associate, Testify earns from qualifying purchases.)

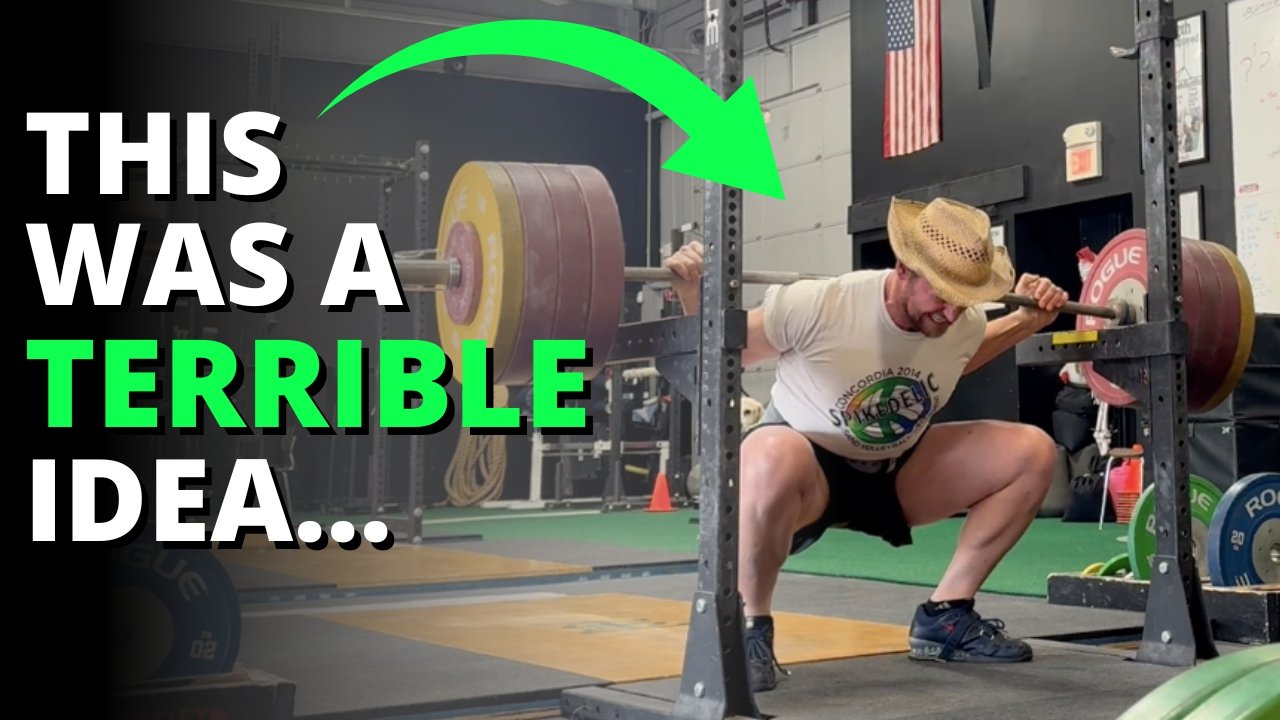
At Testify, we offer small group training, private coaching (in-person or remotely via Zoom), online coaching, and form checks. Interested in getting stronger, looking better, and having more energy?

Your Hideous Deadlift: Do It WRONG . . . to Get It Right?

(A Blast from the Past article originally posted on 04/28/23)

Are you having a tough time setting your back correctly when deadlifting? To get it right, it can help to do it wrong first.

(Watch the included video near the end of this article for a quick demonstration of how to do this.)

In this approach, you're going to set the barbell on the pins (AKA “safeties) of your squat rack with some weight on the bar. You don’t need a lot of weight - just enough to allow yourself to put some tension on the bar (i.e., some upward pull) without actually allowing the bar to start moving upward.

figure 1: his back is so terrible he won’t even show his face.

You're setting the bar on the pins because - when going through the 5-step setup for the deadlift (click here for a video) - most people find it easier to set the back correctly in rigid extension from this higher position as compared to the usual position wherein the plates are on the floor. In Figure 2, I have the barbell set just below my knees, but if you need to start higher than this, that’s perfectly acceptable.

figure 2: The bar is set just below the knees.

Back flexion - or rounding your back - is pretty easy for most people to achieve, and you're going to take advantage of that here. First, cue yourself to flex your back (Figure 3). In other words, you're going to do it wrong. Remember that a person who struggles with back extension can usually do this pretty well - in fact, it’s typically the default position - but if you need a little additional help, you can cue yourself to round your back as high in the air as possible or cue yourself to make your back into a mountain.

figure 3: back flexion

Additionally, make sure your shins stay in contact with the bar throughout this process, and the bar must remain motionless. From your hips on down, nothing should move or change shape.

Once you're in this position, you can feel what it’s like to do it incorrectly, so you're simply going to cue yourself to do the exact opposite of what you just did. You're going to push your belly down between your thighs, thus extending - or straightening - your back (Figure 4). Previously, your back was a mountain, and you now cue yourself to make it a valley (which is an overcue, but we’ll cover that in a bit).

figure 4: Back extension

Perform five reps alternating between the positions of flexion and extension. The cues now become: “Flex - Extend” or simply “Round - Arch.” The cues “arch” and “make a valley” are overcues as you don’t want your back actually arched or overextended. You just want it to be straight, but for someone who struggles with extension, these two overcues can be quite useful.

Once you can set your back in extension at a given pin height, move the pins lower and repeat the process - a set of five reps works pretty well. If you’re working without a coach, record yourself so you can watch it afterward and see if you were indeed setting your back correctly. Once you’ve “graduated” from a certain height, continue to work lower and lower until you’re setting up correctly for a regular deadlift with the plates on the floor.

As always, we hope this helps you get stronger and live better.

-Phil

PS: Whenever you want even more Testify in your life, here are some free resources:

  • Book a free intro and strategy session with us HERE.

  • Pick up a free copy of Testify’s Squat Guide: 12 Tips to Improve Your Squat Now HERE.

  • Get our free weekly email - containing useful videos, articles, and training tips - HERE.

  • Follow Testify on Instagram HERE.

  • Subscribe to Testify’s YouTube channel HERE.

(Some links may be affiliate links. As an Amazon Associate, Testify earns from qualifying purchases.)


At Testify, we offer small group training, private coaching (in-person or remotely via Zoom), online coaching, and form checks. Interested in getting stronger, looking better, and having more energy?

The 2 Most Overlooked Bench Press Tips

You’ve had this experience . . .

You’re benching. You’re at Gold’s Genesis 24 Hour Anytime Planet Crunch Fitness, and you’re set up for your work set. You’re driving with your legs, your arch is set, and your shoulders are pinned back.

The last rep is a grind, but you know you’ve got it. The barbell is moving upward slowly . . . and then it happens.

“i’m all pinkies, bro!” this spotter is a fool and just stole a rep from his lifting buddy.

Your spotter steps in and begins helping you with the rep. You didn’t give your spotter permission to do this, of course. You know that if the spotter touches the bar on any rep, that rep doesn’t count, so to say that you’re annoyed at this point is putting it mildly.

Make no mistake - your spotter messed up . . . but you could have prevented this.

Let’s cover two subtle, yet important, bench press tips to help make the bench press a more productive and less frustrating lift for everyone involved.

Tip #1: Get an educated spotter
Spotters are important in the bench press. If you’re not benching with safeties, you need a spotter, and even with safeties, spotters can help tremendously with the unracking process of a heavy bench press.

With that said, your spotter should know that he is to only touch the bar if it’s moving in any direction other than up. Moving slowly is not a reason to provide assistance.

If you can’t find an educated and experienced spotter, then it’s your job to find a person and explain it to him. If your spotter messes up, you probably didn’t explain it well enough.

It’s your work set, so make sure it counts.

Tip #2: Don’t destroy your lifter’s unrack
As the spotter, when assisting with the unracking process, be sure to provide just enough assistance to help guide the bar into position over the lifter’s shoulders (and if you’re the lifter, be sure your spotter knows to do this).

The spotter helps lift the bar off the hooks, but the lifter does most of the work in this process. The spotter should not provide a lot of lift as the bar comes smoothly up and off the hooks - perhaps somewhere in the neighborhood of 10-30 lb as long as we’re throwing out random numbers.

The specific amount of assistance will vary by load (and as mentioned, those were random numbers) - the major point here is that you shouldn’t provide so much assistance that you accidentally pull your lifter out of position on the bench. This can happen in a few different scenarios, but it often happens when a larger, stronger lifter is spotting a smaller lifter.

Don’t be that guy.

Assist. Don’t yank.

As always, we hope this helps you get stronger and live better.

-Phil

PS: Whenever you want even more Testify in your life, here are some free resources:

  • Book a free intro and strategy session with us HERE.

  • Pick up a free copy of Testify’s Squat Guide: 12 Tips to Improve Your Squat Now HERE.

  • Get our free weekly email - containing useful videos, articles, and training tips - HERE.

  • Follow Testify on Instagram HERE.

  • Subscribe to Testify’s YouTube channel HERE.

(Some links may be affiliate links. As an Amazon Associate, Testify earns from qualifying purchases.)


At Testify, we offer small group training, private coaching (in-person or remotely via Zoom), online coaching, and form checks. Interested in getting stronger, looking better, and having more energy?

Why Do You Put the Bar There When You Squat?

(A Blast from the Past article originally posted on 02/19/21)

Listen up, folks - we’re going to discuss something you’ve probably never thought about before - why we put the barbell in the low bar position when we squat. Specifically, we’re going to discuss an anatomical rationale for placing the bar in The Position, so for today, we’ll be skipping the mechanical discussions about moment arms, hip drive, etc. (but as I was a physics teacher in a past life, we can geek out on that some other time if you like).

If you take a person who has never squatted before, maybe even a person who has squatted before, and you say, “Hey, go over there and squat that bar down and up” - which is unfortunately a fairly common approach to coaching - pretty much everyone in the world will go over to the rack, get under the bar, and they will then place the bar in what is called the high bar position (only they don’t know it’s called that), and they’ll stand upright with the bar sitting up high on the shelf provided by your traps.

They will do this because it’s easy and it’s obvious. It’s easy because it doesn’t require much - if any - flexibility (although it actually can be tough for some people), and it’s obvious because it’s the first potential shelf that the bar runs into as you slide under the bar.

However, remember that this position - the position of standing upright - is the easiest position in the entire squat. You know this because you can stand there supporting a lot more weight than you can actually squat. As this is the easiest position to assume, we might be wise not to let this position dictate the location of the bar.

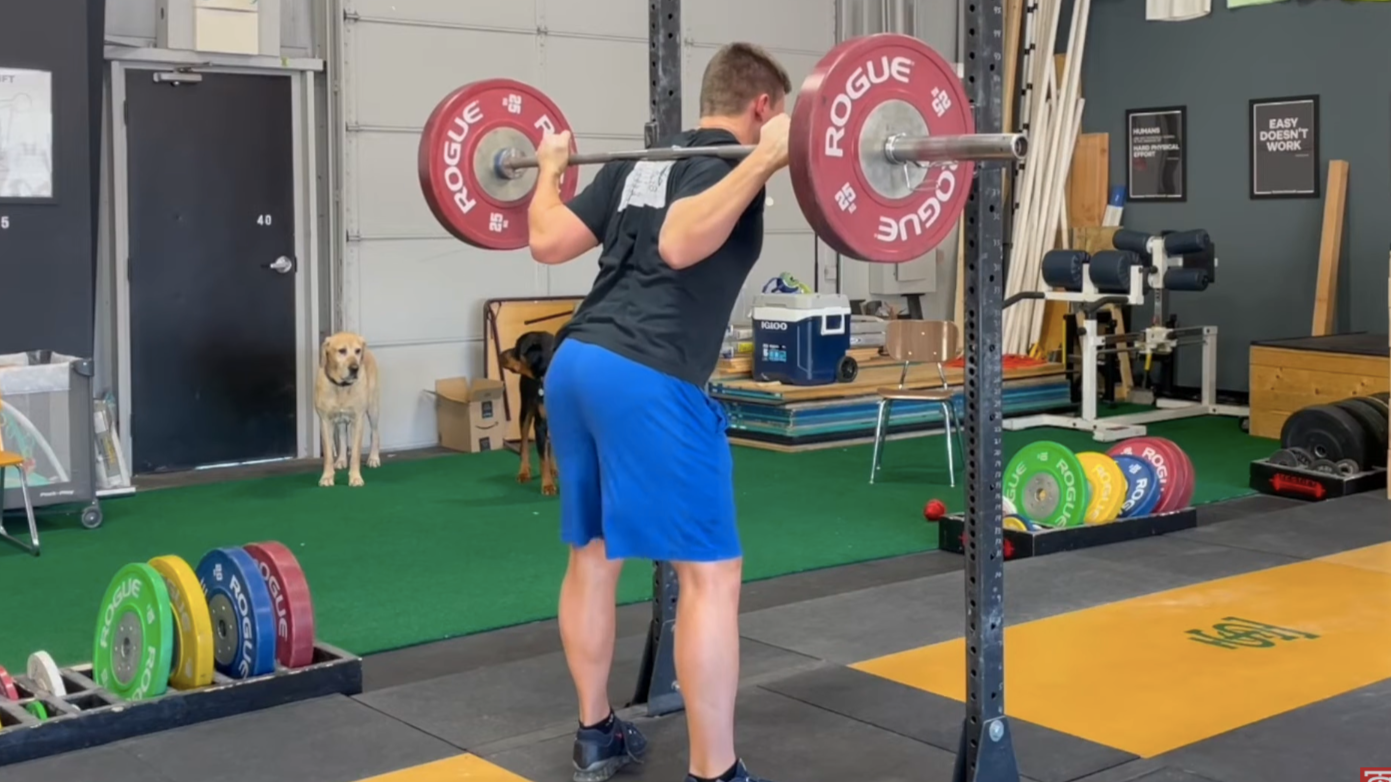
Instead, we’re going to slide just a bit further forward - further under the bar, if you will - until the bar slides past the traps and is now supported on the shelf provided by your delts. We choose this location for the bar - not because it’s the easiest position to achieve when standing up (because it is not) - but rather because it’s the most secure location for the bar when you’re actually squatting.

Picture yourself at the bottom of your squat - you’ve got a nice, leaned-over torso, and now, with the bar sitting in The Position, any downward motion of the bar (i.e., rolling or sliding down your back) is blocked by your delts, and any upward motion is blocked by your traps. The bar is pinned between these two muscle groups in a very secure manner, and a bar that doesn’t want to move up or down your back is a very good thing when squatting heavy weights.

Now that you’ve got something to think about as you rest between work sets, it’s time to get to squatting.

As always, we hope this helps you get stronger and live better.

-Phil

PS: Whenever you want even more Testify in your life, here are some free resources:

  • Book a free intro and strategy session with us HERE.

  • Pick up a free copy of Testify’s Squat Guide: 12 Tips to Improve Your Squat Now HERE.

  • Get our free weekly email - containing useful videos, articles, and training tips - HERE.

  • Follow Testify on Instagram HERE.

  • Subscribe to Testify’s YouTube channel HERE.

(Some links may be affiliate links. As an Amazon Associate, Testify earns from qualifying purchases.)


At Testify, we offer small group training, private coaching (in-person or remotely via Zoom), online coaching, and form checks. Interested in getting stronger, looking better, and having more energy?

You've Been Unloading Your Barbell Wrong This Whole Time (plus bonus tip)

You’re done lifting - you’ve finished your deadlifts, snatches, cleans, rows, whatever was on the docket for the day - you’ve got a bunch of bumper plates on the barbell, and you’ve got to unload them.

It’s a bit of a pain, of course, and you don’t want to work any harder than you have to, so let’s cover how to make your life easier when unloading your bar (and read to the end for a bonus tip).

You can also watch the video below to see these steps in action.

Step 1: Get all the metal plates or “change plates” off the bar.
Take care of the smaller plates first. If it’s not a full-sized plate (i.e., a bumper plate or a metal 45 lb plate), it’s easy to slide off since it’s not sitting on the floor, so get these plates off first.

Step 2: Outer Plates Off
Move to one side of the bar and roll the innermost plate up onto a small, change plate (a 2.5 lb plate works well). Doing this raises that entire side of the barbell up just enough that you can easily slide off any other plates on that side of the bar (Figure 1).

Figure 1

Step 3: Inner Plate Off
On the same side of the bar, you now have one remaining plate (i.e., the plate that you rolled up onto the 2.5 lb plate in Step 2). This is the only plate that requires a little work to remove. You can pick up the bar with one hand and slide the plate off with the other hand (Figure 2), or your can move to the outside of the barbell and use both hands to pull that last plate toward you.

figure 2

Note: Don’t let that end of the barbell simply drop jarringly to the floor when that last plate comes off. Be kind to your barbell.

Step 4: The Best Part
Grab the empty end of the barbell, walk it up (Figure 3) until the barbell is completely vertical, and then simply pick up the barbell as it slides up and out of the stack of plates now resting on the floor. At this point, you can store your barbell and then easily put away that stack of plates.

figure 3

Bonus Tip:
When getting your barbell out (or when putting it away), if you’d like to conserve some energy, don’t carry it in your hands. Pick it up, place it on one shoulder (one end will counterweight the other end, so this is a pretty easy process), and then carry it over to your squat rack.

figure 4

Since the bar is already on your shoulder, it’s at roughly the same height as your j-hooks (if you’re set up to squat or press), which means you can lean against the squat rack to make sure the barbell is against the uprights (Figure 4) and then just dip slightly until the bar is resting in the hooks.

Note: If there are other people around, make sure you don’t clock someone in the face when carrying it at this height.

As always, we hope this helps you get stronger and live better.

-Phil

PS: Whenever you want even more Testify in your life, here are some free resources:

  • Book a free intro and strategy session with us HERE.

  • Pick up a free copy of Testify’s Squat Guide: 12 Tips to Improve Your Squat Now HERE.

  • Get our free weekly email - containing useful videos, articles, and training tips - HERE.

  • Follow Testify on Instagram HERE.

  • Subscribe to Testify’s YouTube channel HERE.

(Some links may be affiliate links. As an Amazon Associate, Testify earns from qualifying purchases.)

At Testify, we offer small group training, private coaching (in-person or remotely via Zoom), online coaching, and form checks. Interested in getting stronger, looking better, and having more energy?

Simple and Cheap DIY Chalk Stand

(A Blast from the Past article originally posted on 02/26/21)

When you chalk up for your next set, it’s nice to have a chalk stand. It’s not absolutely necessary, of course, as you can just use a bag of chalk or - better yet - a chalk bucket sitting on the ground. Although those options work, a chalk stand makes much less of a mess than a bag of chalk, and as the stand is raised, you don’t have to reach all the way down to the floor level as you do with a bucket of chalk, which can be a bit of pain if you already have your belt tightened.

With all this in mind, here’s how you can make a simple and cheap chalk stand (feel free to watch the video above if you’d rather not read the steps below):

Step 1
Go to your nearest hardware store and purchase the following items (you may already have some of these items at home). If you’d rather not make the trip, you can click the items below and order from Amazon.

Step 2
Set one bucket on the ground - upside down.

Step 3
Set the other bucket on top of the first bucket - right side up. The closed ends of the two buckets should now be touching.

IMG_6317.jpg

Step 4
Tape the two buckets together by wrapping duct tape around the buckets several times. Tape the “seam” between the buckets as well as above and below the seam. Five or six times around the buckets should do nicely.

Step 5
Spray paint the buckets. This step is optional and is for aesthetic purposes only - it covers up any logos or printing on the buckets. It’s nice to have the paint match the buckets (or as closely as possible) for two reasons:

  • This is supposed to be a quick process, so don’t worry too much about whether you’ve painted the entire apparatus or not. If the logos are covered and the paint closely matches the bucket, it will look just fine.

  • Eventually, the paint will chip or wear in places, and if the bucket is close to the same color as the paint, this won’t be a big deal.

Step 6
Place the lid on the ground - upside down - with a brick, 10 lb plate, or some other relatively heavy object on top of the lid, and then set your new chalk stand on top of the lid and press down so that the lid is attached to the stand. You’ve now weighted the base of your chalk stand and made it much less likely to tip over and spill.

IMG_6318.JPG

Step 7
Put a chalk-topper over the top of the stand. This is optional, but if other people use your chalk stand, you’ll find this greatly helps keep the chalk dust inside the stand. Our chalk toppers are from www.junkbrands.com.

IMG_6316.JPG

Step 8
Place some chalk in the top bucket, and you’re good to go!

As always, we hope this helps you get stronger and live better.

-Phil

PS: Whenever you want even more Testify in your life, here are some free resources:

  • Book a free intro and strategy session with us HERE.

  • Pick up a free copy of Testify’s Squat Guide: 12 Tips to Improve Your Squat Now HERE.

  • Get our free weekly email - containing useful videos, articles, and training tips - HERE.

  • Follow Testify on Instagram HERE.

  • Subscribe to Testify’s YouTube channel HERE.

(Some links may be affiliate links. As an Amazon Associate, Testify earns from qualifying purchases.)


At Testify, we offer small group training, private coaching (in-person or remotely via Zoom), online coaching, and form checks. Interested in getting stronger, looking better, and having more energy?