The WORST Lifting Shoe? Why You Should NEVER Lift in Chuck Taylors!

Your lifting shoes should support your training, not hinder it. With this in mind, we take a look at the classic Converse Chuck Taylor and see how it holds up as a lifting shoe candidate.

(A Blast from the Past video originally published on 05/09/22)


At Testify, we offer small group training, private coaching (in-person or remotely via Zoom), online coaching, and form checks. Click the button below to get quality coaching from a Starting Strength Coach and start getting stronger TODAY.

12 Days of a Lifter's Christmas

Shopping for a Christmas gift for that lifter in your life? Maybe you're just shopping for yourself. In either case, we cover 12 gift ideas for productive training.


At Testify, we offer small group training, private coaching (in-person or remotely via Zoom), online coaching, and form checks. Click the button below to get quality coaching from a Starting Strength Coach and start getting stronger TODAY.

Best Christmas Present for a Lifter? I'll Start...

Not sure what to get for the lifter in your life? Perhaps you're getting yourself a Christmas present. Either way, we recommend this option.


At Testify, we offer small group training, private coaching (in-person or remotely via Zoom), online coaching, and form checks. Click the button below to get quality coaching from a Starting Strength Coach and start getting stronger TODAY.

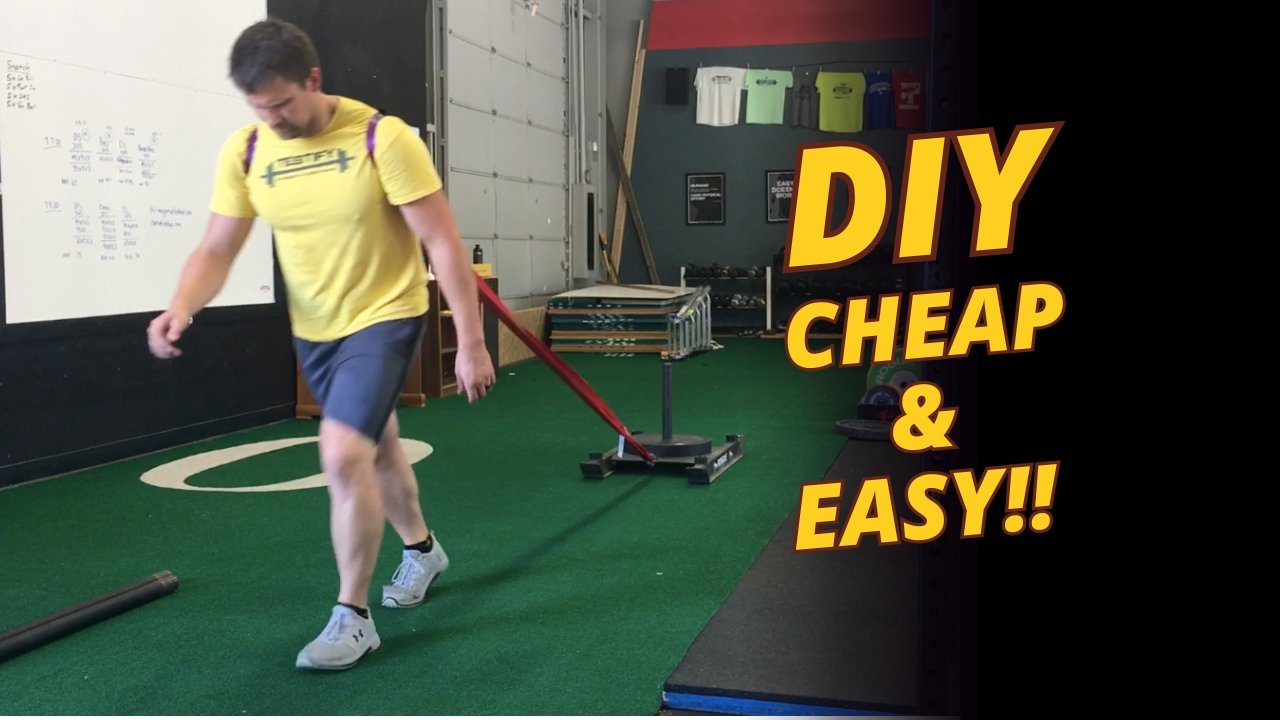
Cheap & Easy DIY Sled Drag Harness Options

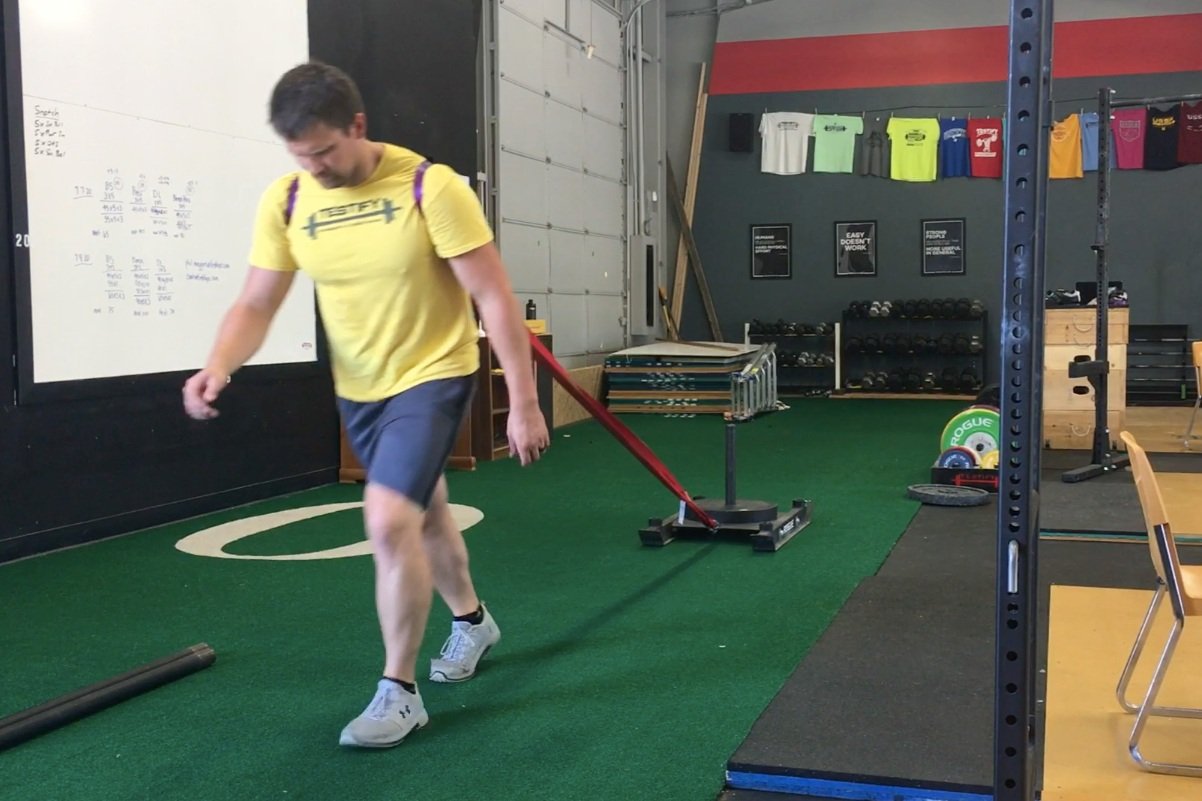
Shoulder Harness option

(If you like, you can scroll down to the end of this article and watch a video on how to make your own DIY sled drag harness.)

The sled or prowler is an extremely effective conditioning tool (albeit a rather evil one). You can get in some great conditioning pushing the sled, but you can also get in some great conditioning pulling it, so let’s cover a couple of options to construct a simple and cheap sled drag harness so you don’t have to go out and buy an expensive one.

A few notes:

  • A sled has 2 skids while a prowler has 3 skids. They accomplish the same purpose as they both can be pushed or pulled, and for our purposes, I’m going to use the word “sled” for both implements.

  • If you don’t have a sled for pulling, you don’t need to go out and put down a bunch of cash for a new one. You can construct a “tire sled” from an old tire and an eyebolt - it’s cheap, pretty quick, and it works very well for pulls (watch this video to see what I’m talking about).

Sled Drag Harness - Waist Option
You’ll need a fairly large carabiner, and you’ll also need to get an automotive recovery strap, which you can obtain at pretty much any hardware store or by clicking here (affiliate link). Each end of the strap has a loop, and we’ll simply connect each loop to the carabiner, and then we’ll hook the carabiner to the sled. Simply place the middle of the recovery strap around your waist, and you’ve now got a cheap and easy-to-make harness for walking either forward or backward while dragging the sled.

Sled Drag Harness - Shoulder Option
For this version, you’ll need to get some 1-inch climbing webbing. This is the same tubular webbing that we use for making lifting straps (see the video below) - you can find this type of webbing at an R.E.I. or a something store, or you can get some on Amazon by clicking here (affiliate link). You could probably use wider material if you want to make it more comfortable, but conditioning is not terribly comfortable anyway, and this is what we had on hand, and it works well.

Take 7-8 feet of webbing and tie a water knot with the ends to create one long, continuous loop. To tie a water knot (other knots won’t work as well with webbing), check out the video below. Feeding that loop through the loop created by your recovery strap, you have now created “backpack straps,” so simply put one arm through each end of the backpack straps, and you’re all set to go. Seeing this on video helps quite a bit, so I’d recommend watching the short “​​DIY Sled Drag Harness Options” video below (this video was the basis for this article).

As always, we hope this helps you get stronger (or at least more conditioned) and live better!


At Testify, we offer small group training, private coaching (in-person or remotely via Zoom), online coaching, and form checks. Would you like to get quality coaching from a Starting Strength Coach?

Equipment Review: The ONLY Power Rack You Should Buy from Rogue Fitness

Rogue R-3.JPG

Rogue Fitness makes a number of different power racks, but you should only buy one of them. Specifically, get the R-3 Power Rack. More specifically, don’t get anything in the Monster Lite or Monster line of equipment. Here’s why:

Same functionality at a lower price
When it comes to barbell training - squatting, pressing, benching, etc. - the R-3 will do everything that it’s fancier, beefier cousins in the Monster Lite (ML) and Monster (M) lines will do, but it will do it at a lower price point. We have the bolt-together version of the R-3 at Testify (“R-3BT”), and here’s the price comparison across the three lines of equipment as of August 2021:

R-3BT (R-Series line): $785
RML-390BT (ML line): $910
RM-3 (M line): $1,180

Looking at these numbers, you’ll save anywhere from $125 - $395 by choosing the R-3 over the pricer models. I’ve heard some people claim that they want the ML or M versions because those racks can hold more weight. Know this - according to Rogue, the j-hooks on the R-3 are rated to hold 1,000 lbs each . . . and the hooks are the weakest point of the entire rack. You’re welcome to purchase something stronger - just know that it’s a preference and not anything like a necessity. 

More room inside and outside the cage
The R-3 uses 2” x 3” tubing for the uprights while the ML and M lines utilize 3” x 3” tubing. This means that each upright on the ML and M versions is 1” wider than that of the R-3. This, in turn, means that you’ll lose a half-inch horizontally per upright on the inside of the cage (for a total loss of 1”), and you’ll also lose a half-inch horizontally per upright on the outside of the cage (again, for a total loss of 1”). In other words, going with the ML/M lines, you are choosing a rack that is both 1” narrower on the inside as well as 1” wider on the outside.

Regarding the width inside the rack - if you have stiff, inflexible shoulders, then you’ll appreciate all the room inside the cage you can get when placing your hands on the bar to squat. The last thing you want is to lose a pinky finger when racking the bar at the end of a set or possibly when setting the bar on the safeties in the case of a missed rep. The R-3 wins here.

Regarding the width outside the rack - if you’ve ever rattled the plates against the outside of the rack when unracking or racking a squat or a press, then the last thing you want is a wider rack that would make that situation all the more likely. Not everyone has this problem, but it’s certainly common enough to take into account when purchasing your rack. Again, the R-3 wins in this department.

It’s worth noting that, by going with the ML/L lines, you get some customization options that you don’t get with the R-3, and if that’s worth the extra money to you, that is absolutely fine (and the paint colors do look pretty sweet). However, for sheer price and function (and if you’re specifically shopping at Rogue), our recommendation is to get the R-3 - either the welded version or the bolt-together version. If you stop and visit us at Testify Strength & Conditioning in Omaha, NE, you’ll see we’ve definitely put our money where our mouth is (mouths are?).