Why Do You Put the Bar There When You Squat?

(A Blast from the Past article originally posted on 02/19/21)

Listen up, folks - we’re going to discuss something you’ve probably never thought about before - why we put the barbell in the low bar position when we squat. Specifically, we’re going to discuss an anatomical rationale for placing the bar in The Position, so for today, we’ll be skipping the mechanical discussions about moment arms, hip drive, etc. (but as I was a physics teacher in a past life, we can geek out on that some other time if you like).

If you take a person who has never squatted before, maybe even a person who has squatted before, and you say, “Hey, go over there and squat that bar down and up” - which is unfortunately a fairly common approach to coaching - pretty much everyone in the world will go over to the rack, get under the bar, and they will then place the bar in what is called the high bar position (only they don’t know it’s called that), and they’ll stand upright with the bar sitting up high on the shelf provided by your traps.

They will do this because it’s easy and it’s obvious. It’s easy because it doesn’t require much - if any - flexibility (although it actually can be tough for some people), and it’s obvious because it’s the first potential shelf that the bar runs into as you slide under the bar.

However, remember that this position - the position of standing upright - is the easiest position in the entire squat. You know this because you can stand there supporting a lot more weight than you can actually squat. As this is the easiest position to assume, we might be wise not to let this position dictate the location of the bar.

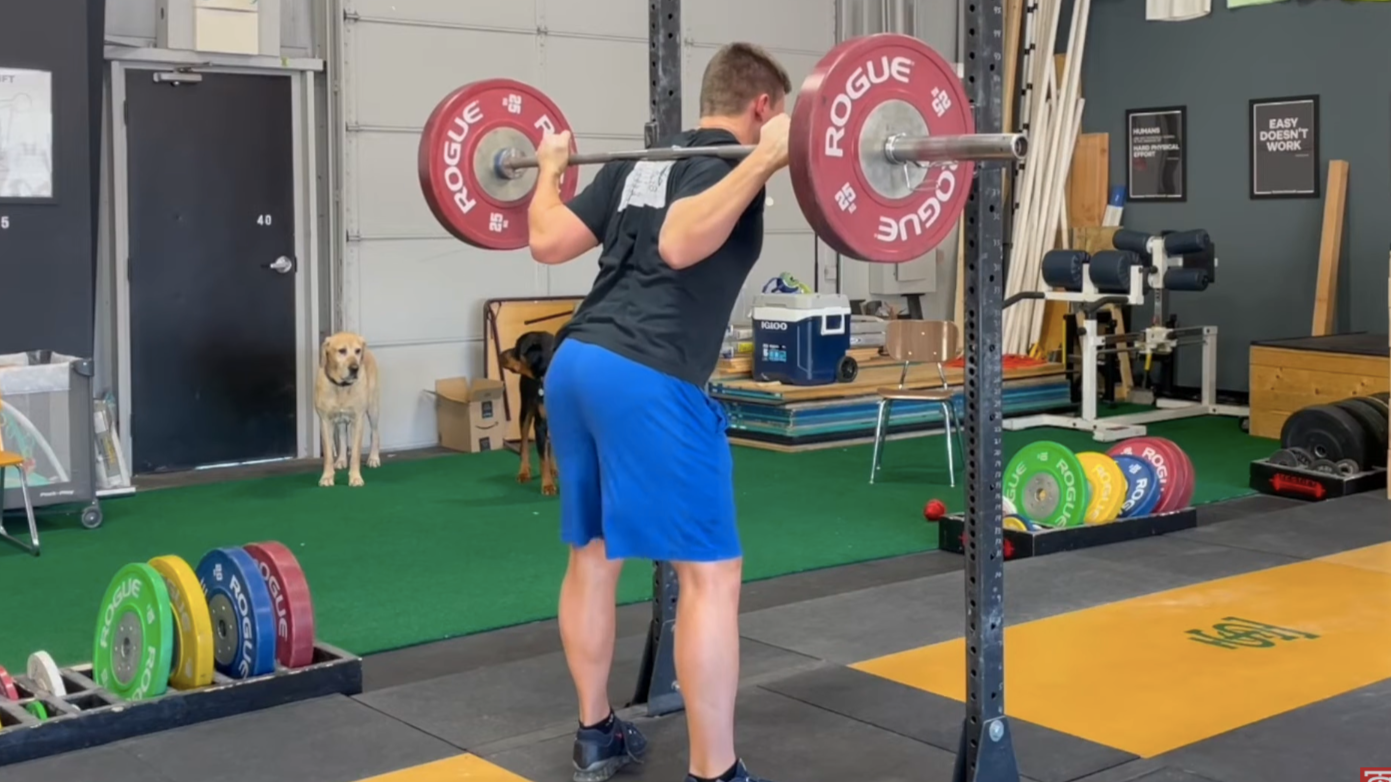
Instead, we’re going to slide just a bit further forward - further under the bar, if you will - until the bar slides past the traps and is now supported on the shelf provided by your delts. We choose this location for the bar - not because it’s the easiest position to achieve when standing up (because it is not) - but rather because it’s the most secure location for the bar when you’re actually squatting.

Picture yourself at the bottom of your squat - you’ve got a nice, leaned-over torso, and now, with the bar sitting in The Position, any downward motion of the bar (i.e., rolling or sliding down your back) is blocked by your delts, and any upward motion is blocked by your traps. The bar is pinned between these two muscle groups in a very secure manner, and a bar that doesn’t want to move up or down your back is a very good thing when squatting heavy weights.

Now that you’ve got something to think about as you rest between work sets, it’s time to get to squatting.

As always, we hope this helps you get stronger and live better.

-Phil

PS: Whenever you want even more Testify in your life, here are some free resources:

  • Book a free intro and strategy session with us HERE.

  • Pick up a free copy of Testify’s Squat Guide: 12 Tips to Improve Your Squat Now HERE.

  • Get our free weekly email - containing useful videos, articles, and training tips - HERE.

  • Follow Testify on Instagram HERE.

  • Subscribe to Testify’s YouTube channel HERE.

(Some links may be affiliate links. As an Amazon Associate, Testify earns from qualifying purchases.)
At Testify, we offer small group training, private coaching (in-person or remotely via Zoom), online coaching, and form checks. Interested in getting stronger, looking better, and having more energy?

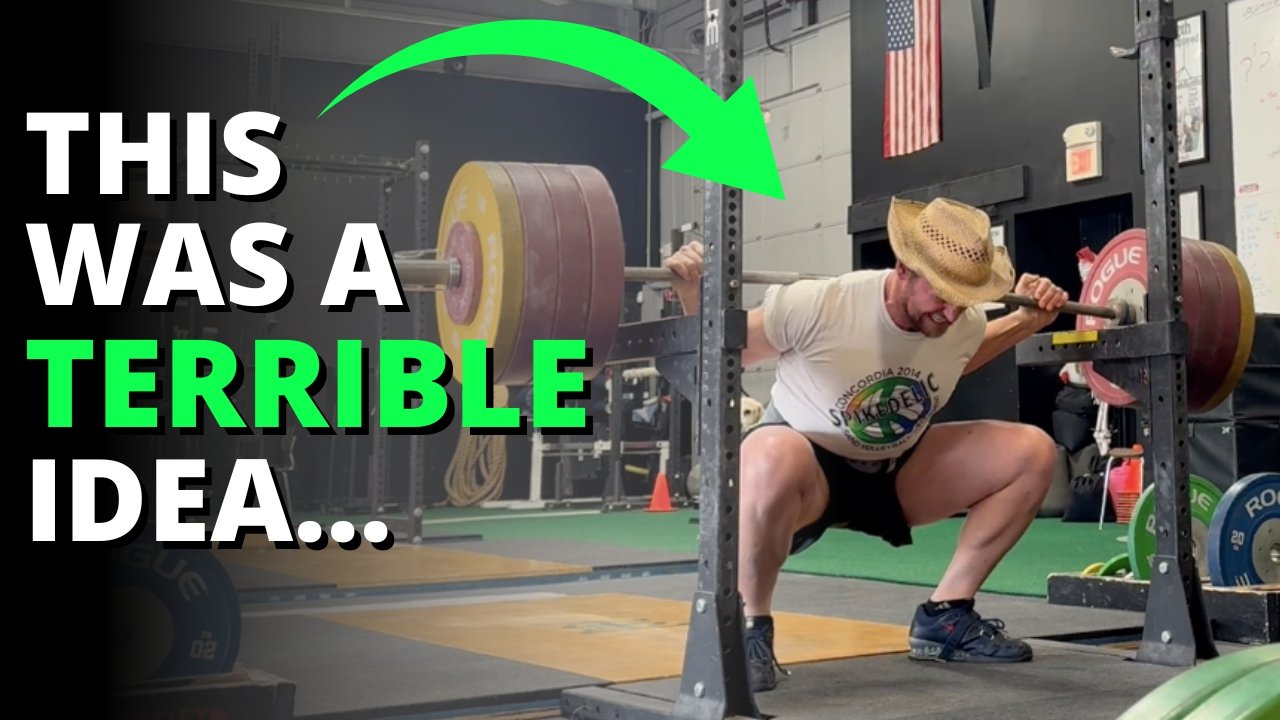
Do This Once & Instantly Improve Your Squat Form

Want to improve your squat technique right away? This particular tactic might seem counterintuitive to some - Starting Strength Coach Phil Meggers explains and demonstrates.

Whenever you want even more Testify in your life, here are some free resources:

  • Book a free intro and strategy session with us HERE.

  • Pick up a free copy of Testify’s Squat Guide: 12 Tips to Improve Your Squat Now HERE.

  • Get our free weekly email - containing useful videos, articles, and training tips - HERE.

  • Follow Testify on Instagram HERE.

  • Subscribe to Testify’s YouTube channel HERE.


At Testify, we offer small group training, private coaching (in-person or remotely via Zoom), online coaching, and form checks. Interested in getting stronger, looking better, and having more energy?

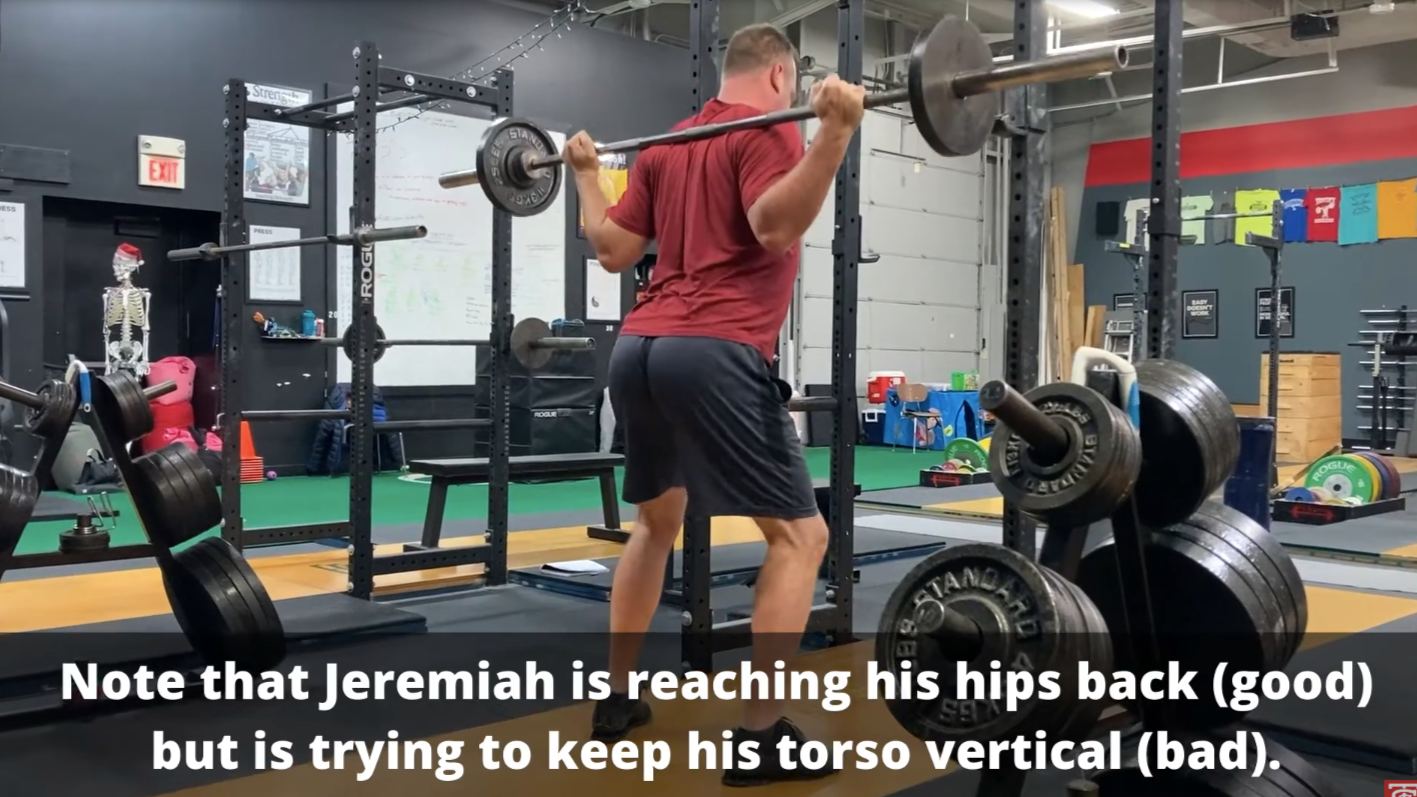
Why Does This Bar Position Just Work So Well? (where to put the bar for the squat)

When squatting, why does this particular barbell position work so well, and how do you find the correct location? Starting Strength Coach Phil Meggers explains and demonstrates.

Whenever you want even more Testify in your life, here are some free resources:

  • Book a free intro and strategy session with us HERE.

  • Pick up a free copy of Testify’s Squat Guide: 12 Tips to Improve Your Squat Now HERE.

  • Get our free weekly email - containing useful videos, articles, and training tips - HERE.

  • Follow Testify on Instagram HERE.

  • Subscribe to Testify’s YouTube channel HERE.


At Testify, we offer small group training, private coaching (in-person or remotely via Zoom), online coaching, and form checks. Interested in getting stronger, looking better, and having more energy?

Bar Position and the Squat: The #1 MISTAKE You're Making

(A Blast from the Past article originally posted on 03/24/23)

Is the bar rolling up your back when you squat? Perhaps it’s sliding down your back instead? Either way, if the barbell is moving around when you squat, there’s a solid chance you’ve got it in the wrong spot in the first place. Nailing down the correct bar position on the back is a common problem for new lifters (and experienced ones), so let’s fix this problem fast.

A quick note: Everything in this article is much more easily seen and understood when demonstrated, so I’d strongly recommend watching the included videos.

We want the bar positioned just below the spine of the scapula - that bony ridge below your traps (check out Figure 1).

figure 1: THE TIP OF the spine of BECKY’S SCAPULA IS MARKED BY MY RIGHT THUMB. figure 2: my thumbs mark the bar’s position just below the spine of the scapula.

In this location, the bar sits below your traps and rests on the posterior deltoids. This is the lowest stable position the bar can take (see Figure 2). If it sits higher than this, it will tend to roll up your back, and if it sits lower than this, it will tend to slide down your back.

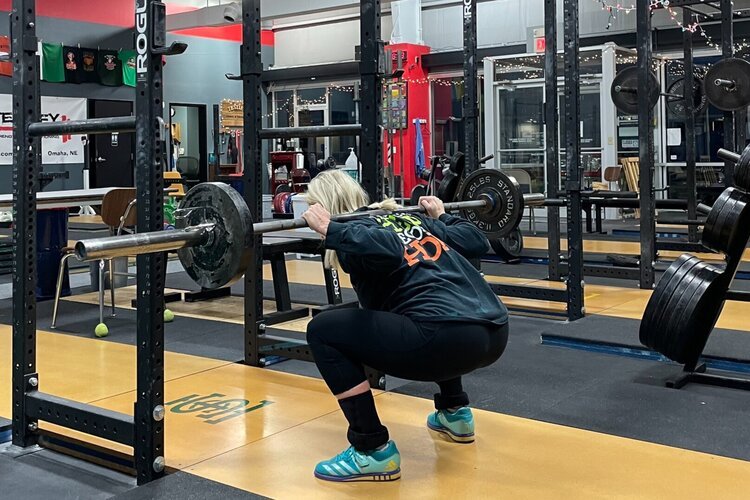
Figure 3: Becky demonstrates the correct bar position.

With as narrow of a grip as you can obtain and with your shoulders retracted, your delts will nicely bunch up and form a secure shelf for the bar (see Figure 3). This will permit you to reach back with your hips and lean over as you descend so that you’re in a strong position to drive your hips up out of the hole at the bottom of the squat.

As always, we hope this helps you get stronger and live better.

-Phil

PS: Whenever you want even more Testify in your life, here are some free resources:

  • Book a free intro and strategy session with us HERE.

  • Pick up a free copy of Testify’s Squat Guide: 12 Tips to Improve Your Squat Now HERE.

  • Get our free weekly email - containing useful videos, articles, and training tips - HERE.

  • Follow Testify on Instagram HERE.

  • Subscribe to Testify’s YouTube channel HERE.

(Some links may be affiliate links. As an Amazon Associate, Testify earns from qualifying purchases.)


At Testify, we offer small group training, private coaching (in-person or remotely via Zoom), online coaching, and form checks. Interested in getting stronger, looking better, and having more energy?

Why Squatting has become Impossible (6 reasons)

Is the squat impossible for you, or does it seem impossible to make progress on your squat? Starting Strength Coach Phil Meggers gives 6 possible reasons why as well as how to address them.

Whenever you want even more Testify in your life, here are some free resources:

  • Book a free intro and strategy session with us HERE.

  • Pick up a free copy of Testify’s Squat Guide: 12 Tips to Improve Your Squat Now HERE.

  • Get our free weekly email - containing useful videos, articles, and training tips - HERE.

  • Follow Testify on Instagram HERE.

  • Subscribe to Testify’s YouTube channel HERE.


At Testify, we offer small group training, private coaching (in-person or remotely via Zoom), online coaching, and form checks. Interested in getting stronger, looking better, and having more energy?

This Mistake Will Ruin All Your Lifts...

The topic of today’s discussion is the mistake of not having a focal point, which can show up in two different ways.

Balance plays a pivotal role in your ability to move a challenging load. If you’ve squatted long enough, you’ve accidentally gotten forward onto the balls of your feet (and you remember how terrible that rep was), if the barbell drifts away from you slightly when deadlifting, it makes for a much harder rep than it should have been, and the press is exceptionally susceptible to bar path and balance issues.

figure 1: the wandering focal point

A focal point helps greatly with balance, so you don’t want to put your balance at a disadvantage by not having one. With this in mind, let’s cover the two forms of this error.

Error #1: The Wandering Focal Point
With this version of not having a focal point (Figure 1), your eyes wander when performing the lift. You might be looking forward at the start of the press, you might look up while pressing upward, and then you might look downward slightly as you lock out the press overhead.

Error #2: Closing Your Eyes
While this error (Figure 2) prevents you from committing error #1, it’s no better as closing your eyes prevents you from focusing your gaze on a single point. Your eyesight contributes mightily to your ability to balance, so you want to keep your eyes open.

figure 2: ladon demonstrates the error of closing the eyes when lifting.

The Solution
As is so often the case, you want to think about what you should do and not dwell on what you shouldn’t do. For example, if you tend to close your eyes when driving a heavy squat up out of the hole, don’t bother telling yourself, “Don’t close my eyes, don’t close my eyes!”

Instead, give yourself something to do. The moment you take your stance, tell yourself, “I’m going to look at this point and keep staring there during every rep and between every rep.” In other words, give you eyes a job to perform.

For the press, tape an X on the wall in front of you at eye-height, for the squat and the deadlift, put something on the floor out in front of you (such as a 2.5 lb plate or your water bottle), and if you’re benching, pick some point on the ceiling to stare at.

Stare at that point and remind yourself that you’re going to keep starting at it until you are completely done with the last rep. Give your eyes a job to do, and commit to it. If you keep doing this, you’ll be surprised at how quickly you can fix this problem.

As always, we hope this helps you get stronger and live better.

-Phil

PS: Whenever you want even more Testify in your life, here are some free resources:

  • Book a free intro and strategy session with us HERE.

  • Pick up a free copy of Testify’s Squat Guide: 12 Tips to Improve Your Squat Now HERE.

  • Get our free weekly email - containing useful videos, articles, and training tips - HERE.

  • Follow Testify on Instagram HERE.

  • Subscribe to Testify’s YouTube channel HERE.

(Some links may be affiliate links. As an Amazon Associate, Testify earns from qualifying purchases.)

At Testify, we offer small group training, private coaching (in-person or remotely via Zoom), online coaching, and form checks. Interested in getting stronger, looking better, and having more energy?