Great Tire Workouts for Conditioning!
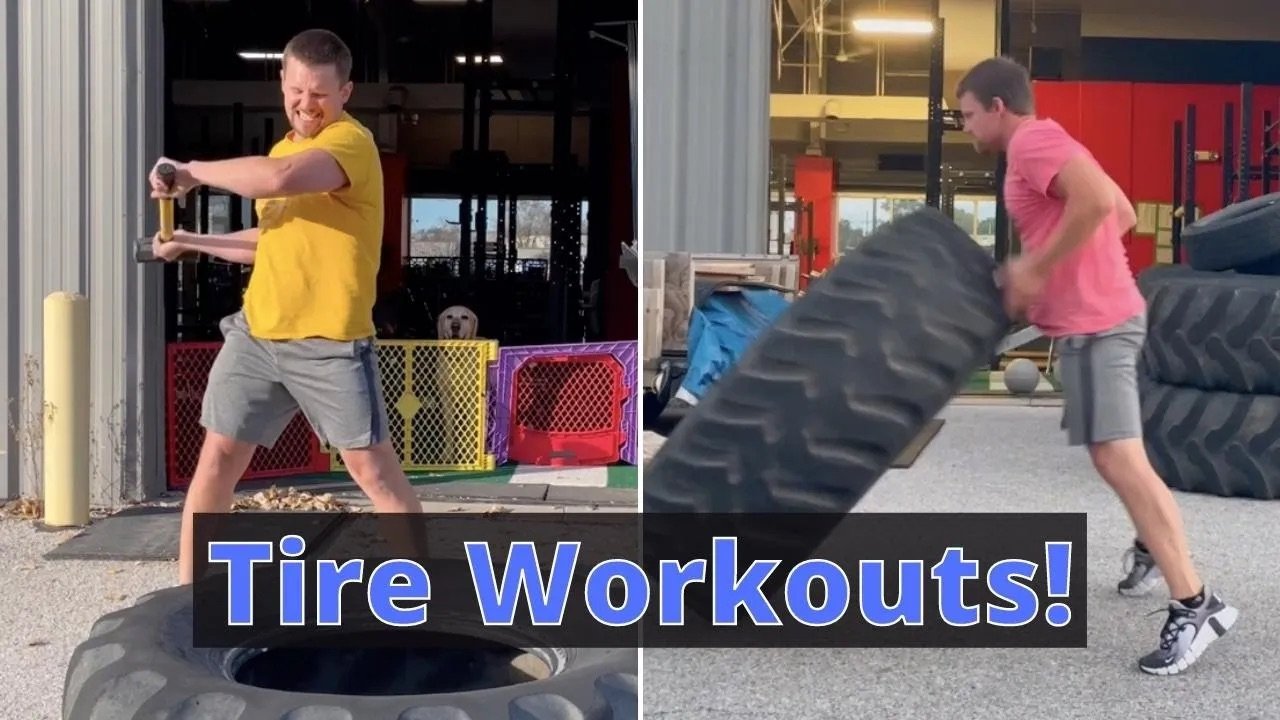
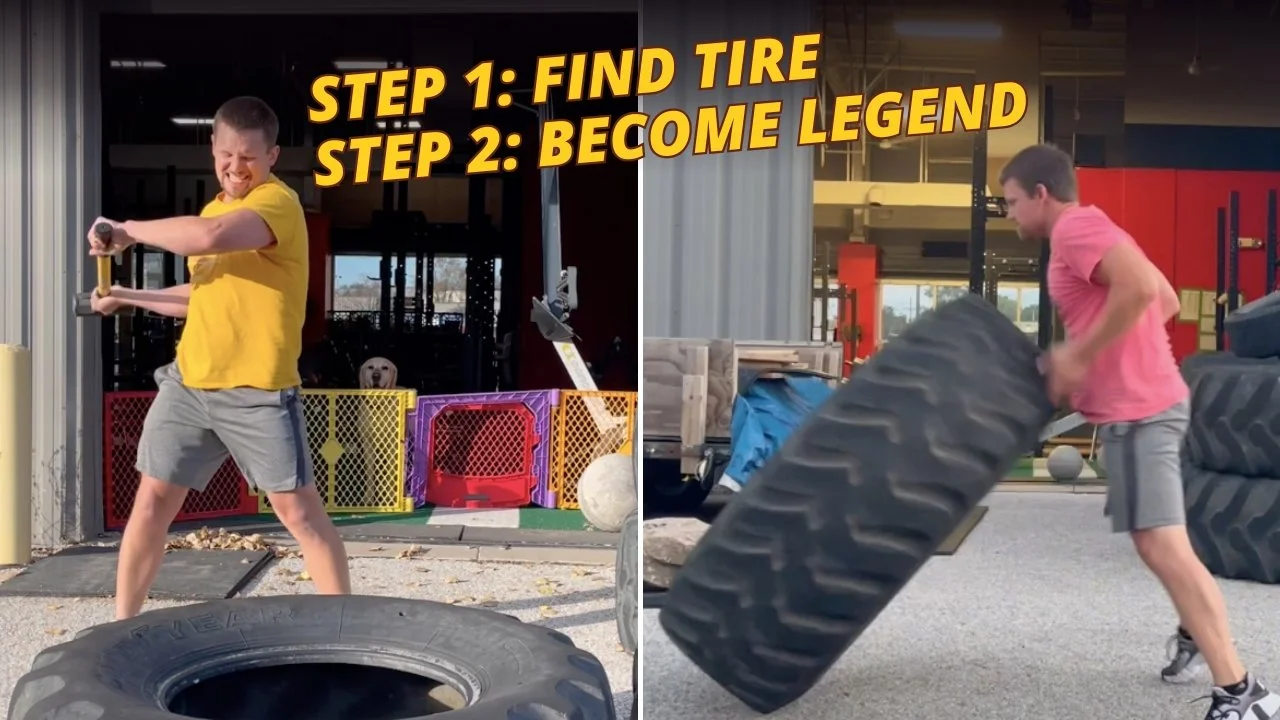
/Tires can provide you with some great conditioning options - whether you're using large tires (e.g., tractor tires) for tire flips and sledgehammer strikes or you’re using smaller tires for something like a sled pull. Also, they are generally free; it costs money to recycle tires, so if you contact a tire dealership, you can typically get a tire or twelve for free.
With this in mind, let’s cover a few easy-to-implement conditioning options - although not easy to do, mind you - that involve tires and sometimes a few other simple tools. You’ll see these options in action in the included video as well:
Option 1
5-10 rounds:
30 sec tire flips (as many as possible)
30 sec rest
Get a tire that’s heavy and challenging to flip and flip it for as many times as you can in 30 seconds. Then rest 30 seconds. Repeat this process for a total of 5-10 rounds.
Option 2
5-10 rounds:
10 sledgehammer strikes (5 left, 5 right)
100 ft sled push (50 ft down-back)
1 minute rest
You’ll need a sledgehammer for this workout, and if you don’t already have one, you can easily get one at your local hardware store. You’ll also need a sled (or prowler) to push. If you don’t have a sled, you can drag a small tire instead (see Option 3).
For this option, perform 10 sledgehammer strikes - 5 from the left side and 5 from the right side - and then push the sled a total of 100 ft (50 ft down, turn around, and then 50 ft back). Then rest 1 minute. Again, repeat this for 5-10 rounds.
Option 3
10-20 rounds:
50 yd tire drag (25 yd down-back)
1 min rest
To drag a tire, insert a few eyebolts into a small tire, hook a tow recovery strap up to the eyebolts, and then place some weights inside the tire. You can drag the tire by walking forward or backward.
Scaling Up
Over time, you can increase the difficulty of any of these options by doing one or more of the following:
Using a larger tire for tire flips
Adding weight to the sled (for sled pushes) or tire (for tire drags)
Reducing the rest time
Increasing the number of rounds
As always, we hope this helps you get stronger - or at least better conditioned - and live better.
(Some links may be affiliate links. As an Amazon Associate, Testify earns from qualifying purchases.)
If you found this helpful, you’ll love our weekly email. It’s got useful videos, articles, and training tips just like the one in this article. Sign up below, and of course, if you don’t love it, you can unsubscribe at any time.
At Testify, we offer small group training, private coaching (in-person or remotely via Zoom), online coaching, and form checks. Would you like to get quality coaching from a Starting Strength Coach?
Conditioning with the Sled or Prowler
/(If you like, you can scroll down to the end of this article and watch a related video.)
In last week’s article, we discussed a few options on how to quickly, easily, and cheaply make a DIY sled drag harness for sled (AKA “prowler) workouts. One of the great things about the sled is that - whether pushing or pulling - it utilizes primarily concentric movement and thus doesn’t cause a lot of unnecessary soreness. As a result, you can get some effective conditioning done, and if approached in an intelligent fashion, this conditioning should not get in the way of your strength training. With this in mind, today we’re going to cover a few simple options for actually using the sled to get some conditioning done.
Workout #1
12, 16, or 20 rounds of:
50 ft sled push
1 round every minute
Start with a manageable weight on the sled for your first time with this workout, and know that the weight will vary depending on the surface, e.g., you can use more weight if you’re pushing the sled on turf vs asphalt.
Starting 1 round every minute, push the sled 50 ft in one direction and then stop. For example, if it takes you 20 seconds to push the sled 50 ft, then you have 40 seconds (i.e., the rest of the minute) of rest before starting the next round and pushing the sled back in the opposite direction.
Do 12 rounds the first time you perform this workout, do 16 rounds with the same weight the next time (e.g, the following week), and do 20 rounds with the same weight the next time. After that, ratchet the rounds back down to 12, add some weight, and start the process again.
Workout #2
Sled Pyramid
4-7 levels of 200 ft sled push (100 ft down-and-back)
Weight increases, then decreases.
Rest as needed.
Example (with 5 levels):
(Weights listed do not include the weight of the sled)
Round 1: 25 lb x 200 ft
Round 2: 50 lb x 200 ft
Round 3: 75 lb x 200 ft
Round 4: 100 lb x 200 ft
Round 5: 125 lb x 200 ft
Round 6: 100 lb x 200 ft
Round 7: 75 lb x 200 ft
Round 8: 50 lb x 200 ft
Round 9: 25 lb x 200 ft
You’ll likely need to rest longer between the heavier rounds than between the lighter rounds.
Workout #3
Sled Drag (w/harness)
3 rounds of:
Pull 5 minutes.
Rest 3 minutes.
This one is a longer, lower intensity session and is best done outdoors to minimize the amount of turning around needed. Load up a manageable weight on the sled, hook yourself and the sled up to the harness, and walk for 5 minutes, dragging the sled behind you. Rest 3 minutes, then perform two more 5-minute rounds (again with a 3 minute rest between rounds).
Workout #4
10 rounds of:
100 ft sled push
100 ft sled drag (w/harness)
Rest 1-2 minutes.
Start with a manageable weight and push the sled 100 ft with the harness attached to the sled (but coiled up so as not to get in your way). At the end of the 100 ft push, put the harness on yourself and drag the sled 100 ft back to your original starting point. Perform 10 rounds and rest 1-2 minutes between each round.
For all of these workouts, start at a manageable point and then increase the conditioning demands gradually over time. You can do so by increasing the number of rounds, increasing the weight, increasing the distance, or decreasing the length of the rest intervals. Of course, you can also utilize some combination of those methods as shown in Workout #1.
There are an infinite number of conditioning workouts you can do with a sled, but this will get you off to a good start, and as always, we hope this helps you get stronger (or at least more conditioned) and live better!
At Testify, we offer small group training, private coaching (in-person or remotely via Zoom), online coaching, and form checks. Would you like to get quality coaching from a Starting Strength Coach?
Cheap & Easy DIY Sled Drag Harness Options
/(If you like, you can scroll down to the end of this article and watch a video on how to make your own DIY sled drag harness.)
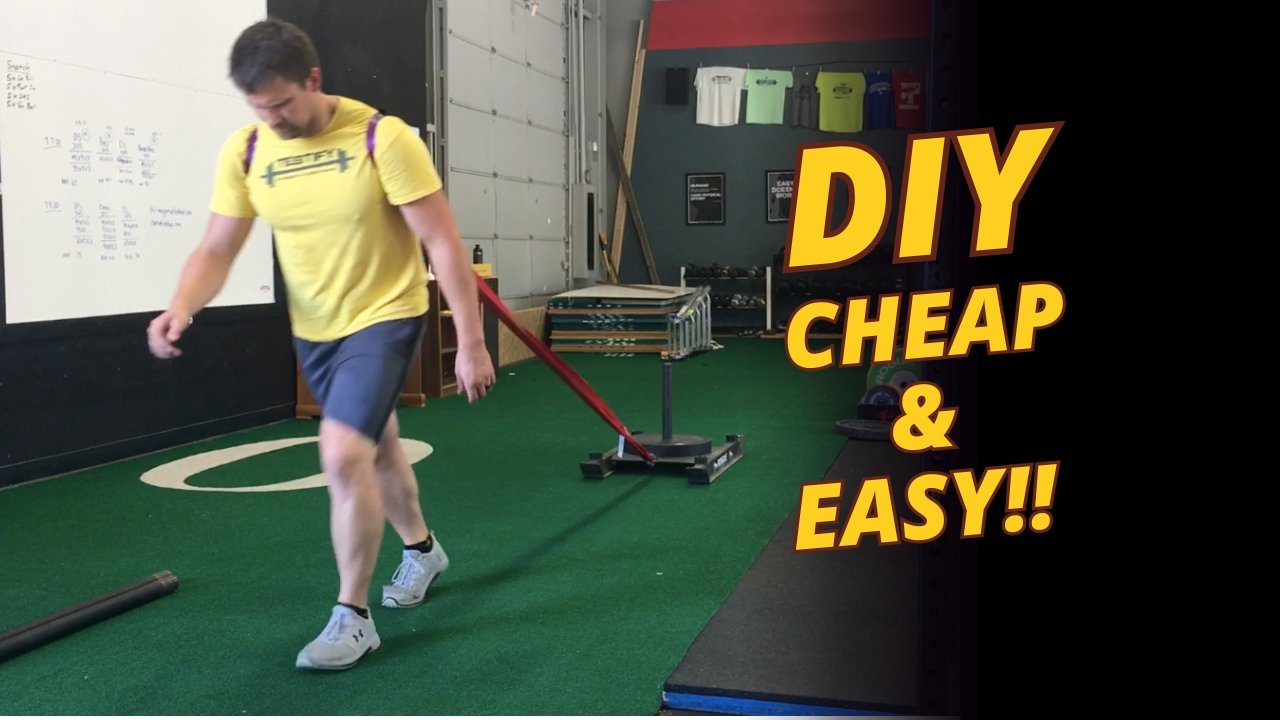
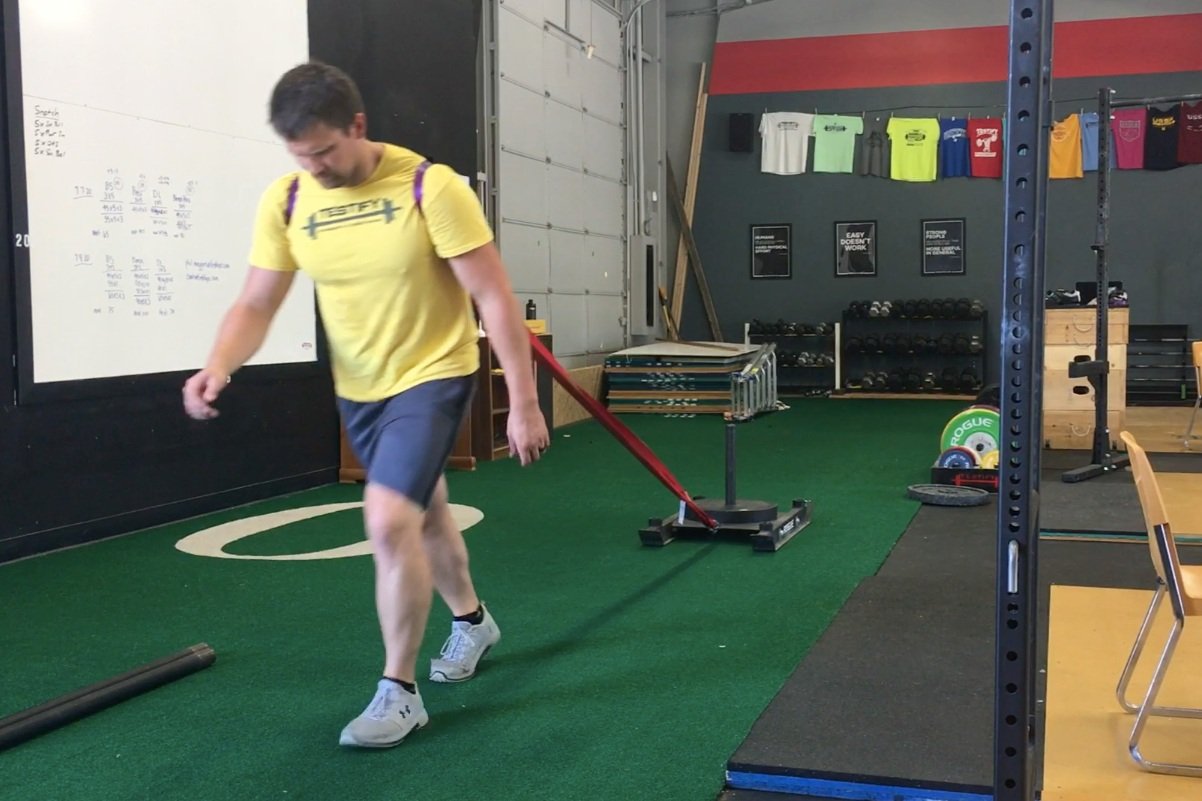
The sled or prowler is an extremely effective conditioning tool (albeit a rather evil one). You can get in some great conditioning pushing the sled, but you can also get in some great conditioning pulling it, so let’s cover a couple of options to construct a simple and cheap sled drag harness so you don’t have to go out and buy an expensive one.
A few notes:
A sled has 2 skids while a prowler has 3 skids. They accomplish the same purpose as they both can be pushed or pulled, and for our purposes, I’m going to use the word “sled” for both implements.
If you don’t have a sled for pulling, you don’t need to go out and put down a bunch of cash for a new one. You can construct a “tire sled” from an old tire and an eyebolt - it’s cheap, pretty quick, and it works very well for pulls (watch this video to see what I’m talking about).