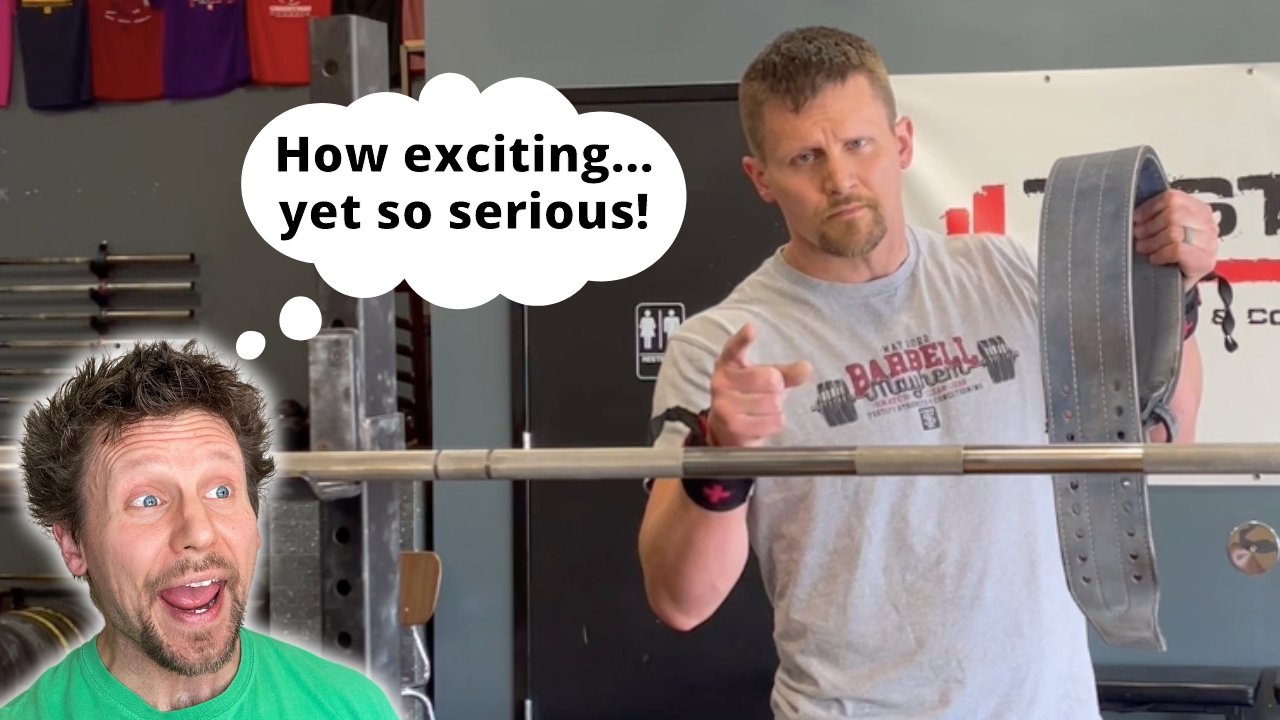
What Every New Lifter Gets Wrong - Part II

(A Blast from the Past article originally posted on 03/26/21)

In Part I of this series - Common Mistakes New Lifters Make (and how to avoid them!) - we discussed the common errors of misloading your bar, forgetting to wear your belt, and forgetting to use chalk or a hook/switch grip for your deadlift.

Parker and Milo make all kinds of mistakes - mistakes only redeemable because the two furballs are moderately cute.

Parker and Milo make all kinds of mistakes - mistakes only redeemable because the two furballs are moderately cute.

In Part II, we’re going to examine a few other mistakes that new lifters are likely to make, and hopefully, we can help you avoid them or at least quickly correct them. Most of this list is inspired by conversations we have at the gym with new (and sometimes experienced!) lifters, and the mistakes are not listed in any particular order.

Setting the j-hooks too high for the squat (or press/bench press)
For some reason, new lifters often set their j-hooks too high for their squat. You should never be at risk of catching the edge of a hook with the barbell when either unracking the bar at the beginning of your set or racking the bar at the end of your set, so err on the conservative side and set the hooks a bit lower than you think you should. Mid-sternum is a good height to start with, and remember, too low is better than too high - nobody should have to do a calf raise to rack the bar - and you can always raise the hooks later if you’ve set them too low.

Looking for the j-hooks when racking the squat (or press/bench press)
It can be tempting to look at the j-hooks as you’re racking the bar after your last rep. Don’t. Unless you have an exceptionally sneaky and cruel training partner, the hooks didn’t go anywhere while you were squatting, so stop treating them like they have legs. When you’re finished with your last rep, look straight ahead and walk forward until the bar makes (and keeps) solid contact with both uprights. At this point, you’ll know the bar is over the hooks (assuming you set the hooks at a reasonable height - see the previous paragraph), and you can then safely lower the bar down to the hooks. Looking at one hook makes it very likely that you will miss the other, and this tends to be a rather disastrous event - it might not happen today, but it will happen. Don’t look at the hooks.

Breathing in or out while the bar is moving
New lifters often breathe out when the bar is moving upward - we have years of fitness magazines to thank for this inane idea. Again, don’t. Remember: if the bar is moving, you’re not breathing. Instead, inhale before the rep starts and exhale after the rep ends. In other words, all breathing takes place between reps - not during - and for crying in the beer cheese soup, don’t blow your air out at the top of your deadlift. Wait the quarter of a second it takes to lower it to the ground and release your breath when the bar is back on the floor.

Watch one of the included videos above or below for more on how to correctly breathe and perform the Valsalva maneuver.

We hope these tips help you in your training, and we anticipate a “Part III” in the near future.

As always, we hope this helps you get stronger and live better.

-Phil

PS: Whenever you want even more Testify in your life, here are some free resources:

  • Book a free intro and strategy session with us HERE.

  • Pick up a free copy of Testify’s Squat Guide: 12 Tips to Improve Your Squat Now HERE.

  • Get our free weekly email - containing useful videos, articles, and training tips - HERE.

  • Follow Testify on Instagram HERE.

  • Subscribe to Testify’s YouTube channel HERE.

(Some links may be affiliate links. As an Amazon Associate, Testify earns from qualifying purchases.)

At Testify, we offer small group training, private coaching (in-person or remotely via Zoom), online coaching, and form checks. Interested in getting stronger, looking better, and having more energy?

What Every New Lifter Gets Wrong

(A Blast from the Past article originally posted on 03/12/21)

If you’re a new lifter, there are a couple of mistakes that you’re probably going to make within your first few weeks or months of training. To help you avoid them, let’s take a look at a few:

Misloading the bar
Bar math can be tough, and you’re eventually going to load your barbell heavier or lighter than you intended. For example, you intend to add 10 lb to the bar, and instead, you absentmindedly add 10 lb to each side of the bar and thus end up adding 20 lb to the bar by mistake.

If you do a work set, and it’s significantly harder than you expected, double-check what’s on the bar. Be sure to check your math if the set is significantly easier than expected as well, and check it again if the weight felt lopsided. In all of these scenarios, there’s a reasonable chance you misloaded the bar. Don’t worry - we’ve all done it, and it won’t be the last time you do it.

Forgetting to wear your belt
You finish your set - it was a bit harder than expected - and you then see your lifting belt sitting on the ground. There’s a very easy solution here - every time you finish a set, hang your belt over the middle of your barbell. Now, you won’t be able to miss it. This also works well for wrist wraps.

Forgetting to use chalk or a hook/switch grip for your deadlift
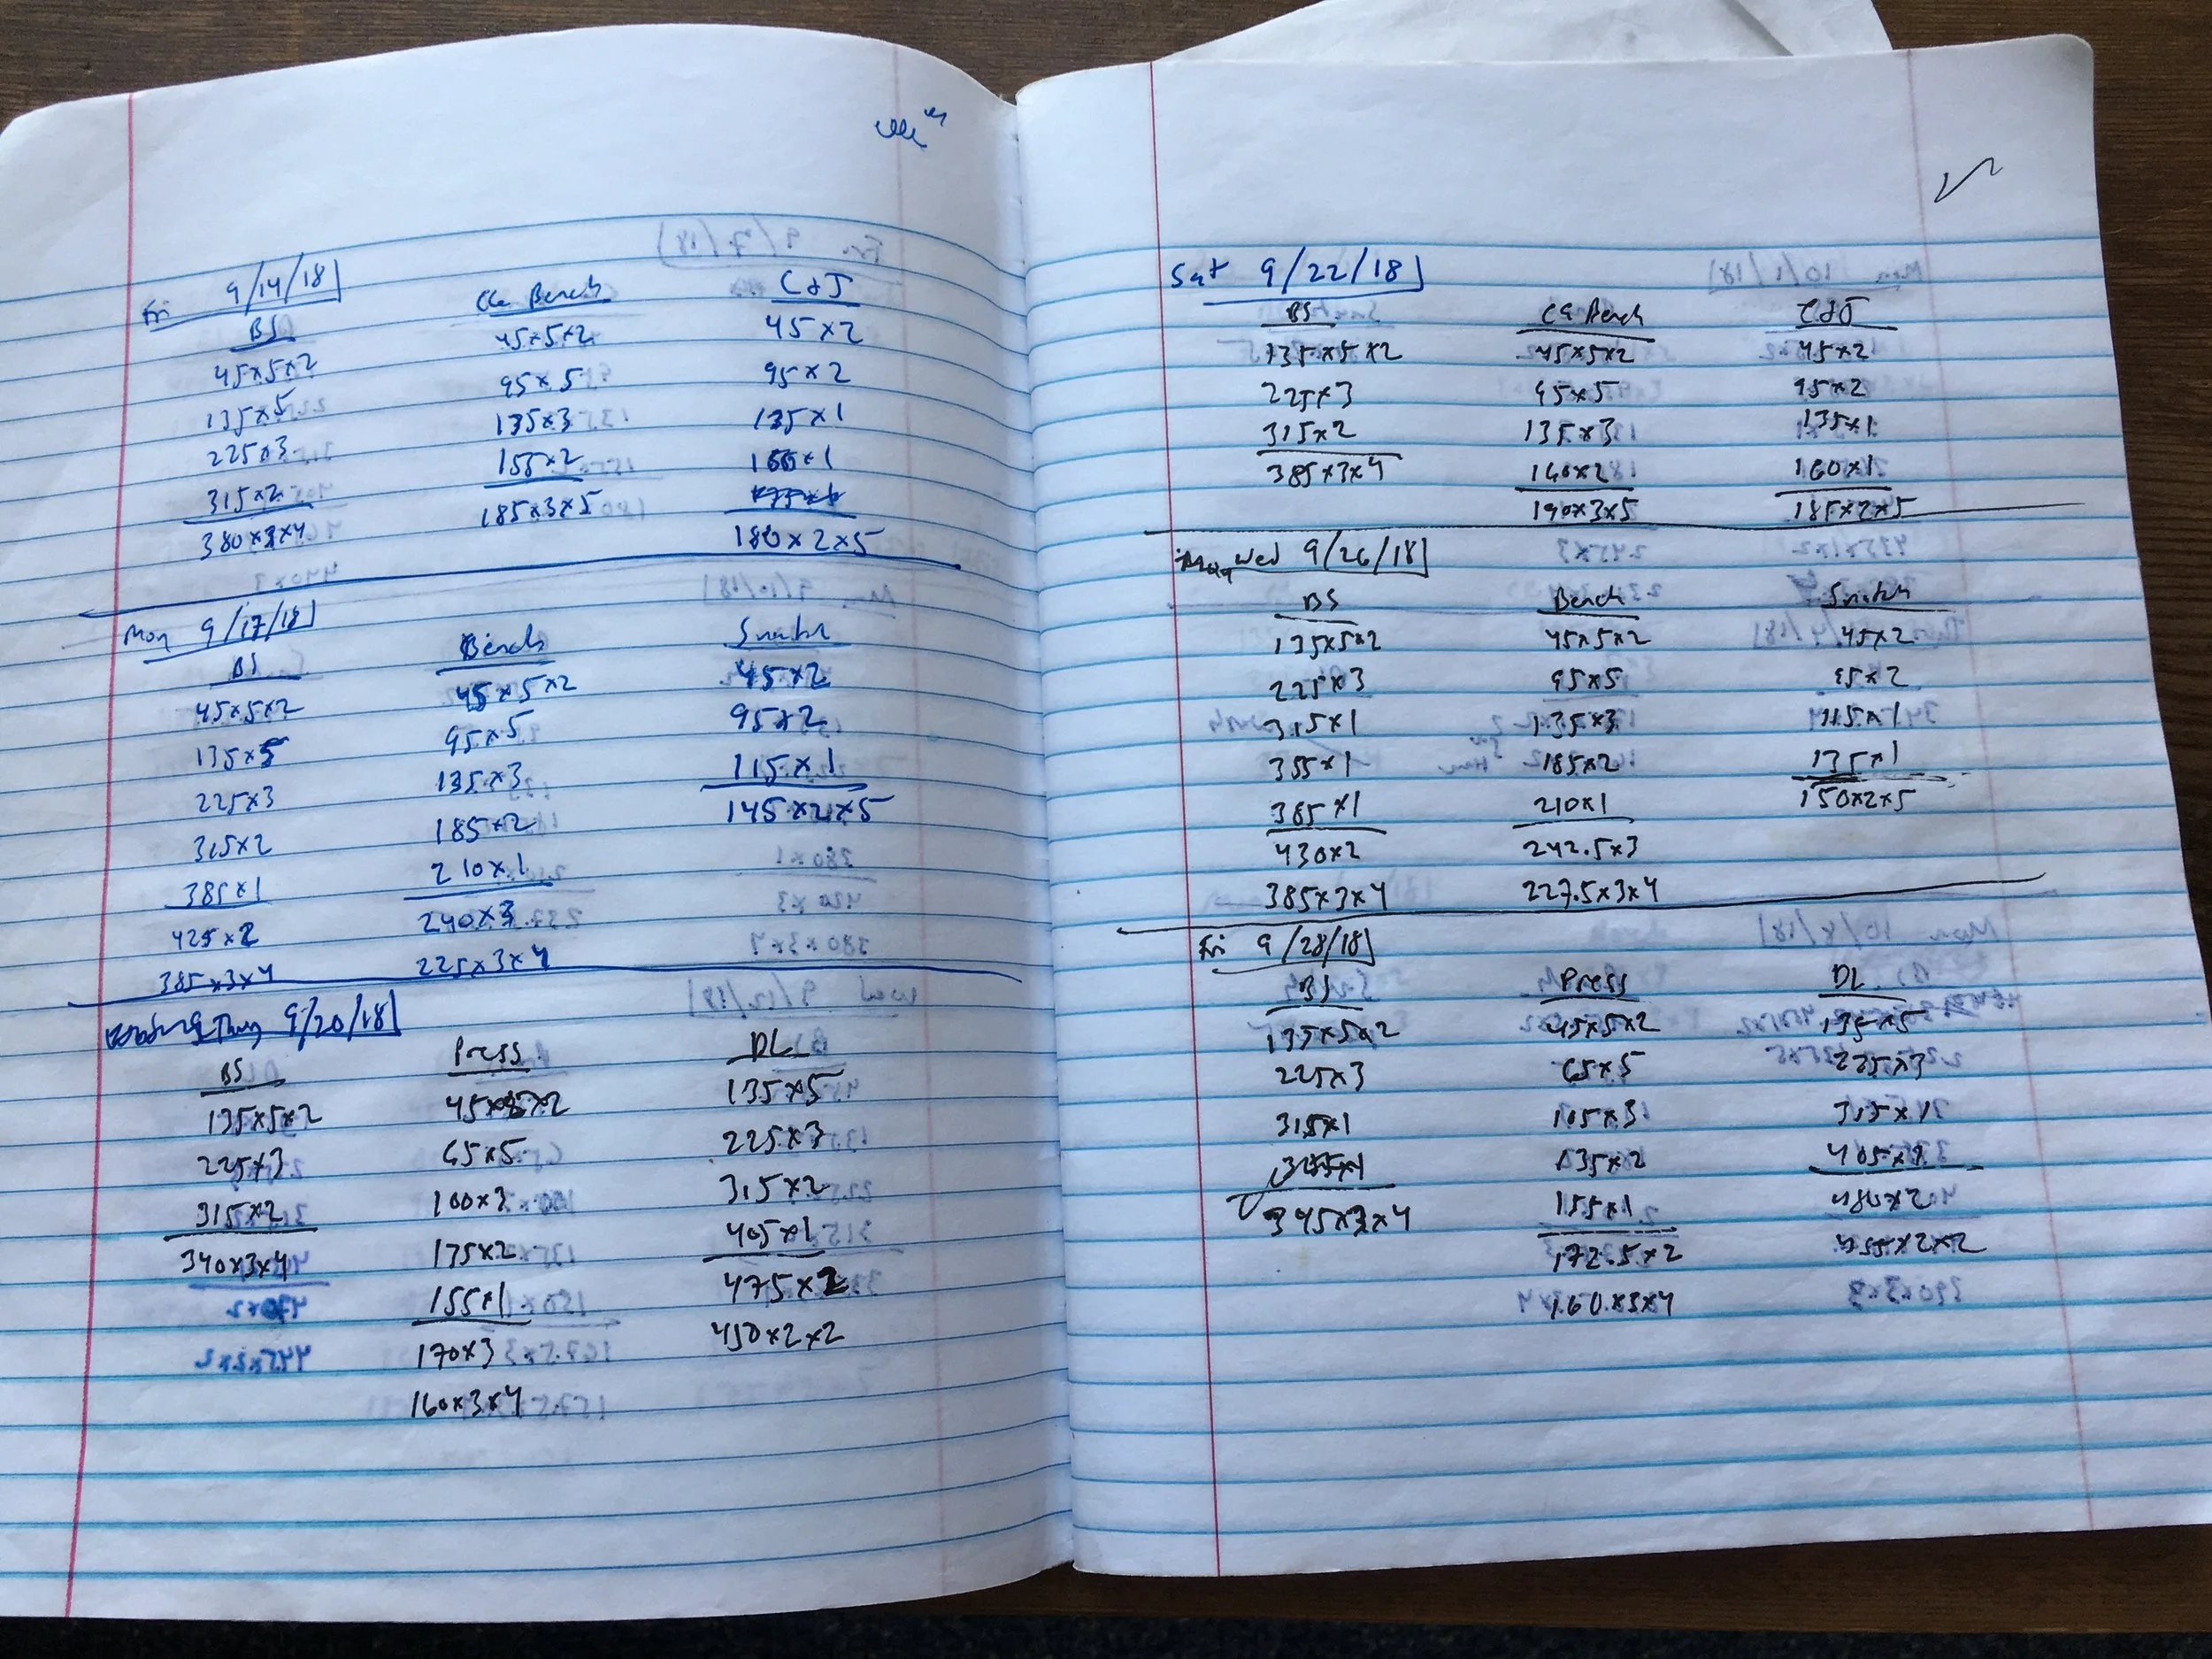
Grip plays a pivotal role in the deadlift, and you can’t pull as heavy without chalk and a hook or switch grip (or straps) as you can with these things. Eventually, chalking before pulling will be second nature - as will taking the proper grip - but in the meantime, write yourself a large, neat reminder in your training journal. “CHALK + HOOK GRIP” or something of the sort will do nicely.

We’ll examine a few other newbie mistakes in a future article, but in the meantime, give these solutions a try.

Milo understands . . . he’s made a few mistakes, too.

Milo understands . . . he’s made a few mistakes, too.

As always, we hope this helps you get stronger and live better.

-Phil

PS: Whenever you want even more Testify in your life, here are some free resources:

  • Book a free intro and strategy session with us HERE.

  • Pick up a free copy of Testify’s Squat Guide: 12 Tips to Improve Your Squat Now HERE.

  • Get our free weekly email - containing useful videos, articles, and training tips - HERE.

  • Follow Testify on Instagram HERE.

  • Subscribe to Testify’s YouTube channel HERE.

(Some links may be affiliate links. As an Amazon Associate, Testify earns from qualifying purchases.)


At Testify, we offer small group training, private coaching (in-person or remotely via Zoom), online coaching, and form checks. Interested in getting stronger, looking better, and having more energy?

You’re Probably Warming Up Wrong, and It’s Ruining Your Lifting

Warming up badly is inefficient, sometimes ridiculous, and it sets you up for poor results from your lifting. Starting Strength Coach Phil Meggers helps you warm-up effectively, efficiently, and simply and provides plenty of examples, tips, and mistakes to avoid.

Whenever you want even more Testify in your life, here are some free resources:

  • Book a free intro and strategy session with us HERE.

  • Pick up a free copy of Testify’s Squat Guide: 12 Tips to Improve Your Squat Now HERE.

  • Get our free weekly email - containing useful videos, articles, and training tips - HERE.

  • Follow Testify on Instagram HERE.

  • Subscribe to Testify’s YouTube channel HERE.


At Testify, we offer small group training, private coaching (in-person or remotely via Zoom), online coaching, and form checks. Interested in getting stronger, looking better, and having more energy?

You've Been Unloading Your Barbell Wrong This Whole Time (plus bonus tip)

You’re done lifting - you’ve finished your deadlifts, snatches, cleans, rows, whatever was on the docket for the day - you’ve got a bunch of bumper plates on the barbell, and you’ve got to unload them.

It’s a bit of a pain, of course, and you don’t want to work any harder than you have to, so let’s cover how to make your life easier when unloading your bar (and read to the end for a bonus tip).

You can also watch the video below to see these steps in action.

Step 1: Get all the metal plates or “change plates” off the bar.
Take care of the smaller plates first. If it’s not a full-sized plate (i.e., a bumper plate or a metal 45 lb plate), it’s easy to slide off since it’s not sitting on the floor, so get these plates off first.

Step 2: Outer Plates Off
Move to one side of the bar and roll the innermost plate up onto a small, change plate (a 2.5 lb plate works well). Doing this raises that entire side of the barbell up just enough that you can easily slide off any other plates on that side of the bar (Figure 1).

Figure 1

Step 3: Inner Plate Off
On the same side of the bar, you now have one remaining plate (i.e., the plate that you rolled up onto the 2.5 lb plate in Step 2). This is the only plate that requires a little work to remove. You can pick up the bar with one hand and slide the plate off with the other hand (Figure 2), or your can move to the outside of the barbell and use both hands to pull that last plate toward you.

figure 2

Note: Don’t let that end of the barbell simply drop jarringly to the floor when that last plate comes off. Be kind to your barbell.

Step 4: The Best Part
Grab the empty end of the barbell, walk it up (Figure 3) until the barbell is completely vertical, and then simply pick up the barbell as it slides up and out of the stack of plates now resting on the floor. At this point, you can store your barbell and then easily put away that stack of plates.

figure 3

Bonus Tip:
When getting your barbell out (or when putting it away), if you’d like to conserve some energy, don’t carry it in your hands. Pick it up, place it on one shoulder (one end will counterweight the other end, so this is a pretty easy process), and then carry it over to your squat rack.

figure 4

Since the bar is already on your shoulder, it’s at roughly the same height as your j-hooks (if you’re set up to squat or press), which means you can lean against the squat rack to make sure the barbell is against the uprights (Figure 4) and then just dip slightly until the bar is resting in the hooks.

Note: If there are other people around, make sure you don’t clock someone in the face when carrying it at this height.

As always, we hope this helps you get stronger and live better.

-Phil

PS: Whenever you want even more Testify in your life, here are some free resources:

  • Book a free intro and strategy session with us HERE.

  • Pick up a free copy of Testify’s Squat Guide: 12 Tips to Improve Your Squat Now HERE.

  • Get our free weekly email - containing useful videos, articles, and training tips - HERE.

  • Follow Testify on Instagram HERE.

  • Subscribe to Testify’s YouTube channel HERE.

(Some links may be affiliate links. As an Amazon Associate, Testify earns from qualifying purchases.)


At Testify, we offer small group training, private coaching (in-person or remotely via Zoom), online coaching, and form checks. Interested in getting stronger, looking better, and having more energy?

9 Brutal Truths About Lifting Weights That Seniors LEARN Too Late

What are some crucial truths about lifting weights that older folks often learn too late? Starting Strength Coach Phil Meggers explains.

Whenever you want even more Testify in your life, here are some free resources:

  • Book a free intro and strategy session with us HERE.

  • Pick up a free copy of Testify’s Squat Guide: 12 Tips to Improve Your Squat Now HERE.

  • Get our free weekly email - containing useful videos, articles, and training tips - HERE.

  • Follow Testify on Instagram HERE.

  • Subscribe to Testify’s YouTube channel HERE.


At Testify, we offer small group training, private coaching (in-person or remotely via Zoom), online coaching, and form checks. Interested in getting stronger, looking better, and having more energy?

The BEST Single Device to Prevent Frailty in Older Adults

What's the best device for seniors to get strong, prevent frailty, and stay independent? Starting Strength Coach Phil Meggers answers that question and provides 7 reasons why.

Whenever you want even more Testify in your life, here are some free resources:

  • Book a free intro and strategy session with us HERE.

  • Pick up a free copy of Testify’s Squat Guide: 12 Tips to Improve Your Squat Now HERE.

  • Get our free weekly email - containing useful videos, articles, and training tips - HERE.

  • Follow Testify on Instagram HERE.

  • Subscribe to Testify’s YouTube channel HERE.


At Testify, we offer small group training, private coaching (in-person or remotely via Zoom), online coaching, and form checks. Interested in getting stronger, looking better, and having more energy?