Cheap & Easy DIY Sled Drag Harness Options

The sled or prowler is an extremely effective conditioning tool (albeit a rather evil one). You can get in some great conditioning pushing the sled, but you can also get in some great conditioning pulling it, so let’s cover a couple of options to construct a simple and cheap sled drag harness so you don’t have to go out and buy an expensive one.

First, a few notes . . .

Sled vs Prowler
A sled has 2 skids while a prowler has 3 skids. They accomplish the same purpose as they both can be pushed or pulled, and for our purposes, I’m going to use the word “sled” for both implements.

Don’t Have a Sled?
If you don’t have a sled for pulling, you don’t need to go out and put down a bunch of cash for a new one. You can construct a “tire sled” from an old tire and an eyebolt - it’s cheap, pretty quick, and it works very well for pulls.

Watch the included video - Free (or cheap!) Strongman and Conditioning Equipment - to see what I’m talking about.

And now, let’s get to the harness options . . .

Sled Drag Harness - Waist Option
You’ll need a fairly large carabiner, and you’ll also need to get an automotive recovery strap, which you can obtain at pretty much any hardware store or by clicking here. Each end of the strap has a loop, and we’ll simply connect each loop to the carabiner, and then we’ll hook the carabiner to the sled. Simply place the middle of the recovery strap around your waist, and you’ve now got a cheap and easy-to-make harness for walking either forward or backward while dragging the sled.

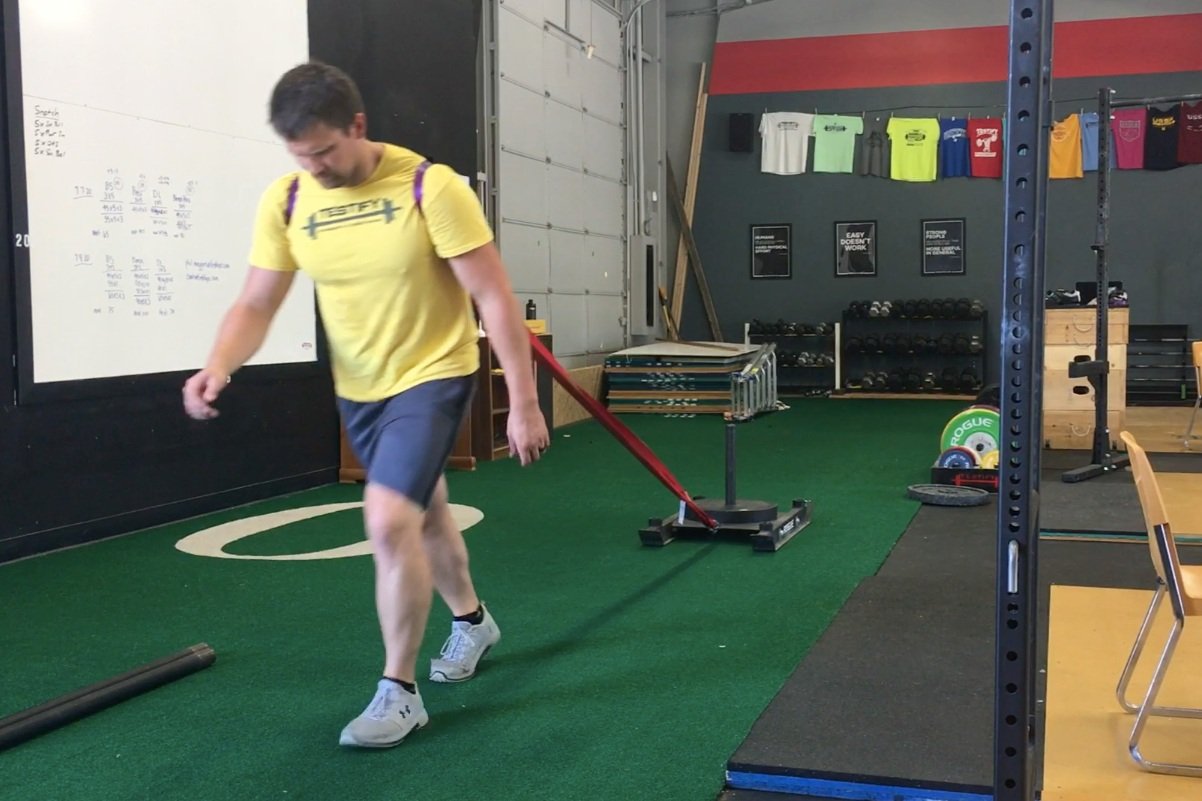
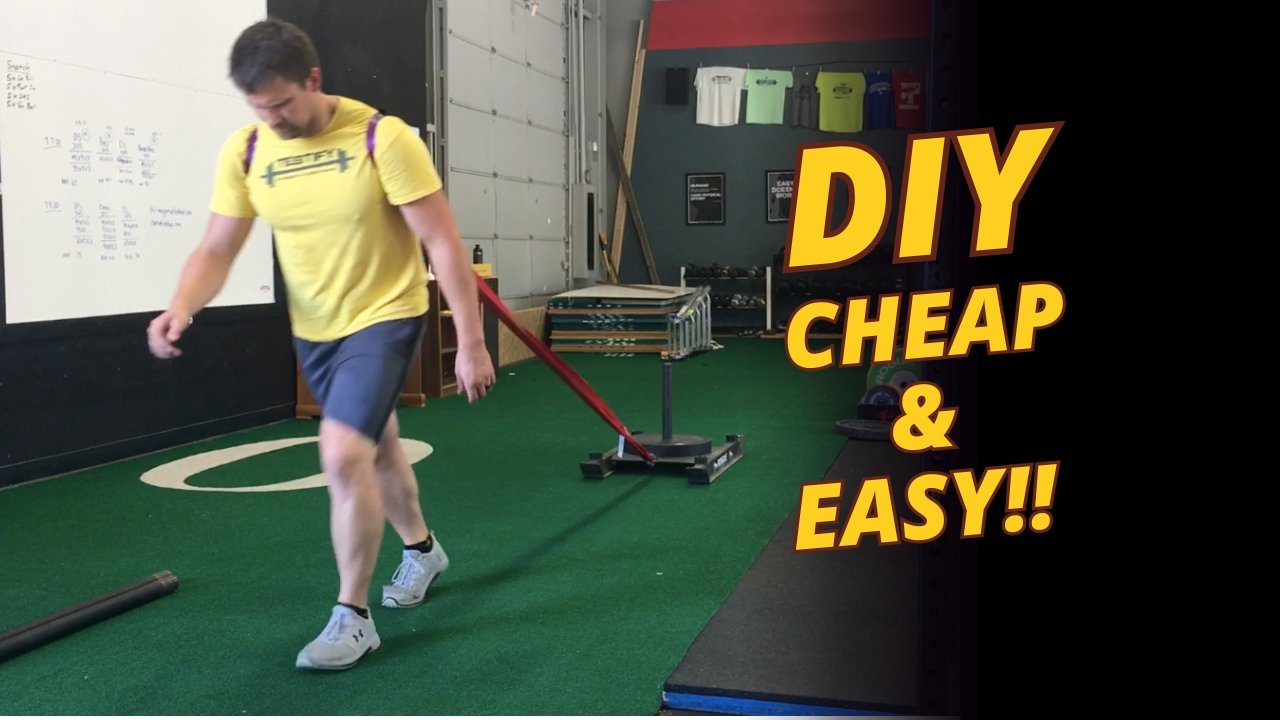
Shoulder Harness option

Sled Drag Harness - Shoulder Option
For this version, you’ll need to get some 1-inch climbing webbing. This is the same tubular webbing that we use for making lifting straps (see the video below) - you can find this type of webbing at an R.E.I. or a something store, or you can get some on Amazon by clicking here. You could probably use wider material if you want to make it more comfortable, but conditioning is not terribly comfortable anyway, and this is what we had on hand, and it works well.

Take 7-8 feet of webbing and tie a water knot with the ends to create one long, continuous loop. To tie a water knot (other knots won’t work as well with webbing), check out the DIY Sled Drag Harness Options video above. Feeding that loop through the loop created by your recovery strap, you have now created “backpack straps,” so simply put one arm through each end of the backpack straps, and you’re all set to go.

Seeing this on video helps quite a bit, so as mentioned earlier, I’d recommend watching the short DIY Sled Drag Harness Options video above (this video was the basis for this article).

As always, we hope this helps you get stronger (or at least more conditioned!) and live better.

-Phil

PS: Whenever you want even more Testify in your life, here are some free resources:

  • Follow Testify on Instagram HERE.

  • Subscribe to Testify’s YouTube channel HERE.

  • Book a free intro and strategy session with us HERE.

  • Pick up a free copy of Testify’s Squat Guide: 12 Tips to Improve Your Squat Now HERE.

  • Get our free weekly email - containing useful videos, articles, and training tips - HERE.

(Some links may be affiliate links. As an Amazon Associate, Testify earns from qualifying purchases.)


At Testify, we offer small group training, private coaching (in-person or remotely via Zoom), online coaching, and form checks. Interested in getting stronger, looking better, and having more energy?

book a free intro

Week of 2022.12.12

Reminder: Below are the hours for Christmas week (you can also find these on our Location & Hours page). Any days not listed retain their normal hours.

Friday, 12/23/22: Regular Hours
Saturday, 12/24/22: Closed
Monday, 12/26/22: Closed
Tuesday, 12/27/22: Regular Hours

This Week’s Conditioning

Option 1
Sled Pyramid – 4, 5, or 6 tiers
Go up and down a 4, 5, or 6 tier “sled pyramid” – rest as needed. The distance for each round is 80 m indoors (a down-back on the 40m course) or 200 ft outdoors (2 down-backs on the 50 ft course). Rest as needed.

For example, Bob does the following (4 tiers):
Round 1: Empty sled
Round 2: 25#
Round 3: 50#
Round 4: 75#
Round 5: 50#
Round 6: 25#
Round 7: Empty sled

Compare to 2022.10.10.

Option 2
Bike/row:
5 min on
4 min off
4 min on
3 min off
3 min on
2 min off
2 min on
1 min off
1 min on

Record distance for each interval and add for total distance.

Compare to 2022.09.19.

Option 3
Outdoors:
8 rounds:
4 tire flips
50 yd sled push (25 yd down-back)
Rest 1 minute

Indoors:
8 rounds:
4 tire flips
100 ft sled push (50 ft down-back)
Rest 1 minute

Compare to 2022.08.22.

Option 4
5 rounds:
4 tire flips
8 sledgehammer strikes
6 pull-ups
10 push-ups

Pull-ups and push-ups can be modified – talk to the coaches for options.

Compare to 2022.08.22.

Shakira and the Press: Hips Don't Lie

A common problem in the press is that - instead of reaching forward with the hips and using the rebound this creates - a lifter will accidentally reach backwards with the shoulders. The two movements - reaching forward with the hips and reaching backward with the shoulders - look almost the same, but one makes for a stronger press while the other absolutely hinders the press.

To see this in action as it’s being explained, check out one of the short videos included in this article.

Reaching forward with the hips helps us in two ways - first, that nice rebound out of the hips gives us a nice launch at the beginning of the movement. Second, it helps clear our face back out of the way of the barbell (a natural countermovement).

However, if you reach backward with your shoulders instead, you’ll still clear your head out of the way of the bar, but you won’t get any sort of launch or rebound from the hips, and indeed, it will actually make for a much harder and weaker press.

In the photo at left, Becky correctly reaches forward with her hips. In the photo at right, Becky incorrectly reaches backward with her shoulders. For comparison, check the position of the bar with respect to the squat stand in the background.

To check whether or not you’re making this error, ask yourself, “Where am I feeling my balance?” when you reach forward with your hips. If you feel your weight shift momentarily to the balls of your feet, you’re on the right track.

However, if you feel your weight shift to your heels, then you know that you’re accidentally reaching backwards with your shoulders instead of forward with your hips.

Remind yourself of this the next time you press. Simply make your balance shift briefly to the balls of your feet as you reach with your hips, and you’ll be off to an excellent start.

As always, we hope this helps you get stronger and live better.

(Some links may be affiliate links. As an Amazon Associate, Testify earns from qualifying purchases.)

If you found this helpful, you’ll love our weekly email. It’s got useful videos, articles, and training tips just like the one in this article. Sign up below, and of course, if you don’t love it, you can unsubscribe at any time.


At Testify, we offer small group training, private coaching (in-person or remotely via Zoom), online coaching, and form checks. Interested in getting stronger, looking better, and having more energy?

book a free intro


Week of 2022.12.05

The annual Testify Christmas Classic was a great success this weekend, and we are immensely thankful to everyone who helped out! Loaders, referees, table officials, those who helped setup and tear down - we could not have hosted this meet without you all!

In addition, thank you to everyone who came out afterward for the annual Christmas party, and an ESPECIALLY big thank you goes to Cameron, Jamie, and Brianne for organizing this shindig! We have the best members at Testify, and it was wonderful getting to hang out with you!

This Week’s Conditioning

Option 1
”Prowler Base+1”
1. Load up a manageable weight.
2. Sprint 40m at 85% intensity.
3. Rest 30 sec.
4. Repeat 5-15 times.

Courtesy of “Death by Prowler” (on Starting Strength).

Compare to 2022.10.03.

Option 2
5 rounds:
10 cal bike
1 min rest
4 sandbag-over-bars
1 min rest

Set the yoke crossmember at 35/33, and the weight is 150#/75#.

Compare to 2022.09.12.

Option 3
5-10 rounds:
50 ft yoke carry
50 ft yoke push
100 ft sandbag carry and S.O.B. (sandbag-over-bar)

Perform 1 round every 2-3 minutes.

Compare to 2022.08.15.

Option 4
Row/Tire 10 min ladder:
2 cal row
2 tire flips
4 cal row
4 tire flips
6 cal row
6 tire flips

Climb the ladder as high as possible in 10 minutes.

Compare to 2022.08.15.

Stop Using Your Hands to Catch Your Cleans!

(A Blast from the Past article originally posted on 01/22/21)

The clean is racked (i.e., caught or received) on the shoulders. Not in the hands.

Figure 1: This is the correct way to rack a clean.

When you rack a clean, you do so by rapidly punching your elbows forward and up so that the barbell can sit on the shelf provided by your delts (Figure 1). This shelf is extremely strong, stable, and it can support a lot of weight - more than you can clean, in fact.

On the other hand - or rather, hands - if you receive your cleans by supporting the bar in your hands (Figure 2), your poor, tiny, bent wrists will hate you for it, and it’s possible that your collarbones will too.

Figure 2: Don’t rack your cleans like this. Your wrists will despise you.

To rack the bar properly, jam the elbows forward and up and receive the bar with a loose grip - be sure to let the thumb slip out of the hook grip as you punch the elbows forward.

Figure 3: Elbows forward and up and a loose grip on the bar

It’s possible that your pinky finger (maybe even your ring finger) will slip off the bar during the catch, and while this is not ideal (especially if you need to jerk the barbell overhead yet), it’s not the end of the world. Do whatever you need to do with your grip to permit the receiving of the bar on your shoulders.

Your wrists will not be straight when you catch a clean, and that’s perfectly fine. Whether a lifter receives the bar correctly on the shoulders or not, the wrists will be bent backwards in extension, but a bar caught on the shoulders (with elbows forward and up) is supported by the shoulders, so the wrists - although bent - do not take any of the load. A bar caught with low elbows, however, cannot be successfully supported by the shoulders and is instead supported on bent - and usually painful - wrists.

Tommy doesn’t even need hands to rack his cleans. (We do NOT recommend trying this at home, folks)

Be kind to your wrists and commit to catching your cleans on your shoulders. You’ll enjoy the lift far more when your wrists aren’t screaming at you.

As always, we hope this helps you get stronger and live better.

-Phil

PS: Whenever you want even more Testify in your life, here are some free resources:

  • Follow Testify on Instagram HERE.

  • Subscribe to Testify’s YouTube channel HERE.

  • Book a free intro and strategy session with us HERE.

  • Pick up a free copy of Testify’s Squat Guide: 12 Tips to Improve Your Squat Now HERE.

  • Get our free weekly email - containing useful videos, articles, and training tips - HERE.

(Some links may be affiliate links. As an Amazon Associate, Testify earns from qualifying purchases.)


At Testify, we offer small group training, private coaching (in-person or remotely via Zoom), online coaching, and form checks. Interested in getting stronger, looking better, and having more energy?

book a free intro

Week 2022.11.28

Reminder: The gym will be closed for training this Saturday (12/03/22) as we are hosting the annual Testify Christmas Classic weightlifting meet.

2nd Reminder: The annual Testify Christmas Party is also this Saturday after the meet (at 5:30 p.m.). This year’s party is a taco bar, is BYOB, and the sign-up sheet for sides and/or taco fixings is at the gym. Please sign up soon as this helps Jamie, Cameron, and Brianne tremendously with logistics!

This Week’s Conditioning

Option 1
“Prowler Base”
1. Load up a manageable weight.
2. Sprint 40m at 85% intensity.
3. Rest until breathing and heart rate slow down. (45 sec – 2 min)
4. Repeat 5-15 times.

Courtesy of “Death by Prowler” (on Starting Strength).

Compare to 2022.09.26.

Option 2
Bike/Row for 9 rounds:
1 min on
1 min off

Record distance for each round.

Compare to 2022.09.05.

Option 3
Outdoors:
5-10 rounds:
10 sledgehammer strikes (5R, 5L)
50 yd farmer carry (25 yd down-back)
Rest 1 minute

Indoors:
5-10 rounds:
10 sledgehammer strikes (5R, 5L)
100 ft farmer carry (50 ft down-back)

Rest 1 minute

Compare to 2022.08.08.

Option 4
5-8 rounds:
50 ft sled push
50 ft sled pull (hand over hand)
Row 1 minute
Rest 1 minute

This can also be done in a group of three where the sledder determines how long the other two people row and rest.

Compare to 2022.08.08.