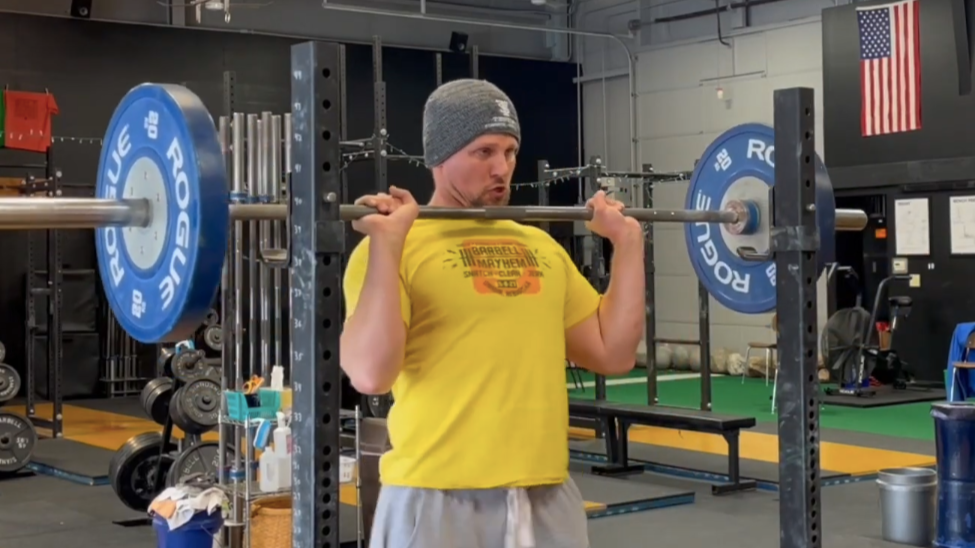
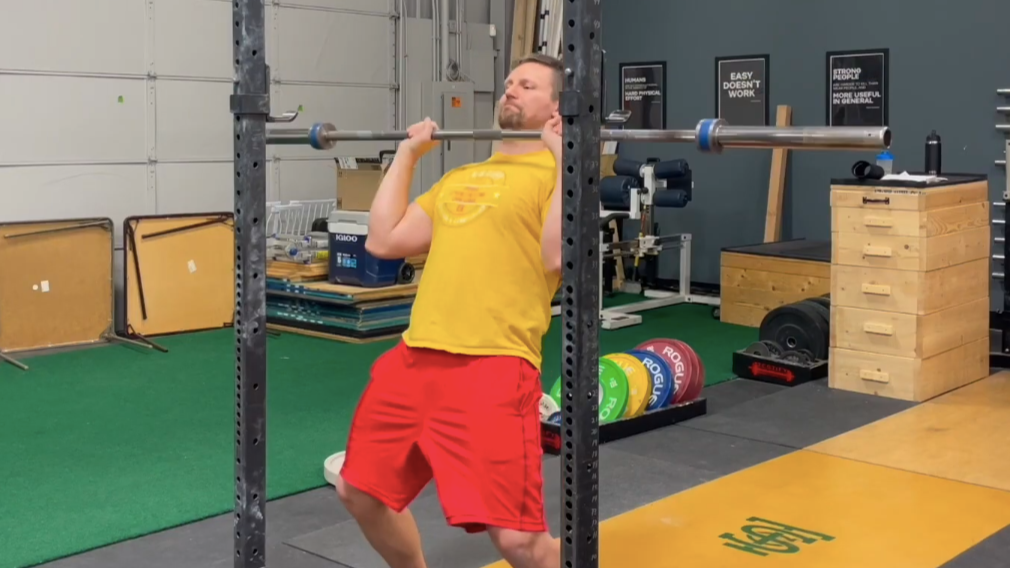
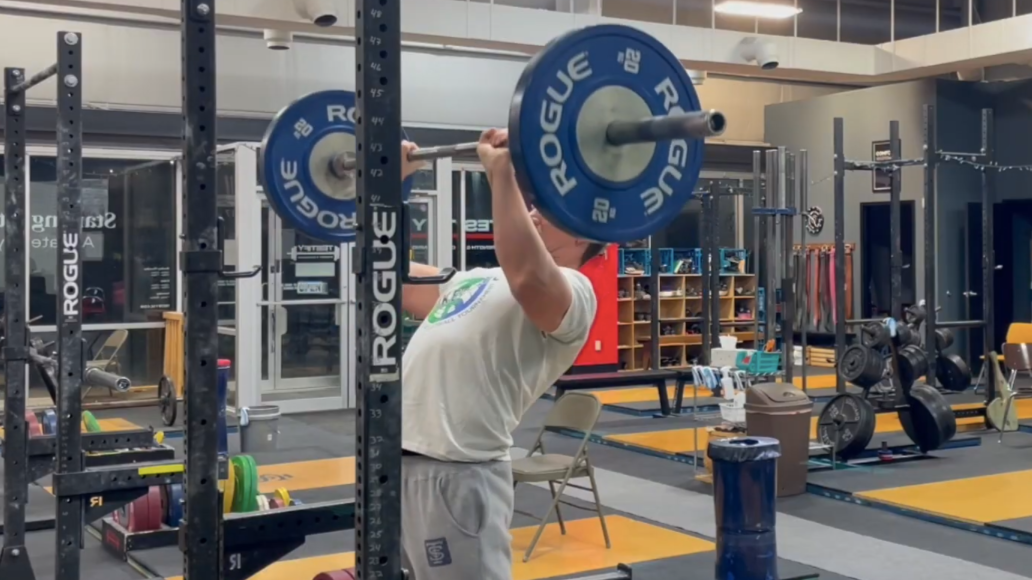
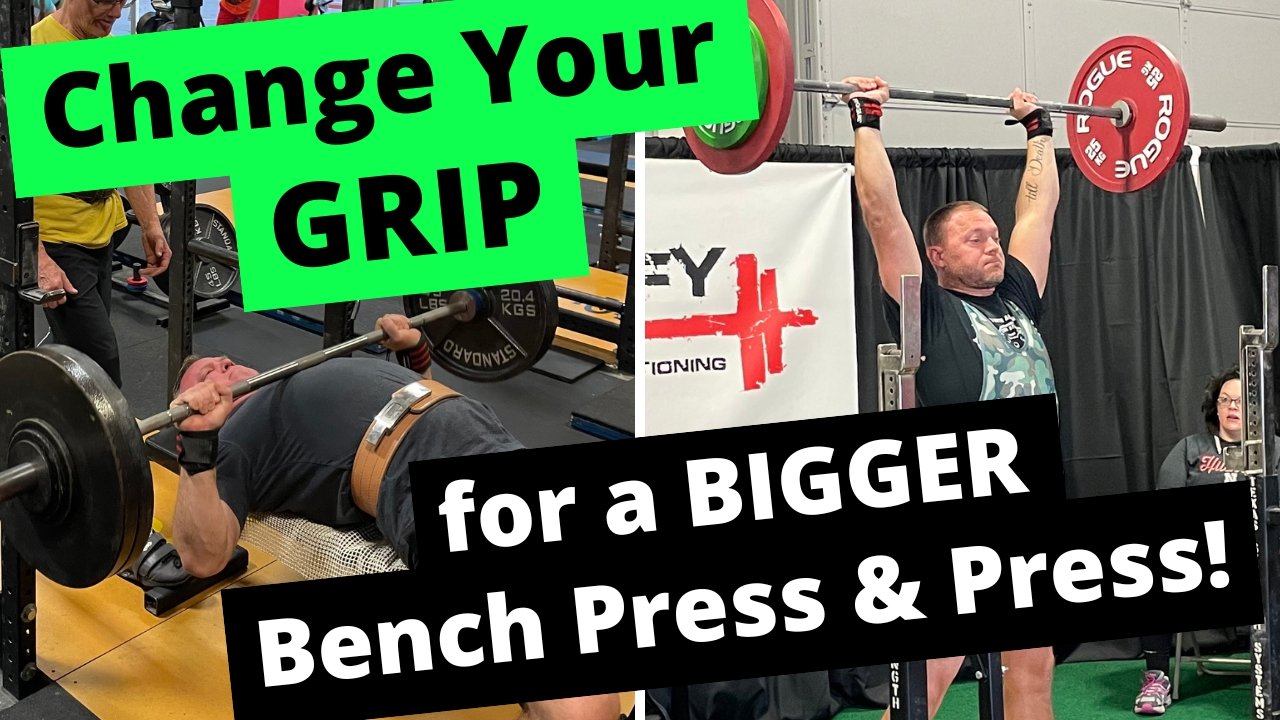
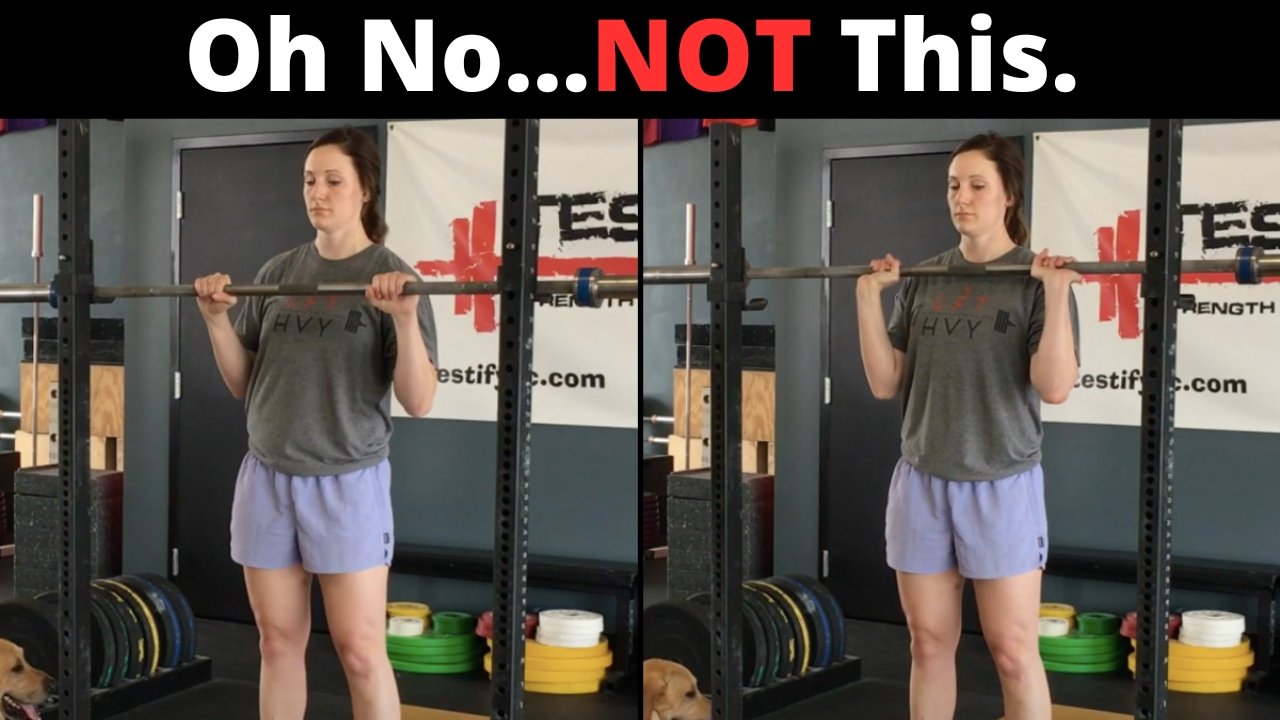
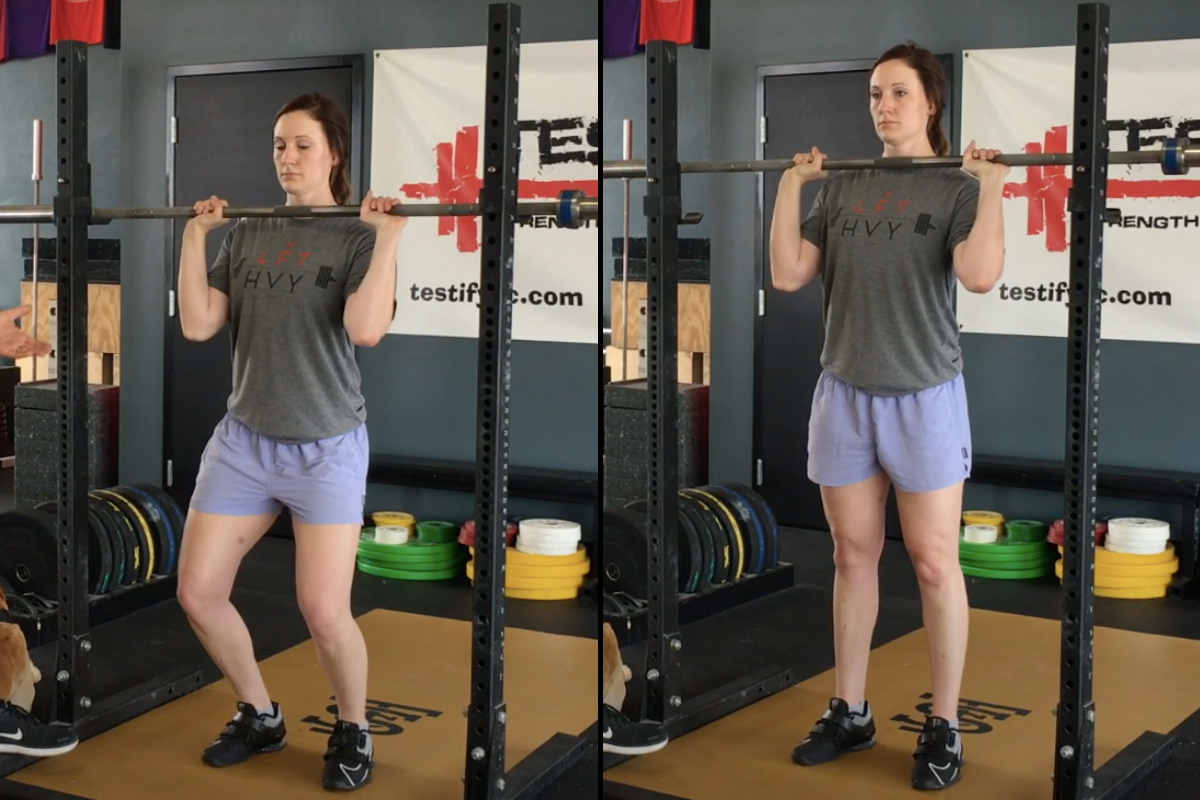
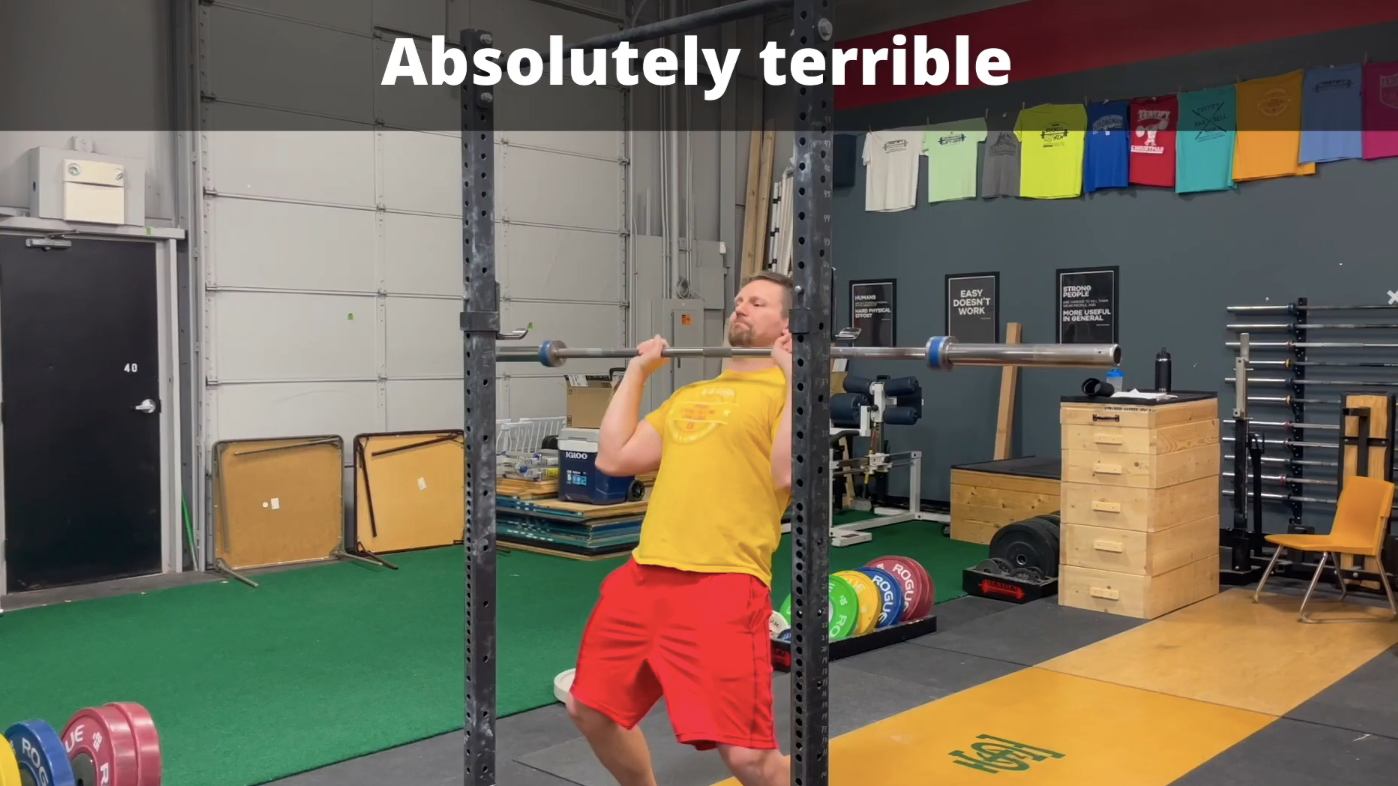
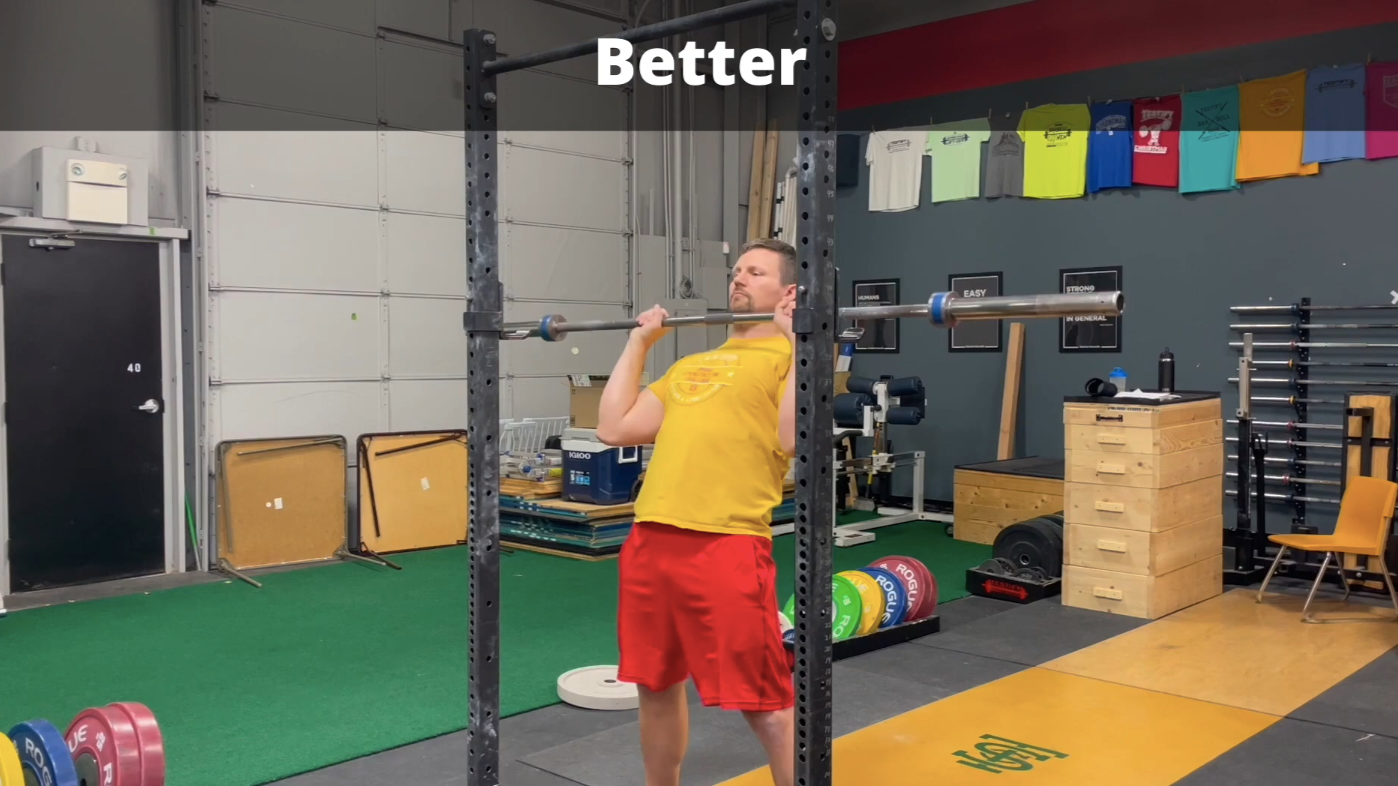
3 Tactics to Triage Your Press FAST | Get a Bigger and Better Press TODAY

Having problems with your press but not sure what to fix or where to start?

It’s important to remember that if you don't have a coach, then – by default – you are your own coach. With this in mind, let’s cover a few major technical points to look for when you watch your press on video. These are not the only things to look for, of course, but they certainly are large “bang-for-your-buck” items.

Get these issues ironed out, and you’re well on your way to a bigger, stronger press.

We did a similar article about triaging squat problems a few weeks back - click here to read the article, or you can watch the video below.

#1 Elbows and Wrists
When you unrack the barbell, are you doing so correctly with your elbows slightly in front of the bar and with relatively straight wrists? Or are you unracking the bar with elbows behind the bar and with wrists hideously bent backward in full extension?

this . . . is awful.

It’s worth noting that your wrists should not be totally straight – there will be a slight amount of extension – but we absolutely want to avoid the rather lazy and weak position of full extension (see photo above).

Your elbows and wrists should be correctly positioned before you stand the bar up. If you find yourself needing to make elbow and wrist adjustments after unracking the bar, simply stop, rack the bar, fix the issue, and then unrack it again.

Remember that you unrack the bar only with your legs – everything else should already be in the correct position.

this . . . is much better.

Also, be sure to lower the bar so that your elbows and wrists are already in the correct position for the next rep. Don’t be lazy and allow your wrists to bend backward and your elbows to drift behind the bar.

Lower the bar with a purpose, and that purpose is to set yourself up correctly and efficiently for the next rep. Lower it to the same setup position you started from – every time.

Want to see these errors and their corrections demonstrated? Watch the short video below.

#2 Knees
Keep your knees straight. Cues such as “flex the quads”, “tight knees”, and “keep the knees back” are all useful toward accomplishing this goal.

If your knees bend, remind yourself that the rep doesn’t count. You’ve done a push press instead.

Nice lift, but not the one you’re training.

Absolutely terrible

#3 Bar Path
Are you keeping the bar close to you or are you allowing it to loop out away from you?

Bar path is important for all barbell lifts, of course, but the press is especially bar path-dependent – a rep that gets even slightly out of the correct groove is significantly harder and often simply becomes a missed rep.

this bar is extremely forward of the correct bar path . . . and it makes for a miserable experience.

Cues such as “keep the bar close”, “aim for the nose”, and “throw it back” can all be helpful if you find yourself consistently allowing the bar to get forward.

As always, we hope this helps you get stronger and live better.

-Phil

PS: Whenever you want even more Testify in your life, here are some free resources:

  • Book a free intro and strategy session with us HERE.

  • Pick up a free copy of Testify’s Squat Guide: 12 Tips to Improve Your Squat Now HERE.

  • Get our free weekly email - containing useful videos, articles, and training tips - HERE.

  • Follow Testify on Instagram HERE.

  • Subscribe to Testify’s YouTube channel HERE.

(Some links may be affiliate links. As an Amazon Associate, Testify earns from qualifying purchases.)


At Testify, we offer small group training, private coaching (in-person or remotely via Zoom), online coaching, and form checks. Interested in getting stronger, looking better, and having more energy?

Use This Grip for a BIGGER Bench Press and Press!

(A Blast from the Past article originally posted on 11/24/23)

Want a bigger bench? A bigger press? Of course you do. Let’s get right to it.

figure 1: Compression grip (bench press configuration)

This article is the first in our short series on the correct grip for each lift - from pushing movements like a bench press or a press to pulling movements like a deadlift or a row, and we’ll also discuss the differences that come into play when you have an Olympic movement like a snatch or clean.

Today’s Topic: Pushing Movements
The grip we are covering today is the type of grip you would take for the bench press (Figure 1), the press, the incline bench press, the close grip bench press, etc. This grip is commonly referred to as a compression grip.

An important concept to remember is that - and this is true for both pushing and pulling movements - gravity alway wants objects to move downward.

This includes the barbell that’s in your hands, so when you’re pushing on the bar, you don’t want to put the bar in a position that permits the bar to accidentally reach a lower position (in your hands) than the position it’s already occupying. In other words, make sure that the bar is in the lowest, stable position you can achieve . . . right from the start.

figure 2: Do not put the bar up here.

What NOT To Do
For example, when you unrack the press, don’t support the barbell up high in the hand (Figure 2). If you do this with a heavy weight, it’s simply going to bend your wrist backward (thus lowering the bar). As a result, your flimsy, little, dainty, baby wrists are in a rather unstable position of extreme extension (Figure 3).

You’ve created an energy leak, and this is not a productive position from which to press or bench heavy weights. What to do?

figure 3: wrists in extreme extension - don’t be like this fool.

Figure 4

The Answer
Before unracking either the press or the bench, get the bar sitting over the base of the palms - not up by the base of your fingers, but at the base of your actual hand (Figure 4).

This position permits the bar to be stacked right over the bones of the forearms, which is excellent for force transfer.

From here, pronate your grip just enough that your thumbs can grip the bar (Figure 5). This positions the thumbs so that they can wrap around the bar in the opposite direction of the rest of your fingers.

Squeeze the bar tightly, and that’s it - this is your grip (Figure 6).

figure 5: pronate the grip slightly until the thumbs are below the bar.

The Result
This grip permits the bar to sit deep in the base of your palm - whether you’re benching or pressing. Your wrists are as straight as they can be, although they won’t be entirely straight - let’s call it a neutral position.

As a side not, wrist wraps can help achieve and maintain this position, but they shouldn’t be a crutch - learn to achieve the correct position without wraps, and then start using wraps as your work weights get heavier.

Figure 6: squeeze the bar tightly.

The wrists certainly are no longer bent back in extreme extension, and they also aren’t so straight that it feels like the bar is pushing down on the webbing of your thumb.

As previously mentioned, the bar is now positioned right over the bones of the forearm (Figure 7), which makes for efficient force transfer between your arms, hands, and the bar, and this makes for a stronger press or bench press.

figure 7: compression grip (press width)

Next up - the tension grip.

As always, we hope these tips help you get stronger and live better.

-Phil

PS: Whenever you want even more Testify in your life, here are some free resources:

  • Follow Testify on Instagram HERE.

  • Subscribe to Testify’s YouTube channel HERE.

  • Book a free intro and strategy session with us HERE.

  • Pick up a free copy of Testify’s Squat Guide: 12 Tips to Improve Your Squat Now HERE.

  • Get our free weekly email - containing useful videos, articles, and training tips - HERE.

(Some links may be affiliate links. As an Amazon Associate, Testify earns from qualifying purchases.)


At Testify, we offer small group training, private coaching (in-person or remotely via Zoom), online coaching, and form checks. Interested in getting stronger, looking better, and having more energy?

How to Unrack the Press: Use Your Legs!

Figure 1: Becky demonstrates how NOT to unrack the press.

(A Blast from the Past article originally posted on 10/08/21)

A common problem with new lifters and the press is the act of unracking the press. They will often pick up the bar using their arms and their shoulders - in other words, they’re using their upper bodies to unrack the press, which is inefficient and difficult at heavy weights. Let’s fix this.

When you unrack the bar by incorrectly using your arms and shoulders, it looks like what Becky is demonstrating in Figure 1. Notice how she reaches out, grabs the bar with her arms, and tries to pull it back into position.

Also, note that she has her wrists in pretty severe extension (i.e., they are bent backwards), which we don’t want, and her elbows are behind the bar, which we don’t want either. In addition, it’s simply difficult to pick up a heavy press in this manner.

If this was actually a heavy weight instead of the empty bar, Becky might not be able to unrack it at all in this manner, and even if she did, she’d be in a weak position from which to start pressing.

Remember: When you unrack a press, you unrack it with your legs. 

Use the following steps:

1. Take your grip. (Figure 2a)

2. Walk right up the bar - your chest may actually touch the bar. (Figure 2b)

Figure 2a (left) and Figure 2b (right)

Figure 2a (left) and Figure 2b (right)

3. Squat down far enough that your elbows are slightly in front of the bar and you’ve got relatively straight wrists. (Figure 3a)

4. Stand the bar up with your legs. (Figure 3b)

Figure 3a (left) and Figure 3b (right)

Figure 3a (left) and Figure 3b (right)

Figure 4

Figure 4

5. Step back and establish your stance. (Figure 4)

Remember - unrack the press with your legs. As always, we hope this helps you get stronger and live better!

-Phil

PS: Whenever you want even more Testify in your life, here are some free resources:

  • Follow Testify on Instagram HERE.

  • Subscribe to Testify’s YouTube channel HERE.

  • Book a free intro and strategy session with us HERE.

  • Pick up a free copy of Testify’s Squat Guide: 12 Tips to Improve Your Squat Now HERE.

  • Get our free weekly email - containing useful videos, articles, and training tips - HERE.

(Some links may be affiliate links. As an Amazon Associate, Testify earns from qualifying purchases.)


At Testify, we offer small group training, private coaching (in-person or remotely via Zoom), online coaching, and form checks. Interested in getting stronger, looking better, and having more energy?

This Mistake Will RUIN All Your Lifts!

Want to improve every one of your lifts with one fix? Make sure you're doing this. Starting Strength Coach Phil Meggers explains.

(A Blast from the Past video originally published on 05/27/23)

Whenever you want even more Testify in your life, here are some free resources:

  • Book a free intro and strategy session with us HERE.

  • Pick up a free copy of Testify’s Squat Guide: 12 Tips to Improve Your Squat Now HERE.

  • Get our free weekly email - containing useful videos, articles, and training tips - HERE.

  • Follow Testify on Instagram HERE.

  • Subscribe to Testify’s YouTube channel HERE.


At Testify, we offer small group training, private coaching (in-person or remotely via Zoom), online coaching, and form checks. Interested in getting stronger, looking better, and having more energy?

This Mistake is DESTROYING Your Press | 5 Simple Tips to Fix It FAST

At every strengthlifting meet, there are always one or two people who get red lights in the press and don’t know why.

It’s the knees.

The dynamic use of the hips in the press gives a nice throw or bounce at the beginning of the movement, and reaching the hips forward also causes your upper body (and thus your head as well) to counterbalance by moving back slightly and clearing a path for the barbell.

Excellent, but in the words of Uncle Ben (of Spiderman fame): “With great power comes great responsibility.”

figure 1: it’s not usually as egregious as this demonstration shows . . . usually. at any rate, this clearly shows the knee flexion you’re trying to avoid.

Reach forward with your hips, but keep your knees straight. If your knees flex (Figure 1) and contribute to the upward movement of the bar, the lift doesn’t count as you’ve now performed a push press and not a press.

Still a solid lift – but not the one you’re trying to do.

If your knees unlock when you press, you’ve got a problem, so here are five cues to help fix your situation.

If you want to see these errors and their solutions in action, check out the short video below.

Cue #1: Flex Your Quads
This is the simple approach and is how we teach the press from the start. We usually cue movements and not muscles, but when we do cue muscles, we do so – as in the case here – to prevent movement. Specifically, you are preventing the bending of your knees.

Before you reach forward with your hips, flex your quads hard. Your quads are responsible for straightening the knees and keeping them straight (Figure 2), so contract them hard and keep them contracted hard throughout the lift.

figure 2: so much better.

Cue #2: Tight Knees
This cue conveys the idea that your knees should remain tight and rigid throughout the lift. Keep your knees immovable.

Cue #3: Lock Your Knees
This cue reminds you to lock your knees (and thus use your quads without thinking about your quads) before your start. Lock them before you start the lift and keep them locked.

Cue #4: Pull Your Kneecaps Up
Look down at your kneecaps and consciously flex your quads. Notice that your kneecaps rise when you do this (Figure 3).

figure 3: Quads relaxed and kneecap down (left) vs quads contracted and kneecap pulled up (right)

Now that you have a picture in your head of what happens when you flex your quads, you cue yourself to pull your kneecaps up before you reach forward with your hips. Pull ‘em up and keep ‘em up.

Cue #5: Keep Your Knees Back
This is a favorite of mine.

As your hips move forward at the start of the press, your knees do too, so it’s an overcue, but your knees should never be as far forward as your hips are. At the most extreme point of reaching your hips, your hips should be farther forward than any other part of your body – including your knees.

Watch this phenomenon in action in the video below.

Cue yourself to keep your knees back when you reach with your hips. It just might be the concept you’ve been missing.

As always, we hope this helps you get stronger and live better.

-Phil

PS: Whenever you want even more Testify in your life, here are some free resources:

  • Book a free intro and strategy session with us HERE.

  • Pick up a free copy of Testify’s Squat Guide: 12 Tips to Improve Your Squat Now HERE.

  • Get our free weekly email - containing useful videos, articles, and training tips - HERE.

  • Follow Testify on Instagram HERE.

  • Subscribe to Testify’s YouTube channel HERE.

(Some links may be affiliate links. As an Amazon Associate, Testify earns from qualifying purchases.)


At Testify, we offer small group training, private coaching (in-person or remotely via Zoom), online coaching, and form checks. Interested in getting stronger, looking better, and having more energy?

What Most Lifters Never Learn About Arms in the Press

Does your press feels stuck or inconsistent? Starting Strength Coach Phil Meggers covers 8 common errors lifters commit involving their arms as well as how to fix them.

Whenever you want even more Testify in your life, here are some free resources:

  • Book a free intro and strategy session with us HERE.

  • Pick up a free copy of Testify’s Squat Guide: 12 Tips to Improve Your Squat Now HERE.

  • Get our free weekly email - containing useful videos, articles, and training tips - HERE.

  • Follow Testify on Instagram HERE.

  • Subscribe to Testify’s YouTube channel HERE.


At Testify, we offer small group training, private coaching (in-person or remotely via Zoom), online coaching, and form checks. Interested in getting stronger, looking better, and having more energy?