I Forgot My Belt! (Simple Lifting Trick)

(A Blast from the Past article originally posted on 01/08/20)

Do you ever forget to put your belt on for your heavier sets? Perhaps you forget to wear your wrist wraps every once in a while?

Problem solved

These types of situations tend to occur more often when you’re a newer lifter, but even an experienced lifter can forget a belt or wrist wraps every now and then.

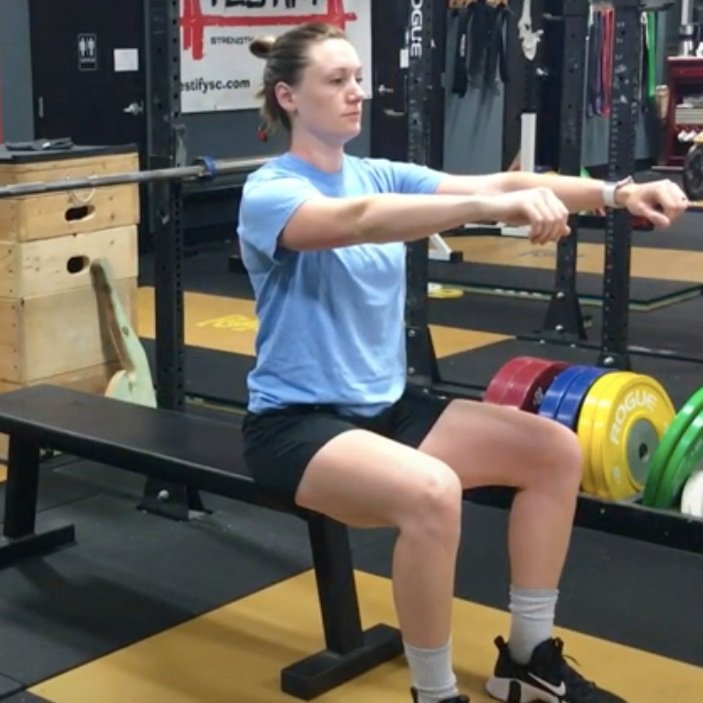
If you find yourself in one of the above situations from time to time, try this: hang your belt and wrist wraps on your barbell between sets.

By doing so, you’ll be forced to grab them before starting your next set, and the problem is solved. The next time you lift, give it a try. Hope this helps!

(Some links may be affiliate links. As an Amazon Associate, Testify earns from qualifying purchases.)

If you found this helpful, you’ll love our weekly email. It’s got useful videos, articles, and training tips just like the one in this article. Sign up below, and of course, if you don’t love it, you can unsubscribe at any time.


At Testify, we offer small group training, private coaching (in-person or remotely via Zoom), online coaching, and form checks. Would you like to get quality coaching from a Starting Strength Coach?

Click here to start today

Week 2022.06.13

This Week’s Conditioning

Option 1
Sled
Outdoors:
10 rounds of:
Push sled 100 ft
Pull sled 100 ft (hand over hand)

Indoors:
20 rounds of:
Push sled 50 ft
Pull sled 50 ft (hand over hand)

Compare to 2022.04.11.

Option 2
Bike/Row for 9 rounds:
1 min on
1 min off

Record distance for each round.

Compare to 2022.03.21.

Option 3
Outdoors:
10 rounds:
25 yd yoke carry
Rest 1 minute

Indoors:
10 rounds:
30 yd yoke carry (15 yd down-back)
Rest 1 minute

Compare to 2022.02.21.

Option 4
10 x 50 ft farmer carry
Each carry is 25 ft down and 25 ft back and is for time. Rest 1 minute between carries.

Women: 97# per handle (80# of plates)
Men: 137# per handle (120# of plates)
(Note: Each handle weighs 17#.)

Compare to 2022.02.21.

The Bench Press: You're Forgetting to Do This - Part 4

In this article - our last in this series - we cover an aspect that is forgotten very frequently by new lifters (ahem . . . sometimes even experienced lifters) . . .

Retract your shoulders blades.

Which picture is correct? Hint: It’s not the one on the left.

Imagine you’re sitting upright and have a pen oriented vertically between your shoulder blades. Now, pull your shoulder blades back so that you’re pinching the pen in place (see photos below).

This is what you want to do when benching as well - only lying down. Retract the shoulder blades before you unrack the barbell, re-retract them after the unrack as well in case you lose some shoulder positioning during the process of unracking, and then keep them retracted throughout the set. Additionally, if needed, re-retract them between reps if they get out of position.

Retracting the shoulder blades creates more stability and puts us in a stronger, safer, and more efficient position from which to bench. Not having your shoulders retracted is the benching equivalent of squatting while standing on your toes - just plain dumb.

Retracting your shoulders also has the added bonus of shaving off just a bit of distance that the bar has to travel (just like squatting while flat-footed means you don’t squat as far as you would if you stupidly squatted while balanced up on your toes).

As always, we hope this helps you get stronger and live better.

(Some links may be affiliate links. As an Amazon Associate, Testify earns from qualifying purchases.)

If you found this helpful, you’ll love our weekly email. It’s got useful videos, articles, and training tips just like the one in this article. Sign up below, and of course, if you don’t love it, you can unsubscribe at any time.


At Testify, we offer small group training, private coaching (in-person or remotely via Zoom), online coaching, and form checks. Would you like to get quality coaching from a Starting Strength Coach?

Click here to start today

Week 2022.06.06

This Week’s Conditioning

Option 1
Sled Pyramid – 4, 5, or 6 tiers
Go up and down a 4, 5, or 6 tier “sled pyramid” – rest as needed. The distance for each round is 80 m indoors (a down-back on the 40m course) or 200 ft outdoors (2 down-backs on the 50 ft course). Rest as needed.

For example, Bob does the following (4 tiers):
Round 1: Empty sled
Round 2: 25#
Round 3: 50#
Round 4: 75#
Round 5: 50#
Round 6: 25#
Round 7: Empty sled

Compare to 2022.04.04.

Option 2
Bike/row:
3 rounds of:
8 x 20 sec on/40 sec off
Rest 3 min between rounds
Score = lowest distance

Compare to 2022.03.14.

Option 3
Outdoors:
5-10 rounds:
10 sledgehammer strikes (5R, 5L)
50 yd farmer carry (25 yd down-back)
Rest 1 minute

Indoors:
5-10 rounds:
10 sledgehammer strikes (5R, 5L)
100 ft farmer carry (50 ft down-back)
Rest 1 minute

Compare to 2022.02.14.

Option 4
10 x 50 ft yoke carry
Each carry is 25 feet down and 25 feet back and is for time. Rest 1 minute between carries.

Compare to 2022.02.14.

The Squat: You "Kneed" to Do This

You’re ready to squat - your lifting shoes are on, the barbell is situated on your rear delts in that snug, low bar position, and you’ve got your focal point nailed down. What’s next?

Good heavens, this is painful to look at.

Reach back with your hips, point your chest down, and Shove. Your. Knees. Out.

When we say “shove your knees out,” we mean that your knees should go sideways. Of course, your knees will also go forward (after all, that’s what knees do when they bend in the squat), but we’re also going to shove them sideways.

This . . . is much better.

In other words, when you’ve taken your shoulder width stance with toes pointed roughly 30 degrees out, you’re simply going to point your knees (and thus your femurs) in the same direction as your toes. Simply put, your toes will act as arrows for your knees so that the knees go forward and out.

When we do this - when we shove our knees out and keep them out as we squat down and back up again - we force our abductors and external rotators to perform the task of keeping our knees out. As a result, we get to train that muscle mass - and this also allows our adductors (i.e., groin muscles) to contribute to coming back up again, so we get to train that muscle mass too.

Training all of this muscle mass helps us lift more weight, so we can get . . . you know . . . stronger. Getting our knees out also has the added benefit of making it easier to achieve depth in the squat.

Lots of muscle mass, a long range of motion, and lots of weight lifted . . . these sound like three very nice criteria for a lift designed to help us get stronger.

As always, we hope this helps you get stronger and live better.

(Some links may be affiliate links. As an Amazon Associate, Testify earns from qualifying purchases.)

If you found this helpful, you’ll love our weekly email. It’s got useful videos, articles, and training tips just like the one in this article. Sign up below, and of course, if you don’t love it, you can unsubscribe at any time.


At Testify, we offer small group training, private coaching (in-person or remotely via Zoom), online coaching, and form checks. Would you like to get quality coaching from a Starting Strength Coach?

click here to start today

Week 2022.05.30

Reminder: In observance of Memorial Day (Monday, 05/30/22), we will be open for training during our usual morning hours (5:00 a.m. - 9:30 a.m.) that day, but we will be closed that afternoon and evening.

This Week’s Conditioning

Option 1
”Prowler Base+1”
1. Load up a manageable weight.
2. Sprint 40m at 85% intensity.
3. Rest 30 sec.
4. Repeat 5-15 times.

Courtesy of “Death by Prowler” (on Starting Strength).

Compare to 2022.03.28.

Option 2
Bike/row:
12 min TT
Score = distance

Compare to 2022.03.07.

Option 3
5-10 rounds of:
30 sec ME tire flips
30 sec rest

Compare to 2022.02.07.

Option 4
For time:
500m row
5 x 80m sled push (200 ft if indoors)
500m row

Rest 1 minute after the first row and after each sled push.

Compare to 2022.02.07.