Lifting Belts | Width, When, Where, and What!

Phil covers the 4 Ws of lifting belts: width of belts, when to use a belt, where to wear your belt, and what to do once the belt is on.

(This is a Blast from the Past video originally published on 01/22/22.)


At Testify, we offer small group training, private coaching (in-person or remotely via Zoom), online coaching, and form checks. Click the button below to get quality coaching from a Starting Strength Coach and start getting stronger TODAY.

The Best Way to Put On a Lifting Belt! (and a secret weapon!)

Phil explains and demonstrates the best way to put on your lifting belt and also talks about what to do at powerlifting and strengthlifting competitions when this method might not be possible.

(This is a Blast from the Past video originally published on 01/15/22.)


At Testify, we offer small group training, private coaching (in-person or remotely via Zoom), online coaching, and form checks. Click the button below to get quality coaching from a Starting Strength Coach and start getting stronger TODAY.

Everything You Need to Know About Lifting Belts . . . QUICK!

Today’s topic is a quick dive into lifting belts - specifically, the four Ws of belts: width, when, where, and what. We covered how to efficiently and quickly put on your belt in another article about a month back, so feel free to click here to read that article or watch the associated videos.

Width
If you can get your back set in rigid and flat extension on the deadlift using a 4” belt (i.e., the belt is 4” wide), then go ahead and get a 4” belt. If you can’t, then you probably need to go with a 3” belt. It’s possible that you need a 2.5” belt, but 3” and 4” are the most common widths.

When
When should you put your belt on? A good rule of thumb is to put your belt on for your last warm-up set and then wear it for all of your work sets as well. Time and experience will help you decide if you want to eventually take a different approach, but this is a good guide to start with. I recommend taking your belt off (or at least loosening it) between sets.

Where
Where should you place your belt? You can start by centering it on your belly button as a rough guideline, but the most important landmarks are your hips and your ribs. The belt should sit between your hips and your ribs, and it’s the space between these two regions that will largely determine your choice of a 3” or a 4” belt. It’s worth noting that you especially do not want your belt running into your ribs. It makes for a memorable - and uncomfortable - experience.

What
What do you do once your belt is on? Take a big breath, hold that breath with tightly contracted abs (i.e., Valsalva maneuver), and then perform the lift (watch the video on breathing and bracing). Release your breath only after the rep is completed - remember that if the bar is moving, you’re not breathing.

Don’t complicate the breathing, and don’t try to push your belly out against the belt. Simply take a breath, hold it, tighten your abs as if you’re about to take a punch or as if you’re constipated, and then continue holding that breath throughout the entire rep. You can do this with either a closed mouth or an open mouth - you shouldn’t be holding your breath against your lips with puffed out cheeks. Instead, you hold your breath against a closed glottis, which is located in your throat. Say the word “hick” out loud and hold the “ck” sound at the end - that’s how you do it.
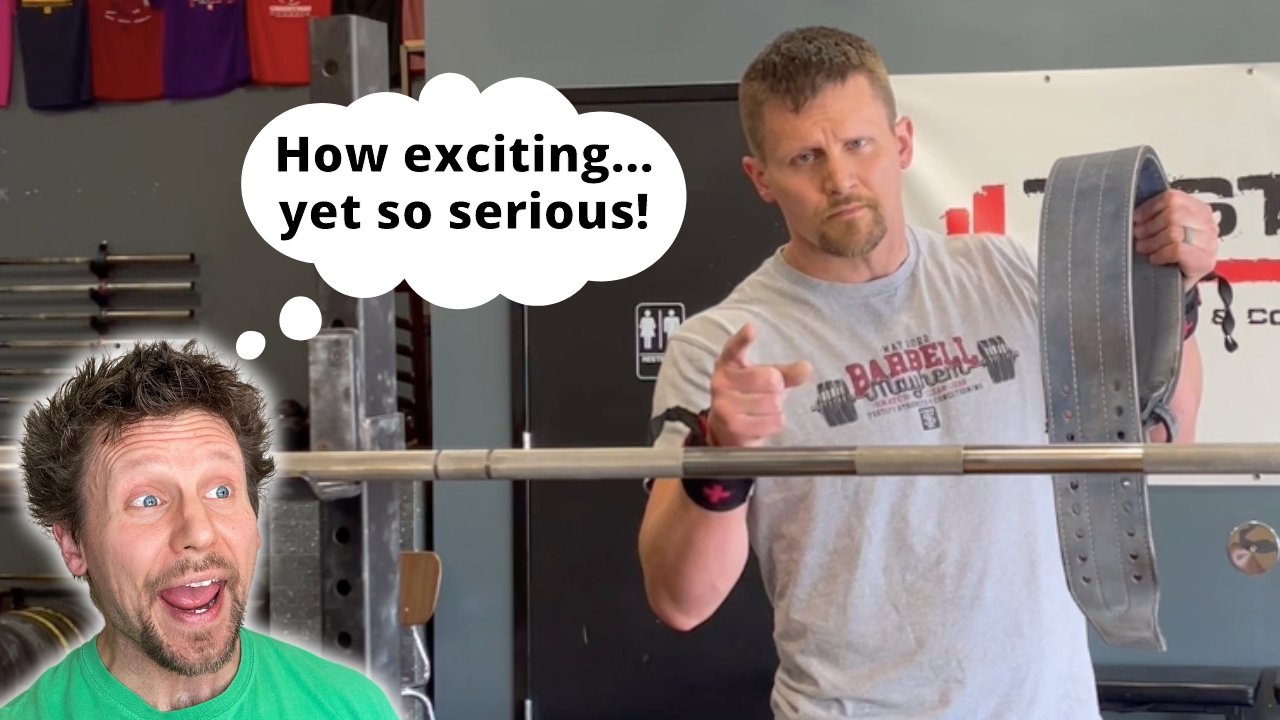
Need to Buy a Belt? Watch This First.
If you’re getting ready to buy a lifting belt, I’d recommend watching the included video here to get a good sense of what to look for when purchasing one. You’ll also find some links below to a few belts we recommend to our members.

Belts
My belt is from Best Belts, and I’d love to recommend them to you, but as of July 2023, they're backlogged and aren't taking orders, so with that in mind, here are the belt options we typically recommend:

As always, we hope this helps you get stronger and live better.

(Some links may be affiliate links. As an Amazon Associate, Testify earns from qualifying purchases.)

If you found this helpful, you’ll love our weekly email. It’s got useful videos, articles, and training tips just like the one in this article. Sign up below, and of course, if you don’t love it, you can unsubscribe at any time.


At Testify, we offer small group training, private coaching (in-person or remotely via Zoom), online coaching, and form checks. Would you like to get quality coaching from a Starting Strength Coach?

The Best Way to Put On a Lifting Belt! (and a secret weapon)

A lifting belt is an extremely useful tool for your strength training, and within a month or two of starting to train, you should be using one regularly. Putting on a lifting belt, however, can be a bit tricky, so let’s sort this out.

How to Do It
There is one way - that’s right, just one - to put on a belt correctly, and it involves the upright of your squat rack. The photos here show a double-prong belt in use, but the method works just as well for single prong belts (in fact, it’s slightly easier). The steps are below, and to learn it even quicker and better, watch the included video.

  1. Put the nose of your belt through the buckle and wrap the nose of the belt around the upright.

  2. Lean away from the upright. Be sure to lean away so that your hips move away from the rack as well (Figure 1); don’t lean away like you’re trying to avoid a punch (Figure 2).

  3. Twist your body away from the rack. For example, if the nose of the belt came around the right side of your body, twist to your left (Figure 3). This will tighten up the belt.

  4. Put the prong(s) through the appropriate hole(s).

Taking off the belt is much the same as putting it on - wrap the nose around the rack, lean away, twist to loosen, and then remove the prong(s).

Squat Stands vs Squat Racks
If you have a squat stand (free-standing, two uprights) instead of a squat rack (anchored to the floor, four uprights), it may tip toward you when you lean away. This is bad. However, it’s an easy problem to solve. Simply place your foot down on the far side of the floor support, and you’ll be able to keep the squat stand anchored in place.

Secret Weapon
I told you there’s only one way to put on a belt, and this is true . . . mostly. If you’re at a meet, you might not have a squat rack handy when you’re about to step on the competition platform. Oh, you’ll have plenty of racks in the warm-up room, but there will quite possibly be none near the competition platform. Here’s what you do (and again, watch the video above to see this in action):

  1. Put the nose of your belt through the buckle.

  2. Place the sharp end of the screwdriver through one of the holes of the belt (Figure 4).

  3. Grab that end of the screwdriver (don’t impale yourself), and pull back, treating the screwdriver as a lever (Figure 5). This will get the belt as tight as you like.

How Tight Should Your Belt Be?
When you’re new to wearing a lifting belt, it should be uncomfortably tight. If it’s comfortable to wear and easy to wiggle around, it’s merely a fashion accessory. Don’t let your belt be a fashion accessory. With practice, what was uncomfortably tight at the beginning will simply feel correct.

Need to Buy a Belt? Watch This First.
If you’re getting ready to buy a lifting belt, I’d recommend watching the included video here to get a good sense of what to look for when purchasing one. You’ll also find some links below to a few belts we recommend to our members.

Belts
My belt is from Best Belts, and I’d love to recommend them to you, but as of May 2023, they're backlogged and aren't taking orders, so with that in mind, here are the belt options we typically recommend:

(Some links may be affiliate links. As an Amazon Associate, Testify earns from qualifying purchases.)

As always, we hope this helps you get stronger and live better.

If you found this helpful, you’ll love our weekly email. It’s got useful videos, articles, and training tips just like the one in this article. Sign up below, and of course, if you don’t love it, you can unsubscribe at any time.


At Testify, we offer small group training, private coaching (in-person or remotely via Zoom), online coaching, and form checks. Would you like to get quality coaching from a Starting Strength Coach?

I Forgot My Belt! (Simple Lifting Trick)

(If you like, you can scroll down to the end of this article and watch a video or two on lifting belts. This article is a Blast from the Past article originally posted on 01/08/20.

Do you ever forget to put your belt on for your heavier sets? Perhaps you forget to wear your wrist wraps every once in a while? These types of situations tend to occur more often when you’re a newer lifter, but even an experienced lifter can forget a belt or wrist wraps every now and then.

If you find yourself in one of the above situations from time to time, try this: hang your belt and wrist wraps on your barbell between sets. By doing so, you’ll be forced to grab them before starting your next set, and the problem is solved. The next time you lift, give it a try. Hope this helps!


At Testify, we offer small group training, private coaching (in-person or remotely via Zoom), online coaching, and form checks. Would you like to get quality coaching from a Starting Strength Coach?