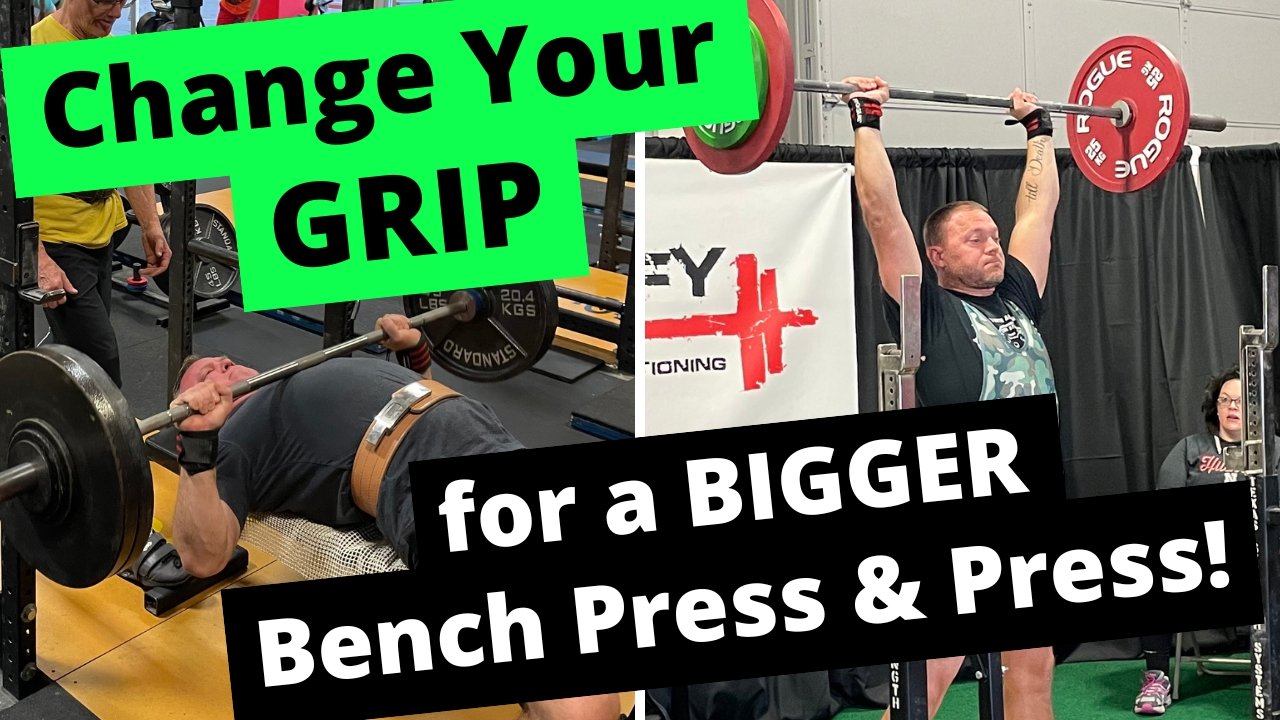
The BEST Conditioning Tool NOBODY Uses (Starting Strength and Cardio?)

What’s the best conditioning tool that nobody uses?

It just might be the rower.

You know what I mean - you go to your local globo gym, and there’s 15 treadmills, 20 ellipticals, 5 steppers, there’s a few bikes, and people are using all of them.

Then, over in the corner, you see one rower. And it’s lonely. It’s always lonely.

This is terribly unfortunate because the rower is a powerful and effective conditioning tool, so let’s quickly discuss why this is so, how to schedule it within the context of your strength training, and let’s cover some sample workouts as well.

Why is the rower such an effective conditioning tool?
The rower (AKA ergometer or simply erg) is effective because it does not have a loaded eccentric phase.

No worries if you’re not sure what that means - no one else is, either, so let’s quickly cover it.

Take an air squat (i.e., a squat with only your bodyweight for resistance), for example. If you do 100-200 reps of those, there’s a solid chance you’re going to have some significant soreness the next day or so, and this is because the eccentric phase (the descent of the squat) is loaded, i.e., gravity pulls on your body and thus pulls you downward. You have to resist the load of your own bodyweight - otherwise, you’d collapse down onto the floor.

It turns out that it’s this loaded aspect of the eccentric phase that causes the soreness. 

In rowing, the equivalent of the squat’s descent is called the recovery, and it’s when you pull yourself back to the starting position, or the “catch” position. Here’s the key part - unlike the squat, wherein gravity pulls you down, in rowing, you have to pull yourself back to this position. Thus the eccentric phase is not loaded, which means 20 minutes of hard rowing doesn’t wreck you the same way that 20 minutes of air squats does.

As a side note, both biking and pushing a prowler or sled are good options as well as they, too, lack a loaded eccentric phase.

When to schedule your rowing
Let’s make a few assumptions here. Not all of these will apply to everyone, of course, but they will help us understand the key concepts.

  1. You strength train on Monday, Wednesday, and Friday.

  2. You plan to condition twice a week.

  3. You plan to row for both of those conditioning sessions (you can certainly have more variety here, but this is a rowing article, after all)

For starters, put one of your two conditioning days on Saturday. It’s separate from your strength training days, and you still get to rest on Sunday before hitting the strength training again on Monday.

You have a couple options for your other conditioning day:

  1. Row immediately after you perform your strength training on Monday or Wednesday. The upside is that you’re already at the gym, and the downside is that it makes for a longer training session.

  2. If you’ve reached the point where you have a light squat day on Wednesday, then you could row on Tuesday. The upside here is that it doesn’t add training time to any of your strength training days, and the downside is that you have to drive to the gym an additional day (unless you have a home gym).

Both options are reasonable, so you simply need to decide on the tradeoffs you’re willing to accept. The two principles in play are that you don’t want your rowing to derail your strength training, and you’d also like the schedule to be as manageable as possible from a time and convenience perspective (consistency is key, and most people will start skipping sessions if the schedule is too inconvenient).

Now, let’s dive into a few sample workouts, and if you’d like more workouts, you can head over to this article.

Workout #1
3 rounds of:
8 x 20 sec on/40 sec off
Rest 3 min between each round.

Score = least distance covered in any 20 second interval

For this workout, row for 20 seconds, then rest 40 seconds (thus the rowing and resting periods add up to 1 minute), and repeat this sequence for 8 minutes. These 8 minutes comprise round 1.

Rest 3 minutes, perform round 2, rest another 3 minutes, perform round 3, and you’re done. You are trying to cover as much distance in each 20 second interval, but your score is your lowest distance, so you are also aiming for consistency.

Workout #2
4 rounds of:
800m
Rest 3 minutes between each round.

Score = slowest time

For this workout, row 800 meters, rest 3 minutes, and repeat this for 4 rounds. You are gunning for fast times, but your score is your slowest time, so again, consistency is rewarded.

Workout #3
8 rounds of:
30 sec on/2:00 off

Score = least distance covered in any 30 second interval

For this workout, row for 30 seconds, then rest 2 minutes, and repeat this for 8 rounds.

If you are just starting out with your conditioning, be conservative at first - you don’t want your enthusiasm to derail your strength training.

As always, we hope this helps you get stronger - or in this case better conditioned - and live better.

-Phil

PS: Whenever you want even more Testify in your life, here are some free resources:

  • Book a free intro and strategy session with us HERE.

  • Pick up a free copy of Testify’s Squat Guide: 12 Tips to Improve Your Squat Now HERE.

  • Get our free weekly email - containing useful videos, articles, and training tips - HERE.

  • Follow Testify on Instagram HERE.

  • Subscribe to Testify’s YouTube channel HERE.

(Some links may be affiliate links. As an Amazon Associate, Testify earns from qualifying purchases.)


At Testify, we offer small group training, private coaching (in-person or remotely via Zoom), online coaching, and form checks. Interested in getting stronger, looking better, and having more energy?

The Bench Press Truth No One Told You

Here’s a simple tip regarding your bench press technique that - especially if you’re self-taught - you might not be aware of . . .

Retract your shoulders in the setup.

When you bench, you want your shoulders pulled back. Specifically, you want to pull them back and down (i.e., toward your rear end), but if you’re driving up the bench with your legs and properly supporting your arch by doing so, you’ll be taking care of the down aspect.

To see what this looks like in action, watch any of the short videos included in this article.

This retraction allows your shoulders to create a broader base of support on the bench, reduces the risk of shoulder impingement, and as an added bonus, shaves off the extra, unstable range of motion that is accidentally created with inefficient shoulder positioning.

Mike correctly has his shoulders protracted.

Thus, by retracting your shoulders, you create a stronger, safer, and more efficient position from which to bench.

sadly, mike does not have his shoulders retracted here and thus has a weaker and less stable position from which to bench press.

Pull your shoulders back before you unrack the bar and then keep them pulled back throughout the entire set. If you lose some retraction either during the unracking process or during a rep, make sure to re-retract them before your next rep.

Your shoulders - and your bench press PR - will thank you.

As always, we hope this helps you get stronger and live better.

-Phil

PS: Whenever you want even more Testify in your life, here are some free resources:

  • Book a free intro and strategy session with us HERE.

  • Pick up a free copy of Testify’s Squat Guide: 12 Tips to Improve Your Squat Now HERE.

  • Get our free weekly email - containing useful videos, articles, and training tips - HERE.

  • Follow Testify on Instagram HERE.

  • Subscribe to Testify’s YouTube channel HERE.

(Some links may be affiliate links. As an Amazon Associate, Testify earns from qualifying purchases.)


At Testify, we offer small group training, private coaching (in-person or remotely via Zoom), online coaching, and form checks. Interested in getting stronger, looking better, and having more energy?

12 Outdated Lifting Trends to Ditch in 2025 (and What to Do Instead)

Still doing these outdated lifting trends? It's time to level up. Starting Strength Coach Phil Meggers breaks down 12 common lifting habits, techniques, and myths that need to be left behind - and what you should be doing instead to actually get stronger. No gimmicks. No fluff. Just real, effective strength training advice.

Whenever you want even more Testify in your life, here are some free resources:

  • Book a free intro and strategy session with us HERE.

  • Pick up a free copy of Testify’s Squat Guide: 12 Tips to Improve Your Squat Now HERE.

  • Get our free weekly email - containing useful videos, articles, and training tips - HERE.

  • Follow Testify on Instagram HERE.

  • Subscribe to Testify’s YouTube channel HERE.


At Testify, we offer small group training, private coaching (in-person or remotely via Zoom), online coaching, and form checks. Interested in getting stronger, looking better, and having more energy?

BENCH PRESS REGRETS: Top 7 regrets from veteran lifters

Think your bench press is solid? Think again. In this video, Starting Strength Coach Phil Meggers breaks down 7 common bench press mistakes and how to avoid them. Learn from the mistakes of others — and make faster, safer progress.

Whenever you want even more Testify in your life, here are some free resources:

  • Book a free intro and strategy session with us HERE.

  • Pick up a free copy of Testify’s Squat Guide: 12 Tips to Improve Your Squat Now HERE.

  • Get our free weekly email - containing useful videos, articles, and training tips - HERE.

  • Follow Testify on Instagram HERE.

  • Subscribe to Testify’s YouTube channel HERE.


At Testify, we offer small group training, private coaching (in-person or remotely via Zoom), online coaching, and form checks. Interested in getting stronger, looking better, and having more energy?

The 2 Most Overlooked Bench Press Tips

You’ve had this experience . . .

You’re benching. You’re at Gold’s Genesis 24 Hour Anytime Planet Crunch Fitness, and you’re set up for your work set. You’re driving with your legs, your arch is set, and your shoulders are pinned back.

The last rep is a grind, but you know you’ve got it. The barbell is moving upward slowly . . . and then it happens.

“i’m all pinkies, bro!” this spotter is a fool and just stole a rep from his lifting buddy.

Your spotter steps in and begins helping you with the rep. You didn’t give your spotter permission to do this, of course. You know that if the spotter touches the bar on any rep, that rep doesn’t count, so to say that you’re annoyed at this point is putting it mildly.

Make no mistake - your spotter messed up . . . but you could have prevented this.

Let’s cover two subtle, yet important, bench press tips to help make the bench press a more productive and less frustrating lift for everyone involved.

Tip #1: Get an educated spotter
Spotters are important in the bench press. If you’re not benching with safeties, you need a spotter, and even with safeties, spotters can help tremendously with the unracking process of a heavy bench press.

With that said, your spotter should know that he is to only touch the bar if it’s moving in any direction other than up. Moving slowly is not a reason to provide assistance.

If you can’t find an educated and experienced spotter, then it’s your job to find a person and explain it to him. If your spotter messes up, you probably didn’t explain it well enough.

It’s your work set, so make sure it counts.

Tip #2: Don’t destroy your lifter’s unrack
As the spotter, when assisting with the unracking process, be sure to provide just enough assistance to help guide the bar into position over the lifter’s shoulders (and if you’re the lifter, be sure your spotter knows to do this).

The spotter helps lift the bar off the hooks, but the lifter does most of the work in this process. The spotter should not provide a lot of lift as the bar comes smoothly up and off the hooks - perhaps somewhere in the neighborhood of 10-30 lb as long as we’re throwing out random numbers.

The specific amount of assistance will vary by load (and as mentioned, those were random numbers) - the major point here is that you shouldn’t provide so much assistance that you accidentally pull your lifter out of position on the bench. This can happen in a few different scenarios, but it often happens when a larger, stronger lifter is spotting a smaller lifter.

Don’t be that guy.

Assist. Don’t yank.

As always, we hope this helps you get stronger and live better.

-Phil

PS: Whenever you want even more Testify in your life, here are some free resources:

  • Book a free intro and strategy session with us HERE.

  • Pick up a free copy of Testify’s Squat Guide: 12 Tips to Improve Your Squat Now HERE.

  • Get our free weekly email - containing useful videos, articles, and training tips - HERE.

  • Follow Testify on Instagram HERE.

  • Subscribe to Testify’s YouTube channel HERE.

(Some links may be affiliate links. As an Amazon Associate, Testify earns from qualifying purchases.)


At Testify, we offer small group training, private coaching (in-person or remotely via Zoom), online coaching, and form checks. Interested in getting stronger, looking better, and having more energy?

Bench Press & the Biggest Mistake You’re Making

You’re missing out on something big when it comes to your bench press, so let’s identify it and fix it real quick.

The Error
You’re set up to bench - you’ve got your stance at roughly squat width, you're driving with your legs for stability and to support your arch, you’ve got the barbell positioned in the base of the palms over the bones of your forearms, and you’ve established a stationary focal point on the ceiling.

What could you possibly be missing?

Shoulder retraction.

Why It’s Important
The bar is balanced over your shoulders, so you want as strong, stable, and safe of a platform as possible from which to bench. With this in mind, you want your shoulders pulled back into retraction. Specifically, you want them pulled back and down (i.e., toward your butt), but if you’re driving hard with your legs to support your arch while simultaneously lifting your chest, you’re already taking care of the down aspect.

You pull them back to create a wider base of support on the bench, i.e., so it’s not just the middle of your back in contact with the bench. You also pull them back to help reduce any chance of impingement when benching.

Note the height of the barbell (compared to the exit sign in the background) when mike sets up poorly (left) vs when he correctly retracts his shoulders (right).

Additionally, you pull them back to slightly reduce the range of motion on the bench press. This isn’t cheating, by the way; instead, it’s reinforcing a stable and correct range of motion as compared to the unstable and incorrect range of motion created by protracted shoulders.

Locking out the bench press on protracted shoulders is like locking out your squat standing up on your toes. Sure, it’s a longer range of motion, but it’s not stable, and it’s also idiotic. Benching with retracted shoulders is analogous to squatting with your feet firmly anchored to the floor.

What to Do
When setting up to bench, cue yourself to pull your shoulders back. Try to keep them pulled back when unracking the bar, but if they slip out of position slightly, make sure to re-retract them before starting your first rep.

When locking out a rep at the top, keep your shoulders pulled back. If you notice the outsides of your shoulders “jumping” up off the bench slightly when you finish a rep (watch yourself on video), cue yourself to “finish deliberately” or “lock out with control” as opposed to locking out aggressively.

You can also cue yourself to “lock it out with short arms” or try to lock out the bench press with the barbell as close to your chest as possible. This drives home the idea that, although your elbows are obviously straight at lockout, your shoulders should be pulled back so that the bar isn’t any further away from your chest than necessary.

Pull your shoulders back, keep them back, and as always, we hope this helps you get stronger and live better.

-Phil

PS: Whenever you want even more Testify in your life, here are some free resources:

  • Book a free intro and strategy session with us HERE.

  • Pick up a free copy of Testify’s Squat Guide: 12 Tips to Improve Your Squat Now HERE.

  • Get our free weekly email - containing useful videos, articles, and training tips - HERE.

  • Follow Testify on Instagram HERE.

  • Subscribe to Testify’s YouTube channel HERE.

(Some links may be affiliate links. As an Amazon Associate, Testify earns from qualifying purchases.)


At Testify, we offer small group training, private coaching (in-person or remotely via Zoom), online coaching, and form checks. Interested in getting stronger, looking better, and having more energy?