This Mistake Will Ruin All Your Lifts...

The topic of today’s discussion is the mistake of not having a focal point, which can show up in two different ways.

Balance plays a pivotal role in your ability to move a challenging load. If you’ve squatted long enough, you’ve accidentally gotten forward onto the balls of your feet (and you remember how terrible that rep was), if the barbell drifts away from you slightly when deadlifting, it makes for a much harder rep than it should have been, and the press is exceptionally susceptible to bar path and balance issues.

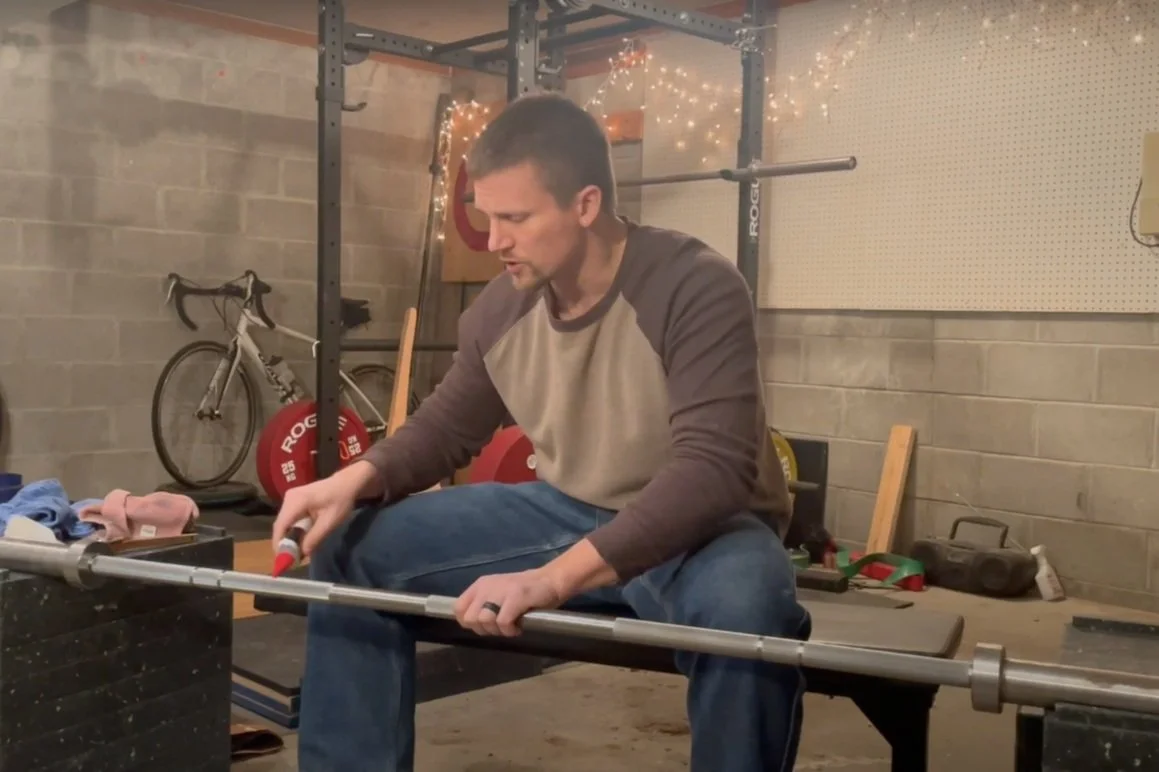
figure 1: the wandering focal point

A focal point helps greatly with balance, so you don’t want to put your balance at a disadvantage by not having one. With this in mind, let’s cover the two forms of this error.

Error #1: The Wandering Focal Point
With this version of not having a focal point (Figure 1), your eyes wander when performing the lift. You might be looking forward at the start of the press, you might look up while pressing upward, and then you might look downward slightly as you lock out the press overhead.

Error #2: Closing Your Eyes
While this error (Figure 2) prevents you from committing error #1, it’s no better as closing your eyes prevents you from focusing your gaze on a single point. Your eyesight contributes mightily to your ability to balance, so you want to keep your eyes open.

figure 2: ladon demonstrates the error of closing the eyes when lifting.

The Solution
As is so often the case, you want to think about what you should do and not dwell on what you shouldn’t do. For example, if you tend to close your eyes when driving a heavy squat up out of the hole, don’t bother telling yourself, “Don’t close my eyes, don’t close my eyes!”

Instead, give yourself something to do. The moment you take your stance, tell yourself, “I’m going to look at this point and keep staring there during every rep and between every rep.” In other words, give you eyes a job to perform.

For the press, tape an X on the wall in front of you at eye-height, for the squat and the deadlift, put something on the floor out in front of you (such as a 2.5 lb plate or your water bottle), and if you’re benching, pick some point on the ceiling to stare at.

Stare at that point and remind yourself that you’re going to keep starting at it until you are completely done with the last rep. Give your eyes a job to do, and commit to it. If you keep doing this, you’ll be surprised at how quickly you can fix this problem.

As always, we hope this helps you get stronger and live better.

-Phil

PS: Whenever you want even more Testify in your life, here are some free resources:

  • Book a free intro and strategy session with us HERE.

  • Pick up a free copy of Testify’s Squat Guide: 12 Tips to Improve Your Squat Now HERE.

  • Get our free weekly email - containing useful videos, articles, and training tips - HERE.

  • Follow Testify on Instagram HERE.

  • Subscribe to Testify’s YouTube channel HERE.

(Some links may be affiliate links. As an Amazon Associate, Testify earns from qualifying purchases.)


At Testify, we offer small group training, private coaching (in-person or remotely via Zoom), online coaching, and form checks. Interested in getting stronger, looking better, and having more energy?

Improve ALL of Your Lifts with This Cue?!

(A Blast from the Past article originally posted on 01/20/23)

Due to their technical nature, cues usually are very lift-specific. For example, “hips back, chest down” works really well for the squat, but it doesn’t work for a press or a bench press. However, there are exceptions to this rule; not too long ago, we made a video (check it out below) about the idea of a positive cue versus a negative cue. I'm not going to give the whole video away right here, but that concept - it's not really a cue, but it's a type of cue - applies to all lifts, and today’s topic is very similar. 

We’re talking about the cue of “slow start” or simply “slow down.” Typically, when you use this cue (either of them), you're going to use it in your warm-ups or at least when the weight is light enough that slowing down shouldn't negatively affect the lift, i.e., it's not always going to work so well when the weight gets heavy. 

Let’s take a look at a few examples of this cue in action. On the press, some people struggle with “winding up the hips,” i.e., the hips should move forward first, but some lifters tend to move the hips backward before moving them forward. This can be a difficult habit to break, but if you simply tell yourself “slow down” or “slow start,” you can resist the urge to have your hips go back and instead slowly force your hips to go forward.

On the squat, a common error is to lead with the hips on the descent; in other words, the lifter bends or breaks at the hips first and then bend the knees, whereas we would like to see simultaneous breaking of the hips and knees.

If you break at the hips first, just tell yourself “slow start,” and that will give you the time - during those first couple inches of descent - to focus on making your knees go forward and out at the same time that your hips go backward.

On the clean, you want to make sure that the barbell touches your thighs at the jumping position (roughly the mid-thigh), so when we teach it - and you can always do this when you're when you're practicing this on your own - we go slow at first because we have to learn to touch that point on the thighs every single time.

Eventually, it will be quick, and in fact, eventually it must be quick since a heavy clean or snatch won’t be successful if it’s slow, but the lift needs to be correct before it’s quick. As a result, if you're missing that point on the thighs, simply tell yourself to slow down, and when you get to that point on your thighs, that’s when you speed up. Again, in reality, the entire lift should be speeding up, but if you’re working to correct something, slowing down can be very useful.

Hopefully, this helps you in your training, and as always, we hope this helps you get stronger and live better.

-Phil

PS: Whenever you want even more Testify in your life, here are some free resources:

  • Book a free intro and strategy session with us HERE.

  • Pick up a free copy of Testify’s Squat Guide: 12 Tips to Improve Your Squat Now HERE.

  • Get our free weekly email - containing useful videos, articles, and training tips - HERE.

  • Follow Testify on Instagram HERE.

  • Subscribe to Testify’s YouTube channel HERE.

(Some links may be affiliate links. As an Amazon Associate, Testify earns from qualifying purchases.)


At Testify, we offer small group training, private coaching (in-person or remotely via Zoom), online coaching, and form checks. Interested in getting stronger, looking better, and having more energy?

Basic Barbell Maintenance

(A Blast from the Past article originally posted on 01/13/23)

My wife, Becky, and I have two bare steel barbells in our garage gym, and while bare steel is unmatched in terms of grip and feel, it does require a bit of maintenance. Bars with a protective coating (e.g., zinc) will need some attention from time to time as well - simply less frequently.

With all of this in mind, let’s dive into how to perform some simple barbell maintenance.

Brush the Chalk Off the Barbell
The upside to chalk is that it absorbs the moisture of your hands and thus provides a secure grip on the bar. However, the downside is that chalk can hold some of that moisture and keep it on the bar even after you’re done training, and that can encourage rust formation on your bar.

To prevent this, simply brush the chalk off the bar every time you’re done training. A cheap nylon bristle brush will do the job just fine, and brushing off the chalk will take you about 20 seconds tops. Every member at Testify does this (whether the bar is bare steel or not) as well, and it helps tremendously.

APPLYING OIL TO THE BARBELL

Oil the Barbell Shaft
About once a month (perhaps even more infrequently), you’ll need a few things: 3-IN-ONE Multi-Purpose Oil, a brass bristle brush, and a clean rage or two. The oil will help remove rust from the bar as well as apply a protective coating to help prevent future rust. Simply apply a bit of oil to the bar (watch the video above for an example) and then use the brass bristle brush to brush in the oil. After that, take a clean rag and then wipe down the bar to absorb any excess oil.

You can spend more time on any trouble spots, but if you’re doing this on a semi-regular basis, this will do an excellent job of protecting and caring for your bar. If you’ve got a bar that needs some serious rust removal, we also have a video that goes into depth on that process.

As always, we hope this helps you get stronger and live better.

-Phil

PS: Whenever you want even more Testify in your life, here are some free resources:

  • Book a free intro and strategy session with us HERE.

  • Pick up a free copy of Testify’s Squat Guide: 12 Tips to Improve Your Squat Now HERE.

  • Get our free weekly email - containing useful videos, articles, and training tips - HERE.

  • Follow Testify on Instagram HERE.

  • Subscribe to Testify’s YouTube channel HERE.

(Some links may be affiliate links. As an Amazon Associate, Testify earns from qualifying purchases.)


At Testify, we offer small group training, private coaching (in-person or remotely via Zoom), online coaching, and form checks. Interested in getting stronger, looking better, and having more energy?

The BEST Single Device to Prevent Frailty in Older Adults

What's the best device for seniors to get strong, prevent frailty, and stay independent? Starting Strength Coach Phil Meggers answers that question and provides 7 reasons why.

Whenever you want even more Testify in your life, here are some free resources:

  • Book a free intro and strategy session with us HERE.

  • Pick up a free copy of Testify’s Squat Guide: 12 Tips to Improve Your Squat Now HERE.

  • Get our free weekly email - containing useful videos, articles, and training tips - HERE.

  • Follow Testify on Instagram HERE.

  • Subscribe to Testify’s YouTube channel HERE.


At Testify, we offer small group training, private coaching (in-person or remotely via Zoom), online coaching, and form checks. Interested in getting stronger, looking better, and having more energy?

Chalk: Don't Be a Fool

(A Blast from the Past article originally posted on 12/30/22)

Chalk is not a particularly exciting topic of conversation, so if you’re looking for a scintillating article on the finer points of lifting, you’ve come to the wrong place today, my friend. That said, man, this conversation needs to be had every now and then, so here we go.

There are two types of chalk abusers in the gym. The first type consists of those who simply don't use chalk for whatever reason - they don't like the feel of it, or they don't think they need it. This particular type simply needs to get their minds right or pull a Kelly Clarkson and just walk away. Don’t kid yourself - if you’re not willing to use chalk, you’re wasting your time. It’s not efficient, and at some point, it’s a recipe for disaster.

However, we’re really here today to talk about the second type of chalk abuser. You know this lifter. He takes a perfectly good block of chalk - the Sacred Block - and breaks it into smaller pieces. He coats his hands - sometimes even the back of his hands - with a thick layer of magnesium carbonate and inevitably leaves a bunch of excess chalk on the platform when he’s done lifting. And of course, he gets chalk everywhere on the floor and equipment around him while he’s actually chalking up.

You, of course, are not such a lifter. Because you know better. But you know such a lifter, and just on the off chance that you talk to this lifter, you can remind him how “chalking up” is properly accomplished:

Correctly chalked hands - this guy’s ready to lift.

  1. Put your hands in the bucket.

  2. Take the block (Do Not Break the Block) or the powder and rub some chalk on both of your hands.

  3. Rub your hands together so that any loose chalk falls back in the bucket.

Note that this entire process takes place inside the chalk bucket, and this way, any loose chalk ends up back in the bucket and not on the floor.

Be kind to your chalk, be kind to your gym, and I hope this helps you get stronger and live better. Now, I’m going to get back to yelling at those meddling kids walking across my lawn.

-Phil

PS: Whenever you want even more Testify in your life, here are some free resources:

  • Book a free intro and strategy session with us HERE.

  • Pick up a free copy of Testify’s Squat Guide: 12 Tips to Improve Your Squat Now HERE.

  • Get our free weekly email - containing useful videos, articles, and training tips - HERE.

  • Follow Testify on Instagram HERE.

  • Subscribe to Testify’s YouTube channel HERE.

(Some links may be affiliate links. As an Amazon Associate, Testify earns from qualifying purchases.)


At Testify, we offer small group training, private coaching (in-person or remotely via Zoom), online coaching, and form checks. Interested in getting stronger, looking better, and having more energy?

8 Reasons for Older Adults to Get Stronger in 2025 (and the best way to do it!)

Here are 8 fantastic reasons to get stronger in the new year. Starting Strength Coach Phil Meggers explains why older adults want to get stronger as well as the best way to do it.

Whenever you want even more Testify in your life, here are some free resources:

  • Book a free intro and strategy session with us HERE.

  • Pick up a free copy of Testify’s Squat Guide: 12 Tips to Improve Your Squat Now HERE.

  • Get our free weekly email - containing useful videos, articles, and training tips - HERE.

  • Follow Testify on Instagram HERE.

  • Subscribe to Testify’s YouTube channel HERE.


At Testify, we offer small group training, private coaching (in-person or remotely via Zoom), online coaching, and form checks. Interested in getting stronger, looking better, and having more energy?