Lifting Straps | What You're Doing WRONG (common mistakes)

(A Blast from the Past article originally posted on 10/27/23)

If you’re new to using lifting straps (or even if you’re not so new), there are a few common mistakes that you might be making. At best, these mistakes make the use of straps cumbersome, and at worst, these mistakes make straps a liability instead of an asset.

With that said, these mistakes are relatively easy to fix, and once we’ve solved them, you’ll never make them again, so let’s get to it.

As a quick side note, all of these mistakes and their solutions are far more easily seen and understood on video than in print, so be sure to watch the included video.
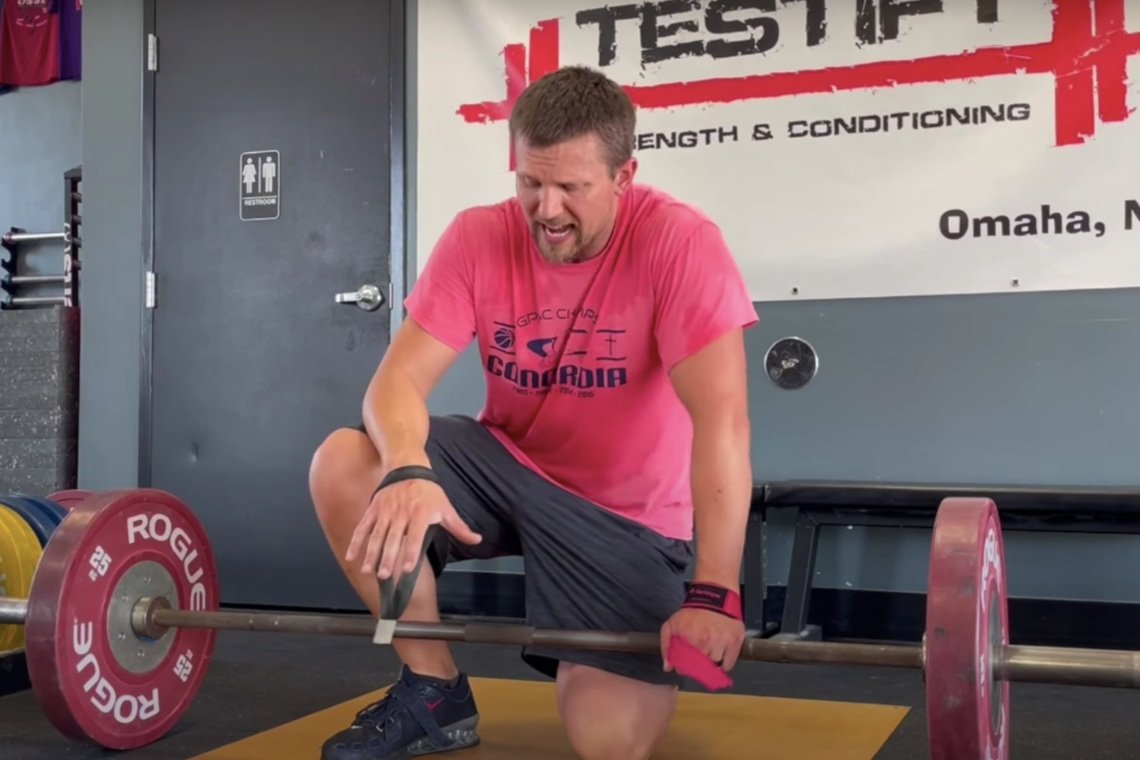
Figure 1: The correct position for straps (on the hand)

Mistake #1: Wearing straps in the wrong spot
Lifting straps are worn down on the hand (Figure 1) - not up on the wrist or arm. Although lifting straps are sometimes referred to as “wrist straps,” that can be a bit misleading - if you wear them on the wrist, you are wearing them too high. Whether it’s the type of DIY straps that we recommend (the black strap you see in these photos) or the “strap-and-loop” style of straps, be sure to wear them down on the hands.

See the included video for how to easily, cheaply, and quickly make yourself a pair of virtually indestructible lifting straps.

Mistake #2: Wrapping the straps in the wrong direction
When setting up and wrapping the strap around the barbell, always wrap toward the thumb, i.e., toward the middle of the bar (Figure 2). Do not wrap the strap so that it heads toward the plates. This brings us to . . .

Figure 2: Correctly wrapping (the black strap) toward the middle of the bar

Mistake #3: Setting up the straps incorrectly
If you are using the “strap-and-loop” style of strap, make sure you have it positioned so that the strap points toward your thumb (Figure 3). If you have it set up so that it points toward your pinky, you won’t be able to wrap the strap in the correct direction (i.e., toward the middle of the bar). The straps for your right and left hands will need to be set up so that they mirror each other.

Figure 3: Positioning the strap so that it points toward the thumb

Mistake #4: Wrapping the strap multiple times
Wrap the strap around the bar once (Figure 4). That’s it - just once. Some straps do not have much excess length (like the black straps in these photos), so wrapping the strap around the bar won’t be a temptation anyway, but for straps that do have a lot of extra material, you still just wrap the strap once. Wrapping it around the bar multiple times is a waste of time and effort, and it doesn’t improve the grip of the strap. One time around.

Figure 4: wrap the strap only once as shown here. the extra material just hangs there.

Mistake #5: Wrapping in front of the bar
This will be obvious if you’ve used straps correctly, but it’s not very obvious for those who are new to straps - when you initially grab the bar, your palm goes in front of the bar, but the strap goes BEHIND the bar (Figure 5).

figure 5: correctly positioning the strap behind the bar when initially taking your grip

If you mess this up and put the strap in front of the bar (i.e., on the same side as your palm), the strap will not help your grip at all, and in fact, it will make the situation worse and make the bar harder to grip. The bar will simply want to roll right out of your hand, so be sure to put the strap behind the bar when you reach down to grab the bar.

As always, we hope these tips help you get stronger and live better.

-Phil

PS: Whenever you want even more Testify in your life, here are some free resources:

  • Follow Testify on Instagram HERE.

  • Subscribe to Testify’s YouTube channel HERE.

  • Book a free intro and strategy session with us HERE.

  • Pick up a free copy of Testify’s Squat Guide: 12 Tips to Improve Your Squat Now HERE.

  • Get our free weekly email - containing useful videos, articles, and training tips - HERE.

(Some links may be affiliate links. As an Amazon Associate, Testify earns from qualifying purchases.)
At Testify, we offer small group training, private coaching (in-person or remotely via Zoom), online coaching, and form checks. Interested in getting stronger, looking better, and having more energy?

Ultimate Guide to the Sled & Prowler: Workouts, Differences, Benefits, and More

Whether you’re new to sled & prowler work or looking to get more out of it, Starting Strength Coach Phil Meggers walks through the key differences, benefits, and workout ideas to help you train with purpose.

Whenever you want even more Testify in your life, here are some free resources:

  • Book a free intro and strategy session with us HERE.

  • Pick up a free copy of Testify’s Squat Guide: 12 Tips to Improve Your Squat Now HERE.

  • Get our free weekly email - containing useful videos, articles, and training tips - HERE.

  • Follow Testify on Instagram HERE.

  • Subscribe to Testify’s YouTube channel HERE.


At Testify, we offer small group training, private coaching (in-person or remotely via Zoom), online coaching, and form checks. Interested in getting stronger, looking better, and having more energy?

12 Pieces of Lifting Gear to THROW AWAY (and What to Replace Them With) - Part 1

Not all lifting equipment is created equal, and some of it is downright awful. From “this-is-fine-but-there-are-better-choices” gear all the way to the “heavens-to-betsy-don’t-ever-use-that” category, we’ll keep it quick and cover what to avoid, what to throw away, and what actually works well.

This is Part 1 of a two-part series, so be sure to check back next week for Part 2.

Knee Sleeves
5 mm thick knee sleeves – don’t buy them.

They’re useful, but once you’ve used 7 mm sleeves, you’ll never go back. If you’re shopping for your first pair, avoid the 5 mm sleeves in the first place and simply get a pair of 7 mm thick sleeves.

A few solid options are provided below:

Lifting Straps
With knee sleeves, it’s a case of “option 1 is fine, but option 2 is better.”

This is not the case with lifting straps.

Don’t train with cloth lifting straps. They will tear at some point, and inevitably, it will happen at a very inopportune moment.

They can be useful for putting on a stiff pair of knee sleeves, and you can check that out in the video below.

For actual lifting, however – not just putting on your knee sleeves – you want straps that are durable, such as the DIY version that we make from climbing webbing (watch the short video below).

We’ve also linked to a few quality, commercially available options below in case you’re not interested in making your own straps.

Lifting Shoes
First of all, on a “champagne-problem” level, I’d recommend avoiding the Adidas Powerlift or any other lifting shoe that uses a compressed foam sole. They’re not terrible, but there are firmer, more non-compressible sole options out there, and the heavier your lifts are (or the heavier you are), the more you’ll notice the difference.

Now – the actual problem . . . Chuck Taylors.

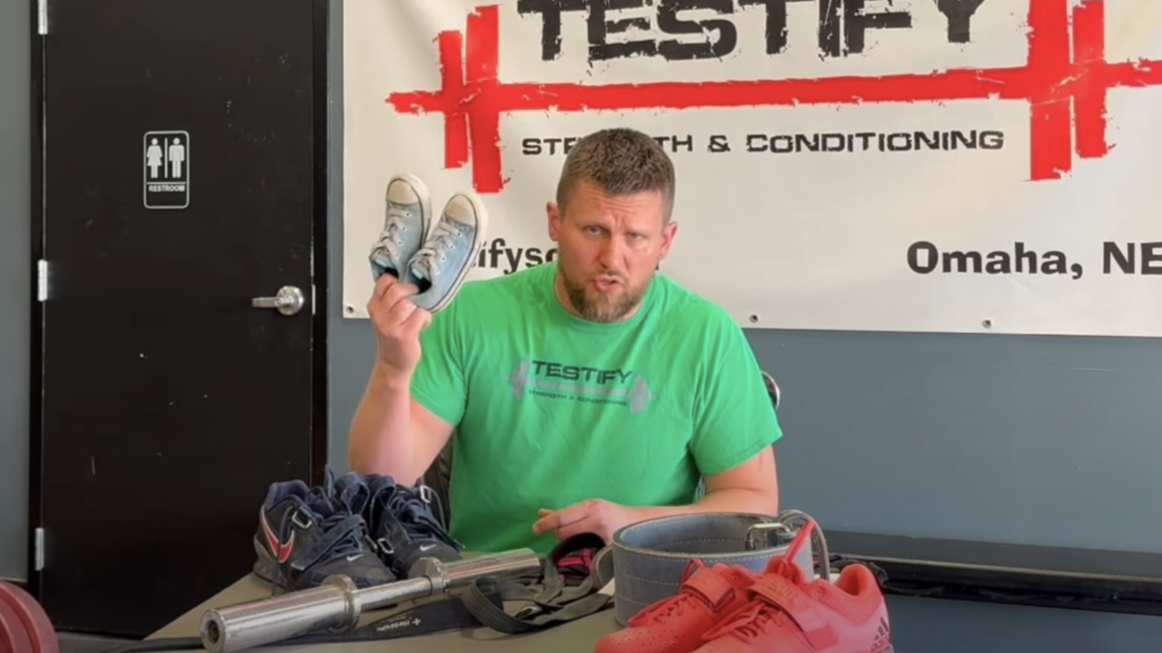
chucks are great for toddlers . . . not lifters.

Remember – Chucks are a lifestyle shoe, not a lifting shoe. They’re comfortable to walk around in, which tells you that the sole is far more compressible (i.e., squishy) than you want for lifting.

Instead, go out and get yourself an actual pair of lifting shoes. The non-compressible sole makes for a fantastically solid platform on which to lift. Other shoes feel like lifting on pillows by comparison.

Here are some solid choices to get you started on your shopping:

Wrist Wraps
Don’t get 12 inch long wrist wraps. They don’t provide much in the way of support. Instead, get yourself a pair of 18 inch wraps or perhaps a pair of 24 inch wraps, but be warned that the 24 inch variety can be mildly cumbersome to put on.

Chalk
Specifically, we’re talking Spider Chalk versus everything else out there. Your basic magnesium carbonate chalk is a solid choice and will work fine.

However, the blocks from the folks at Spider Chalk are dense, solid, and tend not to break nearly as easily as regular chalk blocks.

It’s a bit silly to be a huge fan of a specific chalk company, but we are, and Spider Chalk is the only chalk we order.

Barbells
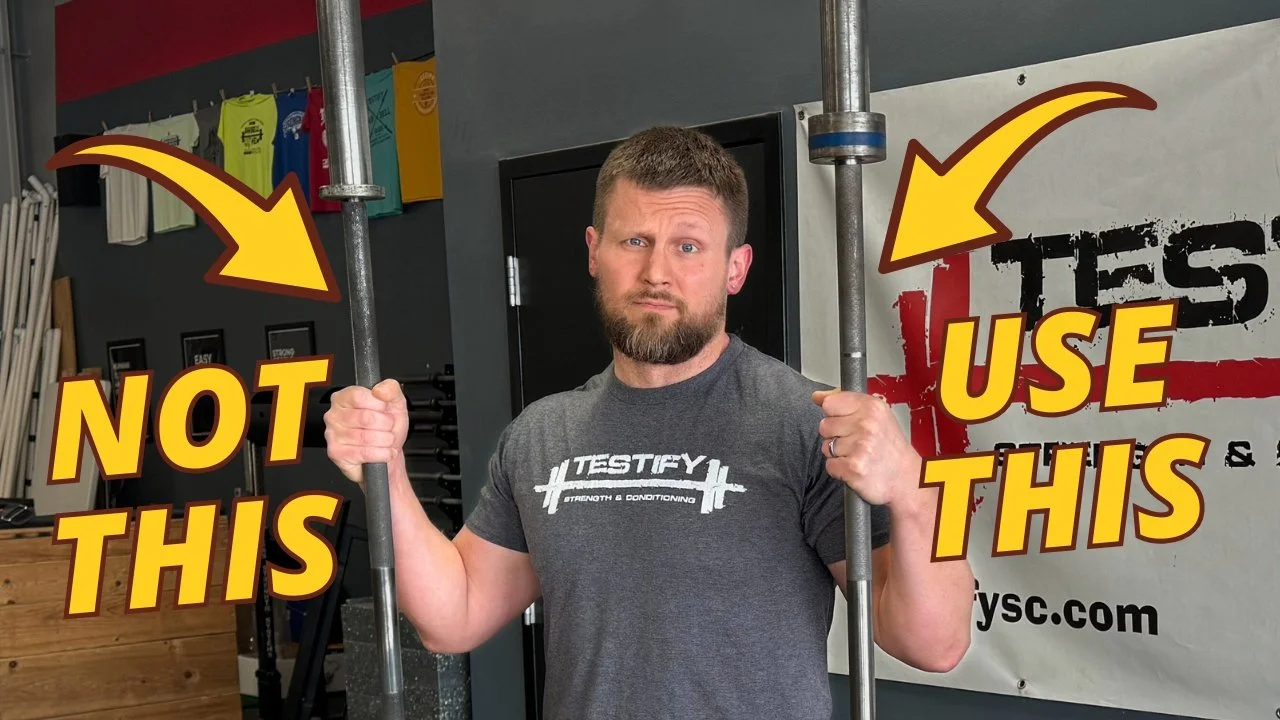
Don’t buy a 30 mm thick barbell. With a diameter of 30 mm or greater, you’re looking at a low quality barbell that had to be that thick since it was built from cheap steel.

Thick barbells make it very difficult to maintain a secure grip with heavy pulls, and this type of barbell also tends to rotate poorly (and loudly). Another sign of a low quality bar is a hex bolt in the place of an end cap. Avoid that bar like the plague.

Get a 28-29 mm diameter barbell and don’t skimp on quality. The barbell is the place to spend your money.

We are big fans of the Starting Strength Bar from Texas Power Bars, and I’ve also heard good things about the Powerlifting Bar 2.0 from Bells Steel. Finally, Grant Broggi of The Strength Co. makes the best lifting plates in the business, and I have no doubt that his barbells live up to that standard as well.

As always, we hope this helps you get stronger and live better. See you next week in Part 2!

-Phil

PS: Whenever you want even more Testify in your life, here are some free resources:

  • Book a free intro and strategy session with us HERE.

  • Pick up a free copy of Testify’s Squat Guide: 12 Tips to Improve Your Squat Now HERE.

  • Get our free weekly email - containing useful videos, articles, and training tips - HERE.

  • Follow Testify on Instagram HERE.

  • Subscribe to Testify’s YouTube channel HERE.

(Some links may be affiliate links. As an Amazon Associate, Testify earns from qualifying purchases.)


At Testify, we offer small group training, private coaching (in-person or remotely via Zoom), online coaching, and form checks. Interested in getting stronger, looking better, and having more energy?

6 Hard Truths About Lifting Belts Most Lifters LEARN Too Late

A lifting belt is one of the most misused pieces of gear in the gym. In this video, Starting Strength Coach Phil Meggers breaks down six common mistakes and the simple corrections that go with them.

Whenever you want even more Testify in your life, here are some free resources:

  • Book a free intro and strategy session with us HERE.

  • Pick up a free copy of Testify’s Squat Guide: 12 Tips to Improve Your Squat Now HERE.

  • Get our free weekly email - containing useful videos, articles, and training tips - HERE.

  • Follow Testify on Instagram HERE.

  • Subscribe to Testify’s YouTube channel HERE.


At Testify, we offer small group training, private coaching (in-person or remotely via Zoom), online coaching, and form checks. Interested in getting stronger, looking better, and having more energy?

Stop Using a Utility Knife to Cut Horse Stall Mats (Do This Instead)

Cutting horse stall mats with a utility knife is slow, frustrating, and unnecessary. Here’s a faster, easier method - plus the simplest way to move heavy mats by yourself. Starting Strength Coach Phil Meggers covers it all.

Whenever you want even more Testify in your life, here are some free resources:

  • Book a free intro and strategy session with us HERE.

  • Pick up a free copy of Testify’s Squat Guide: 12 Tips to Improve Your Squat Now HERE.

  • Get our free weekly email - containing useful videos, articles, and training tips - HERE.

  • Follow Testify on Instagram HERE.

  • Subscribe to Testify’s YouTube channel HERE.


At Testify, we offer small group training, private coaching (in-person or remotely via Zoom), online coaching, and form checks. Interested in getting stronger, looking better, and having more energy?

Pulling Blocks: What, Why, and DIY vs. Commercial (Which Should YOU Use?)

What are pulling blocks, why are they useful, and should you buy them or make them yourself? Starting Strength Coach Phil Meggers covers it all.

(A Blast from the Past video originally published on 05/15/23)

Whenever you want even more Testify in your life, here are some free resources:

  • Book a free intro and strategy session with us HERE.

  • Pick up a free copy of Testify’s Squat Guide: 12 Tips to Improve Your Squat Now HERE.

  • Get our free weekly email - containing useful videos, articles, and training tips - HERE.

  • Follow Testify on Instagram HERE.

  • Subscribe to Testify’s YouTube channel HERE.


At Testify, we offer small group training, private coaching (in-person or remotely via Zoom), online coaching, and form checks. Interested in getting stronger, looking better, and having more energy?