99% of Lifters Don't Know Which JERK to Perform: POWER vs SQUAT vs SPLIT
/
You have three options for performing the jerk – power jerk, squat jerk, and split jerk. Let’s cover the advantages of each so you can decide which one you should be performing.
#1 Power Jerk
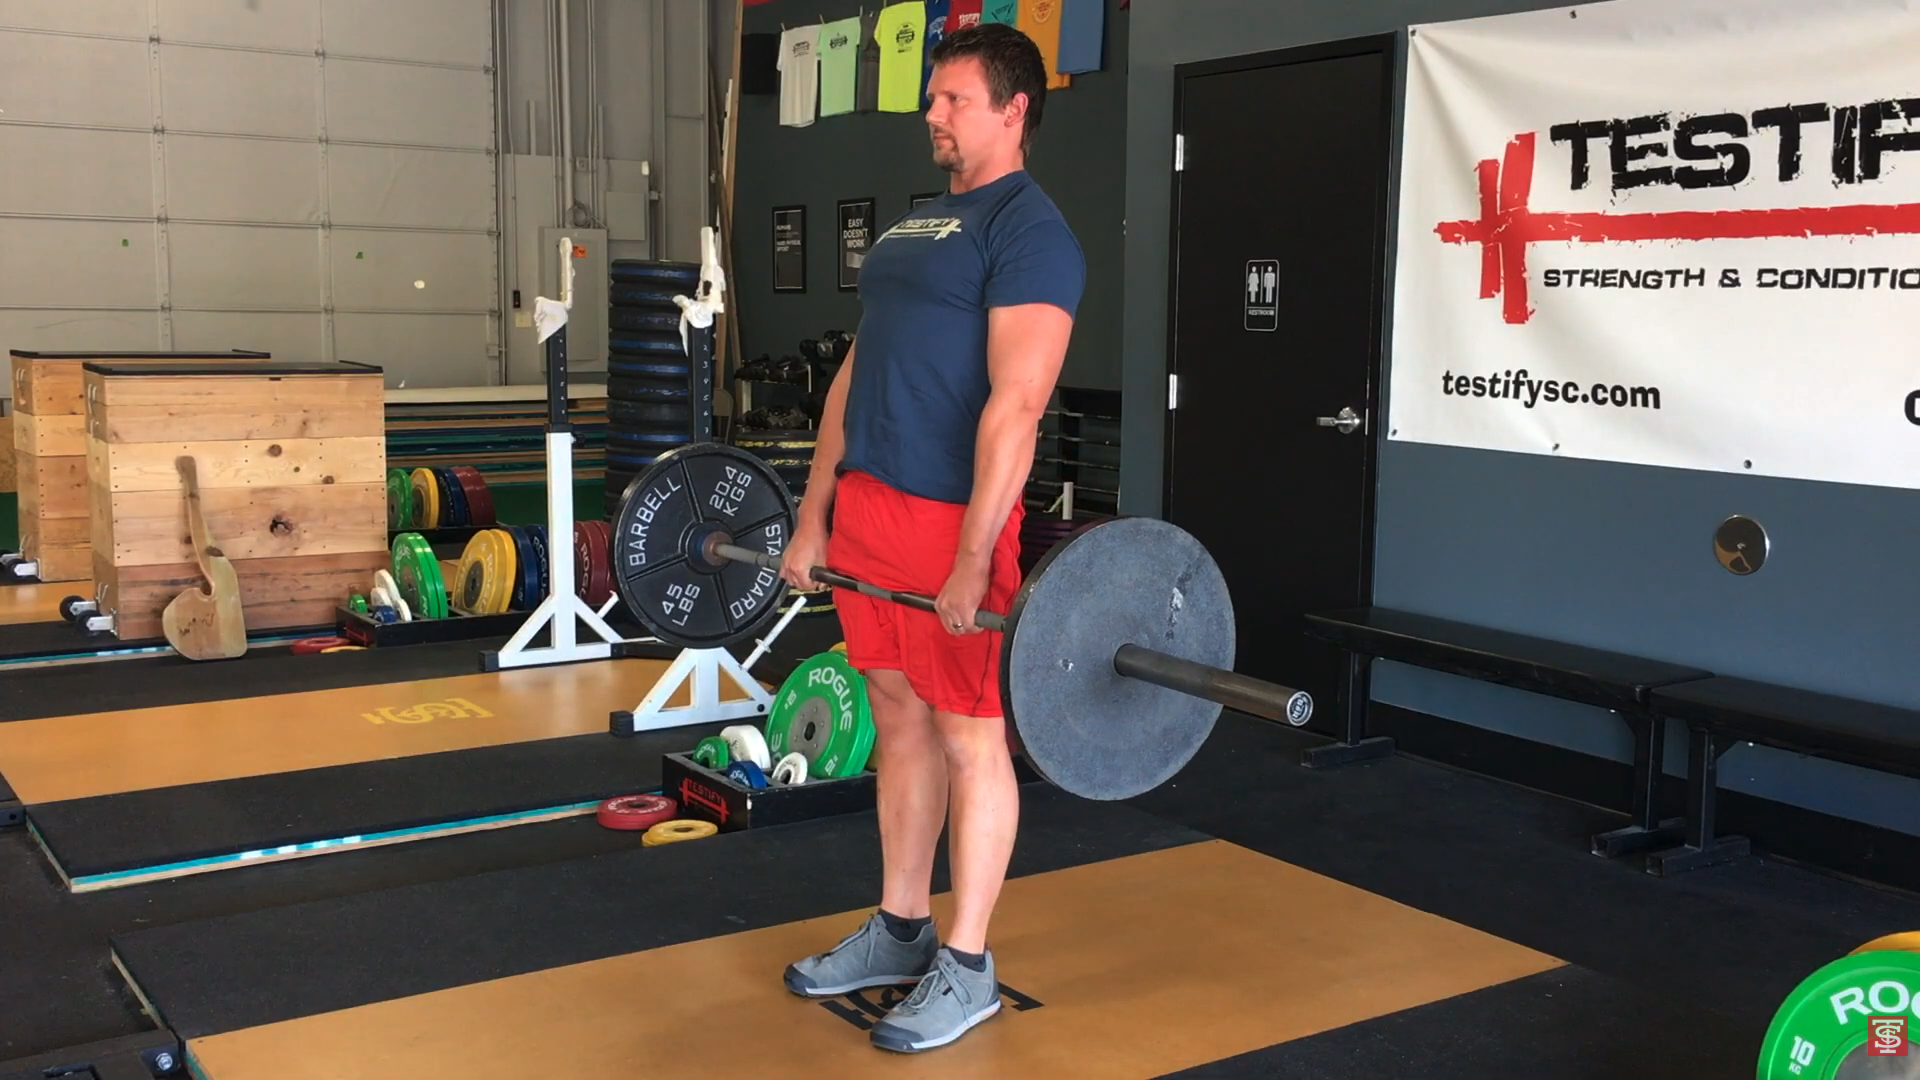
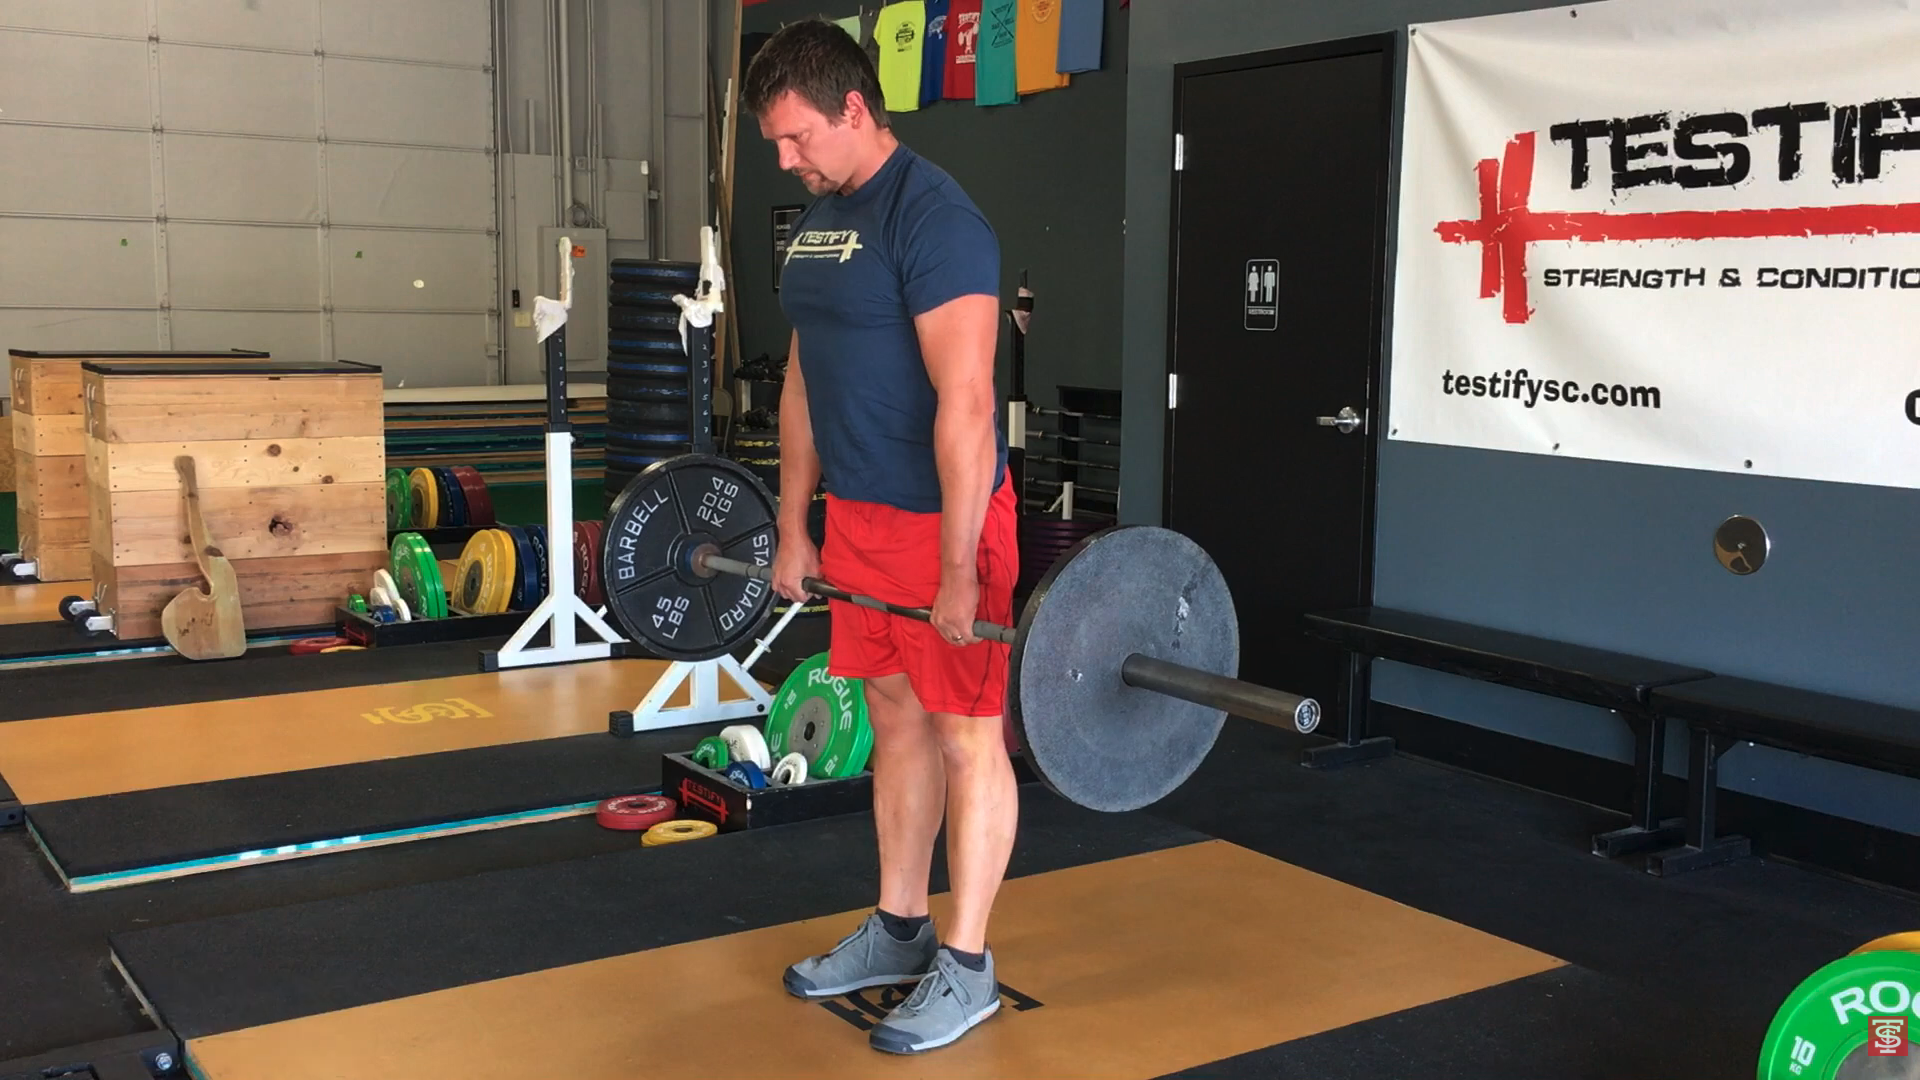
The power jerk starts with the bar resting on the delts, the bar is accelerated upward using a short dip and bounce, and the lifter then receives the bar overhead, locking it out in a partial depth squat position.

becky demonstrates a power jerk.
When you read or hear “power,” think “partial squat” – they both begin with the letter P, so it's a rather handy way to remember the landing position.
The advantage of a power jerk is that it's the simplest of the three landing positions (i.e., receiving positions). You don't need to have or develop the flexibility needed for a squat jerk, and your feet hardly travel at all as they land back in a squat-width stance, whereas in a split jerk, your feet travel a very considerable distance. For these reasons, the power jerk is often used as an intermediate step when learning either the split jerk or the squat jerk.
Note: If you’d like to see these jerks demonstrated, watch the short video below.
#2 Squat Jerk
The squat jerk starts with the bar resting on the delts, the bar is accelerated upward using a short dip and bounce, and the lifter then receives the bar overhead, locking it out in a full depth squat position.
The advantage of a squat jerk is that it has the lowest receiving position of the three jerks, which helps in terms of lifting heavier loads since you don't have to get the bar as high before locking it out (i.e., when compared to a power jerk or a split jerk).

becky demonstrates a squat jerk.
The disadvantages of a squat jerk are twofold; first, it requires excellent flexibility to receive the bar in what is essentially a narrow grip overhead squat position. Second, the squat jerk provides less front-to-back stability than the split jerk and is thus very unforgiving of bar path deviations.
#3 Split Jerk
The split jerk starts with the bar resting on the delts, the bar is accelerated upward using a short dip and bounce, and the lifter then receives the bar overhead, locking it out with the feet in a split position – one foot positioned in front of the torso and one foot positioned behind the torso.

brianne performs a split jerk in competition.
The advantages of a split jerk are threefold; first, depending on the length of the split, you can receive the bar at a lower position than that of a typical power jerk (although not as low as a squat jerk). Second, you don't need to have or develop the flexibility needed for a squat jerk. Third, it has better front-to-back stability than either a power jerk or a squat jerk due to the positioning of the feet. For these reasons, the split jerk is the most common type of jerk that you'll typically see – whether in training or competition.
As always, we hope this helps you get stronger and live better.
-Phil
PS: Whenever you want even more Testify in your life, here are some free resources:
Book a free intro and strategy session with us HERE.
Pick up a free copy of Testify’s Squat Guide: 12 Tips to Improve Your Squat Now HERE.
Get our free weekly email - containing useful videos, articles, and training tips - HERE.
Follow Testify on Instagram HERE.
Subscribe to Testify’s YouTube channel HERE.
(Some links may be affiliate links. As an Amazon Associate, Testify earns from qualifying purchases.)