Correct Grip for Snatch, Clean, and Jerk

When gripping the bar for the Olympic lifts (i.e., the snatch and the clean-and-jerk), there are a few special considerations to bear in mind, so let’s address these.

This is the third and final article in our series on the correct grip for each lift. In the first article, we discussed the compression grip, which is useful for pressing movements such as the press and bench press, and in the second article, we covered the tension grip, which is useful for pulling movements such as deadlifts, cleans, and rows.

#1: Chalk
Use it.

Hopefully, all of this goes without saying, but sadly, that is often not the case. Chalk is useful for all of the lifts (both pushing movements and pulling movements), but it is especially useful for pulling movements like the deadlift and - in this case - the snatch and the clean. Specifically, chalk is useful for friction, so it contributes mightily to your ability to securely grip the bar.

If you’re training efficiently, you go through more chalk in a weightlifting (AKA Olympic lifting) session than you do in a strength training session (deadlifts, squats, presses, etc.). When training the Olympic lifts, you perform a lot of singles, doubles, and triples, so there is quite a bit of gripping and re-gripping of the barbell, and as a result, you go through a healthy dose of chalk. It doesn’t need to be caked on your hands, but chalk up on a regular basis.

#2: Hook Grip
For every single snatch and clean you perform for the rest of your life, use the hook grip (this doesn’t apply to the jerk).

Figure 1: The hook grip

Don’t use a double overhand grip, don’t use an alternate grip (AKA mixed grip or switch grip). Use the hook grip, i.e., the grip wherein your thumbs go on the bar first, and your fingers go over your thumbs (Figure 1).

The hook grip video included below goes more in-depth on how and why we hook grip, but suffice to say we use it because, although the Olympic lifts are not as heavy as a deadlift (which certainly requires a modified grip such as a hook or alternate grip), they must be pulled quickly. Because they have to be accelerated, your grip will be compromised if you don’t modify your grip.

With this in mind, get used to the hook grip right away. Start hook gripping your snatches and your cleans immediately at the outset of your training.

#3: Hook Grip and the Snatch
As discussed, you hook grip when you snatch, but when you rack the bar overhead, you may or may not keep the hook grip.

Some lifters may need to let the thumb slip out of the hook grip, and to determine whether or not this applies to you, keep the hook grip (when racking the bar) at first, and you’ll know pretty quickly if you need to make a change. If you experience discomfort when racking the bar overhead, or if keeping the hook grip is slowing down your turnover, then you’ll need to let the thumb slip out of the hook grip on the turnover (i.e., transition).

Note that when letting the thumb slip out from the hook, you don’t actually release the grip. Admittedly, this process is often referred to as “releasing the hook grip,” but all you simply do is allow the thumb to slip out of the hook grip while maintaining a solid purchase on the bar (refer to the video below to see how this is done).

To recap, try keeping the hook grip at first, and if that doesn’t work, let the thumb slip out of the hook as you rack the bar.

#4: Hook Grip and the Clean
Unlike the situation with the snatch, you always “release the hook grip” when performing the clean. Specifically, let the thumb slide out of the hook during the turnover (AKA transition), i.e., as your elbows rotate forward and up and as you rack the bar on your shoulders (Figure 2).

Figure 2: Maddie has released the hook grip (incidentally, she has also let her pinky slip off the bar, which is unimportant).

Attempting to keep the hook grip when racking the bar results in a slower turnover that is very often uncomfortable or even painful on the elbows and wrists. Because of these issues, keeping the hook results in a greater likelihood of missed lifts, so with this in mind, be sure to release the hook on your cleans.

#5: Hook Grip and the Jerk
It doesn’t make any sense to use the hook grip on the jerk, so don’t do it (Figure 3).

When you prepare for the jerk, the bar is sitting on your shoulders since you just cleaned it, and since you read tip #4 above, you’ve already released your hook grip. Additionally, the hook grip is useful for pulling movements (e.g., deadlifts, snatches, and cleans) and completely useless for pushing movements like the jerk, so attempting to regain the hook grip before performing the jerk is pointless and - even worse - a waste of time and energy.

figure 3: brianne wisely avoids the hook grip when jerking.

No hook grip on jerks.

As always, we hope these tips help you get stronger and live better.

(Some links may be affiliate links. As an Amazon Associate, Testify earns from qualifying purchases.)

If you found this helpful, you’ll love our weekly email. It’s got useful videos, articles, and training tips just like the one in this article. Sign up below, and of course, if you don’t love it, you can unsubscribe at any time.


At Testify, we offer small group training, private coaching (in-person or remotely via Zoom), online coaching, and form checks. Would you like to get quality coaching from a Starting Strength Coach?

Use This Grip for a BIGGER Deadlift! (Tension Grip)

What is a tension grip, and why should you use it for pulling movements like the deadlift, row, and clean? This is the second article in our short series on the correct grip for each lift. In the first article, we discussed the compression grip, which is useful for pressing movements such as the bench press, press, close grip bench press, etc., and you can read that article by clicking here.

Today’s Topic: Pulling Movements
The grip we are covering today is the type of grip you would take for pulling movements such as the deadlift, the row, the clean, etc. This grip is commonly referred to as a tension grip (watch the included video for a demonstration).

Whether you execute a pulling lift (e.g., deadlift) or a pressing movement (e.g., bench press), the same principle is true - gravity wants the bar to go down, so your grip should put the bar in the lowest stable position possible. In this way, the bar cannot accidentally reach a lower position than that which it’s already occupying.

What NOT To Do
In a pressing movement - as discussed in the compression grip article - you place the bar at the base of the palm. However, since the hand will be pointing downward in a pulling movement, putting the base of the palm against the bar puts the bar in an unstable position. The compression grip is very strong for pushing and pretty terrible for pulling.

Figure 1: compression grip (shown in reverse for viewing purposes): good for pushing - terrible for pulling

Placing the base of the palm against the bar - this will look like you’re pushing down on the bar (Figure 1) - compromises the grip, and this will show up in several ways. First, if you can even break the bar off the floor, it may result in a soft lockout at the top of the lift (e.g., knees that are still bent) or the complete inability to finish the lift at all. Second, when your grip is compromised, everything else starts to compensate - your back starts to round, the weight feels heavier, and it will actually be harder to pull the bar off the floor.

Figure 2: tension grip (shown in reverse for viewing purposes): good for pulling

The Answer
Take a grip that permits the bar to sit a little lower in the hand - down by the fingers a bit more (Figure 2).

(As a side note, don’t take a monkey grip - you shouldn’t have a visible air gap between your hands and the bar.)

Put simply, it should look like you’re pulling up on the bar and not pushing down on the bar. Note the differences between a compression grip (bad for pulling) and a tension grip (good for pulling) in the photos below.

Whether you use a double overhand grip, a hook grip, or an alternate grip, make sure the bar is carried down by the fingers and not positioned up by the base of the palm. When in doubt, put some upward tension on the bar, and voilà - your wrists will straighten out, and the bar will be positioned correctly.

As always, we hope these tips help you get stronger and live better.

(Some links may be affiliate links. As an Amazon Associate, Testify earns from qualifying purchases.)

If you found this helpful, you’ll love our weekly email. It’s got useful videos, articles, and training tips just like the one in this article. Sign up below, and of course, if you don’t love it, you can unsubscribe at any time.


At Testify, we offer small group training, private coaching (in-person or remotely via Zoom), online coaching, and form checks. Would you like to get quality coaching from a Starting Strength Coach?

Use This Grip for a BIGGER Bench Press and Press!

Want a bigger bench? A bigger press? Of course you do. Let’s get right to it.

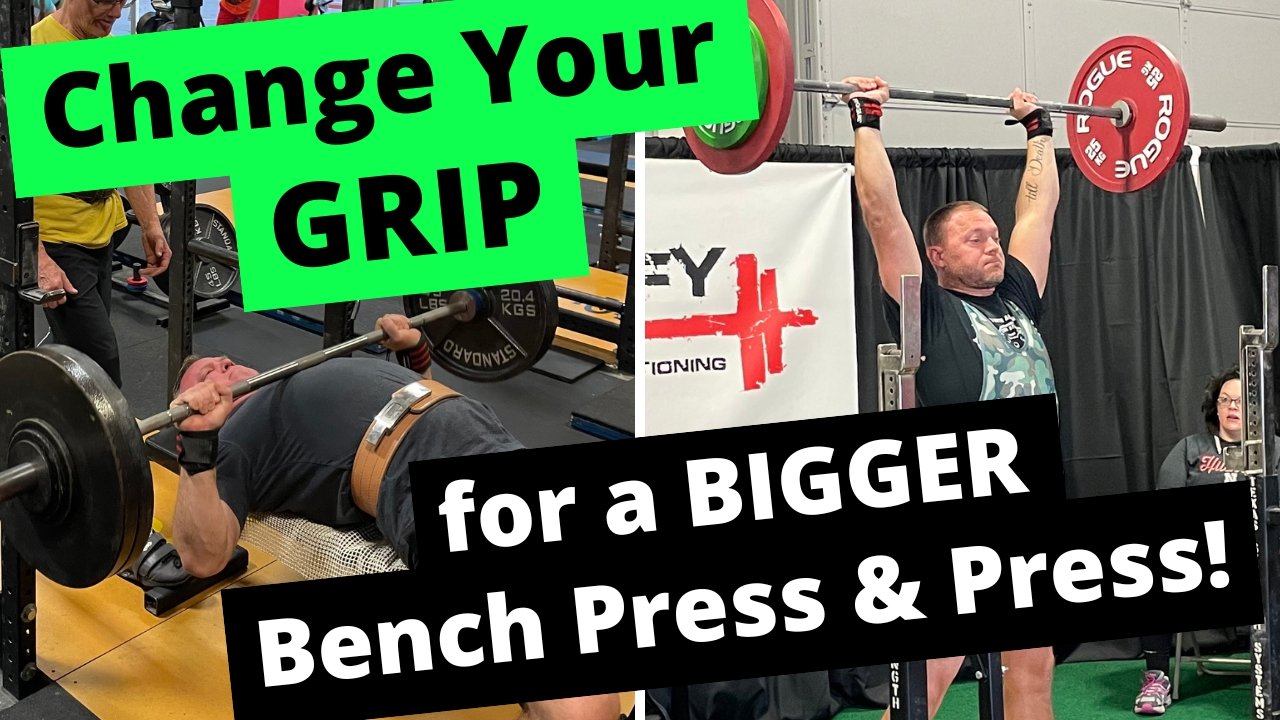
figure 1: Compression grip (bench press configuration)

This article is the first in our short series on the correct grip for each lift - from pushing movements like a bench press or a press to pulling movements like a deadlift or a row, and we’ll also discuss the differences that come into play when you have an Olympic movement like a snatch or clean.

Today’s Topic: Pushing Movements
The grip we are covering today is the type of grip you would take for the bench press (Figure 1), the press, the incline bench press, the close grip bench press, etc. This grip is commonly referred to as a compression grip.

An important concept to remember is that - and this is true for both pushing and pulling movements - gravity alway wants objects to move downward.

This includes the barbell that’s in your hands, so when you’re pushing on the bar, you don’t want to put the bar in a position that permits the bar to accidentally reach a lower position (in your hands) than the position it’s already occupying. In other words, make sure that the bar is in the lowest, stable position you can achieve . . . right from the start.

figure 2: Do not put the bar up here.

What NOT To Do
For example, when you unrack the press, don’t support the barbell up high in the hand (Figure 2). If you do this with a heavy weight, it’s simply going to bend your wrist backward (thus lowering the bar). As a result, your flimsy, little, dainty, baby wrists are in a rather unstable position of extreme extension (Figure 3).

You’ve created an energy leak, and this is not a productive position from which to press or bench heavy weights. What to do?

figure 3: wrists in extreme extension - don’t be like this fool.

Figure 4

The Answer
Before unracking either the press or the bench, get the bar sitting over the base of the palms - not up by the base of your fingers, but at the base of your actual hand (Figure 4).

This position permits the bar to be stacked right over the bones of the forearms, which is excellent for force transfer.

From here, pronate your grip just enough that your thumbs can grip the bar (Figure 5). This positions the thumbs so that they can wrap around the bar in the opposite direction of the rest of your fingers.

Squeeze the bar tightly, and that’s it - this is your grip (Figure 6).

figure 5: pronate the grip slightly until the thumbs are below the bar.

The Result
This grip permits the bar to sit deep in the base of your palm - whether you’re benching or pressing. Your wrists are as straight as they can be, although they won’t be entirely straight - let’s call it a neutral position.

As a side not, wrist wraps can help achieve and maintain this position, but they shouldn’t be a crutch - learn to achieve the correct position without wraps, and then start using wraps as your work weights get heavier.

Figure 6: squeeze the bar tightly.

The wrists certainly are no longer bent back in extreme extension, and they also aren’t so straight that it feels like the bar is pushing down on the webbing of your thumb.

As previously mentioned, the bar is now positioned right over the bones of the forearm (Figure 7), which makes for efficient force transfer between your arms, hands, and the bar, and this makes for a stronger press or bench press.

figure 7: compression grip (press width)

Next up - the tension grip.

As always, we hope these tips help you get stronger and live better.

(Some links may be affiliate links. As an Amazon Associate, Testify earns from qualifying purchases.)

If you found this helpful, you’ll love our weekly email. It’s got useful videos, articles, and training tips just like the one in this article. Sign up below, and of course, if you don’t love it, you can unsubscribe at any time.


At Testify, we offer small group training, private coaching (in-person or remotely via Zoom), online coaching, and form checks. Would you like to get quality coaching from a Starting Strength Coach?