How to Build a Home Gym - Part 1: Equipment

As a Starting Strength Coach, a commercial gym owner, and a home gym owner, I’m often asked, “What equipment would you recommend for a home gym setup?” If you’re looking to set up a home gym - whether in your basement, your garage, or in a backyard shed - this guide will set you on the right path.

A few notes before we get started:

  1. I’ve generally included what I would purchase for myself, and where that differs from what I’d recommend for others, I’ve noted that distinction as well as why.

  2. Some categories of equipment will have multiple options. Sometimes this is because lifters’ needs will vary (e.g., those doing the Olympic lifts will need bumper plates while those not doing them may not), and at other times, I’ve provided a second or third choice based on lifters’ personal preferences or budgetary considerations.

  3. I have personal experience with most of the items in this list, and for those pieces of equipment that I haven’t used, I’ve noted that.

  4. I’ll cover personal gear such as shoes, belt, knee sleeves, etc. in a future article.
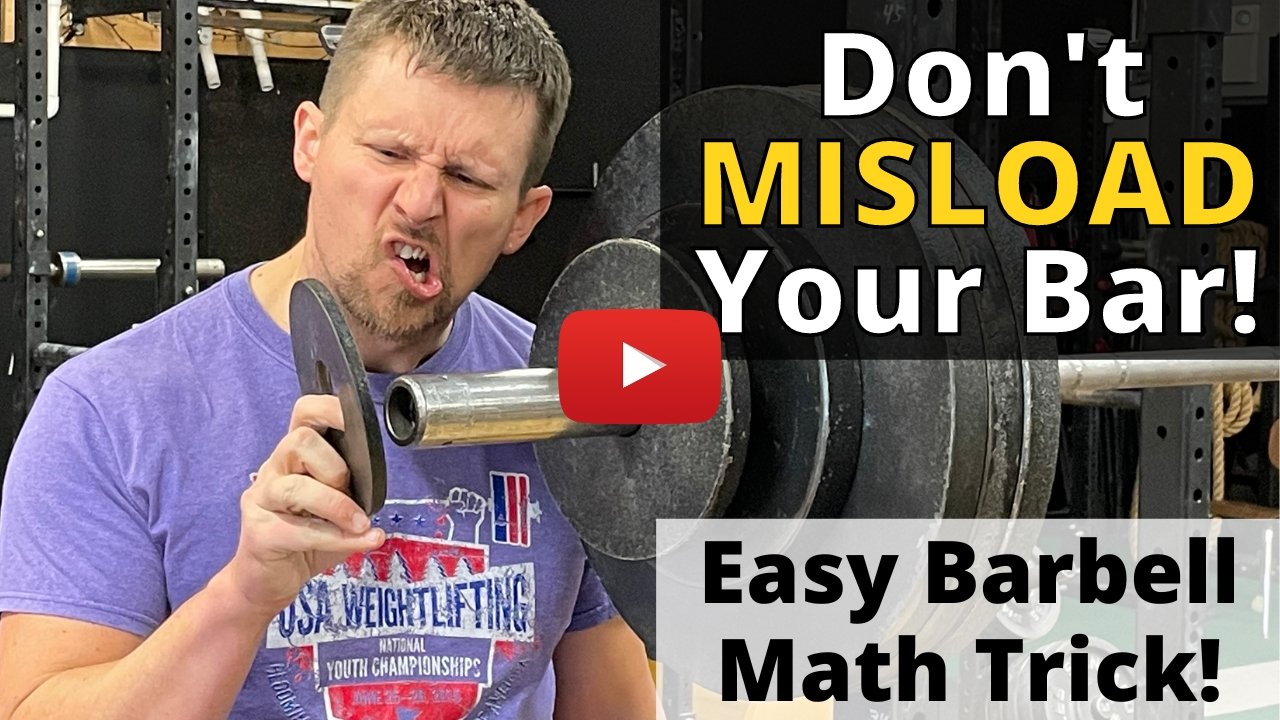
Barbell
The barbell is the most important piece of general equipment (i.e., not your personal gear such as shoes and belt) that you’ll buy, and as such, this is not the place to buy cheap. A quality barbell will last you a lifetime, so invest wisely.

1. Starting Strength Bar (20 kg) by Texas Power Bars 
This is my favorite all-purpose bar and definitely my first choice of barbell. It’s an excellent bar for squatting, pressing, deadlifting, benching, snatching, and clean-and-jerking. We have five of these bars at Testify Strength & Conditioning, and had this bar come out earlier, my wife and I would have two of these at home as well instead of the two Rogue B&R bars we currently have (the B&R is also an excellent bar, and we have five of those at Testify as well).

2. Original Texas Power Bar (20 kg) by Texas Power Bars 
This bar has a more aggressive knurl than the Starting Strength Bar and is the bar I’d choose first when going for a heavy deadlift. If you have no plans to clean or snatch, this might be the bar for you. You can purchase this bar in bare steel, black zinc, chrome, or cerakote coatings. Be prepared - the knurling is no joke.

3. Powerlifting Bar 2.0 (20 kg) by Bells of Steel
If you’re looking to save a bit of money, this barbell might be a reasonable choice. I don’t have any personal experience with it, but it’s received good reviews. At the time of this article, the price is $249.99, and I wouldn’t trust any barbell cheaper than that.
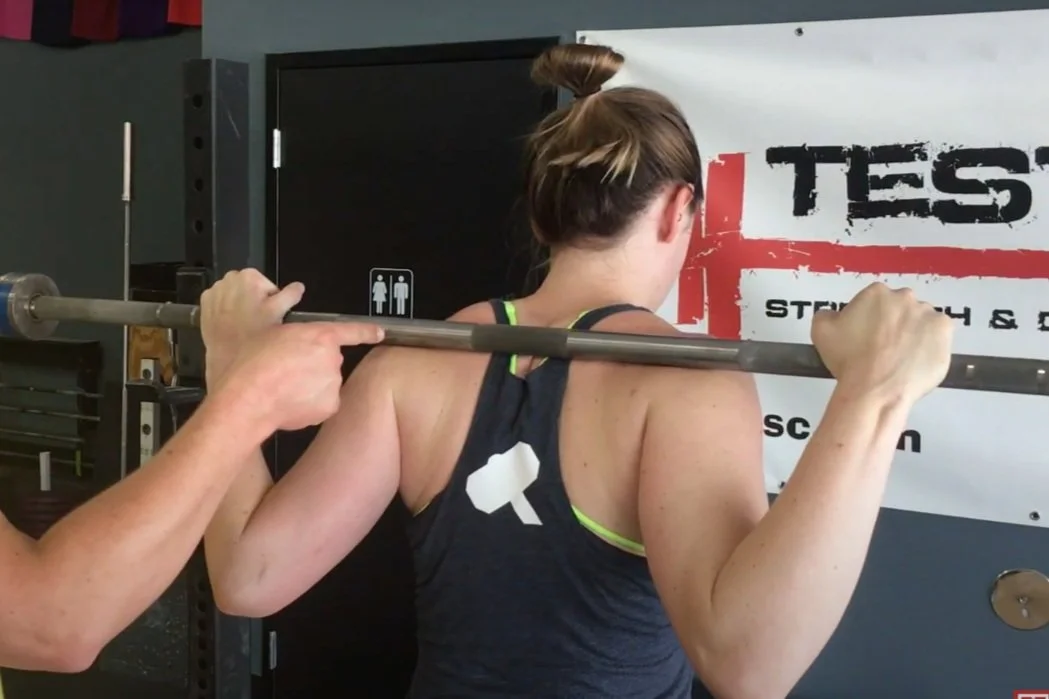
Power Rack

1. R-3 Power Rack by Rogue Fitness 
This power rack is my favorite of anything that’s out there and has been for over a decade. It’s the workhorse rack at Testify (we have six of them), and if we had room, we’d get more of them. If you want the bolt together version (potentially useful if you’re dealing with very tight circumstances when getting the rack to its final destination in your house), then click here.

2. T-3 Power Rack by Titan Fitness
This is essentially Titan’s version of the R-3 but at a lower price point. Unlike the R-3, the T-3 doesn’t come with safeties, so you’ll need to purchase those separately (click here). I haven’t lifted on the T-3, but we (i.e., Testify) have several clients (both local and online) who own them, and it’s received excellent reviews from them.

A few notes:

  • These racks must be bolted to the floor. Absolutely do this.

  • These racks both have 2” x 3” uprights as I avoid 3” x 3” uprights like the plague. A 3” x 3” upright simply means you’re paying for more metal and you have either less room between the hooks (potentially making it harder for those with stiff shoulders to take their squat grip) or less room between the hooks and the plates (making it more likely you’ll bang into the uprights when unracking or racking your squat). This is not an issue of rack strength - Rogue told me each 2” x 3” upright is rated at 10,000 lb (the weakest link is the j-hook, and even the j-hooks are rated at 1,000 lb each), so you don’t need the 3” x 3” uprights.

  • If you want to utilize two barbells on the same power rack (e.g., you’d like to warm-up your bench press between work sets of your squat, or you have a training partner), you’ll want to purchase an additional pair of j-hooks, and you’ll want to purchase two pairs of spotter arms as well (as opposed to pin/pipe safeties) so that you can safely squat and bench outside the cage. Again, bolt the rack to the floor - the concrete floor.

Plates

1. Iron plates by The Strength Co.
These are the best iron plates out there and are both precise and accurate. If Testify had to get new plates, these are the plates we’d get.

Disclaimer: My wife and I train on calibrated, steel, kilogram, competition plates at home since Testify’s competition plates reside at our house except on meet days. I don’t recommend that anyone go out and buy calibrated plates on which to train; in fact, I recommend against it - the lip of each plate is stupidly small (for grabbing the plate), and the plates are inordinately expensive. With that said, I’m not about to spend more money on plates when we already can use these (it’s certainly a champagne problem). However, if we were purchasing pound plates for our home gym, we’d get The Strength Co. plates.

2. Iron plates by Iron Crush
If you’re looking to save some dough, these plates might do the job. I do not have personal experience with these plates, but they’ve received solid reviews.

3. Bumper plates by Rep Fitness
You’ll need bumper plates if you perform the Olympic lifts or if your deadlift warm-up needs to start lighter than 135 lb (which is very common for those beginning their strength training journey). We have kilogram bumpers at Testify as we host a number of weightlifting meets, but the average lifter in the U.S. will probably prefer pound bumpers, and that’s the option I’ve provided here. I don’t have personal experience with these bumpers, but several of our online clients have provided good feedback on these plates from Rep Fitness.

4. Fractional plates by 44 Sport
To increase your lifts by 2.5 lb increments, you’ll need 1.25 lb plates, and you might need to make jumps smaller than 2.5 lb on some lifts (for example, female lifters and older male lifters on the press and bench press). With this in mind, I’d recommend this fractional set of 0.25 lb, 0.5 lb, 0.75 lb, and 1 lb plates. We have several sets of these plates at Testify.

What plates should you get? In general, you’ll want the following to get started:

  • 2 x 1.25 lb plates (or the fractional set listed above)

  • 2 x 2.5 lb plates

  • 2 x 5 lb plates

  • 4 x 10 lb plates (i.e., two pairs of 10 lb plates)

  • 2 x 25 lb plates

  • 2 x 45 lb plates

As you get stronger, you’ll need to purchase additional 45 lb plates - this is a good problem to have (albeit an expensive one at times). Bumper plates can be purchased starting at 10 lb (and heavier), and if you need to load your deadlift lighter than 135 lb, you’ll want to purchase a pair of 10 lb, 15 lb, and/or 25 lb bumpers.

Bench

1. Flat Bench by Rep Fitness
Our benches at Testify are from Rogue Fitness, and while they are fine, if I were to purchase a bench for home use right now, the Rep Fitness bench would be my choice. I don’t have personal experience with it, but it seems to provide better grip than Rogue’s, and a number of our online clients have said positive things about it.

2. Adjustable Bench by Rep Fitness
I don’t have personal experience with this bench either, but if I was going to get an adjustable bench (e.g., for incline bench press) for home use, this is probably the option I’d go with. We have an adjustable bench from Rogue at Testify, and it’s solid, but it’s unwieldy, and we probably wouldn’t buy it again for the price.

Chalk

1. Spider Chalk
This is our favorite chalk on the market, and there’s no point in having a second option in this category. It seems silly to even have a favorite chalk brand, but the blocks are more dense than other brands, and the blocks stay intact far better than other brands. Bear in mind that one block will last you a long time.

Collars

1. Metal spring collars by Power Systems
These are my favorite collars - we have many of these at Testify, and these are the type Becky and I have at home as well. With a bit of know-how, they are easy to slide on and off with only one hand.

2. Plastic collars by Clout Fitness
If you prefer the plastic collars that tend to be quite popular, you can find a bunch of options online. It’s possible that I’ve had personal experience with these, but there’s so many options out there that it’s tough to keep track. At any rate, these are popular and have received solid reviews.

Platform

1. 8’ x 8’ platform
Don’t buy a platform - build one (watch the included videos). It’s not difficult, and you’ll save a ton of money in the process. The platform will protect your plates, your floor, it reduces noise, and it clearly delineates your lifting space (which is very important if you have anyone else in your gym with you, such as your kids).

2. 4’ x 8’ platform
If you don’t have room for an 8’ x 8’ platform, you’ll at least want a 4’ x 8’ platform for deadlifting. We cover this in the videos as well.

Happy home gym shopping (and building), and as always, we hope this helps you get stronger and live better.

(Some links may be affiliate links. As an Amazon Associate, Testify earns from qualifying purchases.)

If you found this helpful, you’ll love our weekly email. It’s got useful videos, articles, and training tips just like the one in this article. Sign up below, and of course, if you don’t love it, you can unsubscribe at any time.


At Testify, we offer small group training, private coaching (in-person or remotely via Zoom), online coaching, and form checks. Would you like to get quality coaching from a Starting Strength Coach?

click here to start today

How to Load & Unload the Barbell for the Deadlift (in less than 3 minutes!)

Loading and unloading the barbell for your deadlifts can be a pain, so in less than 3 minutes, here are 4 different ways to make this process easier.

(A Blast from the Past video originally published on 04/16/22)


At Testify, we offer small group training, private coaching (in-person or remotely via Zoom), online coaching, and form checks. Click the button below to get quality coaching from a Starting Strength Coach and start getting stronger TODAY.

Click here to start today

These Aren't the Rests You're Looking For - Part Deux

(A Blast from the Past article originally posted on 02/04/22)

A while back in These Aren't the Rests You're Looking For - Part 1, we covered the importance of being economical with your time between reps in the deadlift. It’s important not to spend any more time than necessary with the barbell sitting on the floor because that semi-crouched position is not a very good resting position.

The same advice applies to the top of the squat as well. When the weight gets heavy, it’s easy to fall into the habit of taking too much time between reps in the squat. You’ve seen this in the gym - the lifter who takes 10-20 seconds between reps 4 and 5 of their work set.

Don’t be this lifter.

Yes, the top of the squat is the easiest place to support the weight, and thus, we take our breath at this position, but don’t spend any more time than necessary here. You’re still supporting a heavy load, and you want to get done with squatting, not simply put off the next rep. Taking 8 breaths and waiting 20 seconds before you squat the next rep simply makes the next rep harder.

Keep it simple. Keep it short. Take 1 breath between each rep, get tight (remember the Valsalva maneuver?), and then squat. You might take 2 breaths (maybe even 3) before your last rep, but don’t use breathing as a stalling technique. That chair over in the corner is a much better resting position than standing at the top of the squat with a bunch of weight on your back. Get the set done - you’ll be glad you did.

We hope this helps you get stronger and live better!

(Some links may be affiliate links. As an Amazon Associate, Testify earns from qualifying purchases.)

If you found this helpful, you’ll love our weekly email. It’s got useful videos, articles, and training tips just like the one in this article. Sign up below, and of course, if you don’t love it, you can unsubscribe at any time.


At Testify, we offer small group training, private coaching (in-person or remotely via Zoom), online coaching, and form checks. Would you like to get quality coaching from a Starting Strength Coach?

click here to start today

STOP Using Your Back Like THIS (How to Squat Correctly)

Are you making this mistake with your back when getting ready to squat? Here’s how to identify the problem as well as how to fix it.


At Testify, we offer small group training, private coaching (in-person or remotely via Zoom), online coaching, and form checks. Click the button below to get quality coaching from a Starting Strength Coach and start getting stronger TODAY.

Click here to start today

Testify Freelancer - February 19, 2024

THIS WEEK'S SUBMISSION

From our video Build a Lifting Platform (and the easiest way to cut stall mats!) (click the title to watch):

Paulo David
Why do you use two pieces of horse stall mats? Instead of a long single piece

Phil
Solid question. The standard horse stall mat dimensions are 4‘ x 6‘. You can get them in 8 foot lengths (i.e., the length of the platform), but you have to special order them, and they’re rather pricey. You can get your standard 4’ x 6’ mat at a Tractor Supply store or something similar.


ARTICLES & VIDEOS

What "Internet Fitness" and "Trainers" Get WRONG About Lifting Weights
What should you focus on when lifting weights? What should you think about? The mainstream fitness industry gets this wrong all the time. Click here to watch.


WHERE Should I Put the Bar for the Squat?
How do you find the best position for the barbell when squatting? We show you how in this short article. Click here to read.


Blast from the Past: Fast & Easy Barbell Math Tricks to Save You from Misloading the Barbell!
Thought you set a PR only to discover the weight was wrong? Here are 2 quick and easy methods to see right away if you've misloaded the bar. Click here to watch.


Blast from the Past: These Aren't the Rests You're Looking For - Part 1
Are you spending a lot of time between reps in the deadlift? Knock it off - it's a problem. Phil explains why as well as how to solve it. Click here to read.


NEW TESTIFY HOODIES ARE AVAILABLE!

Looking to train in style and comfort this winter? Get yourself a Testify hoodie - in practically any color! Get yours today and represent your favorite gym.

Click here to head to the Testify Store.


WHAT'S COMING UP

Below are a few of our upcoming events, and you can find out what else is on the calendar by heading to our events page at www.testifysc.com/events.

Bring Your Grandparent to Squat Saturday!

  • February 24, 2024

  • Is your grandma or grandpa interested in getting stronger? Bring your grandparent (or parent!) to the gym on February 24!

  • They'll learn how to squat, meet some of our coaches, and it's FREE!

  • If they join Testify, you and they EACH get a $75 discount for 1 month of membership.

  • Click here to register or for more information.

Testify Strengthlifting Challenge

  • April 6, 2024

  • The annual Testify Strengthlifting Challenge is back, and we invite you to be a part of it! This is a strengthlifting meet, which means the contested lifts will be the squat, press, and deadlift.

  • Click here to register or for more information.

Starting Strength Self-Sufficient Lifter Camp

  • May 18, 2024

  • Spend the day learning the Squat, Press, and Deadlift and how to self-evaluate your lifts while training in your garage or commercial gym without a coach.

  • Click here to register or for more information.


THIS WEEK’S CONDITIONING

Option 1
“Prowler Base+1”
1. Load up a manageable weight.
2. Sprint 40m at 85% intensity.
3. Rest 30 sec.
4. Repeat 5-15 times.

Courtesy of “Death by Prowler” (on Starting Strength).

Compare to 2023.12.18.

Option 2
Bike/row:
4 x 800m

Rest 3 minutes between each round. Score = slowest time.

Compare to 2023.11.27.

Option 3
Outdoors:
5-10 rounds:
10 sledgehammer strikes (5R, 5L)
50 yd farmer carry (25 yd down-back)
Rest 1 minute

Indoors:
5-10 rounds:
10 sledgehammer strikes (5R, 5L)
100 ft farmer carry (50 ft down-back)
Rest 1 minute

Compare to 2023.10.30.

Option 4
5-8 rounds:
50 ft sled push
50 ft sled pull (hand over hand)
Row 1 minute
Rest 1 minute

This can also be done in a group of three where the sledder determines how long the other two people row and rest.

Compare to 2023.10.30.

WHERE Should I Put the Bar for the Squat?

In the squat, the location of the barbell on your back matters. If it’s sitting too high, too low, or if you’re just not sure where it should sit in general, you've got a problem. Let’s fix it.

Figure 1: Becky demonstrates the correct position for the barbell.

Where to Place the Bar
You want the barbell to sit below the spine of the scapula and rest securely on the delts (Figure 1). “Where is the spine of my scapula?” you ask? Solid question.

The spine of your scapula is a bony ridge that runs horizontally along your shoulder blades. You can find it on your own scapula, or better yet, have someone find it for you.

This is far more easily demonstrated on video, so I recommend watching the included video.

Your “scapula spotter” should run his fingers out to the edge of your scapula (the most lateral aspect of this bony ridge), and then simply roll his thumb or fingers below that edge. He can press into your delts and put an indentation on your back - this indentation represents where you want the bar to sit when you squat.

Figure 2: no good - mike has the bar positioned too high.

What Happens if the Bar is in the Wrong Position?
If you don’t get the bar in the right spot, one of two things will occur.

If the bar is sitting too high as in Figure 2, it will tend to roll or slide up your back, which is no fun at all. This makes for an insecure position, and it will also prevent you from pointing your chest at the floor (i.e., leaning over) and achieving the correct back angle when you squat.

Figure 3: no good again - now, mike has the bar positioned too low.

On the other hand, if the bar is sitting too low as in Figure 3 - below the shelf provided by your delts (less common, but it does happen) - the bar will tend to slide down your back. This is also terrible as it leaves your hands supporting a lot of the bar’s weight (which tends to cause a lot of wrist, elbow, and shoulder discomfort).

How Can I Make Sure I’ve Got It Right?
Your best bet is to get a coach to help you, so contact us if you’d like to set up a coaching session (click here). The second best option is to have a friend watch the video above and have him help you find the correct spot on your back. In lieu of those options, you can video yourself getting under the bar and unracking it (get the camera behind you and pretty high up if possible) and see if you have the bar in the right location.

As always, we hope this helps you get stronger and live better.

(Some links may be affiliate links. As an Amazon Associate, Testify earns from qualifying purchases.)

If you found this helpful, you’ll love our weekly email. It’s got useful videos, articles, and training tips just like the one in this article. Sign up below, and of course, if you don’t love it, you can unsubscribe at any time.


At Testify, we offer small group training, private coaching (in-person or remotely via Zoom), online coaching, and form checks. Would you like to get quality coaching from a Starting Strength Coach?

click here to start today