Testify Citizen - October 30, 2023
/THIS WEEK'S SUBMISSION
From our video TINY GRANDMA SQUATS 205 LB! (click the title to watch):
Pops 355
Why leaned over????
Phil
Solid question – it’s a stronger position and makes better use of the musculature surrounding the hips and the knees. Trying to raise the chest too soon makes for a much more difficult squat.
ARTICLES & VIDEOS

Bench Press: He Should NOT Have Done This...
Phil addresses and helps you fix a common bench press error in this episode of our Two Minute Tactics. Click here to watch.
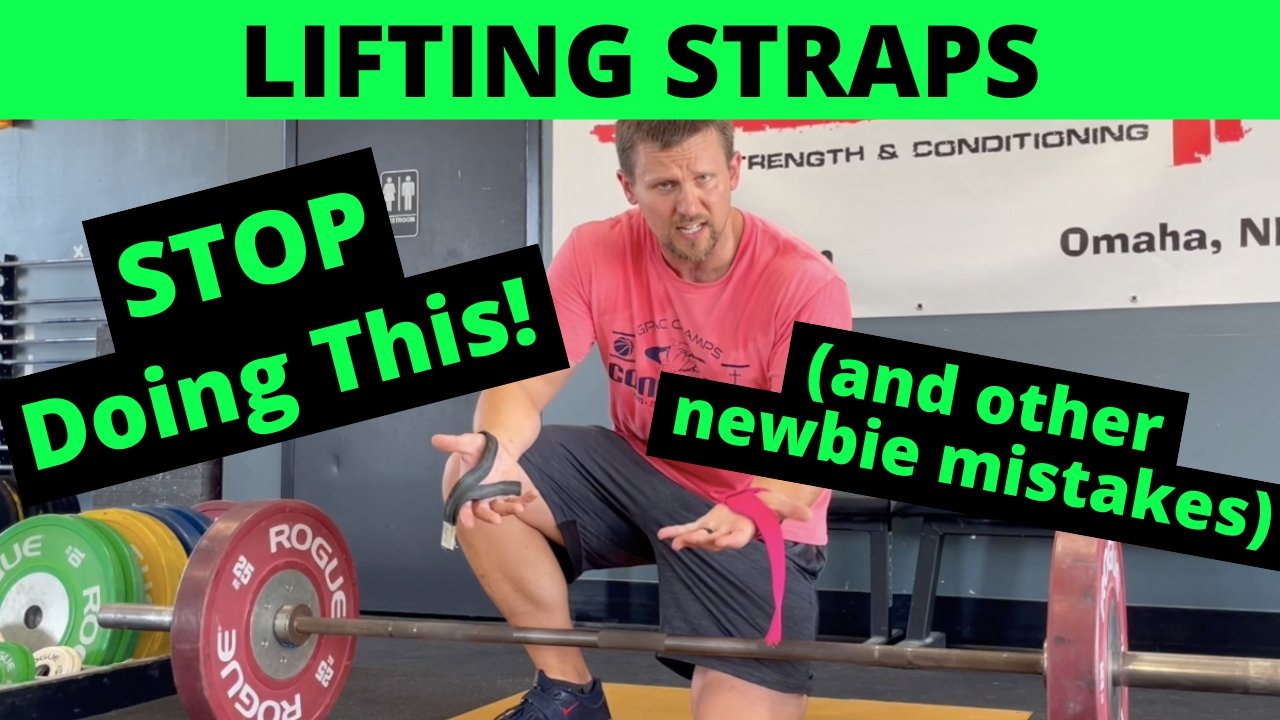
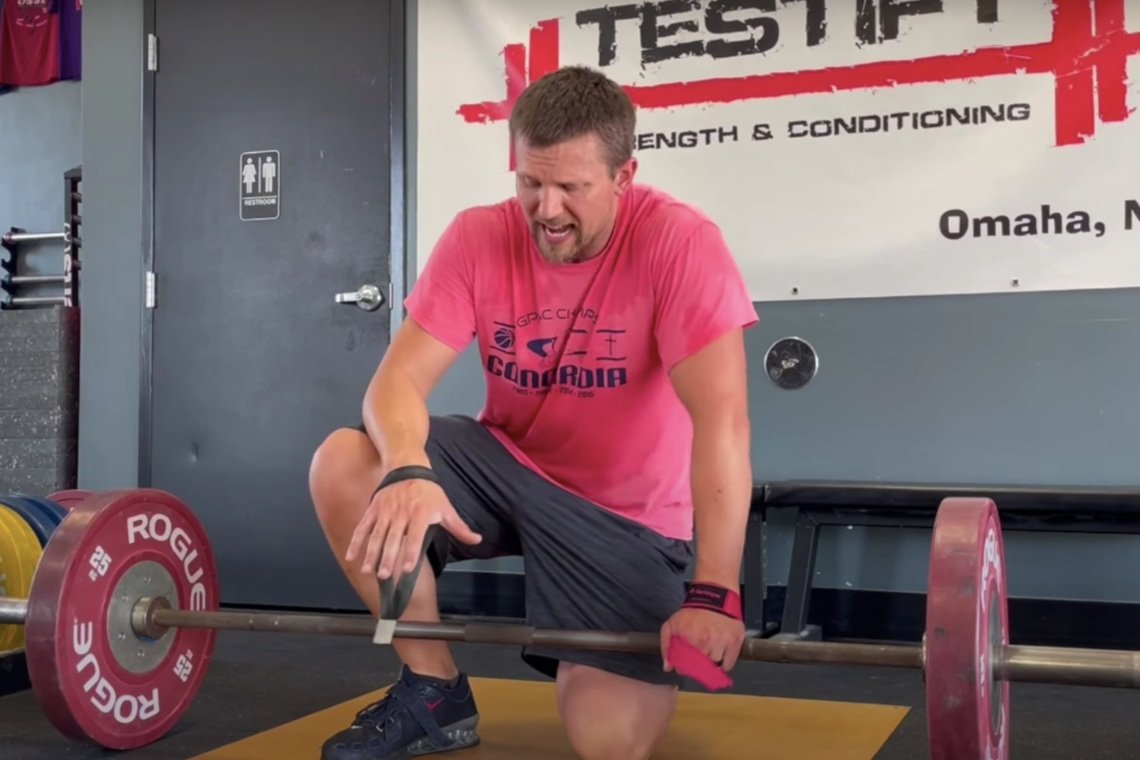
Lifting Straps | What You're Doing WRONG (common mistakes)
We cover several common mistakes that new lifters make with lifting straps (and how to fix them). Click here to read.

Blast from the Past: Weightlifting vs Powerlifting vs Hybrid Barbells in 2 minutes!
What's with the different markings on barbells? Phil quickly and simply explains what they mean, what purpose they serve, and how to know which one to use. Click here to watch.
Blast from the Past: Bar Math: Stop Doing This!
Quit using subtraction and division to load weight onto your bar! Share this with a friend who struggles with bar math, and if it's you, we can help. Click here to read.

NEW TESTIFY HOODIES ARE AVAILABLE!
Looking to train in style and comfort this fall? Get yourself a Testify hoodie - in practically any color! Get yours today and represent your favorite gym.
Click here to head to the Testify Store.
WHAT'S COMING UP
Below are a few of our upcoming events, and you can find out what else is on the calendar by heading to our events page at www.testifysc.com/events.
Free Intro to Deadlift Session
November 4, 2023
Are you interested in getting stronger? Book your free "Intro to Deadlift" session and learn to deadlift, meet some of our coaches, and see the gym! All ages and abilities are welcome.
Click here to book your free session.
Benching Bonanza! The Annual Testify Bench Press Jubilee
November 17, 2023
Benching Bonanza is a strength meet wherein the only contested lift is - you guessed it - the bench press. There will be one bar, and the meet will be conducted in a "rising bar" format, so the weight on the bar only goes up! It'll be a ton of fun, so come on out!
Click here to register or for more information.
Testify Christmas Classic
December 2, 2023
The annual Testify Christmas Classic is back, and you're invited! This is a weightlifting meet, so the contested lifts are the snatch and clean-and-jerk.
Click here to register or for more information.
IN OTHER NEWS . . .
This year, Testify Strength & Conditioning will be participating in Samaritan’s Purse Operation Christmas Child event as a way to support our community and beyond!
Would you like to join us in sending a shoebox filled with gifts and personal items to a child in need this Christmas? Your shoebox will be an expression of God’s love to a child in need around the world. Any shoebox will do, fill it with toys, personal care items, school supplies and accessories. You can choose to make your box specific to a boy or girl ages 2-14 years old. Fill out the envelope (located on the table outside the gym office) and add $10/box for shipping and attach it to your box.
Check out the table outside the gym office for all the details and how to pack a box. Our goal is to deliver 20 boxes to a local church drop-off site to be processed and sent out to the children. Shoeboxes need to be returned to Testify no later than November 13th.
If you have any questions please contact Barb at barb.mueller@testifysc.com.
THIS WEEK’S CONDITIONING
Option 1
Sled
Outdoors:
10 rounds of:
Push sled 100 ft
Pull sled 100 ft (hand over hand)
Indoors:
20 rounds of:
Push sled 50 ft
Pull sled 50 ft (hand over hand)
Compare to 2023.08.28.
Option 2
Bike/Row for 9 rounds:
1 min on
1 min off
Record distance for each round.
Compare to 2023.08.07.
Option 3
Outdoors:
5-10 rounds:
10 sledgehammer strikes (5R, 5L)
50 yd farmer carry (25 yd down-back)
Rest 1 minute
Indoors:
5-10 rounds:
10 sledgehammer strikes (5R, 5L)
100 ft farmer carry (50 ft down-back)
Rest 1 minute
Compare to 2023.07.10.
Option 4
5-8 rounds:
50 ft sled push
50 ft sled pull (hand over hand)
Row 1 minute
Rest 1 minute
This can also be done in a group of three where the sledder determines how long the other two people row and rest.
Compare to 2023.07.10.