Barbell Rings - What Are These Things For?!
/
(This is a Blast from the Past article originally posted on 08/27/21.)
Every barbell has one or two pairs of rings - also known as score marks or knurl marks. Today, we’re going to talk about the two types of rings, the purpose of the rings, and how they might pose a problem for a new or inexperienced lifter.
For further explanation and demonstration of the topics covered in this article, be sure to check out any of the included videos.

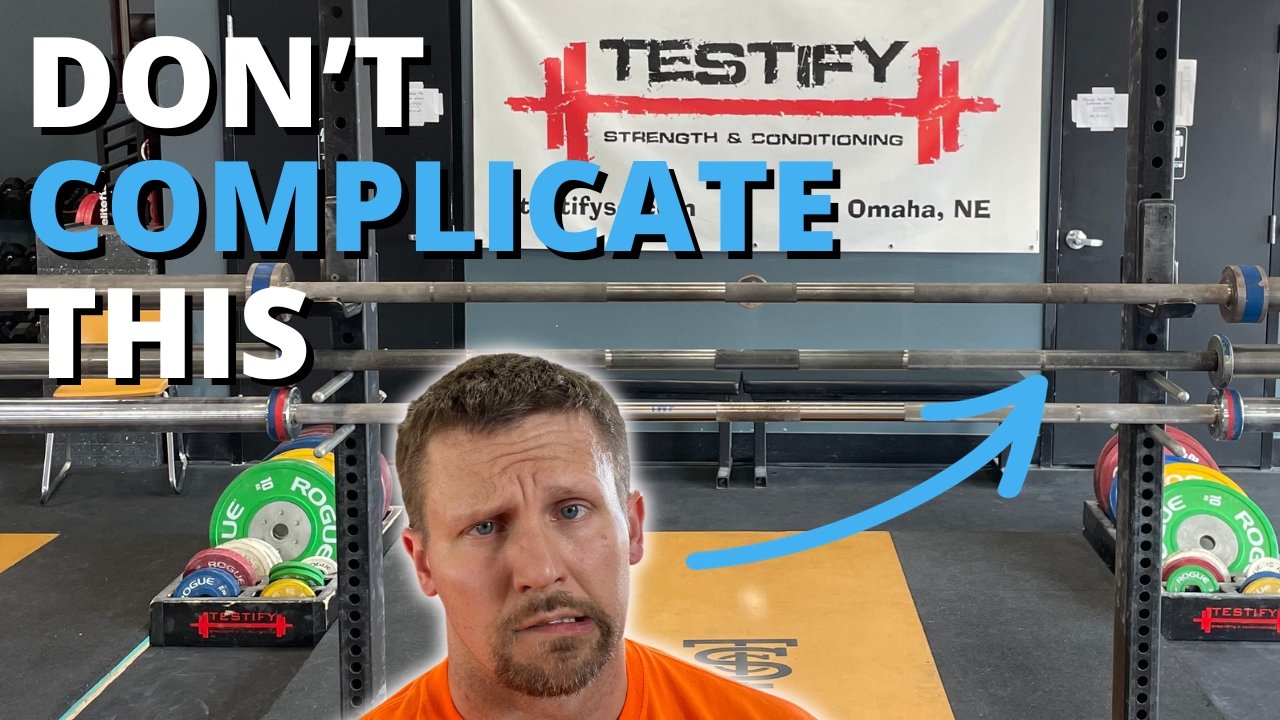
From top to bottom - barbells with (A) power rings only, (B) weightlifting and powerlifting rings, and (C) weightlifting rings only
The 2 Types of Rings
Using a dual-ringed bar (i.e., a bar with both sets of rings) for reference, the inner rings are known as the powerlifting rings or simply the power rings, and these marks are 81 cm apart (approximately 32 in). The outer rings are known as the weightlifting rings or the olympic rings, and these marks are 91 cm apart (approximately 36 in).
Purpose
Both sets of rings are used for reference points when you take your grip on the bar. In the sport of powerlifting, the power rings on a dedicated powerlifting barbell (or “power bar”) represent the maximum legal grip width for the bench press (i.e., at the widest legal grip, the index fingers still need to be in contact with the rings). In lifts other than the bench press (e.g., the squat) the rings still serve as a reference point upon which to base your grip.
In the sport of weightlifting - i.e., the snatch and clean-and-jerk - due to the wider grip widths used in the clean, the jerk, and specifically the snatch, it is useful to have a wider set of rings for reference, and thus, the weightlifting rings are set a bit wider than the power rings.
The Problem
A potential problem arises when a lifter switches from one barbell to a different barbell. Suppose, for example, that Jack is accustomed to training on a bar that only has one set of rings, and then he travels somewhere and ends up using a dual-ringed bar. Suddenly, Jack’s not sure which set he should be using for his reference point for his grip.
Conversely, let’s say Jill has been training with a dual-ringed bar, and then she goes to her first competition, and the competition bar only has one set of rings. As Jill steps onto the competition platform, she isn’t sure whether she’s looking at the power rings or the weightlifting rings.
The solution here is pretty simple - know your equipment. If you’re not sure which rings you’ve been using, you can easily figure it out. If it’s a dual-ringed bar, you hopefully already know whether you’ve been using the inner set or outer set, and if it's a single-ringed bar, break out your tape measure and check the distance between the rings (32 inches = powerlifting rings and 36 inches = weightlifting rings).
If you have to go train or compete on a different bar, know the following points:
At a powerlifting meet, you’ll either encounter a power bar (i.e., a bar with power rings) or a bar with both sets of rings (less common at a meet).
At a weightlifting meet, you’ll either encounter a weightlifting bar (i.e., a bar with weightlifting rings) or a bar with both sets of rings (again, less common at a meet).
In general training, if you encounter a single-ringed bar, you’re probably - probably - looking at the power rings as these bars are far more common than dedicated weightlifting bars.
While the above points are useful, your best bet is to still measure.
Knowing these facts, you can keep your technique reproducible and therefore consistent wherever you go.
As always, we hope this helps you get stronger and live better.
-Phil
PS: Whenever you want even more Testify in your life, here are some free resources:
Follow Testify on Instagram HERE.
Subscribe to Testify’s YouTube channel HERE.
Book a free intro and strategy session with us HERE.
Pick up a free copy of Testify’s Squat Guide: 12 Tips to Improve Your Squat Now HERE.
Get our free weekly email - containing useful videos, articles, and training tips - HERE.
(Some links may be affiliate links. As an Amazon Associate, Testify earns from qualifying purchases.)


