Antonio and the Deadlift

(A Blast from the Past article originally posted on 12/02/18)

Do you know about the Italian physician and anatomist Antonio Maria Valsalva (1666 - 1723)? Probably not, and that’s O.K., but every time you lift, you perform a maneuver - the Valsalva maneuver - that is named after him. To Valsalva is to hold your breath against a closed glottis, or perhaps more simply, to take a big breath and “bear down.”

You Valsalva instinctively when you are trying to push a stalled or stuck car, you Valsalva when you’re constipated and trying to poop, and fighter pilots Valsalva as part of their Anti-G Straining Maneuvers (AGSMs), which are performed to avoid passing out when subjected to high G-forces in the cockpit.

Now, let’s chat about the Valsalva maneuver and the deadlift.

You’ve been coached on the setup for the deadlift, so you’ve got the 5 steps down pat:

  • Stance - take a relatively narrow stance with your shins about 1” from the bar.

  • Grip - take a narrow grip on the bar (DO NOT MOVE THE BAR).

  • Shins - bend your knees to bring your shins into contact with the bar (DO NOT MOVE THE BAR).

  • Chest - squeeze your chest up to set your back in rigid extension (DO NOT MOVE THE BAR).

  • Pull - drag the bar up your legs.

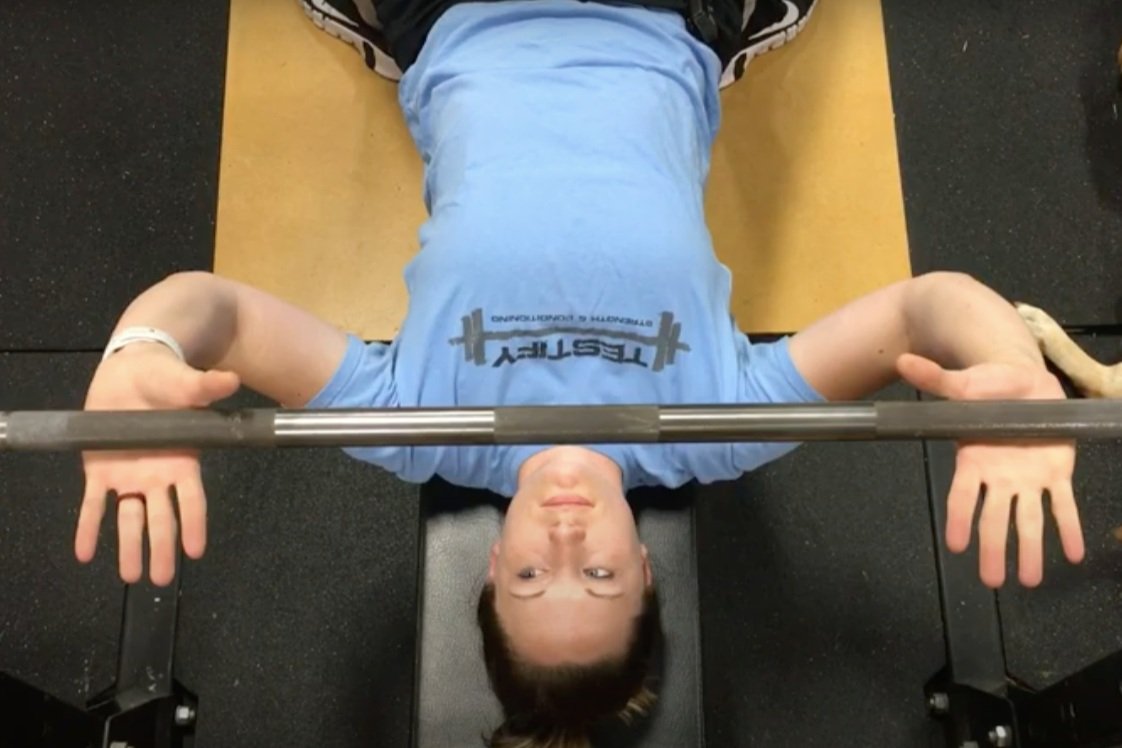
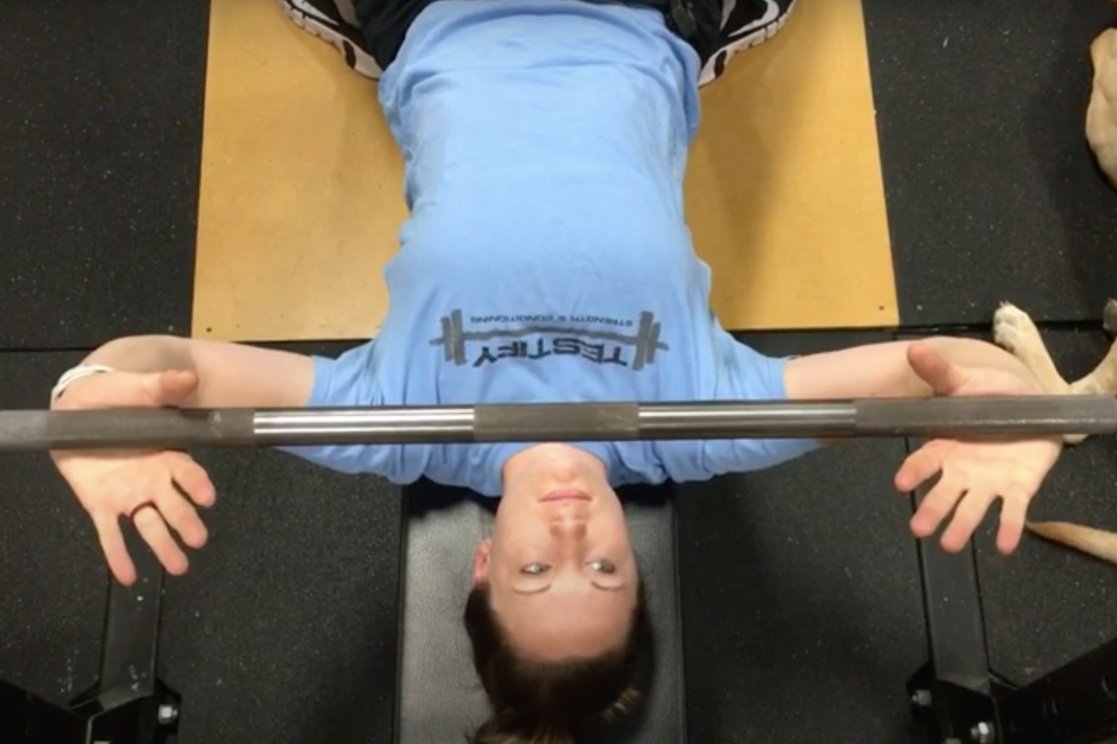
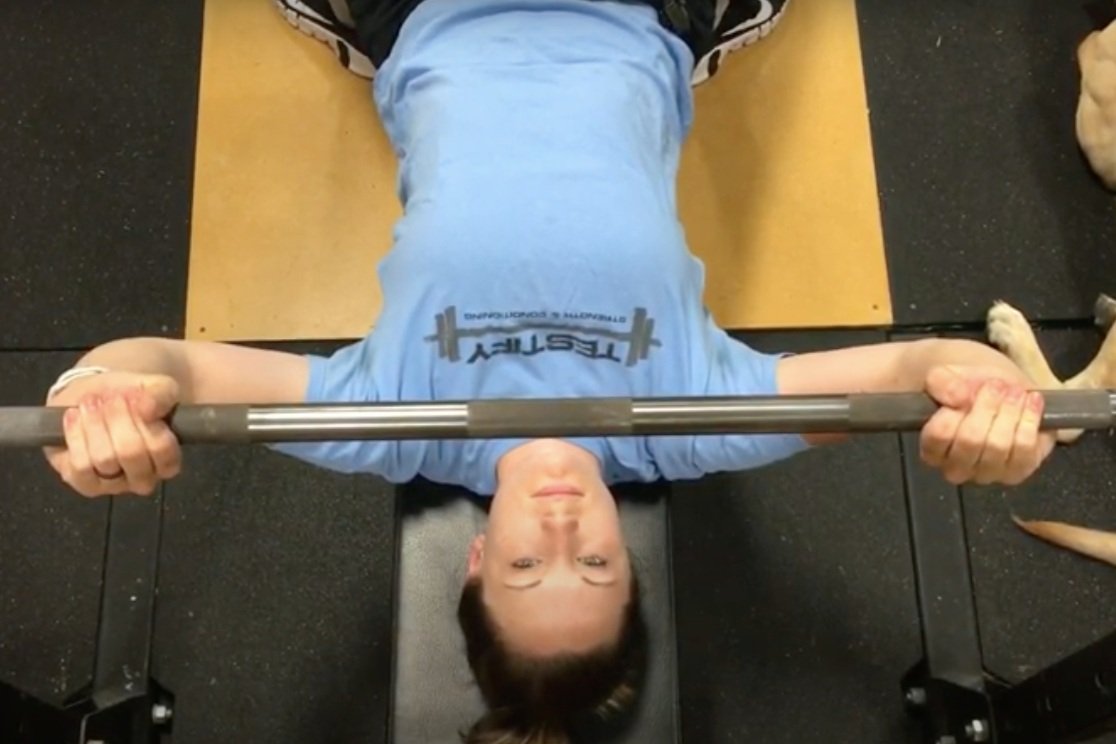
jill correctly holds her valsalva at the top of her deadlift.

Most people will Valsalva right before (or during the process of) squeezing the chest up. Excellent. They will usually hold that Valsalva all the way up to the top of the lift - the lockout. Excellent again.

And right here - right at the top - this is where we tend to see a hiccup in the process. Some lifters (especially newer lifters) have a tendency to release their Valsalva at the top of the deadlift, i.e., they blow out their breath at the top. If you are one of these lifters - if you tend to release your breath at this point of the deadlift - there is only one thing to do.

Stop. That. Now.

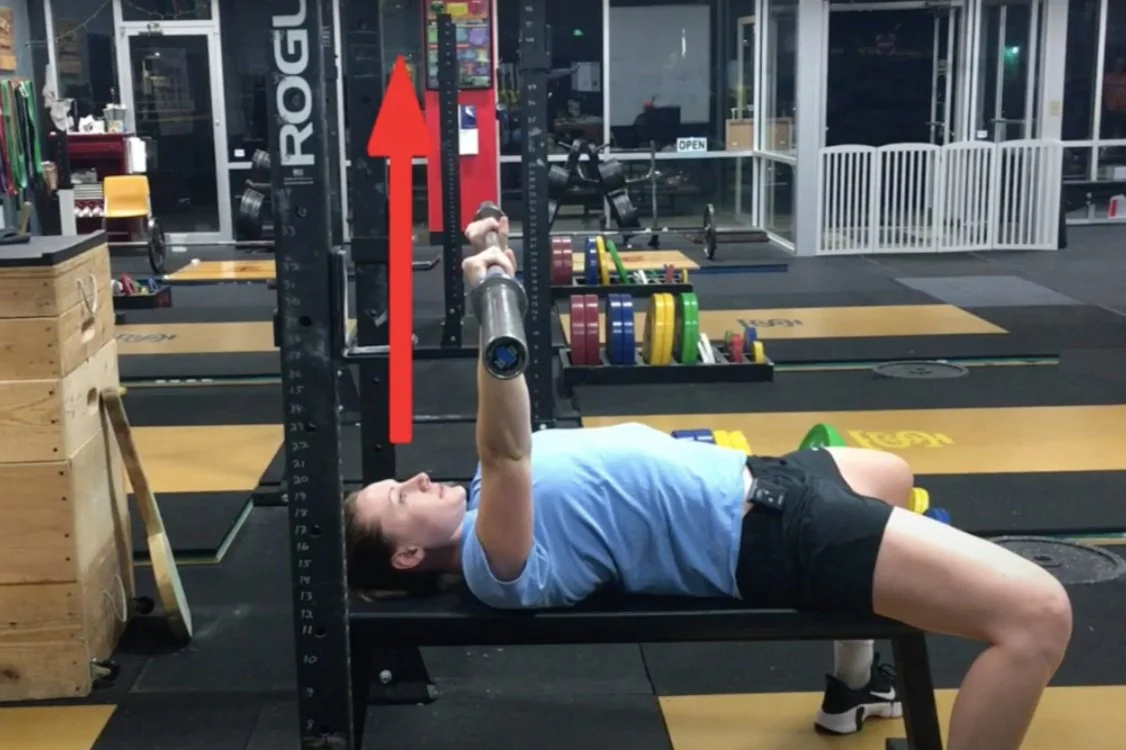
james (left) and Loren (right) both know how important breath is when it comes to stability.

The Valsalva, the holding of your breath against a closed glottis and with tightly contracted abs - provides stability to the lift. Put simply, breath is stability, and stability is a wonderful thing to have when pulling heavy weights off the floor and setting them back down again.

So, if you tend to release your breath at the top of your deadlift, work on fixing it. Specifically, start by focusing on keeping your Valsalva while warming up the deadlift. The weight is lighter at this point, so you can spare some extra mental energy for this endeavor. Breath only when the bar is on the floor - not while loaded.

And be sure to thank Antonio the next time you complete a successful set of deadlifts.

(Some links may be affiliate links. As an Amazon Associate, Testify earns from qualifying purchases.)

If you found this helpful, you’ll love our weekly email. It’s got useful videos, articles, and training tips just like the one in this article. Sign up below, and of course, if you don’t love it, you can unsubscribe at any time.


At Testify, we offer small group training, private coaching (in-person or remotely via Zoom), online coaching, and form checks. Would you like to get quality coaching from a Starting Strength Coach?

click here to start today

Starting Strength Squat Looks HORRIFYING, Here's Why

We posted a video a few weeks back, and some people were very concerned by one aspect of the squats they saw. What was it?


At Testify, we offer small group training, private coaching (in-person or remotely via Zoom), online coaching, and form checks. Click the button below to get quality coaching from a Starting Strength Coach and start getting stronger TODAY.

Click here to start today

The Testify Outlook - January 1, 2024

THIS WEEK'S SUBMISSION

From our video The Rules of Olympic Weightlifting - How to Avoid Red Lights! (click the title to watch):

Charlie
Are there any rules for depth?

Phil
Nope - a full snatch (AKA squat snatch), power snatch, and a split snatch are all acceptable at a meet. The same is true for the clean (i.e., squat, power, and split are all fine).

Charlie
Thank you for clarifying this 🙏

Phil
You're very welcome.


ARTICLES & VIDEOS

Why You Must NOT Use Your Shoulders in the Deadlift
We cover two mistakes lifters commonly make with their shoulders when deadlifting (and how to fix them). Click here to watch.


How to Handle a Misload (it's NOT what you think)
An unevenly loaded barbell is a common mistake, but after you've corrected the load on the bar, do you just proceed as usual? Not quite. Phil explains. Click here to read.


Blast from the Past: Fix All of Your Lifts with this ONE Solution!
Want to fix ALL of your lifts with one easy technique? Watch this short video and find out how. Click here to watch.


Blast from the Past: 4 Tips for a Better Bench Press
We cover 4 useful tips to help you build a better, stronger bench press. Click here to read.


NEW TESTIFY HOODIES ARE AVAILABLE!

Looking to train in style and comfort this winter? Get yourself a Testify hoodie - in practically any color! Get yours today and represent your favorite gym.

Click here to head to the Testify Store.


WHAT'S COMING UP

Reminder: Below are the hours for New Year’s week (you can also find these on our Location & Hours page). Any days not listed retain their normal hours.

New Year’s Week (2023-2024)
Monday, 01/01/24: Closed
Tuesday, 01/02/24: 4:00 p.m. - 7:30 p.m. (closed in the morning)

Below are a few of our upcoming events, and you can find out what else is on the calendar by heading to our events page at www.testifysc.com/events.

Free Intro to Squat Session

  • January 6, 2024

  • Are you interested in getting stronger? Book your free "Intro to Squat" session and learn to squat, meet some of our coaches, and see the gym! All ages and abilities are welcome.

  • Click here to book your session.

Free Intro to Deadlift Session

  • January 13, 2024

  • Are you interested in getting stronger? Book your free "Intro to Deadlift" session and learn to deadlift, meet some of our coaches, and see the gym! All ages and abilities are welcome.

  • Click here to book your session.

Testify Strengthlifting Challenge

  • April 6, 2024

  • The annual Testify Strengthlifting Challenge is back, and we invite you to be a part of it! This is a strengthlifting meet, which means the contested lifts will be the squat, press, and deadlift.

  • Click here to register or for more information.


THIS WEEK’S CONDITIONING

Option 1
Sled
Outdoors:
10 rounds of:
Push sled 100 ft
Pull sled 100 ft (hand over hand)

Indoors:
20 rounds of:
Push sled 50 ft
Pull sled 50 ft (hand over hand)

Compare to 2023.10.30.

Option 2
Bike/row:
8 x 30 sec on/2:00 off

Score = least distance covered in any 30 second interval

Compare to 2023.10.09.

Option 3
Outdoors:
5-10 rounds:
10 sledgehammer strikes (5R, 5L)
50 yd farmer carry (25 yd down-back)
Rest 1 minute

Indoors:
5-10 rounds:
10 sledgehammer strikes (5R, 5L)
100 ft farmer carry (50 ft down-back)
Rest 1 minute

Compare to 2023.09.11.

Option 4
1. 5 yoke carries @ 30 yd (15 yd downback) – work up to heaviest carry
2. 5 rounds of 5 reps on the axle “clean and press away” – work up to heavy set of 5

Compare to 2023.09.11.

How to Handle a Misload (it's NOT what you think)

You’ve misloaded your barbell, so what do you do now? Hint: There’s more to it than just correcting the math.

The Situation
Specifically, how do you handle the type of misload wherein you unevenly load your barbell? For example, you mean to load 175 lb (i.e., total weight) on the bar, but instead of putting a 45 lb plate and two 10 lb plates on each side, you correctly put a 45 and two 10s on the left side and then accidentally put a 45 and only one 10 on the right side.

An uneven misload like this can happen for a number of reasons, and you might be surprised at how much you’ll notice a 5 lb or even a 2.5 lb difference between the two sides of the barbell when it’s uneven (watch the included video for what this looks like in action). Using the above 175 lb squat for our example, let’s go through the scenario.

You’ve unevenly - but unknowingly - misloaded your barbell as described above, and you go to unrack it. During the unrack, you immediately notice the difference as you start to stand the bar up from the j-hooks. The right side lifts off faster and higher than the left, you quickly realize that something is amiss, and you wisely re-rack the bar.

What to do?

Step #1: Fix the misload.
This part is fairly obvious - you check both sides of the bar, realize your mistake, and add the missing 10 lb plate to the right side of the bar. You double check the situation and get ready to unrack the bar again.

Step #2: Recalibrate yourself.
(Note: This process is demonstrated in the video below)
This part is not obvious. When you unracked the unevenly loaded bar a moment ago, your brain started adapting to the situation immediately (yes, without your permission); in other words, your brain starts to treat the uneven bar as normal. This means that after you’ve added the correct amount of weight to the right side of the bar, the right side will now feel oddly heavier than the left side.

To address this situation and recalibrate yourself, you simply unrack the correctly loaded barbell (which will feel slightly uneven), stand it up, and then set it right back in the hooks. Don’t even walk it out from the rack. Just stand it up for a few seconds and then set it back down again. By doing this, you’ve forced your brain to adapt to the feeling of the correctly loaded weight.

Step #3: Perform the work set
Now that you’ve gotten a sense of what the weight should feel like, you immediately unrack the bar again, take a step back, and perform your work set.

This 3-step solution is simple, fast, very effective, and it works for the squat, press, and bench press (obviously, there’s no “walking the bar out of the rack” with the bench press, but you get the idea). However, the deadlift requires a slightly different approach.

The Deadlift
The deadlift’s equivalent of “unracking the bar” to recalibrate would be picking the bar up off the floor a few inches, which is actually part of the first rep anyway. As a result - and unlike the situation with the squat, press, or bench press - the deadlift doesn’t provide a great opportunity to recalibrate before starting the set.

Instead, simply remind yourself that - after you’ve corrected the misload - one side of the bar is going to feel a bit heavier than the other side. However, this will only be the case for the first rep, because your brain will use that first rep to recalibrate itself to the correct loading, so all subsequent reps will feel normal.

In other words, the first rep IS the recalibration, so prepare for it. Remind yourself to pull a bit harder on the “formerly-lighter-side” and you’ll be good to go.

If you’d rather, you could choose to pull the bar off the floor a few inches and then set it back down again to mimic the recalibration process used for the squat, press, and bench press, but my recommendation is to not waste the effort - once you get the bar moving, keep it moving and just finish the rep.

As always, we hope this helps you get stronger and live better.

(Some links may be affiliate links. As an Amazon Associate, Testify earns from qualifying purchases.)

If you found this helpful, you’ll love our weekly email. It’s got useful videos, articles, and training tips just like the one in this article. Sign up below, and of course, if you don’t love it, you can unsubscribe at any time.


At Testify, we offer small group training, private coaching (in-person or remotely via Zoom), online coaching, and form checks. Would you like to get quality coaching from a Starting Strength Coach?

click here to start today

Fix All of Your Lifts with this ONE Solution!

Want to fix ALL of your lifts with one easy technique? Watch this short video and find out how.

(This is a Blast from the Past video originally published on 03/21/22.)


At Testify, we offer small group training, private coaching (in-person or remotely via Zoom), online coaching, and form checks. Click the button below to get quality coaching from a Starting Strength Coach and start getting stronger TODAY.

Click here to start today

4 Tips for a Better Bench Press

(A Blast from the Past article originally posted on 12/10/21)

Let’s briefly cover a few tips to help you achieve a better, stronger bench press.

Tip #1: Grip
Take your grip so that the barbell rests on the base or heel of the palm, i.e., directly over the bones of the forearm. This is the best position for efficient force transfer between you and the bar.

To do this, simply pronate your hands slightly by internally rotating your arms a bit and then squeezing the bar tightly with your fingers. (scroll through the photos below for a demonstration)

Tip #2: Retract Your Shoulder Blades
For demonstrative purposes, imagine that you’re sitting upright (Figure 2), and there is a pen oriented vertically between your shoulder blades. You want to try and pull your shoulder blades back (i.e., retract your shoulder blades) so that the pen is pinched in place.

figure 2: at left, Becky demonstrates protracted shoulders (bad), and at right, becky demonstrates retracted shoulders (much better).

Now, simply perform that same motion (lying down, of course) when setting up for your bench press. Retract your shoulder blades before you unrack the bar, and then re-retract your shoulder blades after the unrack as well in case you lose a bit of shoulder positioning during the unracking process. Some people find the uprights of the rack useful to assist the process of setting the shoulders. Then, keep your shoulders retracted throughout your set (and re-retract them between reps if they get a bit out of position).

Tip #3: Leg Drive
Drive up the bench with your legs, i.e., use your legs to drive your body horizontally in the direction of your head (“up the bench”). The drive is horizontal, not vertical, so don’t lift your butt up off of the bench (the rep doesn’t count if you do that). Engage your legs before the start of each rep and drive up the bench throughout the entire movement (not just on the ascent).

figure 2: Becky stares at the ceiling

Tip #4: Focal Point
Find a point directly above you on the ceiling and stare at that point throughout the entire set (Figure 2). Before you start your first rep, you can see the bar in your periphery, and the bar needs to finish in that same spot each time. A stationary reference point makes for a more consistent and efficient bar path, so we watch the immovable ceiling and not the moving bar.

We hope these tips help you get stronger and live better!

(Some links may be affiliate links. As an Amazon Associate, Testify earns from qualifying purchases.)

If you found this helpful, you’ll love our weekly email. It’s got useful videos, articles, and training tips just like the one in this article. Sign up below, and of course, if you don’t love it, you can unsubscribe at any time.


At Testify, we offer small group training, private coaching (in-person or remotely via Zoom), online coaching, and form checks. Would you like to get quality coaching from a Starting Strength Coach?

click here to start today