Testify Daily Townsman - September 11, 2023
/THIS WEEK'S SUBMISSION
From our video The Deadlift - How to Use Your Lats (click the title to watch):
Randall Gonzalez
Great cue! I have one question about another cue to understand if I'm doing deadlifts right. One common cue I have heard is do the first half portion of the deadlift by doing a leg press. Given that cue, should I be using at all my back to pick the weight from the floor or just the legs as mentioned in that cue? Asking this because if I only use the legs in the first half I'm able to lift less weight/feel weaker than using the back to pick the weight from the floor. Thoughts?
Phil
Glad you liked the cue, Randall! As for your question, I'll start by noting that we're actually talking about the difference in using your hips (probably what you're referring to when you say "using my back") versus using your knees (what you're referring to when you say "just the legs). No matter whether you're using your hips, knees, or both when you deadlift, you will be using the back. The back should function as a rigid segment that transfers the force generated in your hips and knees (or "hips and legs") through the back, then down through your arms to the bar.
Moving on the meat of your question - both knee extension (the "leg press the floor" cue) and hip extension are occurring throughout the entire deadlift, but the beginning of the deadlift is dominated by knee extension while the 2nd half of the deadlift is dominated by hip extension. We use the "leg press the floor" cue to drive home that motion of knee extension at the beginning of the pull, but your back angle should also start changing right away (i.e., becoming more vertical) as well due to your hips extending/opening/straightening.
The bar path (as viewed from the side) will be a telling sign. Video yourself from the side, and if the bar is starting over the midfoot and traveling in a nice, straight, vertical line, you're doing well. If it's looping around your knees, you're not straightening your knees enough (or at all) as you start the pull. If it's traveling vertically, you've got it.
You can check our video on this here:
The Deadlift: Use Your Knees, Baby!
The video linked above is primarily about the importance of knee extension at the start of the pull, but it also talks about the fact that hip extension does occur as well, and you can watch the good examples in the video (Sharon, Joy, and the reps where I'm doing it correctly instead of incorrectly), and you'll notice that while the knees are straightening, the back angle starts changing right away as well.
Hope this helps!
ARTICLES & VIDEOS
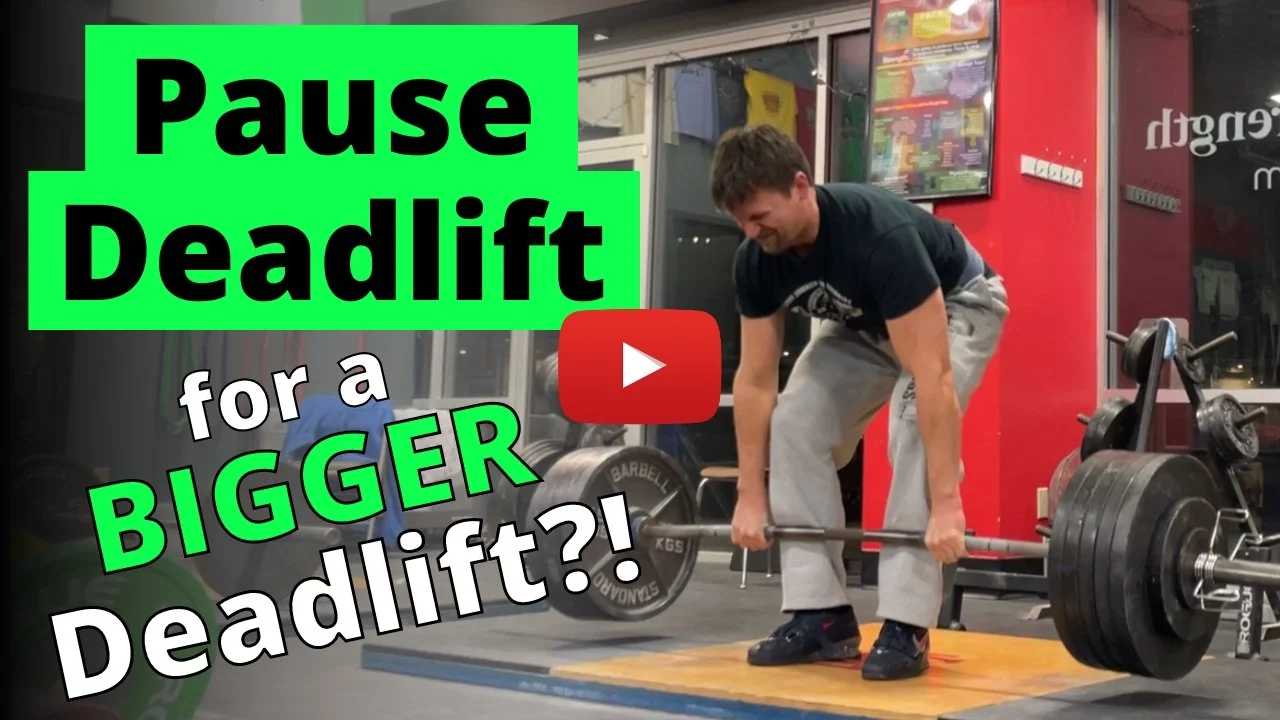
How to Pause Deadlift (and Why You SHOULD)
Phil covers how to perform the pause deadlift as well as when and why you might find it useful in your training. Click here to watch.

He Stopped Pressing Like This. You Should Too.
Many lifters use their hips incorrectly in the press and don't even know it. Do you? Let's find out and fix it. Click here to watch.

Stop Destroying Your Squat - Do THIS Instead
Stop raising your chest early in the squat - it makes for a weaker squat. If you struggle to drive your hips up, here's a simple fix. Click here to read.
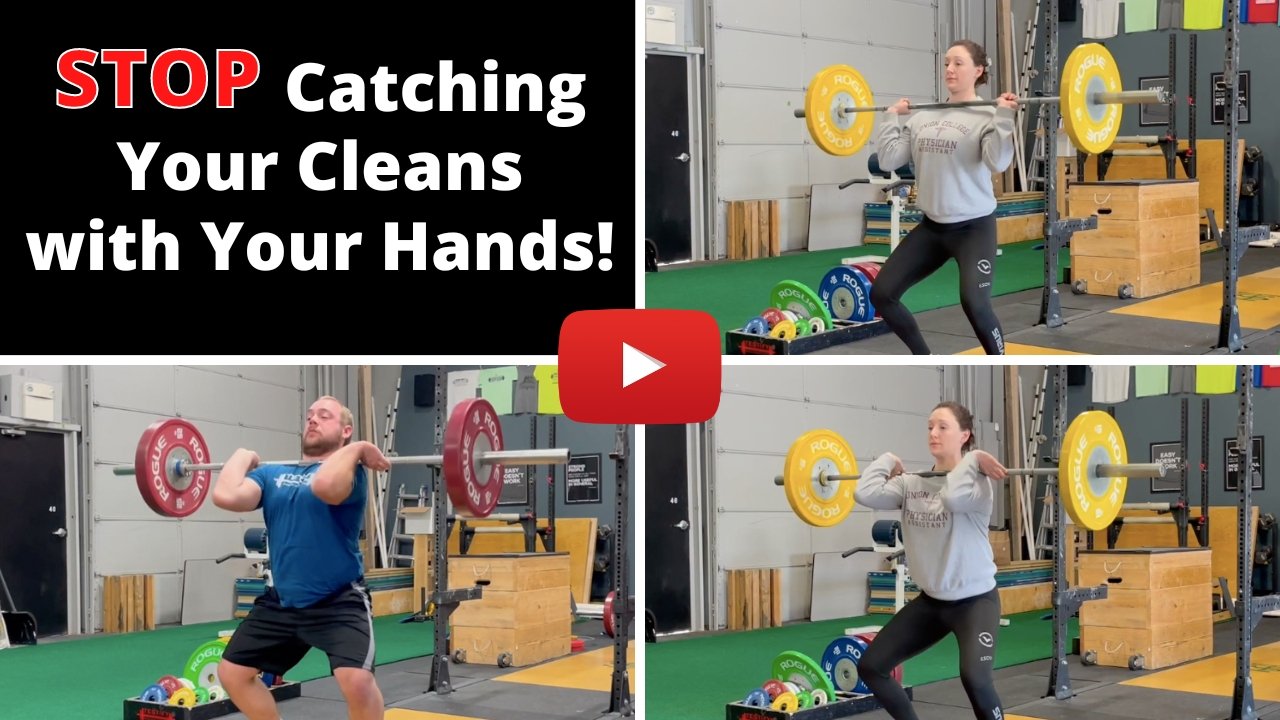
Blast from the Past: Get a Better Clean Rack Position
Do your wrists and elbows despise you when you clean? Stop using your hands to rack your cleans. We explain and demonstrate. Click here to watch.

Blast from the Past: The Super Secret Way to Put on Knee Sleeves!
Stop struggling to get your knee sleeves on! Phil teaches you this super secret method - it's simple and easy. Click here to read.

NEW TESTIFY GEAR!
Baseball season is here, and so is Testify’s new 3/4 raglan shirt - in multiple colors! Get yours today and represent your favorite gym!
Click here to head to the Testify Store.
WHAT'S COMING UP
Below are a few of our upcoming events, and you can find out what else is on the calendar by heading to our events page at www.testifysc.com/events.
Starting Strength Self-Sufficient Lifter Camp
September 23, 2023
Spend the day learning the Squat, Press, and Deadlift and how to self-evaluate your lifts while training in your garage or commercial gym without a coach.
Click here to register or for more information.
Testify Fall Classic
October 21, 2023
The Testify Fall Classic is back for 2023, and we invite you to be a part of it! This is a strengthlifting meet, which means the contested lifts will be the squat, press, and deadlift.
Click here to register or for more information.
Benching Bonanza! The Annual Testify Bench Press Jubilee
November 17, 2023
Benching Bonanza is a strength meet wherein the only contested lift is - you guessed it - the bench press. There will be one bar, and the meet will be conducted in a "rising bar" format, so the weight on the bar only goes up! It'll be a ton of fun, so come on out!
Click here to register or for more information.
THIS WEEK’S CONDITIONING
Option 1
Sled
Outdoors:
10 rounds of:
Push sled 100 ft
Pull sled 100 ft (hand over hand)
Indoors:
20 rounds of:
Push sled 50 ft
Pull sled 50 ft (hand over hand)
Compare to 2023.07.10.
Option 2
Bike/row:
4 x 3 minutes
Rest 3 minutes between each round. Score = lowest distance.
Compare to 2023.06.19.
Option 3
Outdoors:
5-10 rounds:
10 sledgehammer strikes (5R, 5L)
50 yd farmer carry (25 yd down-back)
Rest 1 minute
Indoors:
5-10 rounds:
10 sledgehammer strikes (5R, 5L)
100 ft farmer carry (50 ft down-back)
Rest 1 minute
Compare to 2023.05.22.
Option 4
1. 5 yoke carries @ 30 yd (15 yd downback) – work up to heaviest carry
2. 5 rounds of 5 reps on the axle “clean and press away” – work up to heavy set of 5
Compare to 2023.05.22.
He Stopped Pressing Like This. You Should Too.
/Many lifters use their hips incorrectly in the press and don't even know it. Do you? Let's find out and fix it.
At Testify, we offer small group training, private coaching (in-person or remotely via Zoom), online coaching, and form checks. Click the button below to get quality coaching from a Starting Strength Coach and start getting stronger TODAY.
Stop Destroying Your Squat - Do THIS Instead
/A common problem in the squat is raising the chest early during the ascent. Raising the chest early simply means that you’re making your torso or back angle too vertical too soon when coming out of the hole on the squat. Let’s fix this.
Typically, when addressing this issue, we simply cue you to “drive your hips.” You drive your hips up, and everything else goes up as well. However, if that's not working and you’re still raising your chest too soon, try this cue: “Stay in your lean.”
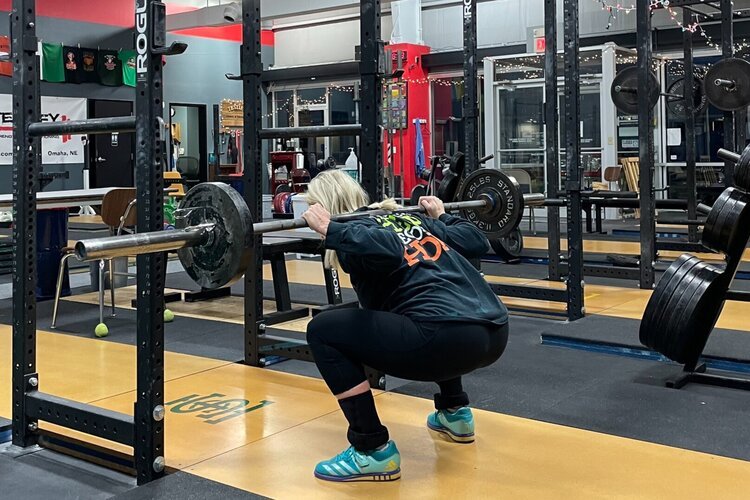
Julie will maintain this back angle - this leaned over position - as she drives up out of the hole.
In other words, stay in that leaned over position that you achieved during the descent. When you initiated your squat, you reached back with your hips, you shoved your knees apart, and you pointed your chest at the floor. Simply put, you leaned over, so stay in that leaned over position a little longer than you think you should on the way back up out of the hole.
Now, of course, your torso will eventually become more vertical - we do finish the lift in a standing up position, of course. The key is that you don’t try to make it get vertical right away. Stay in your lean.
As always, we hope this helps you get stronger and live better.
-Phil
PS: Whenever you want even more Testify in your life, here are some free resources:
Book a free intro and strategy session with us HERE.
Pick up a free copy of Testify’s Squat Guide: 12 Tips to Improve Your Squat Now HERE.
Get our free weekly email - containing useful videos, articles, and training tips - HERE.
Follow Testify on Instagram HERE.
Subscribe to Testify’s YouTube channel HERE.
(Some links may be affiliate links. As an Amazon Associate, Testify earns from qualifying purchases.)
At Testify, we offer small group training, private coaching (in-person or remotely via Zoom), online coaching, and form checks. Interested in getting stronger, looking better, and having more energy?
Get a Better Clean Rack Position | Olympic Weightlifting
/If your wrists and elbows despise you when you clean, you need to stop using your hands to rack your cleans. The shoulders catch the clean - not the hands - and we explain and demonstrate how to get this done.
(This is a Blast from the Past video originally published on 01/03/22.)
At Testify, we offer small group training, private coaching (in-person or remotely via Zoom), online coaching, and form checks. Click the button below to get quality coaching from a Starting Strength Coach and start getting stronger TODAY.
The Super Secret Way to Put on Knee Sleeves!
/(A Blast from the Past article originally posted on 08/13/21)
Oooh . . . secrets! We love us some secrets!

Not everyone knows this - and this is especially true if you’re a new lifter or at least new to using knee sleeves - but when it comes to putting on your knee sleeves, there is one method to rule them all. Anything else is a waste of your time and energy, so let’s take a look at how you should put on a sleeve (watch the included video for a quick demonstration):
Step 1: Turn the sleeve inside-out.
Step 2: Grab the sleeve with both hands so that it’s upside down and backward (i.e., the front of the sleeve - the part that will cover your kneecap - is facing backward).

Steps 1 & 2: The sleeve is inside-out, upside down, and backward . . . and this is a good thing.
Step 3: Before you put on your shoe, pull the sleeve over your foot until it comes up just past your ankle.
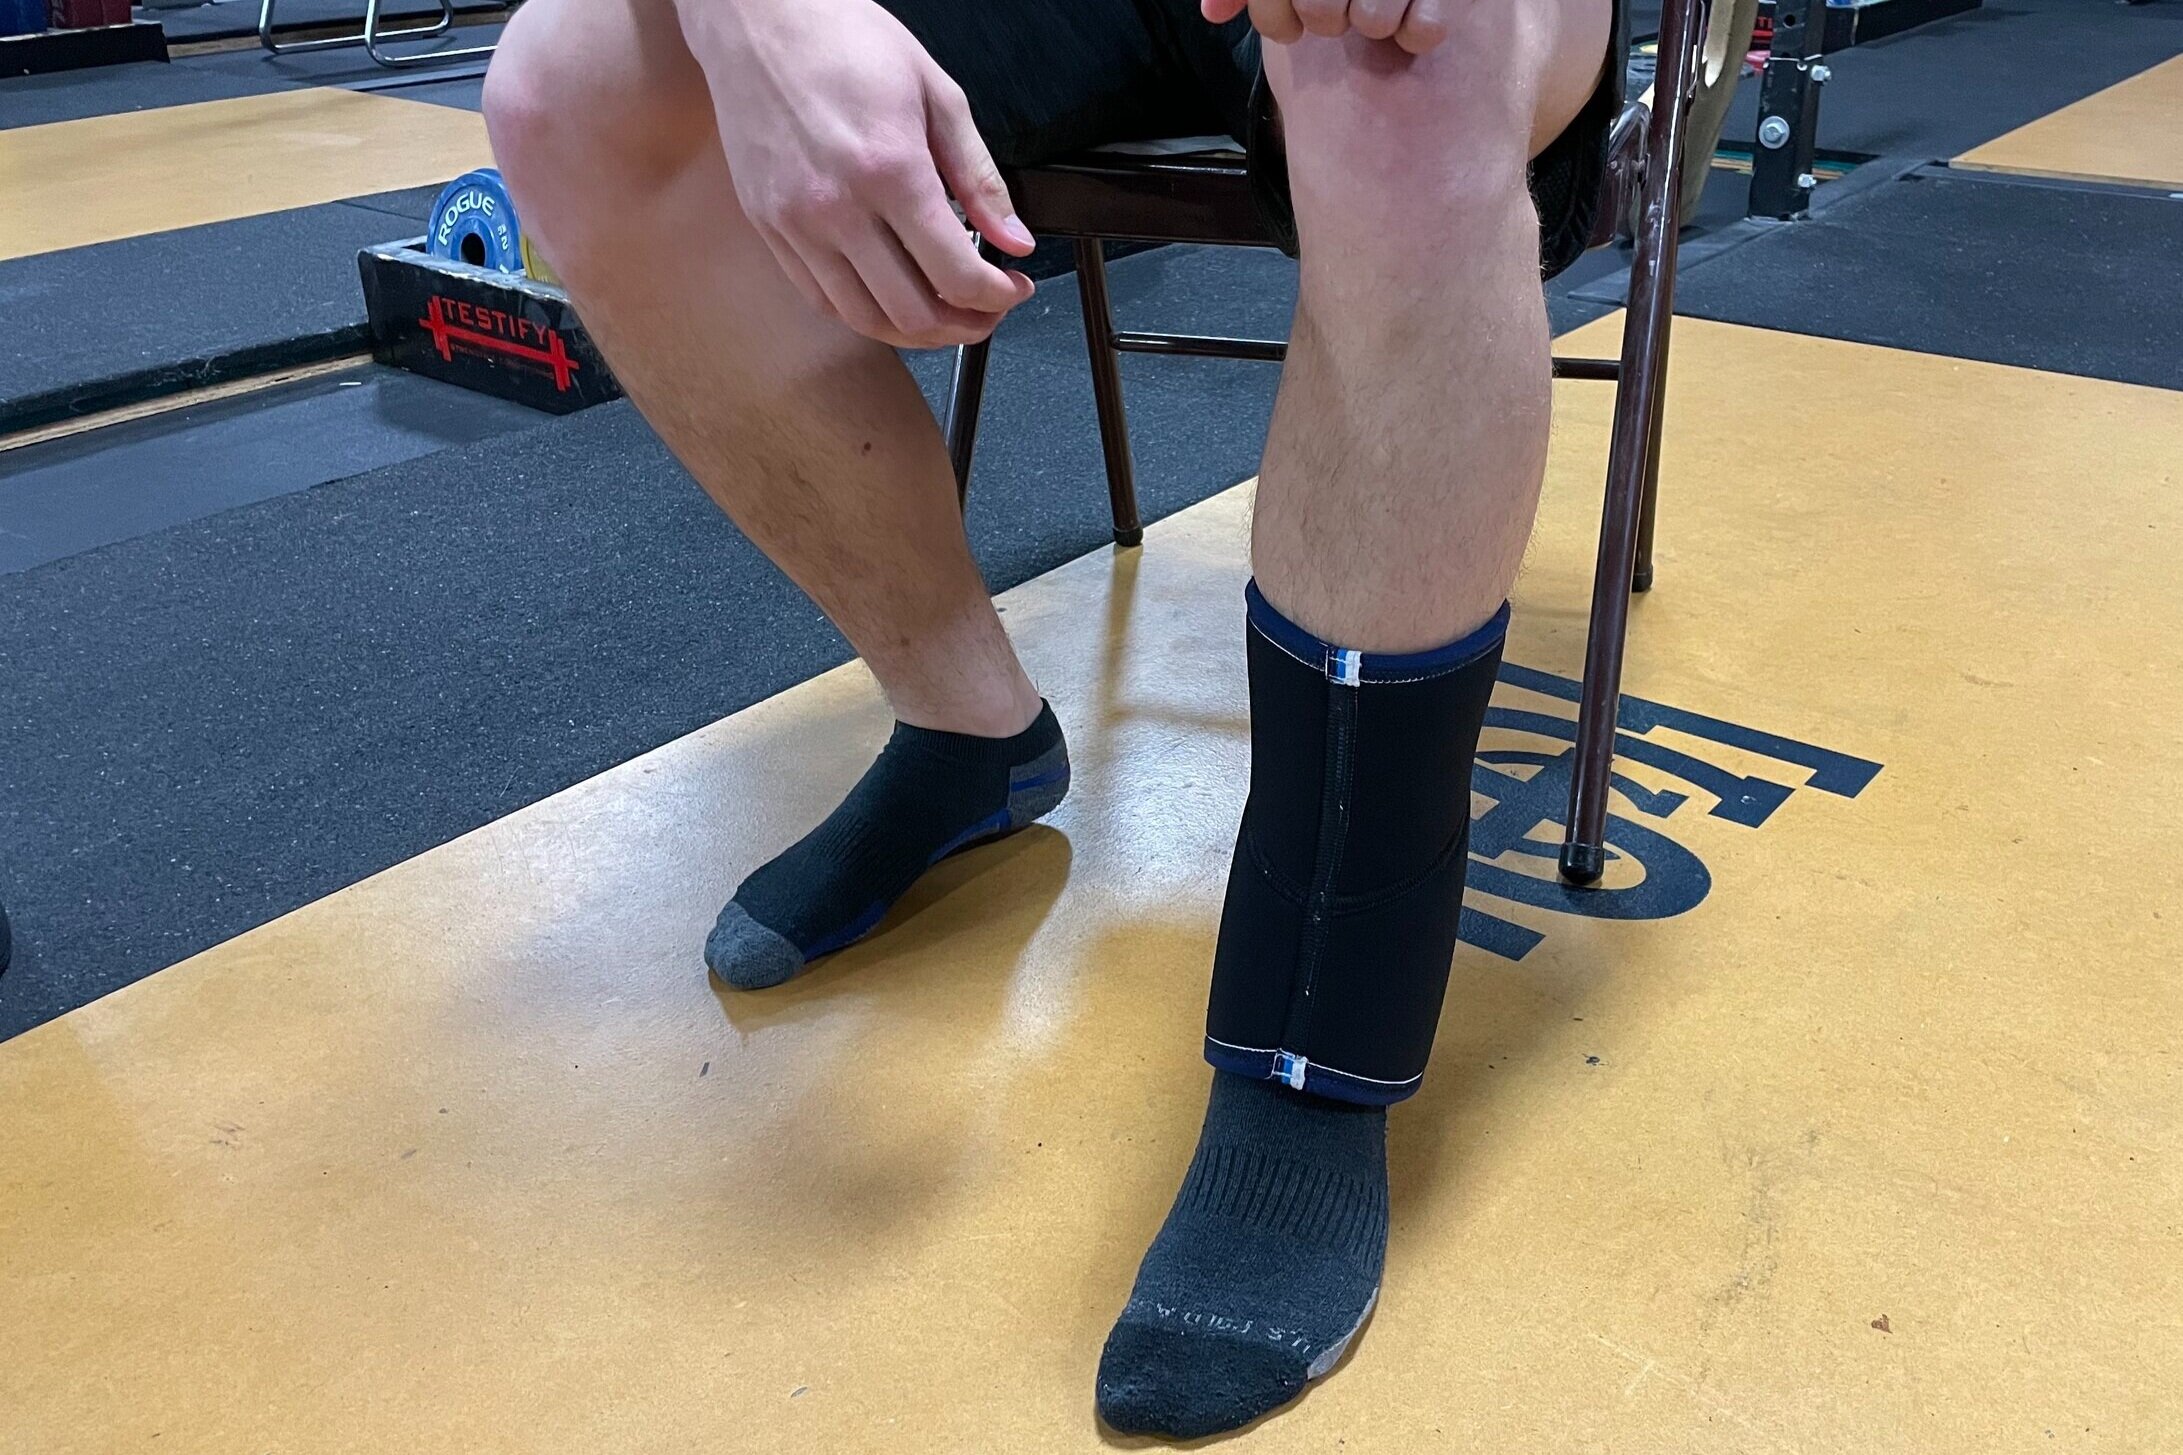
Step 3
Step 4: Spin the sleeve around so that it’s facing forward again (i.e., the front of the sleeve is facing forward).

Step 4
Step 5: Pull on the uppermost part of the sleeve - sliding the sleeve upward until it reaches a point a few inches below your knee. (If you like, you can perform step 5 before step 4.)

Step 5
Step 6: Grab the lowermost part of the sleeve (it’s actually the “top” of the sleeve, but it’s still upside down right now, remember?) and pull upward so that that portion of the sleeve starts sliding over the rest of the sleeve. As you continue doing this, the sleeve will be turning right-side-out again.

Step 6
Step 7: Feel free to make some minor adjustments, but really, at this point, you’re done.

Step 7 - done!
Now, go out and tell your friends because - after all - this is a secret that everyone kneeds to know.
If you’re looking for some knee sleeves, below are links to a few knee sleeve options that are popular with a number of our members at Testify:
As always, we hope this helps you get stronger and live better.
-Phil
PS: Whenever you want even more Testify in your life, here are some free resources:
Book a free intro and strategy session with us HERE.
Pick up a free copy of Testify’s Squat Guide: 12 Tips to Improve Your Squat Now HERE.
Get our free weekly email - containing useful videos, articles, and training tips - HERE.
Follow Testify on Instagram HERE.
Subscribe to Testify’s YouTube channel HERE.
(Some links may be affiliate links. As an Amazon Associate, Testify earns from qualifying purchases.)