The TRUTH About Lifting (What No One Tells You!)
/
Lifting is a rather stupid activity.
Now - when I say that, of course I’m being a bit facetious, but you easily can see where I’m coming from. You pick up weights and then you set them right back down again. You squat weights down and then squat them right back up again. The barbell ends up right back in the same place it started.
It’s like running the 400m dash in track - all that work and you end up right back in the exact same spot.
So what’s the point? If you literally accomplish no work whatsoever (and it’s true - you do zero work against gravity when it’s all said and done), then what’s the point of all this effort?
The point is that training makes the quality of your life better.
Don’t get me wrong - the act of training itself is not always enjoyable. There will be days when you enjoy your training, of course. On the other hand, there will also be plenty of days when you’d rather not head to the gym, and on those days you go anyway because you understand that sometimes - most of the time, even - you just need to punch the clock and put in the work.
However, we’re not talking about the training itself - we’re talking about the results of training. This is what makes life better.
You train because you get stronger in the process, and getting stronger makes everything else easier.
If you’re in high school, this means you get better at your sport. The stronger version of you can now generate more force than you could previously, and you’re now a stronger, more powerful athlete who can practice harder and longer.
But as we get older - as we enter our 50s, 60s, 70s, and beyond - this newfound strength has a far more profound effect. It is absolutely life changing. Getting stronger changes the quality of your life, and the logic is pretty straightforward.
You’ll note that your training never gets any easier. You absolutely get stronger, yes, but you simply add more weight to the bar, so your training is always challenging. But because of this - because your training never gets any easier, what you do out there - in life - does become easier.
Suppose I’m eighty years old, weak, and have never trained before. Now, I come in and start to train. My squats on day one are only a couple inches deep (just to a relatively high box), and perhaps I’m not strong enough to use a barbell yet. But I start training.
Slowly, day by day, I squat lower and lower and soon get to the point where I can squat to depth. Then I add a light barbell - perhaps 10-15 lb or even less. Then, session by session, I add a little more weight to the bar. Over time, I get my squat up to 50 lb, 75 lb, 100 lb, etc. The exact numbers don’t matter.
What does matter, however, is that I have gotten significantly stronger. I’ve gone from originally not being able to squat my own body more than a few inches all the way to squatting 100 lb all the way down and back up again. It is very possible - and we see this all the time - for a new lifter to double their strength in a short period of time under the guidance of excellent coaching.

everyone can get stronger. everyone.
Now, as a result, every step that I take up a flight of stairs is much easier than it used to be - in fact, it only takes half as much effort as it used to. By the time I get to the top of the stairs, I’m no longer exhausted like I used to be.
I’m not exhausted after climbing those stairs, so I’m much more stable, which means I’m not at risk of falling anymore, either. At the very least, the risk of falling is significantly reduced, and even if I do fall, everything about me is stronger. My bones are denser and my tendons and ligaments are more resilient because not only do your muscles get stronger when you barbell train - everything else does as well, so even if I do fall (and we all trip now and then), I stand a much greater chance of surviving that fall relatively unscathed.
This is why our motto is “Get Stronger. Live Better.” Strength makes everything better. It increases the quality of our lives. It never gets easier in here (i.e., the gym), but because of that, everything out there does get easier.
This is why you train. This is why you do Stupid Things like picking up barbells and setting them back down again.
Keep doing Stupid Things. As always, we hope this helps you get stronger and live better.
(Some links may be affiliate links. As an Amazon Associate, Testify earns from qualifying purchases.)
If you found this helpful, you’ll love our weekly email. It’s got useful videos, articles, and training tips just like the one in this article. Sign up below, and of course, if you don’t love it, you can unsubscribe at any time.
At Testify, we offer small group training, private coaching (in-person or remotely via Zoom), online coaching, and form checks. Interested in getting stronger, looking better, and having more energy?
How to Easily Build a Lifting Platform (and the EASIEST way to cut stall mats)
/
(A Blast from the Past article originally posted on 11/04/22)
A lifting platform is a very important part of your gym - it protects your equipment as well as your floor, it dampens the noise and vibrations of deadlifts, cleans, snatches, etc., and it clearly delineates the lifting space. This last factor - the abundantly clear “stay out of my lifting space” effect of the platform - is very useful when you have a training partner or little kids with you in the gym.
Fortunately, building a lifting platform is quite easy. In fact, “building” is a rather generous term for the process - we’re pretty much just assembling a platform. We’ll lay out the steps below, but I’d strongly recommend watching one of the videos linked throughout this article for a better understanding of the process.
First, lay two 4’ x 8’ sheets of OSB next to one another. I’d recommend what is commonly referred to as 3/4"-thick OSB, but the actual dimension will be listed as 23/32”.

Laying down the base layer of OSB sheets
These two sheets will run lengthwise, i.e., they’re run front-to-back. The sheets will probably have a slight bow to them (i.e., a curvature), and you’ll want to make sure that the crown of the board is up (so the board should make a mountain, not a valley).
Next, lay two more sheets of the same OSB on top of the base layer. These sheets will be perpendicular to the base layer sheets, so they’ll run side-to-side. Again, the crown should be up. Then you’ll use 1-1/4” screws to attach the second layer to the base layer. We use three screws on the short end of each board and four screws along the long end.

Laying down the 2nd layer of OSB sheets
Then, for the top layer, you’ll use a sheet of 3/4”-thick MDF to run down the middle. You could use something nicer like oak, but we like MDF as it’s nice and heavy and causes everything to lie nice and flat. You’ll need to do some cutting on the MDF as they are sized at 49” x 97”. You’ll cut the length to 96” (8 feet), and we recommend cutting the width to 42” (3.5 feet) as this gives you ample room between the plates and the MDF when you set down your deadlifts, cleans, etc (you can go with 4 feet wide, but 3.5 feet makes it much less likely that you’ll chip the MDF over time). You can do this yourself, or your lumber store may be willing to rip it for you.
Finally, you’ll use 3/4”-thick horse stall mats for the rest of the top layer. Stall mats are typically 4’ x 6’, so you’ll have some cutting to do here. The bigger piece on each side will be 72” x 27” (i.e., 6’ x 2’3”), and the smaller piece on each side will be 24” x 27” (i.e., 2’ x 2’3”).
To attach the top layer to the second layer, use 1-5/8” screws. We put six screws into the MDF - three in front and three in back. For the stall mats, we simply put screws around the outside, front, and back of the platform - we don’t put any screws down the rubber edge near the MDF so that we can’t accidentally set our metal plates or bumper plates down on a screw that might be a bit proud.
Last note - when cutting stall mats, use a jig saw. It is - by far - the best way to do it. Check out the video above to see this process.
We hope this helps you quickly and easily build a lifting platform, and as always, we hope this helps you get stronger and live better.

Finished platform - complete with Addy, Milo, & Parker
(Some links may be affiliate links. As an Amazon Associate, Testify earns from qualifying purchases.)
If you found this helpful, you’ll love our weekly email. It’s got useful videos, articles, and training tips just like the one in this article. Sign up below, and of course, if you don’t love it, you can unsubscribe at any time.
At Testify, we offer small group training, private coaching (in-person or remotely via Zoom), online coaching, and form checks. Interested in getting stronger, looking better, and having more energy?
How Long Should I REST? | Starting Strength Linear Progression
/How long should I rest when working through the Starting Strength Linear Progression? How long should I rest between warm-up sets? Between work sets? Starting Strength Coach Phil Meggers explains.
(A Blast from the Past video originally published on 08/22/22)
At Testify, we offer small group training, private coaching (in-person or remotely via Zoom), online coaching, and form checks. Interested in getting stronger, looking better, and having more energy?
Wraps and Straps and Gloves, Oh My!
/
(A Blast from the Past article originally posted on 09/30/22)
You’re a lifter, so of course, you’ve got to accessorize. But with all the options for lifting gear and accessories out there, what’s useful and what’s garbage? This article is the first in a short series covering exactly that, and today’s topic is gear associated with your grip.
Lifting Straps
Also known simply as “straps” or sometimes “wrist straps” (which is inaccurate), straps are useful for pulling movements, such as deadlifts, rows, and even snatches. Do NOT use them for cleans, and it’s worth pointing out they are actually worn on the hand and not the wrist itself.
They save some wear and tear on the hands, and if you’ve got multiple sets on the deadlift, then a reasonable approach is to use your usual grip for the first set (hook grip or alternate grip) and then use straps for the remaining sets.
You can buy straps or make them (quite cheaply!), and we’ve got a few videos covering how to make them as well as use them.
Wrist Wraps
These are useful for pressing movements such as the press, bench press, close grip bench press, etc. Wrist wraps provide stability for the wrist by acting as a sort of belt or cast for the wrist. When the weights get challenging, a good approach is to warm up (mostly) without wrist wraps and then put your wraps on (tightly!) for your last warm up as well as your work sets.
Not surprisingly, we have a few videos covering this topic as well.
Gloves
Nope. Don’t use ‘em. They add something squishy and deformable between your hand and the bar, which is never good for force transfer. Also, because they add a layer between your hand and the bar, they effectively make the bar diameter larger, which makes it harder to keep your grip when pulling the bar off the floor with deadlifts, rows, etc.
Lifting gloves are stupid. I know this firsthand because I have worn them in a previous life. Don’t use them.
Ahem, we do not have a video on this topic.
Chalk
We’ll save this discussion for another day, but suffice to say chalk is very important for your grip. Use chalk.
As always, we hope this helps you get stronger and live better.
(Some links may be affiliate links. As an Amazon Associate, Testify earns from qualifying purchases.)
If you found this helpful, you’ll love our weekly email. It’s got useful videos, articles, and training tips just like the one in this article. Sign up below, and of course, if you don’t love it, you can unsubscribe at any time.
At Testify, we offer small group training, private coaching (in-person or remotely via Zoom), online coaching, and form checks. Would you like to get quality coaching from a Starting Strength Coach?
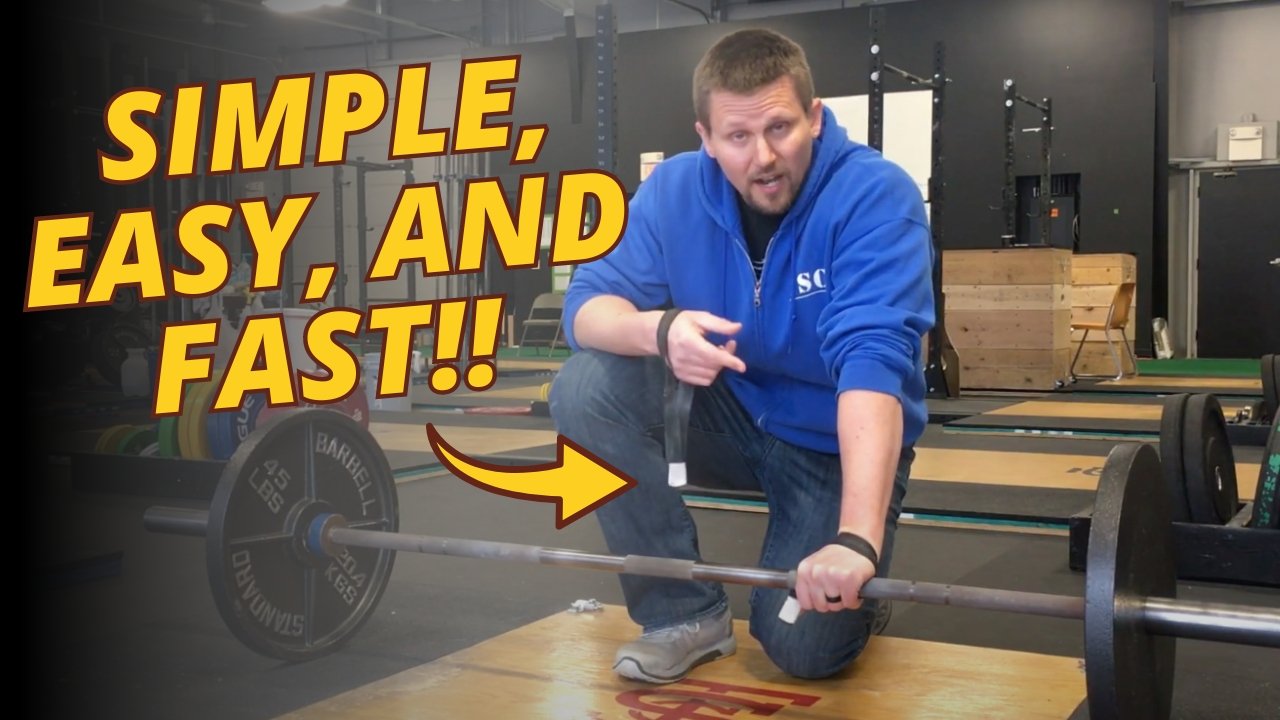
How to Use Lifting Straps
/
(A Blast from the Past article originally posted on 09/23/22)
In a past article and a couple of videos, we’ve covered how to quickly and cheaply make yourself a pair of durable lifting straps. Today, let’s cover how to use them.
As is often the case, this process is best understood when you can see it, so I’d recommend watching one of the included videos.
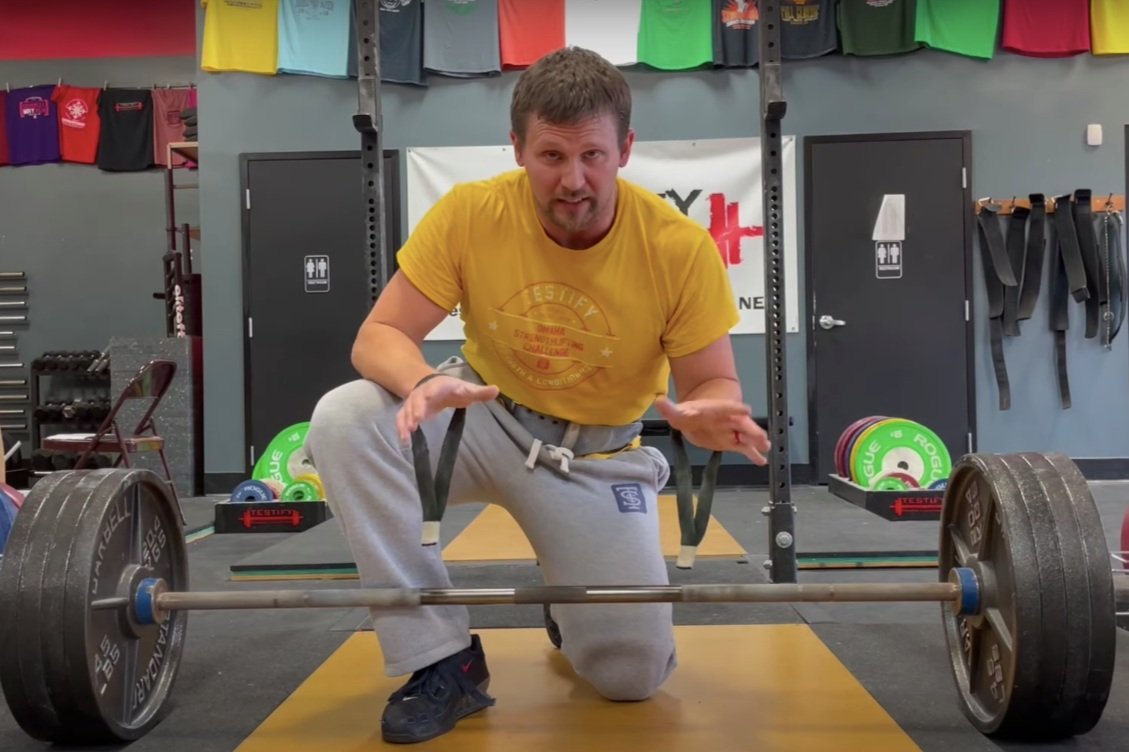
Step 1
Place the straps over both hands. The threads face up, and the smooth side of the straps (the side without the threads) should face forward.
This step assumes you’re using the type of DIY straps we make in this video (or a similar commercial design). If you’re using the “loop-and-cinch” style of strap such as this pair, you can move on to step 2, but make sure that your straps are oriented in the correct direction (click here to see a demonstration).
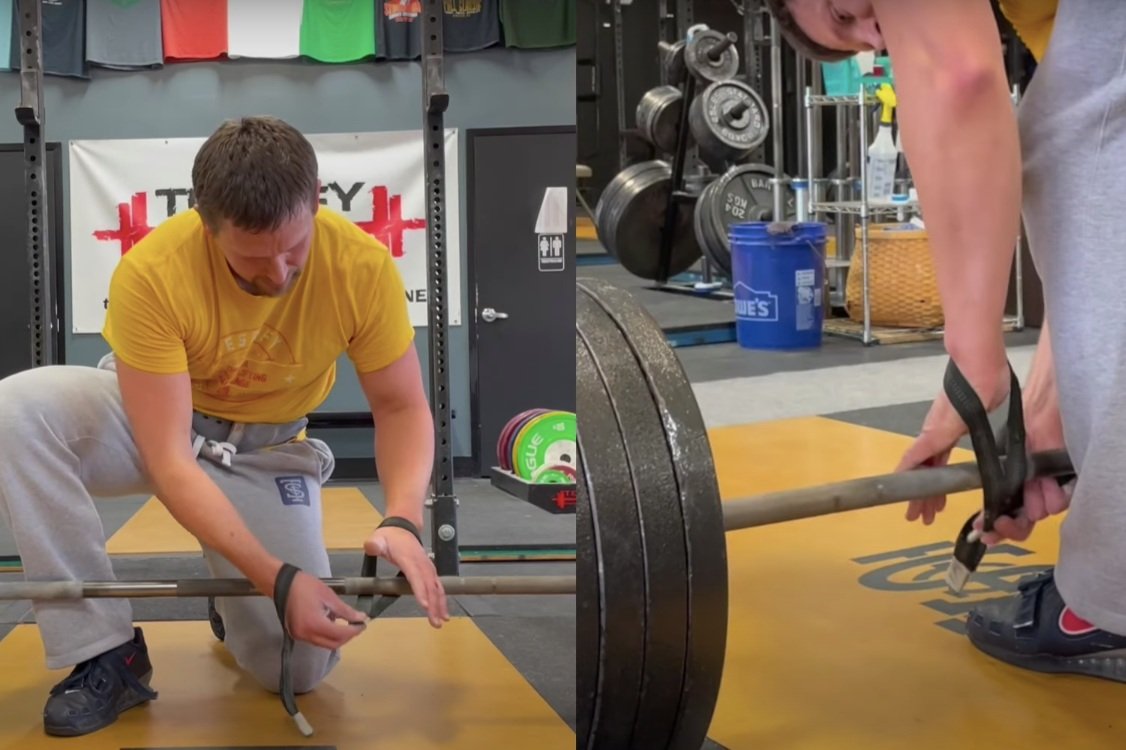
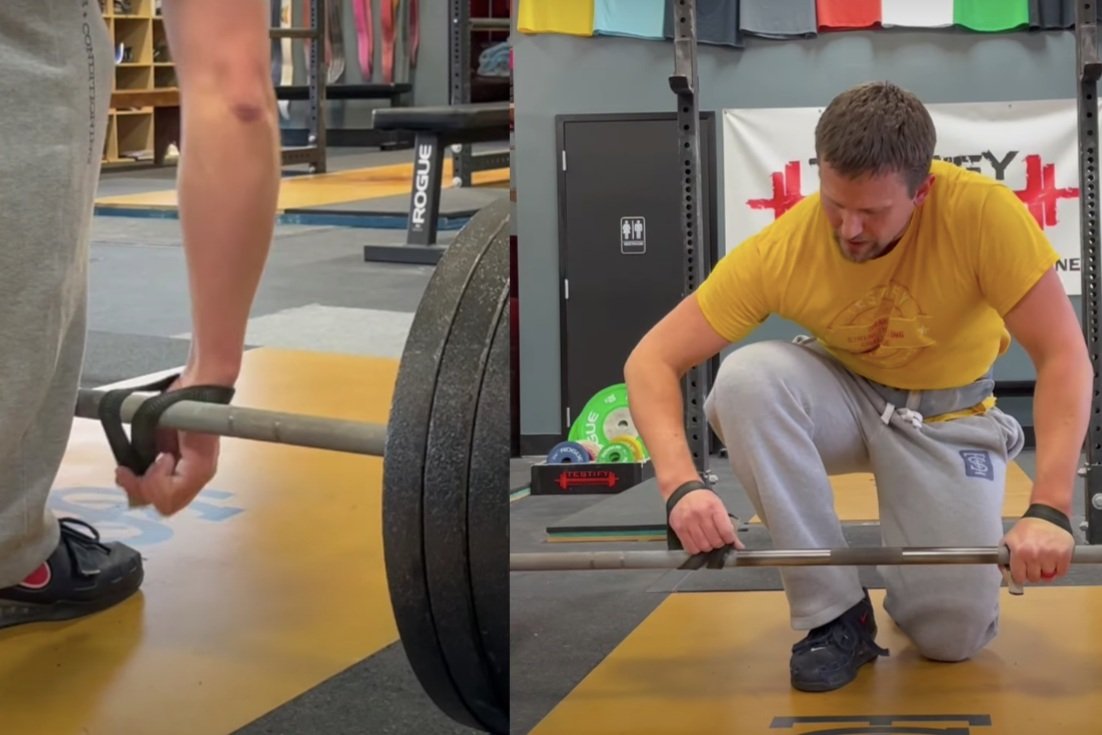
Step 2
Place your left hand on the barbell - your hand goes over the bar, and the strap goes behind the bar.
Step 3
Use your right hand to help wrap the strap around the bar once, pinning it into place with your left thumb.
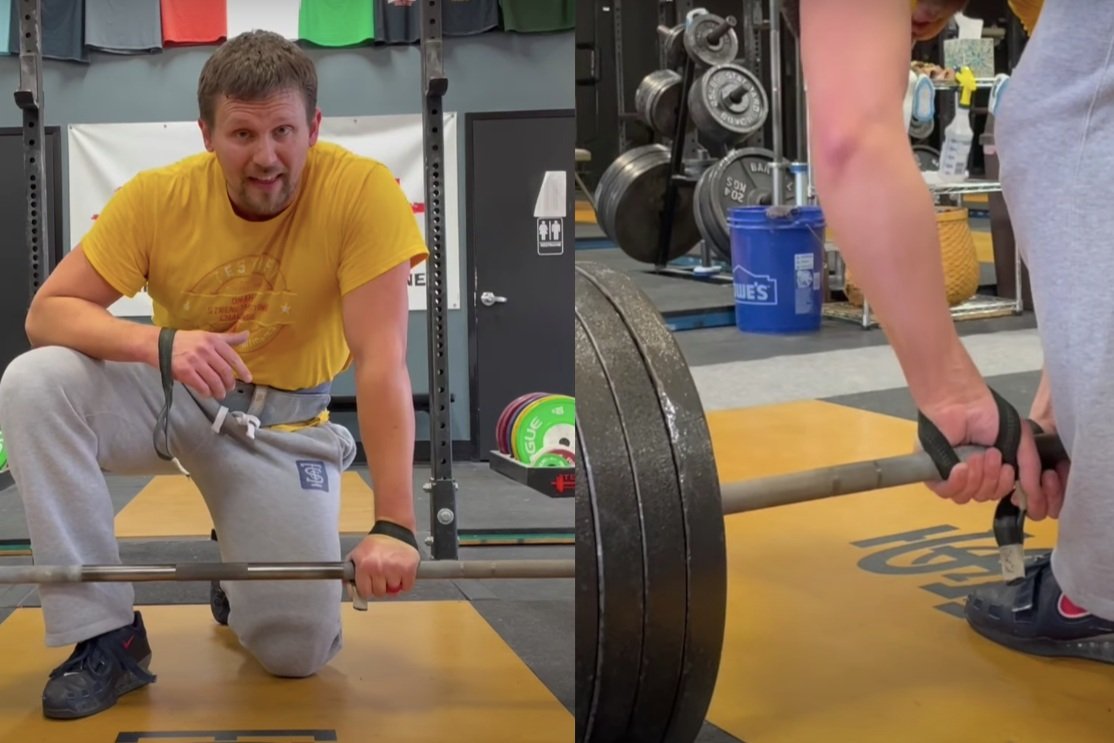
Step 4
Repeat steps 2 and 3 to get your right hand and its strap securely attached to the barbell, but note that the right hand will have to do this on its own as it doesn’t get any help from your left hand, which is already attached to the bar.
Step 5
When you tighten up the right strap (i.e., when you make it so that it’s wrapped snugly around the bar), you may find that you have to allow the left strap to loosen just a bit so that both straps have the same amount of “snugness” against the bar. Once that’s done, you can rotate both hands to tighten up both straps.
Step 6
Even though you’re using straps, be sure to still use chalk and grab the bar tightly. No hook grip is needed (don’t attempt a mixed grip either).
As always, we hope this helps you get stronger and live better.
(Some links may be affiliate links. As an Amazon Associate, Testify earns from qualifying purchases.)