How to Use Lifting Straps
/(A Blast from the Past article originally posted on 09/23/22)
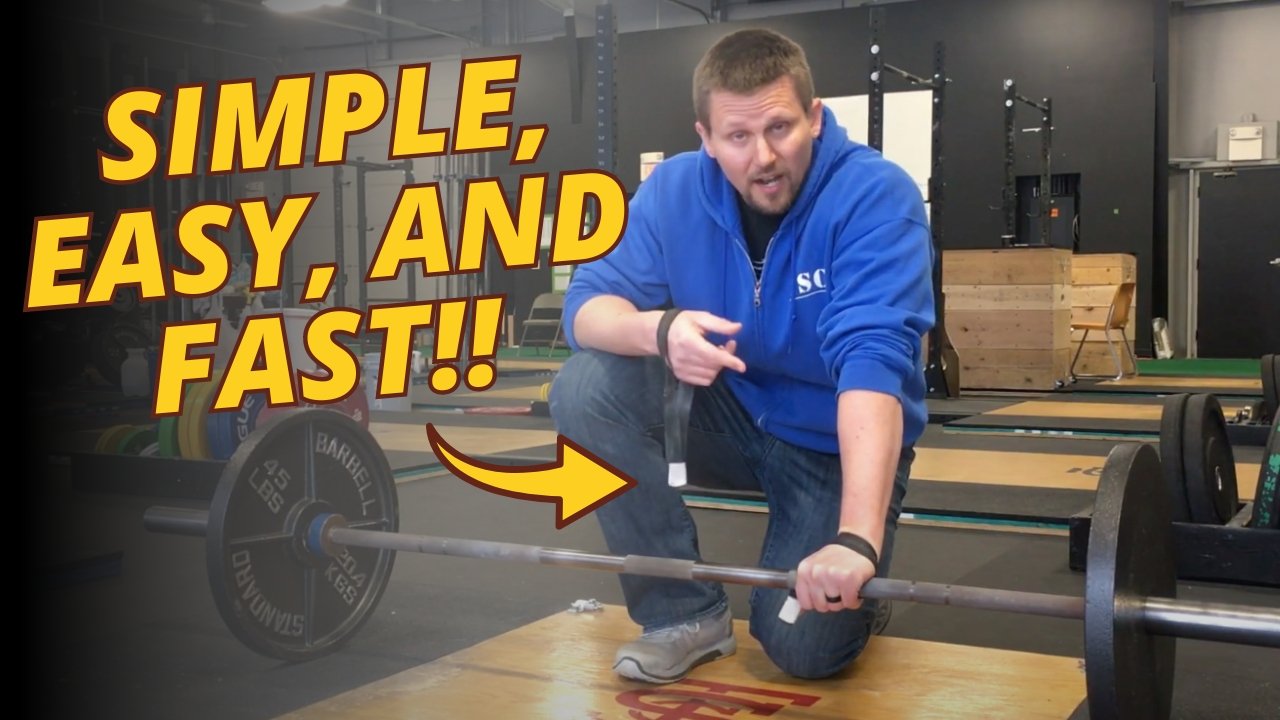
In a past article and a couple of videos, we’ve covered how to quickly and cheaply make yourself a pair of durable lifting straps. Today, let’s cover how to use them.
As is often the case, this process is best understood when you can see it, so I’d recommend watching one of the included videos.
Step 1
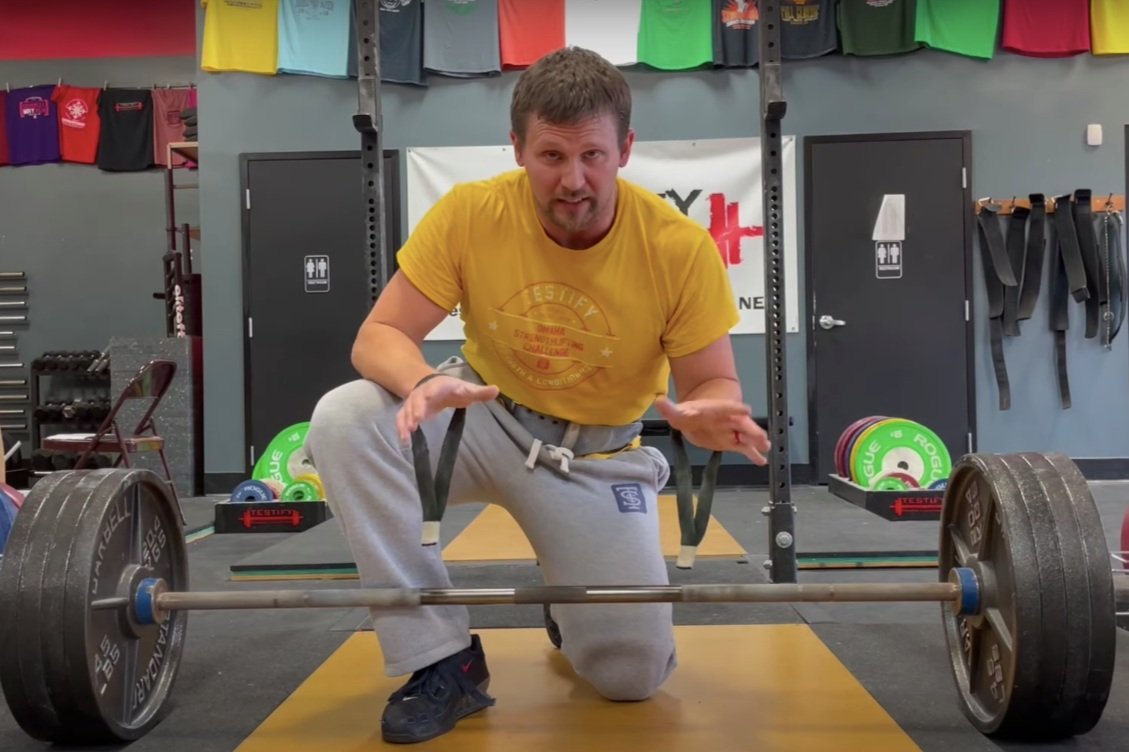
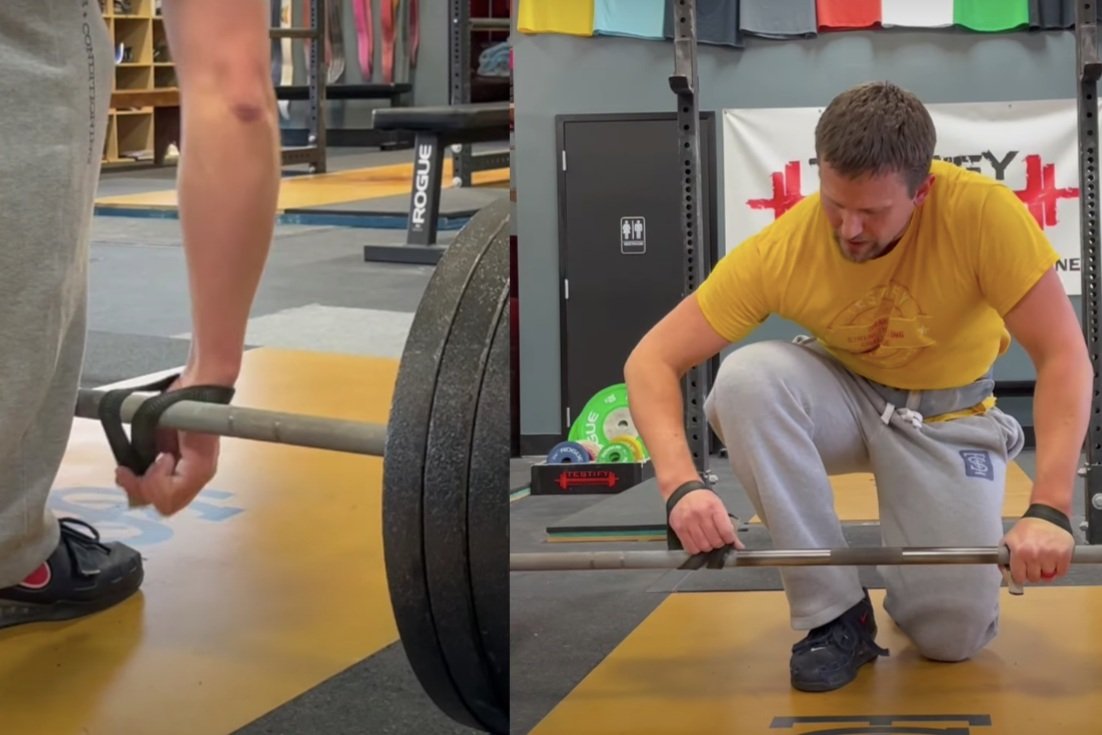
Place the straps over both hands. The threads face up, and the smooth side of the straps (the side without the threads) should face forward.
This step assumes you’re using the type of DIY straps we make in this video (or a similar commercial design). If you’re using the “loop-and-cinch” style of strap such as this pair, you can move on to step 2, but make sure that your straps are oriented in the correct direction (click here to see a demonstration).
Step 2
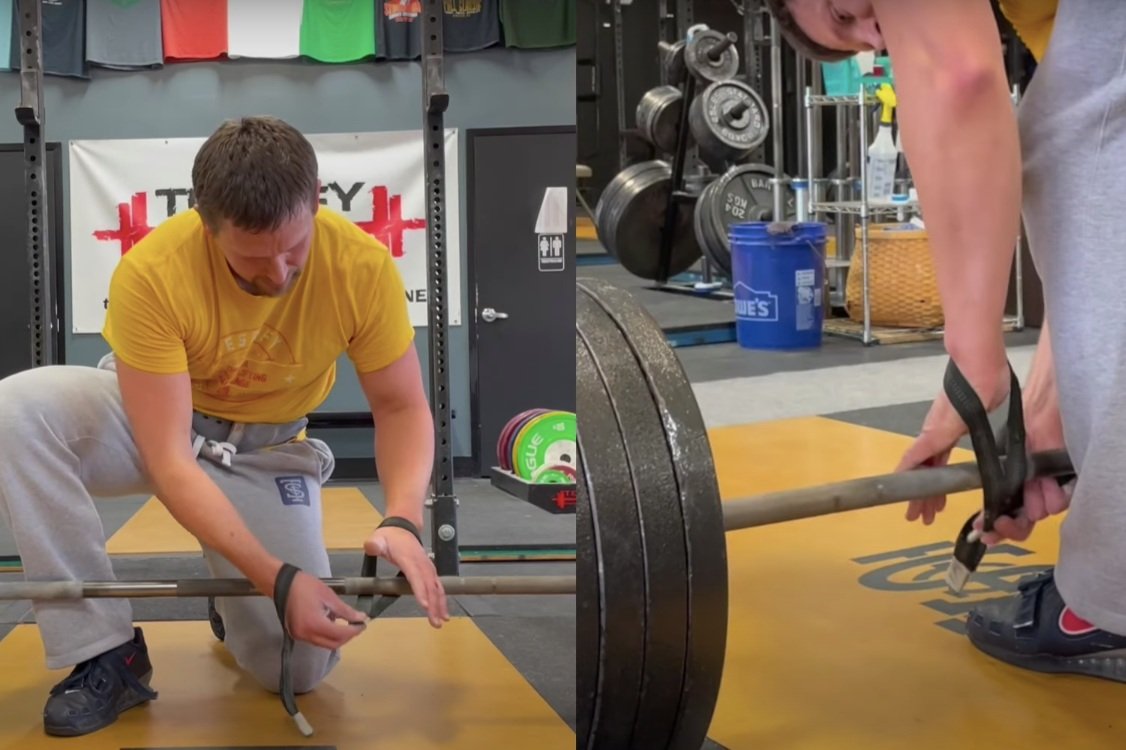
Place your left hand on the barbell - your hand goes over the bar, and the strap goes behind the bar.
Step 3
Use your right hand to help wrap the strap around the bar once, pinning it into place with your left thumb.
Step 4
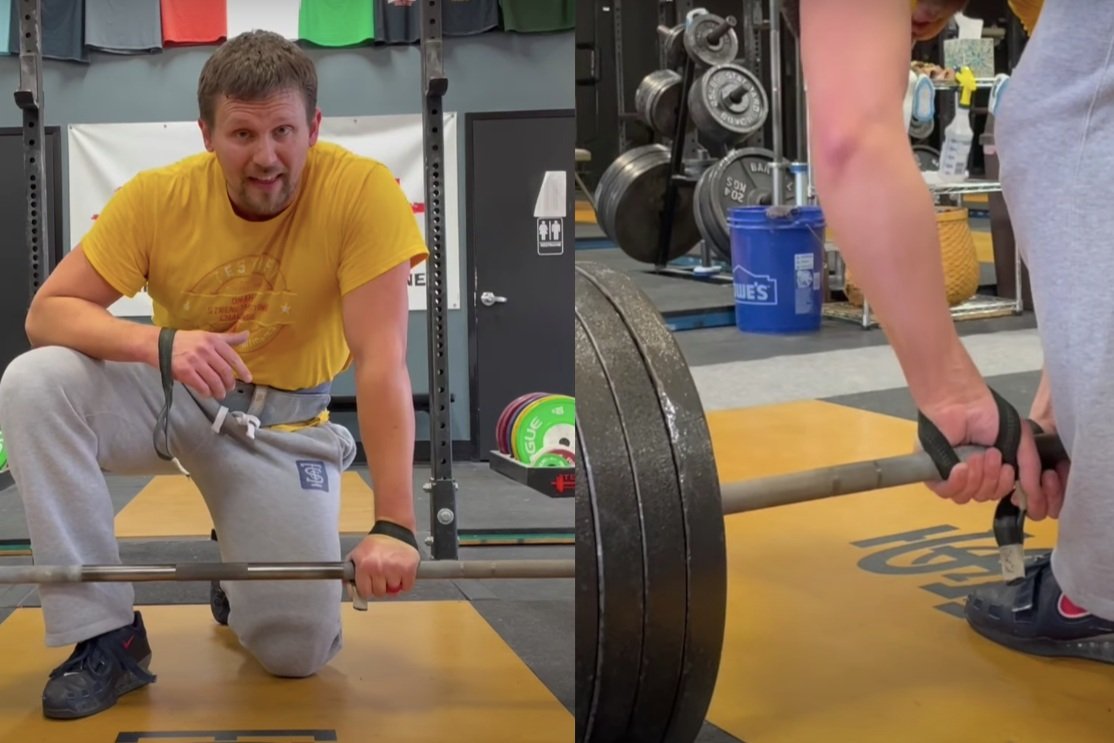
Repeat steps 2 and 3 to get your right hand and its strap securely attached to the barbell, but note that the right hand will have to do this on its own as it doesn’t get any help from your left hand, which is already attached to the bar.
Step 5
When you tighten up the right strap (i.e., when you make it so that it’s wrapped snugly around the bar), you may find that you have to allow the left strap to loosen just a bit so that both straps have the same amount of “snugness” against the bar. Once that’s done, you can rotate both hands to tighten up both straps.
Step 6
Even though you’re using straps, be sure to still use chalk and grab the bar tightly. No hook grip is needed (don’t attempt a mixed grip either).
As always, we hope this helps you get stronger and live better.
(Some links may be affiliate links. As an Amazon Associate, Testify earns from qualifying purchases.)
