I Forgot My Belt! (Simple Lifting Trick)
/(A Blast from the Past article originally posted on 01/08/20)
Do you ever forget to put your belt on for your heavier sets? Perhaps you forget to wear your wrist wraps every once in a while?
Problem solved
These types of situations tend to occur more often when you’re a newer lifter, but even an experienced lifter can forget a belt or wrist wraps every now and then.
If you find yourself in one of the above situations from time to time, try this: hang your belt and wrist wraps on your barbell between sets.
By doing so, you’ll be forced to grab them before starting your next set, and the problem is solved. The next time you lift, give it a try. Hope this helps!
(Some links may be affiliate links. As an Amazon Associate, Testify earns from qualifying purchases.)
If you found this helpful, you’ll love our weekly email. It’s got useful videos, articles, and training tips just like the one in this article. Sign up below, and of course, if you don’t love it, you can unsubscribe at any time.
At Testify, we offer small group training, private coaching (in-person or remotely via Zoom), online coaching, and form checks. Would you like to get quality coaching from a Starting Strength Coach?
Don't be a Noob: Loading the Bar
/(A Blast from the Past article originally posted on 01/06/19)
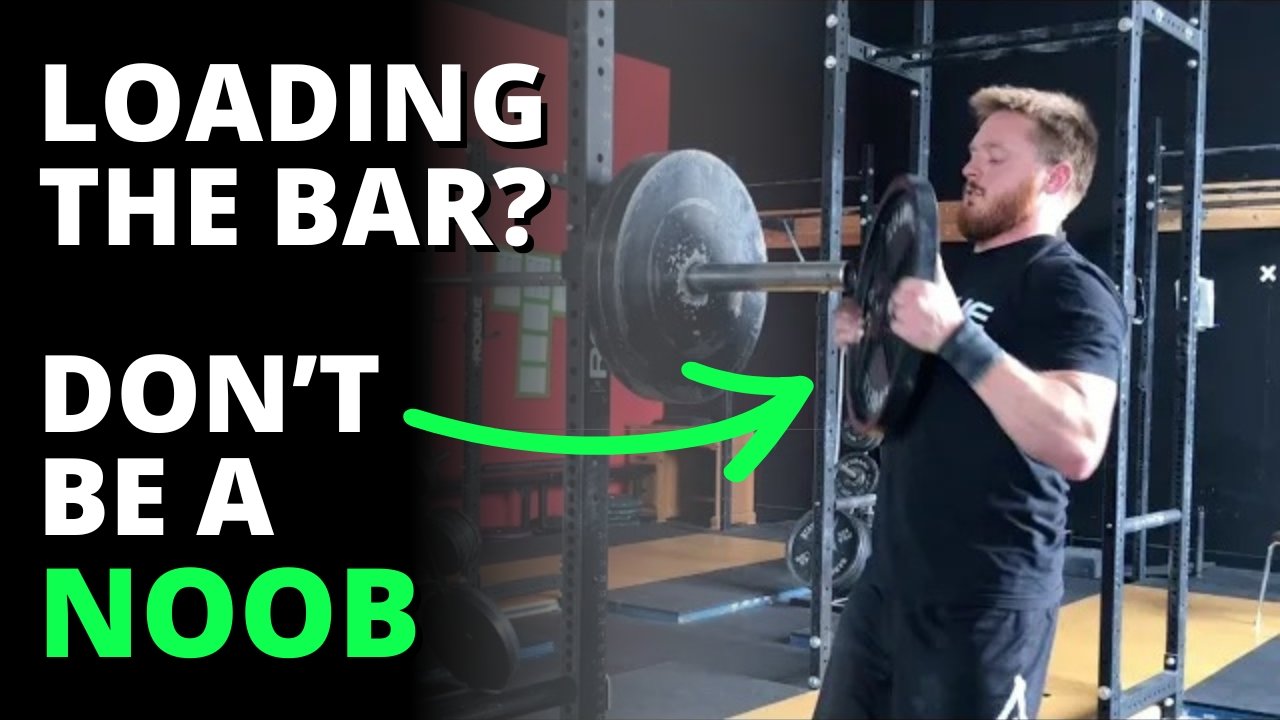
You have probably noticed (hopefully!) that whenever we load metal plates on a barbell, we always load them so that the numbers printed on the plates face inward (Figure 1), i.e., the numbers of the plates on one end of the bar can “see” the numbers of the plates on the other end of the bar.
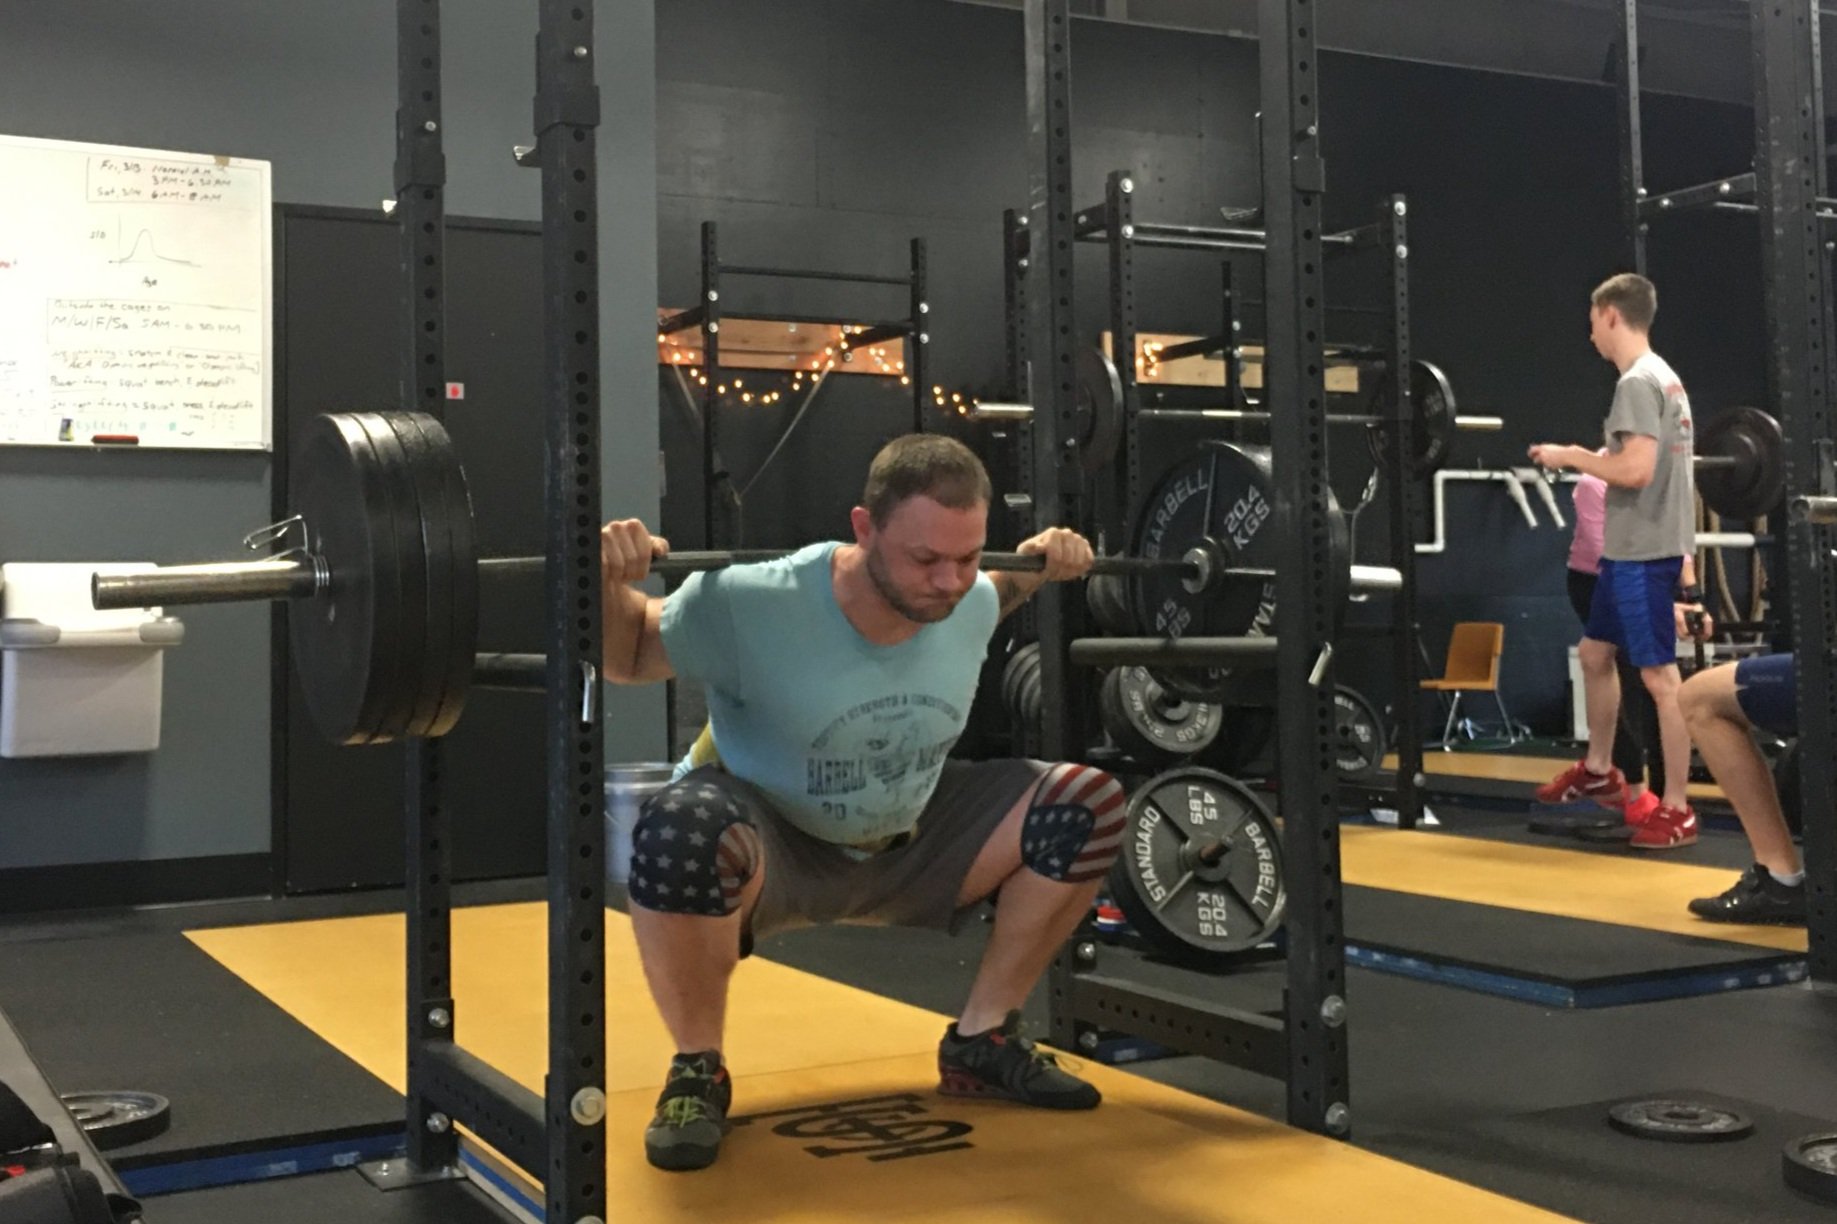
figure 1: ted demonstrates the proper method of plate loading on his 405 lb squat.
You may also have wondered to yourself, “Self, why do we always load the plates this way?”
We briefly allude to the primary rationale for this method of loading on everyone’s first day at Testify, but in case you’ve forgotten, let’s chat.
Each metal plate has a lip - a ledge - that makes grasping the plate easier. Loading a plate with the lip facing inward (i.e., away from you) allows your fingers to grasp the plate in a very secure manner. This secure grip is important since the most common injury in a weight room is not a back injury, it’s not a knee injury, and it’s not a wrist injury - it’s a broken toe (or other bone in the foot) caused by dropping a plate on one’s foot.
Every plate is easier to grasp with the numbers facing inward rather than outward, and this is especially true for the 25 lb and 45 lb plates, which - dropped from even a few inches up in the air - are superbly unforgiving to one’s tarsals, metatarsals, and phalanges (mind you, dropping the smaller plates can have some nasty effects as well). With this in mind, we always load the plates with the numbers facing inward.
What about the bumper plates, you say? Bumper plates have a lip on both sides (albeit a rather small one), so load them as you please. There’s no rules!
(Some links may be affiliate links. As an Amazon Associate, Testify earns from qualifying purchases.)
If you found this helpful, you’ll love our weekly email. It’s got useful videos, articles, and training tips just like the one in this article. Sign up below, and of course, if you don’t love it, you can unsubscribe at any time.
At Testify, we offer small group training, private coaching (in-person or remotely via Zoom), online coaching, and form checks. Would you like to get quality coaching from a Starting Strength Coach?
Lifting Shoes: What and Why
/What are lifting shoes, and why should you use them? We’re going to cover the 3 features of a lifting shoe, why lifting shoes are beneficial, and we’ll also touch on what not to buy.
Feature #1: Sole
The first and most important feature of a lifting shoe is its rigid, non-compressible sole. This helps with force transfer, which is rather important when lifting heavy weights.
If you're going to squat, press, or clean-and-jerk in running shoes, you’ll find that doing so is similar to trying to do those while standing on a pillow - comfy on the feet, of course, but also rather silly. We would like to have a very rigid surface on which to lift so that we have efficient force transfer between us and the floor. A lifting shoe provides this. A regular shoe does not.
Feature #2: Metatarsal Strap(s)
The second feature of a lifting shoe is either one or two metatarsal straps. These straps provide lateral support as well as arch support, and the presence of both types of support provide yet another reason why a regular shoe is not as good of an option as an actual lifting shoe.
To a certain extent, the metatarsal strap(s) will also prevent the foot from sliding forward, which is a nice feature to have when performing something like a split jerk.
Feature #3: Heel
The third feature you’ll notice on a lifting shoe is the slightly raised heel. Typically, a heel height somewhere between ½ inch and ¾ inch will work nicely. Some Olympic lifters may prefer a slightly taller heel, but this range serves most people quite well. The heel gets a little more quad involvement in the lift and also makes depth in the squat easier to achieve.
These 3 features will give you an idea of what to look for when you’re shopping for lifting shoes. A number of manufacturers make quality lifting shoes - Nike, Do-Win, Inov-8, and Adidas are just a few of the more well-known brands. Below are some of the shoe recommendations and links we usually send to new members as a starting point for shopping:
If you’re going to lift, wear lifting shoes. Runners wear running shoes, basketball players wear basketball shoes, and lifters wear lifting shoes. Once you’ve trained in lifting shoes, trying to lift in regular shoes (tennis shoes, running shoes, etc.) will feel like lifting while standing on a pillow.
Finally, a note on lifting in Chuck Taylors. Just . . . don’t. Chucks are the lifting shoe for people who started to think about lifting shoes but never completed the thought. They don’t have a rigid sole, they don’t provide any arch or lateral support, and they don’t have an elevated heel, so they fail all of the criteria listed above. For those who prefer to lift in a non-heeled shoe, there are options out there that provide a far more rigid sole, and for those who want to deadlift in an extremely low-profile (i.e., close to the ground) shoe, there are options out there that are far more low-profile.
Can you lift in Chucks? Of course you can. If LeBron James wore running shoes, he could still play basketball, and he would certainly still beat me in a game of 1-on-1 . . . but he chooses to play in basketball shoes. I recommend that you choose to lift in lifting shoes.
As always, we hope this helps you get stronger and live better.
(Some links may be affiliate links. As an Amazon Associate, Testify earns from qualifying purchases.)
If you found this helpful, you’ll love our weekly email. It’s got useful videos, articles, and training tips just like the one in this article. Sign up below, and of course, if you don’t love it, you can unsubscribe at any time.
At Testify, we offer small group training, private coaching (in-person or remotely via Zoom), online coaching, and form checks. Would you like to get quality coaching from a Starting Strength Coach?
Enter the TUBOW
/(This article is a Blast from the Past article originally posted on 11/20/18).
What on earth is a TUBOW?
So glad you asked! A TUBOW is a Terribly Useful Block Of Wood. Many of you have seen us use 2-foot lengths of 4 x 4 lumber when people squat from time to time - these are TUBOWs.
Why would one use a TUBOW?
We use TUBOWs in the squat, and there are a couple reasons we might use a TUBOW. The most common use is to fix the knee's forward position on the way down.
becky’s knees are so far forward that parker refuses to watch.
Two common errors that we see when people squat is either (a) the lifter's knees travel forward all the way down, or (b) the knees travel forward at the bottom of the squat.
We would like to see the knee establish its final forward position about 1/3 to 1/2 of the way into the descent of the squat, and touching the TUBOW with the knee at this point provides excellent tactile feedback as to whether or not the lifter is doing that correctly. If the lifter accidentally knocks the TUBOW over, it provides excellent negative feedback that the knee has traveled too far forward.
becky touches her knees lightly to the tubow during the descent.
Another use of the TUBOW is to fix the knee's lateral position in the squat, i.e., is the lifter shoving the knees out (to the side) far enough, or perhaps even too far? The TUBOW gives the lifter something concrete (well, lumber, actually) to aim for, and very often, this will help solve the issue.
One of the great side effects of fixing the knee position is that it will often fix the back angle in the squat as well. If the lifter's knees can only travel "so far" forward on the descent, then the hips will have to travel backward (since your hips and knees are connected by your femurs . . . you know . . . the leg bone). If the hips have to travel backward, the lifter will have to lean over during the descent to avoid falling over backward and stay balanced on the midfoot, and that leaned over position is precisely what we want in the low bar squat. Pretty awesome.
Are you one of those people who is deeply, intensely, spiritually, emotionally, and morally opposed to using the TUBOWs? If so, you're probably the type of person whose squat would benefit most from using them. And if your squat benefits, then you benefit, because you'll get stronger - faster.
Where do I get a TUBOW?
You can go to your nearest lumber supply store and get a 4 x 4 (and they'll often cut it to size for you), but if you'd rather just order a 2 foot section of 4 x 4 online and have it show up at your front door, then just click here.
(Some links may be affiliate links. As an Amazon Associate, Testify earns from qualifying purchases.)
If you found this helpful, you’ll love our weekly email. It’s got useful videos, articles, and training tips just like the one in this article. Sign up below, and of course, if you don’t love it, you can unsubscribe at any time.
At Testify, we offer small group training, private coaching (in-person or remotely via Zoom), online coaching, and form checks. Would you like to get quality coaching from a Starting Strength Coach?
Quick & Easy DIY Lifting Straps!
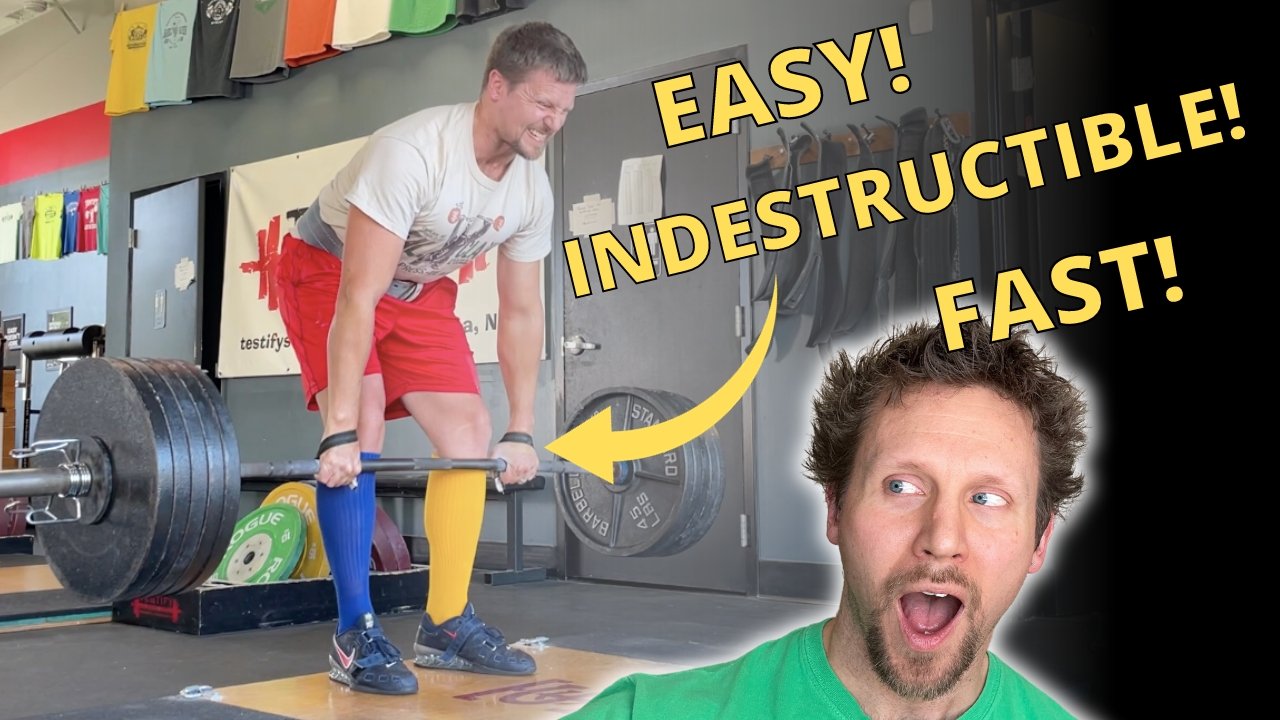
/You can buy lifting straps, or you can make this practically indestructible pair for about two bucks. Here we go:
Step 1
Purchase some 1-inch climbing tubular webbing (it will be flat even though it’s actually a tube). You can simply type in “climbing tubular webbing” into the search engine of your choice, and you’ll see a host of options, or you can just click here.
You can get something a bit wider than an inch if you like, but the 1-inch material will do just fine. Climbing webbing is extremely durable - remember, climbers trust this stuff with their lives. We’re just trusting it with our deadlifts, rows, etc.
Step 2: Cut a length of webbing about 2 ft long.
Step 2
Cut a length of webbing that is about two feet long. The exact length will vary by person, but you’ll want to err on the longer side. If the straps are too big for your liking, you can easily make them shorter later on. If you have large hands, you might want to go a bit longer than two feet.
steps 3 and 4 (left and right, respectively)
Step 3
Burn the cut ends so the straps don’t fray. A few seconds of burning is all that is necessary.
Be sure to let the burnt ends cool before touching them. This may seem obvious, but trust me - it’s worth mentioning.
Step 4
Place one end of a strap on top of the opposite end of the same strap so that they overlap by an inch or so.
steps 5 and 6 (left and right, respectively)
Step 5
Wrap 6-8 inches of athletic tape around the overlapped ends.
Step 6
Repeat steps 2-5 to create the other strap, and you’re done!
As always, we hope this helps you get stronger and live better.
(Some links may be affiliate links. As an Amazon Associate, Testify earns from qualifying purchases.)


