Quick & Easy DIY Lifting Straps!
/
(A Blast from the Past article originally posted on 10/29/21)
You can buy lifting straps, or you can make this practically indestructible pair for about two bucks. Here we go:
Step 1
Purchase some 1-inch climbing tubular webbing (it will be flat even though it’s actually a tube). You can simply type in “climbing tubular webbing” into the search engine of your choice, and you’ll see a host of options, or you can just click here.
You can get something a bit wider than an inch if you like, but the 1-inch material will do just fine. Climbing webbing is extremely durable - remember, climbers trust this stuff with their lives. We’re just trusting it with our deadlifts, rows, etc.

Step 2: Cut a length of webbing about 2 ft long.
Step 2
Cut a length of webbing that is about two feet long. The exact length will vary by person, but you’ll want to err on the longer side. If the straps are too big for your liking, you can easily make them shorter later on. If you have large hands, you might want to go a bit longer than two feet.

steps 3 and 4 (left and right, respectively)
Step 3
Burn the cut ends so the straps don’t fray. A few seconds of burning is all that is necessary.
Be sure to let the burnt ends cool before touching them. This may seem obvious, but trust me - it’s worth mentioning.
Step 4
Place one end of a strap on top of the opposite end of the same strap so that they overlap by an inch or so.

steps 5 and 6 (left and right, respectively)
Step 5
Wrap 6-8 inches of athletic tape around the overlapped ends.
Step 6
Repeat steps 2-5 to create the other strap, and you’re done!
As always, we hope this helps you get stronger and live better.
(Some links may be affiliate links. As an Amazon Associate, Testify earns from qualifying purchases.)
If you found this helpful, you’ll love our weekly email. It’s got useful videos, articles, and training tips just like the one in this article. Sign up below, and of course, if you don’t love it, you can unsubscribe at any time.
At Testify, we offer small group training, private coaching (in-person or remotely via Zoom), online coaching, and form checks. Would you like to get quality coaching from a Starting Strength Coach?
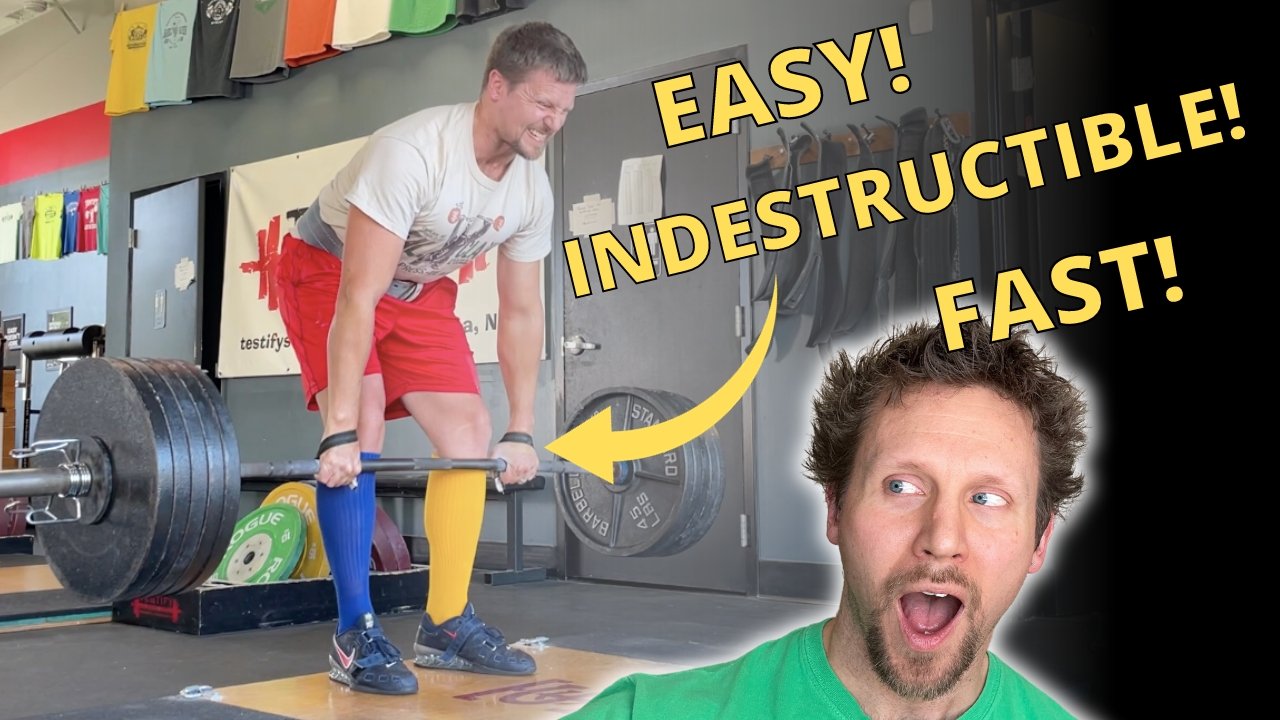
5 Seconds to a BIGGER Deadlift
/5 seconds to a bigger, better, stronger deadlift - how is this even possible? Find out with this solution.
At Testify, we offer small group training, private coaching (in-person or remotely via Zoom), online coaching, and form checks. Click the button below to get quality coaching from a Starting Strength Coach and start getting stronger TODAY.
The Testify Examiner - November 13, 2023
/THIS WEEK'S SUBMISSION
From our video How to Build Jerk Blocks - Part 1: Stackers (click the title to watch):
Richmon Schumann
What height do you build the jerk blocks to? Is it based on a standard or just the height of the person using the blocks?
Phil
These are about 45 to 46 inches tall. They were designed with the goal that pretty much anybody (even relatively tall people) could still use them for jerk blocks. Most people will not use all of the blocks when performing jerks from the blocks.
ARTICLES & VIDEOS

One Clue to Identify a Bad Squat EARLY
How can you tell that your squat is going to be harder and less efficient than it should be? Watch for this tell-tale sign on the descent and learn how to fix it. Click here to watch.

How to EASILY Move Stall Mats! | Gym Equipment
Horse stall mats are supremely useful for platforms and/or gym flooring, but they’re a pain to move...OR ARE THEY?! There’s a better way. You need to get your mind right, so check out this article. Click here to read.

Blast from the Past: How to Put on Knee Sleeves (the super secret and easy way!)
Stop struggling to get your knee sleeves on. Phil, Becky, and Sharon show you this super secret method - it's simple and easy. Click here to watch.

Blast from the Past: Weightlifting vs Powerlifting vs Strengthlifting - What's the Difference?!
“What’s the deal with all of these lifting sports? I can’t keep them straight!” Phil explains in this short article. Click here to read.

NEW TESTIFY HOODIES ARE AVAILABLE!
Looking to train in style and comfort this fall? Get yourself a Testify hoodie - in practically any color! Get yours today and represent your favorite gym.
Click here to head to the Testify Store.
WHAT'S COMING UP
Below are a few of our upcoming events, and you can find out what else is on the calendar by heading to our events page at www.testifysc.com/events.
Benching Bonanza! The Annual Testify Bench Press Jubilee
November 17, 2023
Benching Bonanza is a strength meet wherein the only contested lift is - you guessed it - the bench press. There will be one bar, and the meet will be conducted in a "rising bar" format, so the weight on the bar only goes up! It'll be a ton of fun, so come on out!
Click here to register or for more information.
Testify Christmas Classic
December 2, 2023
Come on out and join us for the annual Testify Christmas Classic! This is a weightlifting meet, so the contested lifts are the snatch and clean-and-jerk.
Click here to register or for more information.
Testify Strengthlifting Challenge
April 6, 2024
The annual Testify Strengthlifting Challenge is back, and we invite you to be a part of it! This is a strengthlifting meet, which means the contested lifts will be the squat, press, and deadlift.
Click here to register or for more information.
IN OTHER NEWS . . .
This year, Testify Strength & Conditioning will be participating in Samaritan’s Purse Operation Christmas Child event as a way to support our community and beyond!
Would you like to join us in sending a shoebox filled with gifts and personal items to a child in need this Christmas? Your shoebox will be an expression of God’s love to a child in need around the world. Any shoebox will do, fill it with toys, personal care items, school supplies and accessories. You can choose to make your box specific to a boy or girl ages 2-14 years old. Fill out the envelope (located on the table outside the gym office) and add $10/box for shipping and attach it to your box.
Check out the table outside the gym office for all the details and how to pack a box. Our goal is to deliver 20 boxes to a local church drop-off site to be processed and sent out to the children. Shoeboxes need to be returned to Testify no later than November 13th.
If you have any questions please contact Barb at barb.mueller@testifysc.com.
THIS WEEK’S CONDITIONING
Option 1
Sled
Outdoors:
10 rounds of:
Push sled 100 ft
Pull sled 100 ft (hand over hand)
Indoors:
20 rounds of:
Push sled 50 ft
Pull sled 50 ft (hand over hand)
Compare to 2023.09.11.
Option 2
Bike/row:
5 min on
4 min off
4 min on
3 min off
3 min on
2 min off
2 min on
1 min off
1 min on
Record distance for each interval and add for total distance.
Compare to 2023.08.21.
Option 3
Outdoors:
8 rounds:
4 tire flips
50 yd sled push (25 yd down-back)
Rest 1 minute
Indoors:
8 rounds:
4 tire flips
100 ft sled push (50 ft down-back)
Rest 1 minute
Compare to 2023.07.24.
Option 4
5 rounds:
4 tire flips
8 sledgehammer strikes
6 pull-ups
10 push-ups
Pull-ups and push-ups can be modified – talk to the coaches for options.
Compare to 2023.07.24.
How to EASILY Move Stall Mats! | Gym Equipment
/The classic ¾-inch-thick, 4 ft x 6 ft horse stall mat is very useful for gyms - whether a commercial gym or a home gym. We’ve used many, many mats in the construction of our lifting platforms, and you can also simply use them as gym flooring.
However, they are a pain to move. A real big pain in the butt in fact, so whether you’ve got a partner to help you or you’re moving mats on your own, let’s solve this problem.
Note: While I’ve provided photos to help, all of these solutions are far more easily understood in action in the included videos.

Figure 1: Two People - hanging the mat over a board (top) and rolling up the mat (bottom)
TWO PEOPLE
If you’ve got two people, there are a couple of solutions (Figure 1), and we’ll cover a third option in the “reverse taco” section later in this article.
Solution 1
One option is to lay a board (or pole) on the floor. Next, lay the mat on top of the board. Finally, pick up both ends of the board and rest them on one shoulder of each person.
Solution 2
A second option is to simply roll the mat up and have each person grab one end.

Figure 2: Don’t use either of these methods. they’re dumb.
ONE PERSON (Reverse Taco Method)
Having two people is nice, but there is a very easy way to drag a stall mat when you’re on your own. Now, don’t try to drag it like the fool in Figure 2 - you’ll have to pinch the mat extremely hard between your fingers, it will be very difficult to keep that grip, and half the time, the mat will simply slip out of your hands.
Instead, do the following as described in the three steps below and as demonstrated in Figure 3.
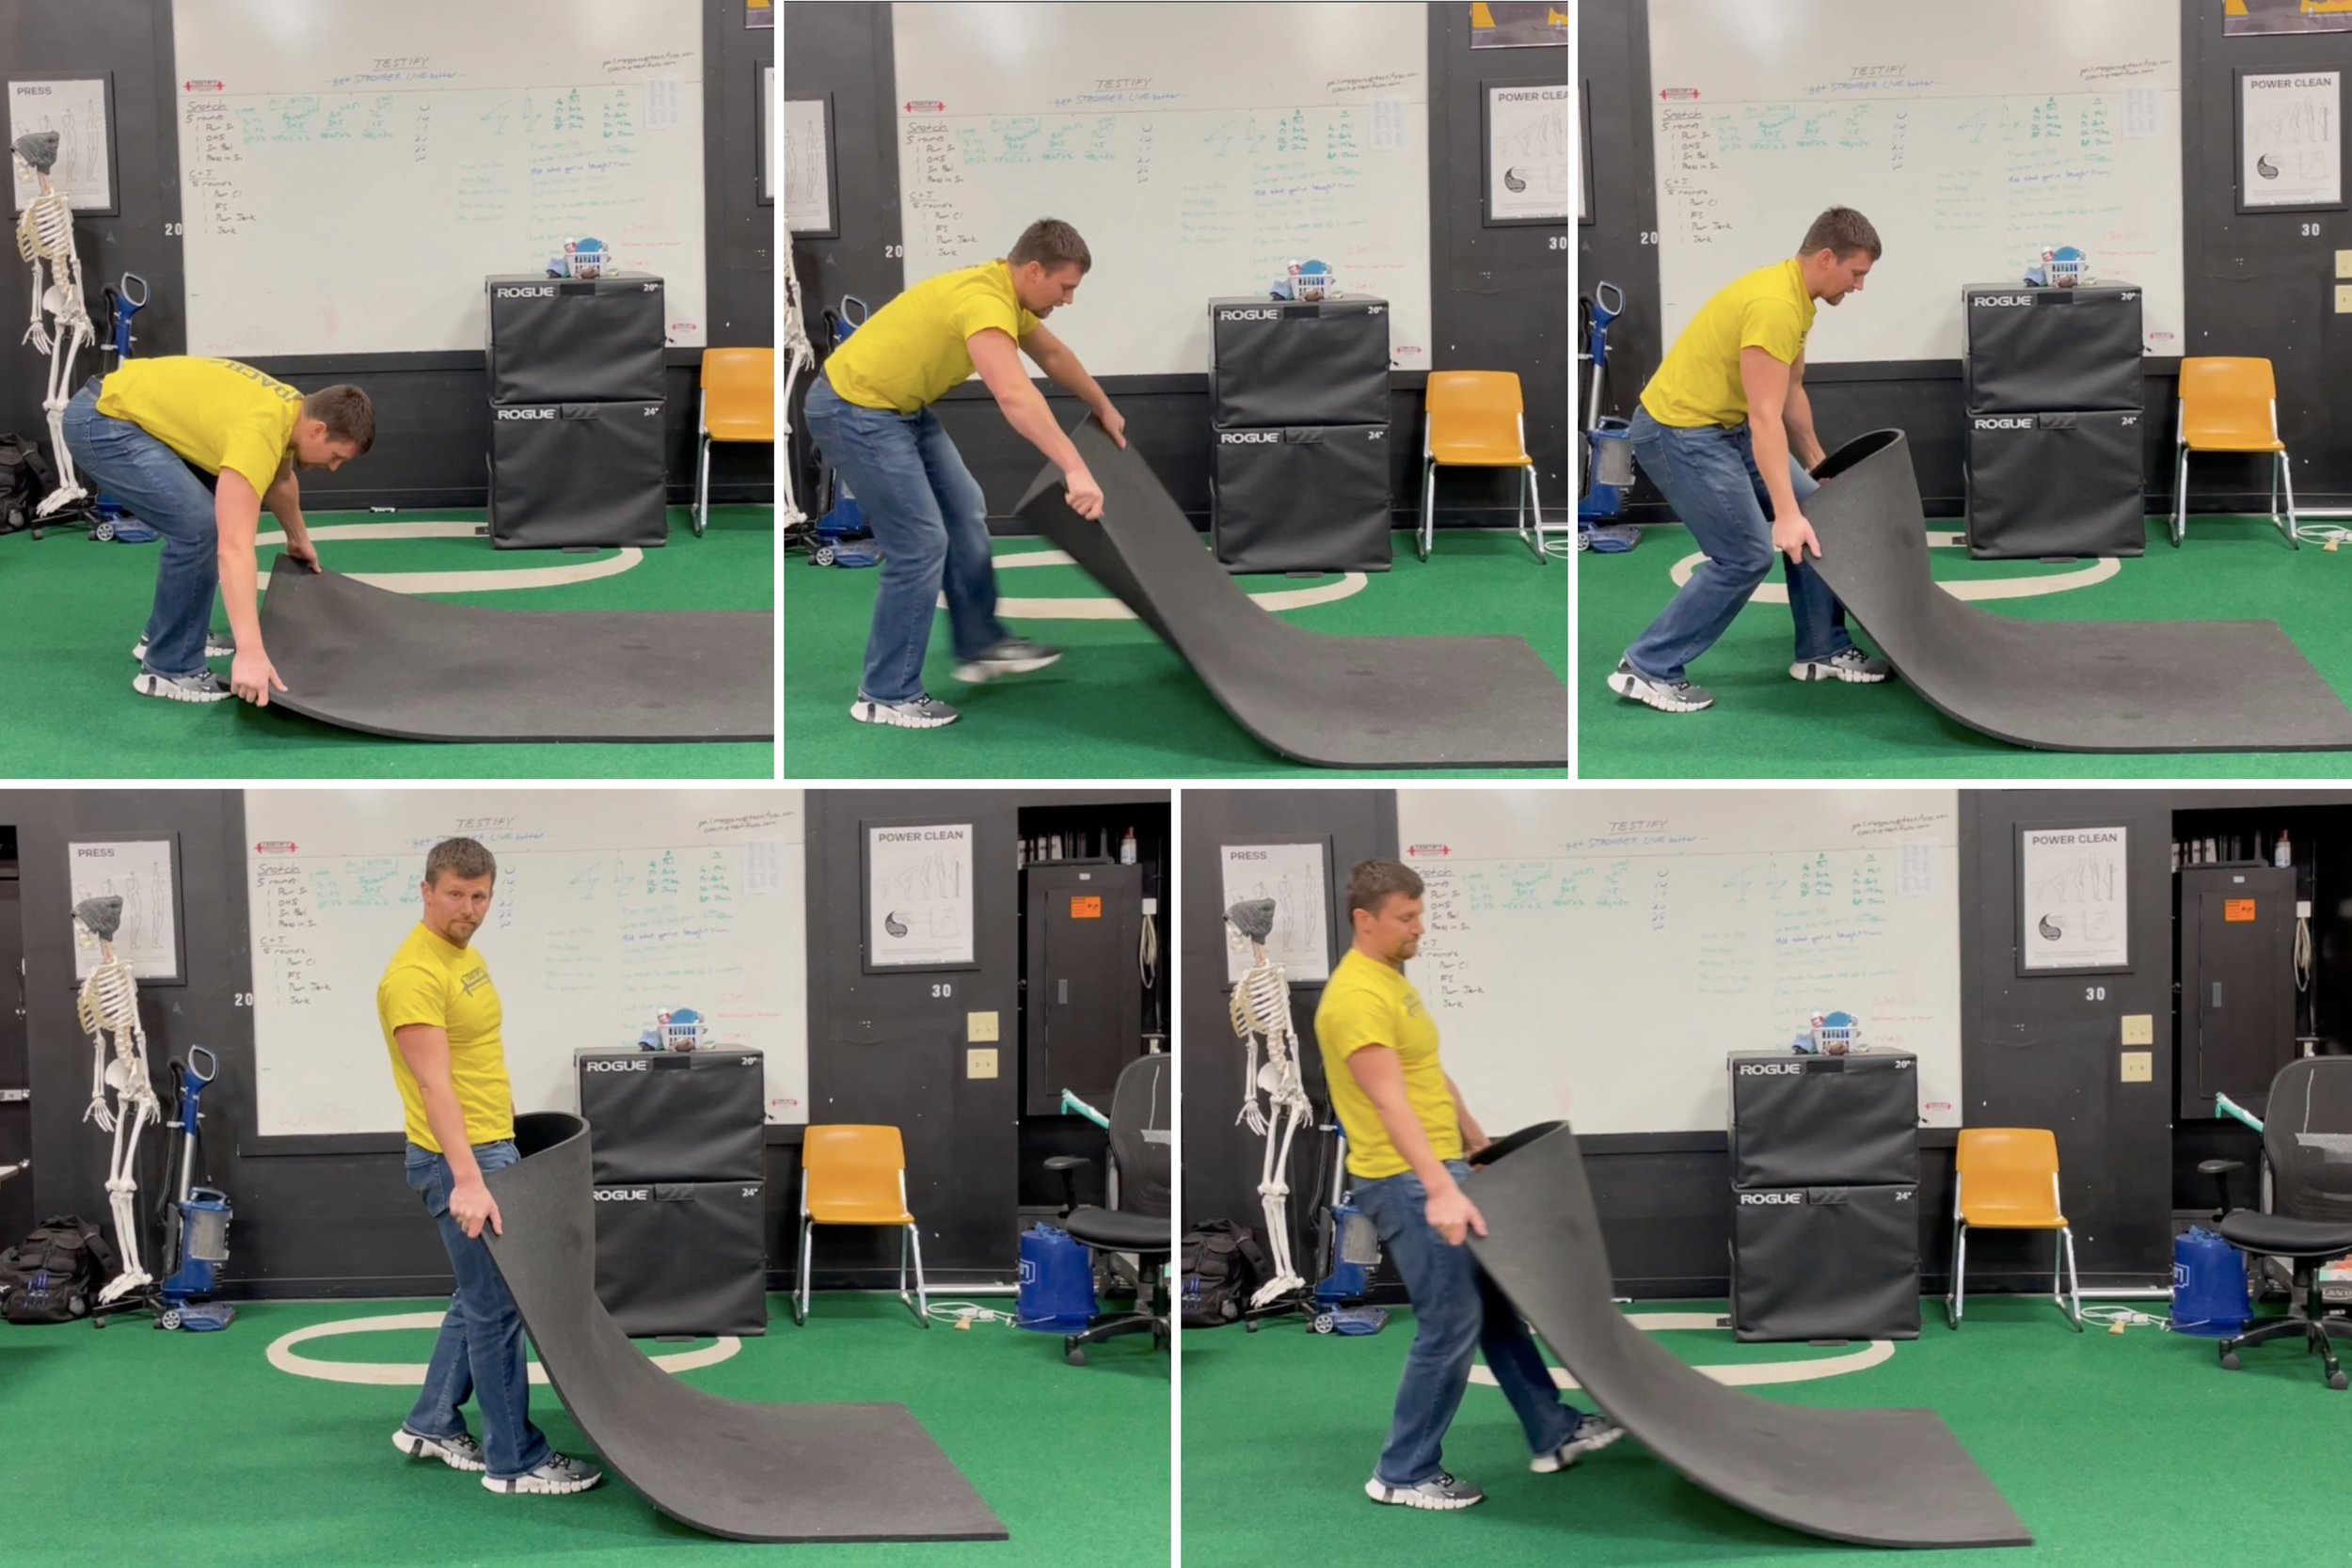
figure 3
Step 1
Pick the mat up from the edges.
Step 2
Flip the mat so the mat creates a “hill.” The edges of the mat will now be wedged into your hands, which means that you don’t have to hang on very tightly at all.
Step 3
Drag the mat. You’ll be surprised at how easily you can hang onto the mat utilizing this method.
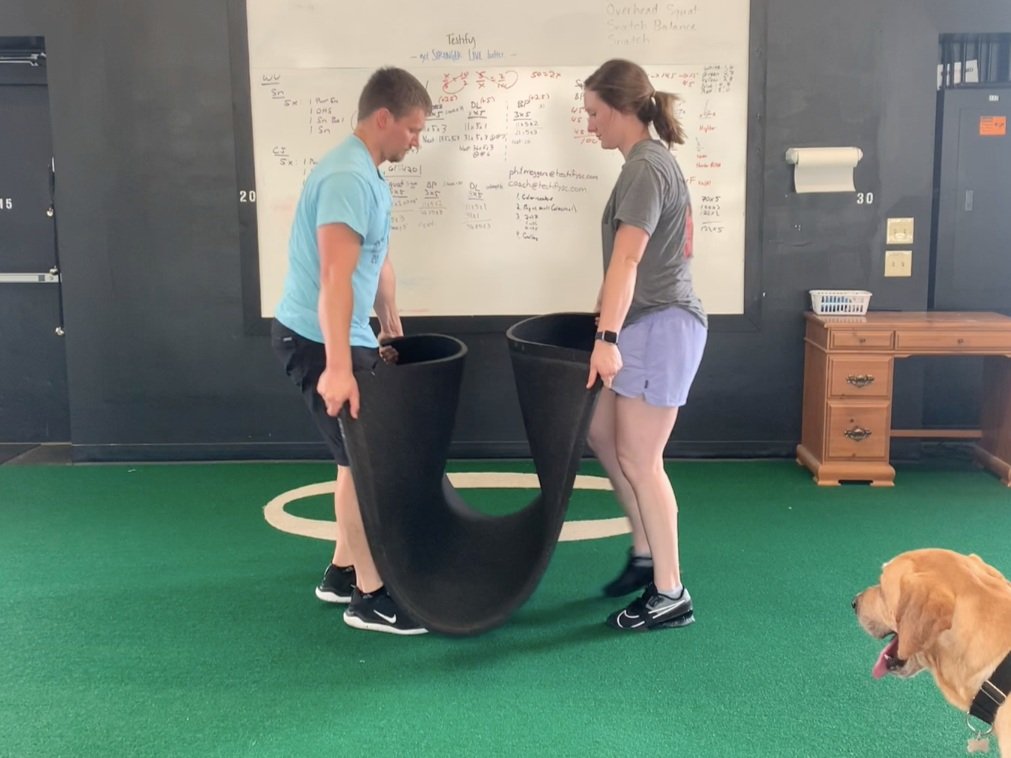
Figure 4: 2-person reverse taco method
This method can also be utilized by two people (Figure 4), and as mentioned earlier, this is far more easily demonstrated and understood on video than with the printed word and photos, so I’d recommend watching one of the included videos.
As always, we hope this helps you get stronger and live better.
(Some links may be affiliate links. As an Amazon Associate, Testify earns from qualifying purchases.)