The Testify Spectator - October 16, 2023
/THIS WEEK'S SUBMISSION
From our video Easy Trick for Your Deadlift Stance! (click the title to watch):
Nick
What about stance width?
Phil
Good question. The short answer is narrow - about hip width (not shoulder width). Usually the heels will be roughly 8-12 inches apart, and the toe angle is about 10-15 degrees out. It will be significantly narrower than the squat.
ARTICLES & VIDEOS

How to Stiff Leg Deadlift (and Why!)
Want to improve your deadlift? The stiff leg deadlift (AKA stiff-legged deadlift) can help. Phil explains what a stiff leg deadlift is, how to do it, and why you might want to utilize the the SLDL in your training. Click here to watch.

2 Clues to SPOT Your Terrible Deadlift EARLY!
Is your deadlift drifting away from you? Learn to notice the problem before it happens as well as how to fix it. Click here to watch.

2 Deadlifting Pieces of Equipment You NEED to Have!
Want a bigger deadlift? We cover two pieces of equipment that will immediately strengthen your deadlift. Click here to read.
Blast from the Past: 4 Ways You're Ruining Your Clean!
Quit making these mistakes when cleaning (whether it's a power clean, split clean, or squat clean)! We cover 4 common clean errors as well as how to fix these mistakes. Click here to watch.

Blast from the Past: The Squat: Hips and Knees Together!
If you descend into your squat by breaking at the hips first instead of hips-and-knees together, that's a problem. Let's fix it. Click here to read.

NEW TESTIFY HOODIES ARE AVAILABLE!
Looking to train in style and comfort this fall? Get yourself a Testify hoodie - in practically any color! Get yours today and represent your favorite gym.
Click here to head to the Testify Store.
WHAT'S COMING UP
Reminder: We will be closed for training on Saturday, 10/21/23, as we are hosting the annual Testify Fall Classic strengthlifting meet.
Below are a few of our upcoming events, and you can find out what else is on the calendar by heading to our events page at www.testifysc.com/events.
Testify Fall Classic
October 21, 2023
The Testify Fall Classic is back for 2023, and we invite you to be a part of it! This is a strengthlifting meet, which means the contested lifts will be the squat, press, and deadlift.
Click here to register or for more information.
Free Intro to Squat Session
October 28, 2023
Are you interested in getting stronger? Book your free "Intro to Squat" session and learn to squat, meet some of our coaches, and see the gym! All ages and abilities are welcome.
Click here to book your free session.
Benching Bonanza! The Annual Testify Bench Press Jubilee
November 17, 2023
Benching Bonanza is a strength meet wherein the only contested lift is - you guessed it - the bench press. There will be one bar, and the meet will be conducted in a "rising bar" format, so the weight on the bar only goes up! It'll be a ton of fun, so come on out!
Click here to register or for more information.
THIS WEEK’S CONDITIONING
Option 1
“Prowler Base+1”
1. Load up a manageable weight.
2. Sprint 40m at 85% intensity.
3. Rest 30 sec.
4. Repeat 5-15 times.
Courtesy of “Death by Prowler” (on Starting Strength).
Compare to 2023.08.14.
Option 2
Bike/row:
12 min TT
Score = distance
Compare to 2023.07.24.
Option 3
Outdoors:
5-10 rounds:
50 yd sled push (25 yd down-back)
50 yd farmer carry (25 yd down-back)
Rest 1 min
Indoors:
5-10 rounds:
100 ft sled push (50 ft down-back)
100 ft farmer carry (50 ft down-back)
Rest 1 min
Compare to 2023.06.26.
Option 4
10 x 50 ft farmer carry
Each carry is 25 ft down and 25 ft back and is for time. Rest 1 minute between carries.
Women: 97# per handle (80# of plates)
Men: 137# per handle (120# of plates)
(Note: Each handle weighs 17#.)
Compare to 2023.06.26.
2 Clues to SPOT Your Terrible Deadlift EARLY!
/Is your deadlift drifting away from you? Learn to notice the problem before it happens as well as how to fix it.
At Testify, we offer small group training, private coaching (in-person or remotely via Zoom), online coaching, and form checks. Click the button below to get quality coaching from a Starting Strength Coach and start getting stronger TODAY.
2 Deadlifting Pieces of Equipment You NEED to Have!
/Let’s quickly cover two pieces of equipment that will make you better at deadlifting . . . instantly.
Item #1: Long Socks
We are talking very long - socks that go above your calves (i.e., almost to your knees). You will simply be better at keeping the bar close when wearing long socks. Sweatpants and leggings will do just fine as well, but long socks are so much more stylish.
“But Phil, I’m already pretty good at keeping the bar close.” Good for you, and in this case, you already know that - every once in a while - you nick your shin with the bar. Shins bleed easily, and now that you’ve done this, it is annoyingly easy to catch that new scab with the bar and break it open again.
Because of this - whether consciously or subconsciously - you now try to avoid hitting that scab. As a result, you are suddenly worse at keeping the bar close to your legs, and this makes your deadlifts that much harder. So . . . wear long socks.
As an additional note, you might not care if you get a little bloody when you deadlift, but everyone else who has to use that same barbell does indeed care, so do your training companions a favor. Wear long socks and keep your DNA off the bar.
Item #2: Chalk
We’ve covered this before, and we’ll cover it again - chalk is hugely useful for all of the lifts, but it is especially useful for pulling lifts such as the snatch, clean, and deadlift. Rock climbers and gymnasts use it to save their lives - we’re just using it to save our deadlifts. But the reason for its use remains the same - it absorbs the sweat and natural oil from your hands so that you have as much friction as possible when taking your grip.
Side note: If you’re training at a commercial gym and don’t feel like sneaking in the usual chalk, you can also use liquid chalk.
Still don’t like using chalk? You have two options - pull a Kelly Clarkson and just walk away since you’ve decided not to lift today or put on your big boy (or big girl) pants and use chalk because it’s the intelligent thing to do.
It makes your current deadlifts easier, and it allows you to lift more weight with less effort, which allows you to get stronger more efficiently. We’ve had numerous conversations with members who started using chalk a bit later than they should have (which is on day one) and were astounded at how much of a difference it made.
A reasonable approach is to rub some chalk onto your hands when you start warming up the deadlift (brush your hands together lightly to get rid of any loose chalk) and then chalk up again when you get to your work set.
As always, we hope this helps you get stronger and live better.
-Phil
PS: Whenever you want even more Testify in your life, here are some free resources:
Follow Testify on Instagram HERE.
Subscribe to Testify’s YouTube channel HERE.
Book a free intro and strategy session with us HERE.
Pick up a free copy of Testify’s Squat Guide: 12 Tips to Improve Your Squat Now HERE.
Get our free weekly email - containing useful videos, articles, and training tips - HERE.
(Some links may be affiliate links. As an Amazon Associate, Testify earns from qualifying purchases.)
At Testify, we offer small group training, private coaching (in-person or remotely via Zoom), online coaching, and form checks. Interested in getting stronger, looking better, and having more energy?
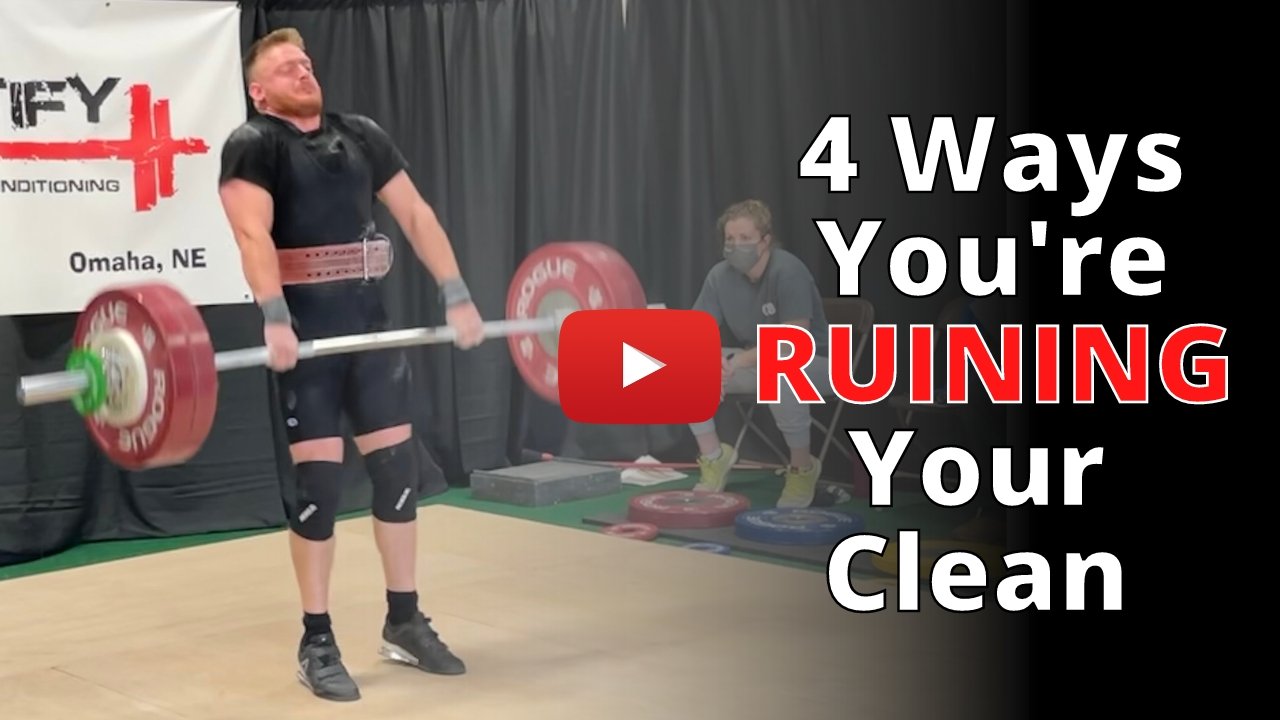
4 Ways You're Ruining Your Clean!
/Quit making these mistakes when cleaning (whether it's a power clean, split clean, or squat clean)! We cover 4 common clean errors as well as how to fix these mistakes.
(This is a Blast from the Past video originally published on 01/31/22.)
At Testify, we offer small group training, private coaching (in-person or remotely via Zoom), online coaching, and form checks. Click the button below to get quality coaching from a Starting Strength Coach and start getting stronger TODAY.
The Squat: Hips and Knees Together!
/For heaven’s sake . . . don’t do this.
(A Blast from the Past article originally posted on 09/17/21)
A problem that sometimes shows up in the squat is that of breaking at the hips first; in other words, instead of bending the hips and knees at the same time as we start to descend in the squat (which is what we want to happen), a lifter makes the mistake of breaking (i.e., bending) at the hips first followed by bending the knees. Let’s solve this problem.

A) Becky correctly initiates her descent by bending the hips and knees simultaneously.
In a correctly executed squat, the hips and knees will start to bend at the same time. As Becky shows in Figure A, her hips travel backward at the same time her knees travel forward and outward (i.e., in the direction of her toes) - this is what we would like to see, and this allows Becky to maintain her balance over the middle of her foot.

B) Becky incorrectly initiates her descent by bending at the hips first. Becky is exaggerating the error in the image on the left, but it tends to be a bit more subtle as Becky demonstrates in the image on the right (note that her hips have begun reaching back while her knees seem frozen in place).
In contrast, in Figure B, you can see Becky incorrectly initiating her descent by reaching back with her hips - which is correct - but she’s not forcing her knees to simultaneously move forward and out early in the descent.
This error is usually accompanied by the knees moving too far forward as the lifter reaches the bottom of her squat as well.
If you notice that you tend to break at the hips first, the simplest approach is to cue yourself, “Hips and knees at the same time” or “Hips and knees together.” Not surprisingly, the first approach is to cue yourself to do exactly what it is that you want to do.
However, if that approach doesn’t work, you can use an overcue and tell yourself to go “knees first” - in other words, you’re cueing yourself to shove your knees forward and out before you reach back with your hips. This overcue (like all overcues) is a bit of a lie as we actually want the motion of the hips and knees to be simultaneous, but it can be a potentially useful lie if it does the job and fixes the problem.
If those cues don’t work, go ahead and break out a TUBOW (Terribly Useful Block Of Wood) or two and make sure that your knees touch the TUBOWs about one-third to one-half of the way into your descent. If you’ve never used a TUBOW before, check out our video on that topic - TUBOW: The Portable Squat Coach - which is also included in this article.

Becky breaks out the TUBOWs.
As always, we hope this helps you get stronger and live better.
-Phil
PS: Whenever you want even more Testify in your life, here are some free resources:
Follow Testify on Instagram HERE.
Subscribe to Testify’s YouTube channel HERE.
Book a free intro and strategy session with us HERE.
Pick up a free copy of Testify’s Squat Guide: 12 Tips to Improve Your Squat Now HERE.
Get our free weekly email - containing useful videos, articles, and training tips - HERE.
(Some links may be affiliate links. As an Amazon Associate, Testify earns from qualifying purchases.)