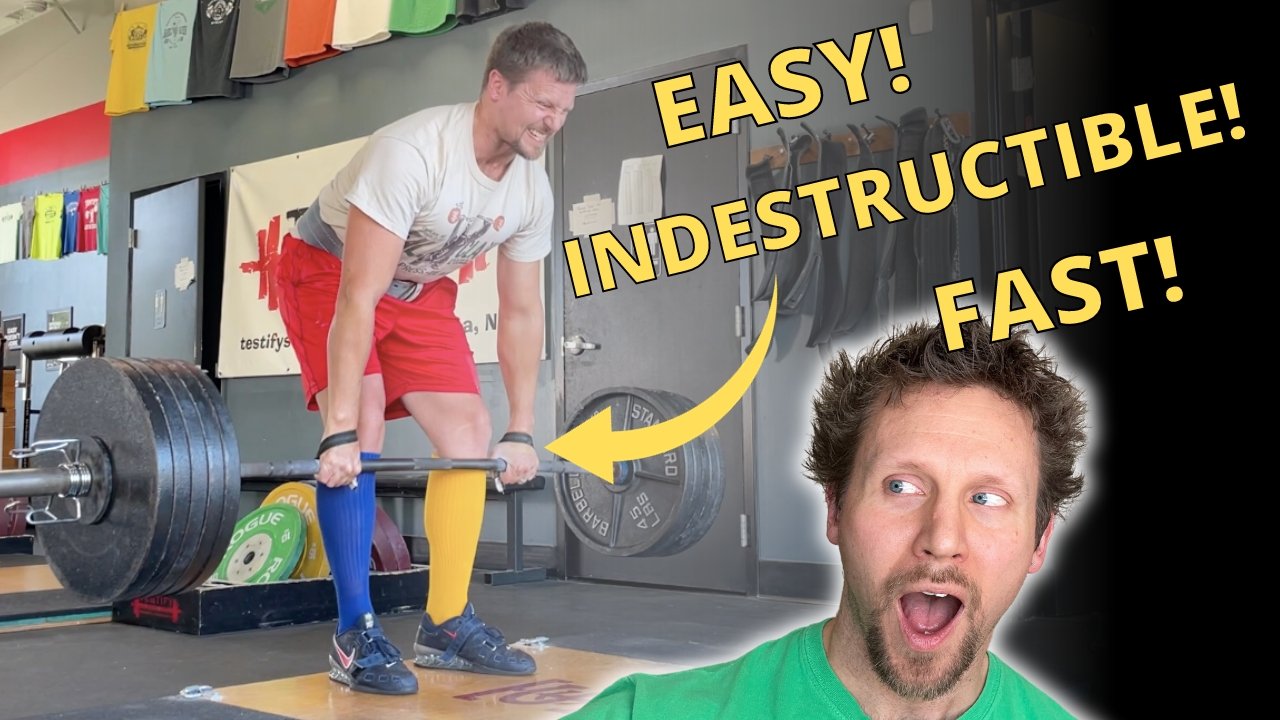
4 Easy Ways to Load Your Deadlift

If you’re new to lifting, it may seem like loading and unloading your deadlift sometimes take an unseemly amount of effort. Let’s improve this situation, shall we?

Option 1
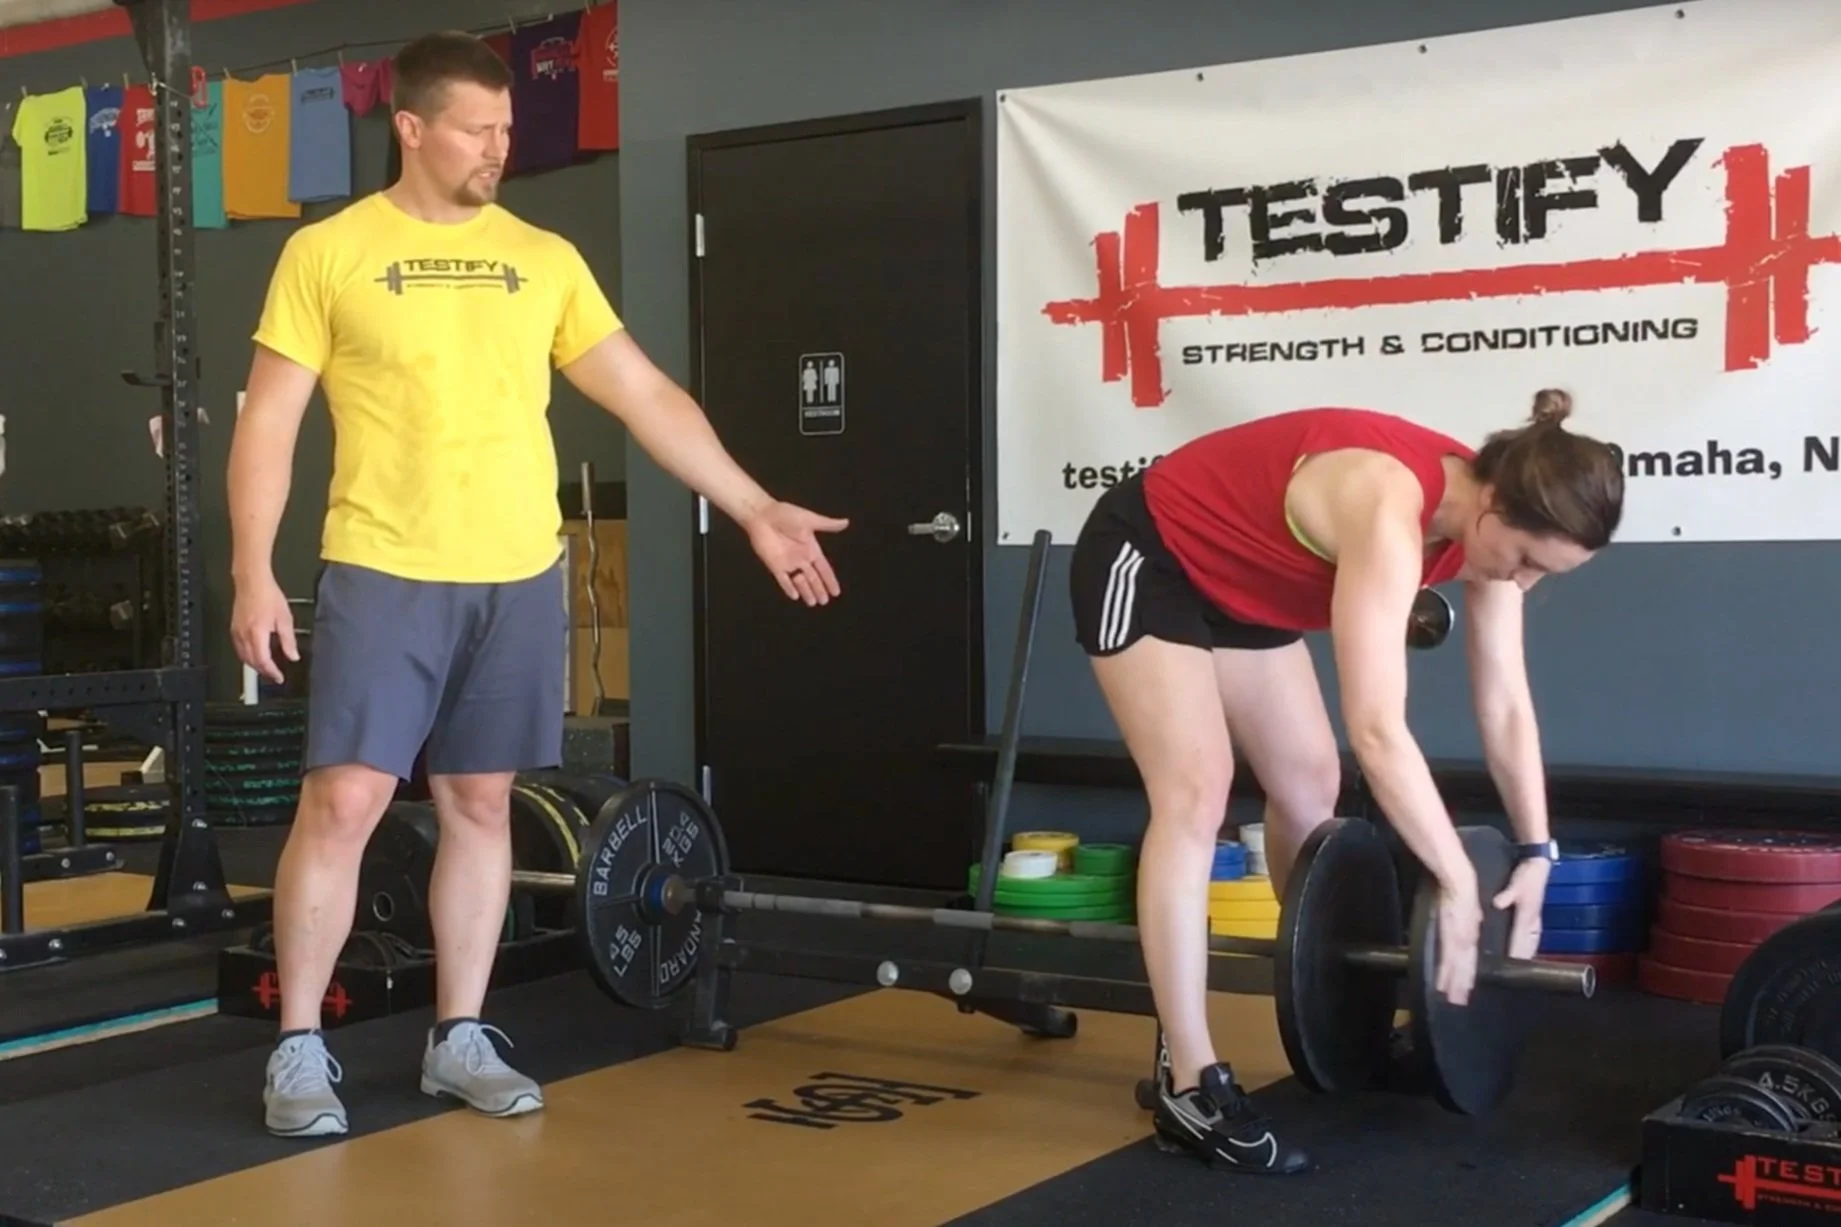
If you’re using bumper plates, simply grab the plate about halfway down or just slightly lower than that, lean back a bit, and simply pull. You’re using your bodyweight to help pull the plate along - the plate will slide lightly along the floor, and you’ll be good to go.

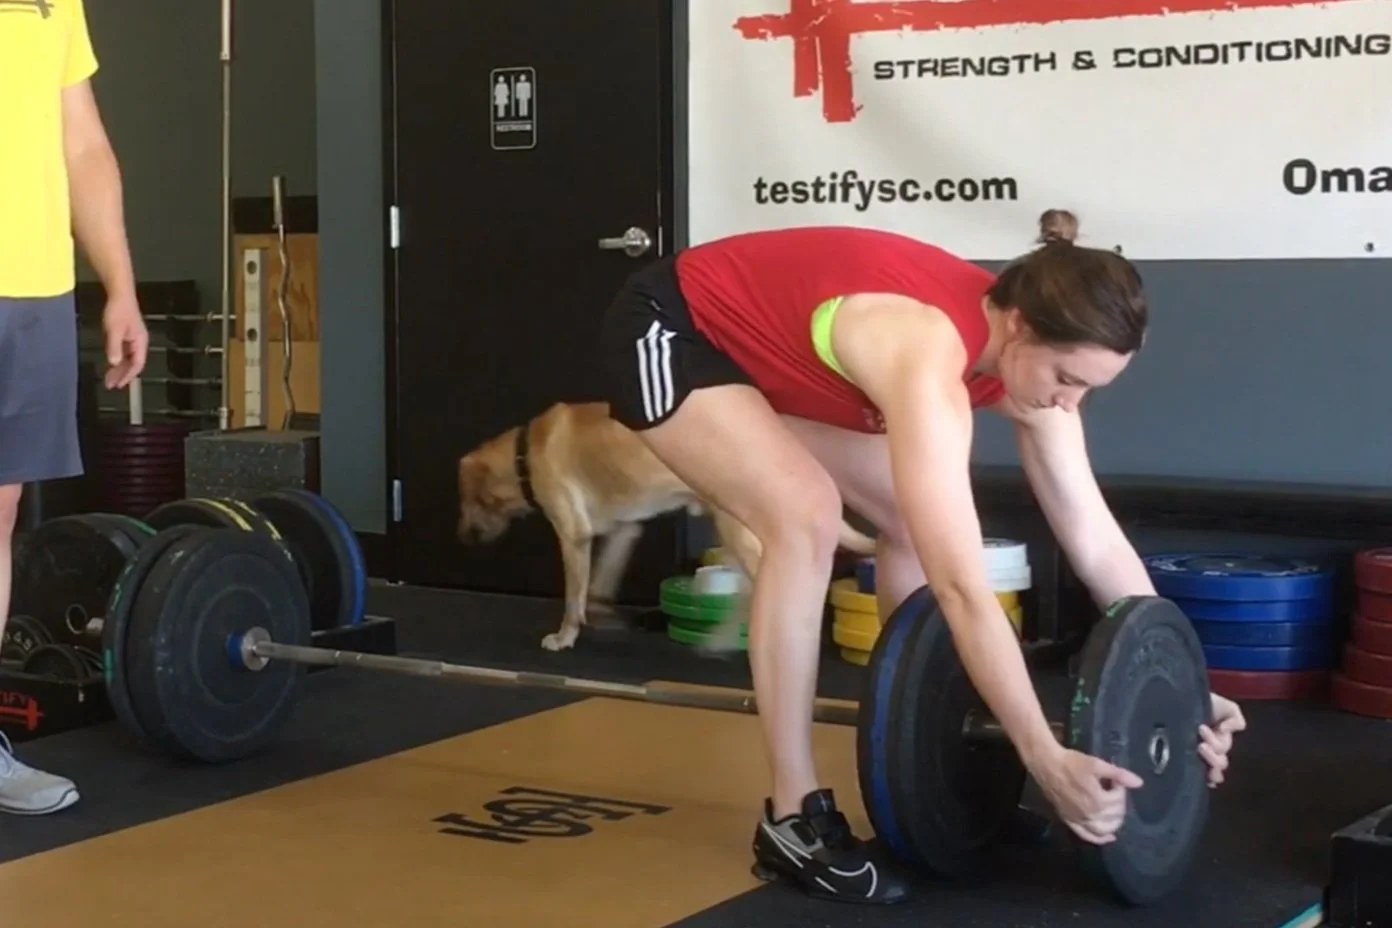
One of the advantages to this method is that if there is some slop at the other end of the barbell, this tends to tighten up both sides simultaneously.

Option 2
Deadlifting with metal plates is preferable to deadlifting with bumper plates because, when you add other plates like 25s or 10s, you’re not adding a full size plate, so loading extra plates is relatively effortless until it’s time to add another 45 to each side.

When it’s time to add a 45 to each side, grab a 2.5 lb plate (5s or 10s also work, but 2.5s are best), and roll one side of the bar up onto the plate. This raises the bar enough that you can slide the next 45 on easily.

This method is also very useful when unloading your bar at the end. Simply roll the innermost 45 up onto a 2.5, which leaves the outer 45s off the ground. As a result, they are easy to slide off the bar.

Option 3
Whether you’re using metal plates or bumper plates, you can use a commercially available deadlift jack. On one hand, a deadlift jack is the best option in terms of ease of use, but it’s also the most expensive option as some models will cost you $150-$200 or more. It’s great . . . but it can be pricey. A more economical version of a deadlift jack would be . . .

Option 4
The fishhook! (if you’ve seen the movie “Moana,” you’ll understand the name) Anyone can make one of these - the process is simple, cheap, and we have a video covering the entire project (thanks to one of our coaches, Tyler Holm!), and you can scroll down to the end of this article to view that video.

With the fishhook, you can easily jack up one side of the bar, which makes it very easy to slide on either a bumper plate or a metal 45.

We hope these tips help you get stronger and live better!

(Some links may be affiliate links. As an Amazon Associate, Testify earns from qualifying purchases.)

If you found this helpful, you’ll love our weekly email. It’s got useful videos, articles, and training tips just like the one in this article. Sign up below, and of course, if you don’t love it, you can unsubscribe at any time.


At Testify, we offer small group training, private coaching (in-person or remotely via Zoom), online coaching, and form checks. Would you like to get quality coaching from a Starting Strength Coach?

click here to start today

Week 2021.11.01

This Week’s Conditioning

Option 1
Sled
Outdoors:
10 rounds of:
Push sled 100 ft
Pull sled 100 ft (hand over hand)

Indoors:
20 rounds of:
Push sled 50 ft
Pull sled 50 ft (hand over hand)

Compare to 2021.08.30.

Option 2
Bike/row:
4 x 800m

Rest 3 minutes between each round. Score = slowest time.

Compare to 2021.08.09.

Option 3
Outdoors:
10 rounds:
25 yd yoke carry
Rest 1 minute

Indoors:
10 rounds:
30 yd yoke carry (15 yd down-back)
Rest 1 minute

Compare to 2021.07.12.

Option 4
10 x 50 ft farmer carry
Each carry is 25 ft down and 25 ft back and is for time. Rest 1 minute between carries.

Women: 97# per handle (80# of plates)
Men: 137# per handle (120# of plates)
(Note: Each handle weighs 17#.)

Compare to 2021.07.12.

Quick & Easy DIY Lifting Straps!

You can buy lifting straps, or you can make this practically indestructible pair for about two bucks. Here we go:

Step 1
Purchase some 1-inch climbing tubular webbing (it will be flat even though it’s actually a tube). You can simply type in “climbing tubular webbing” into the search engine of your choice, and you’ll see a host of options, or you can just click here.

You can get something a bit wider than an inch if you like, but the 1-inch material will do just fine. Climbing webbing is extremely durable - remember, climbers trust this stuff with their lives. We’re just trusting it with our deadlifts, rows, etc.

Step 2: Cut a length of webbing about 2 ft long.

Step 2
Cut a length of webbing that is about two feet long. The exact length will vary by person, but you’ll want to err on the longer side. If the straps are too big for your liking, you can easily make them shorter later on. If you have large hands, you might want to go a bit longer than two feet.

steps 3 and 4 (left and right, respectively)

Step 3
Burn the cut ends so the straps don’t fray. A few seconds of burning is all that is necessary.

Be sure to let the burnt ends cool before touching them. This may seem obvious, but trust me - it’s worth mentioning.

Step 4
Place one end of a strap on top of the opposite end of the same strap so that they overlap by an inch or so.

steps 5 and 6 (left and right, respectively)

Step 5
Wrap 6-8 inches of athletic tape around the overlapped ends.

Step 6
Repeat steps 2-5 to create the other strap, and you’re done!

As always, we hope this helps you get stronger and live better.

(Some links may be affiliate links. As an Amazon Associate, Testify earns from qualifying purchases.)

If you found this helpful, you’ll love our weekly email. It’s got useful videos, articles, and training tips just like the one in this article. Sign up below, and of course, if you don’t love it, you can unsubscribe at any time.


At Testify, we offer small group training, private coaching (in-person or remotely via Zoom), online coaching, and form checks. Would you like to get quality coaching from a Starting Strength Coach?

click here to start today

Week 2021.10.25

The 2021 Testify Fall Classic is in the books! Lots of PRs were set, and many congratulations go out to everyone who stepped onto the platform to compete this past Saturday. Thank you to those of you who helped out at the meet – setup, teardown, judging, spotting, loading, scoring, announcing – without you, this meet wouldn’t be possible. Also, thank you to those who came out to support and cheer on the lifters – you all made it a fun day for the lifters on the platform.

This Week’s Conditioning

Option 1
Sled Pyramid – 4, 5, or 6 tiers
Go up and down a 4, 5, or 6 tier “sled pyramid” – rest as needed. The distance for each round is 80 m indoors (a down-back on the 40m course) or 200 ft outdoors (2 down-backs on the 50 ft course). Rest as needed.

For example, Bob does the following (4 tiers):
Round 1: Empty sled
Round 2: 25#
Round 3: 50#
Round 4: 75#
Round 5: 50#
Round 6: 25#
Round 7: Empty sled

Compare to 2021.08.23.

Option 2
Bike/row:
4 x 3 minutes

Rest 3 minutes between each round. Score = lowest distance.

Compare to 2021.08.02.

Option 3
Outdoors:
5-10 rounds:
10 sledgehammer strikes (5R, 5L)
50 yd farmer carry (25 yd down-back)
Rest 1 minute

Indoors:
5-10 rounds:
10 sledgehammer strikes (5R, 5L)
100 ft farmer carry (50 ft down-back)
Rest 1 minute

Compare to 2021.07.05.

Option 4
10 x 50 ft yoke carry
Each carry is 25 feet down and 25 feet back and is for time. Rest 1 minute between carries.

Compare to 2021.07.05.

Weightlifting vs Powerlifting vs Strengthlifting - What's the Difference?!

(A Blast from the Past article originally posted on 11/20/18)

“What’s the deal with all of these lifting sports? I can’t keep them straight!”

No worries - let’s take a quick look at the three major sports of the barbell world (and if you’d rather watch a quick video instead, scroll down to the end of this article!).

  • Powerlifting: This is the sport of the squat (i.e., back squat), bench press, and the deadlift. Each lifter gets 3 attempts on the squat, 3 attempts on the bench press, and 3 attempts on the deadlift. Take your best attempt from each lift, add them together, and you have what is known as your total.

  • Strengthlifting: This is the sport of the squat, the press, and the deadlift. It is similar to powerlifting, but there are several notable differences:

    • The press (i.e., overhead press) is contested, not the bench press.

    • The deadlift is conventional, which means your hands go outside of your legs. This is how we teach the deadlift anyway, so it’s not unusual to you, but at powerlifting meets, a beast known as the sumo deadlift often makes an appearance (wherein the stance is very wide and the grip is fairly narrow - inside the stance).

    • The judges simply tell you whether or not the lift counted, whereas in powerlifting, the judges are a bit more involved.

  • Weightlifting: This is the sport of the snatch and the clean-and-jerk. Like the other two sports, each lifter gets 3 attempts on each of the lifts, and once again, we add the best successful lifts together to get a total.

    • Weightlifting is also known as “olympic weightlifting” or simply “olympic lifting.”

    • If you’ve ever watched lifting during the Summer Olympics, this is the sport you witnessed.

Week 2021.10.18

Reminder: Please note that the gym will be closed for training this Saturday, 10/23/21, as we are hosting the annual Testify Fall Classic strengthlifting meet.

This Week’s Conditioning

Option 1
Sled
Outdoors:
10 rounds of:
Push sled 100 ft
Pull sled 100 ft (hand over hand)

Indoors:
20 rounds of:
Push sled 50 ft
Pull sled 50 ft (hand over hand)

Compare to 2021.08.16.

Option 2
Bike/row:
5 min on
4 min off
4 min on
3 min off
3 min on
2 min off
2 min on
1 min off
1 min on

Record distance for each interval and add for total distance.

Compare to 2021.07.26.

Option 3
5-10 rounds of:
30 sec ME tire flips
30 sec rest

Compare to 2021.06.28.

Option 4
For time:
500m row
5 x 80m sled push (200 ft if indoors)
500m row

Rest 1 minute after the first row and after each sled push.

Compare to 2021.06.28.