Why do I Keep FAILING?!

Are you missing reps on your linear progression? Let’s address one potential problem, and it’s one that’s easy to fix.

Specifically, let’s talk about rest periods (i.e., how long you’re resting between sets). I know - not very exciting. However, rest periods are important because they can either support your training, or - if chosen poorly - they can derail your training.

When someone starts training with us here at Testify, we have a conversation on day one wherein we discuss rest periods, and during this conversation, we address two things:

1. Resting Between Warm-up Sets
The short version? You don’t need to do it. That’s right. Don’t rest between warm-up sets. The act of changing your weights will provide enough rest while you're warming up. These are warm-up weights and don’t require much of a break between sets. You are welcome to rest several minutes, but most people don’t have all day to train, and this is the place to save time in the workout.

One caveat - you’ll probably want to rest a few minutes after your last warm-up set, i.e., before your first work set, which brings us to . . .

2. Resting Between Work Sets
You definitely want to rest between work sets. When you’re getting started with the Starting Strength linear progression, somewhere between three and five minutes will probably suffice. Treat that range as a minimum.

Want to squat 225 lb like Sarah? be sure to rest long enough between your work sets.

Remember that the purpose of strength training is - not surprisingly - to get stronger. To get stronger, you need to do the prescribed training for the day - you need to lift what you said you were going to lift - and to lift that weight, you need to rest enough to complete all the reps of your work sets.

The Main Point
That last part is the main point - rest long enough to ensure that you complete the next set successfully. When you read “three to five minutes,” remind yourself that this is appropriate for when you’re starting out, and also remind yourself that this is a minimum. When things get heavier and more challenging, there will come a time when you need to rest longer - you’ll rest six minutes, seven minutes, etc.

Establish the Habit
One of the most enjoyable parts of lifting weights is . . . not lifting weights, so force yourself to get used to resting - even at the beginning of your strength training journey.

If it’s your second workout, take the three, four, or five minute break even if you know you could get back under the bar and complete the next set with a shorter rest break. Start establishing the habit of getting adequate rest right away in your training. If you tend to rush things, a timer can be a handy tool to ensure that you’re waiting long enough before starting your next set.

Practical Limitations
There are, of course, some practical limitations to how long you’ll actually rest, and you’ll notice that I’m not suggesting that you rest 15 minutes between sets. Even if a 10-15 minute rest period might be useful, it simply may not be practical in terms of your schedule for the day.

Wrapping Up
In general, though, rest long enough to ensure that you can complete the next set. Completing your work sets will allow you to get stronger, and in this way, you will still be making progress on your linear progression four months, five months, or even six months into it instead of missing reps in the first or second month.

It may help to remember that this isn’t conditioning; of course, there will still be a conditioning benefit, but that’s not why you’re strength training. You’re doing it to get stronger, so take the appropriate rest, and as always, we hope this helps you get stronger and live better.

(Some links may be affiliate links. As an Amazon Associate, Testify earns from qualifying purchases.)

If you found this helpful, you’ll love our weekly email. It’s got useful videos, articles, and training tips just like the one in this article. Sign up below, and of course, if you don’t love it, you can unsubscribe at any time.


At Testify, we offer small group training, private coaching (in-person or remotely via Zoom), online coaching, and form checks. Would you like to get quality coaching from a Starting Strength Coach?

How to Start Lifting: Your First Workout

In this episode of the "How to Start Lifting" series, Phil helps you through your first workout (actually, your first two workouts!) and talks about how to make progress from there.

(This video is a Blast from the Past video originally published on 12/20/21.)


At Testify, we offer small group training, private coaching (in-person or remotely via Zoom), online coaching, and form checks. Click the button below to get quality coaching from a Starting Strength Coach and start getting stronger TODAY.

Everything You Need to Know About Lifting Belts . . . QUICK!

Today’s topic is a quick dive into lifting belts - specifically, the four Ws of belts: width, when, where, and what. We covered how to efficiently and quickly put on your belt in another article about a month back, so feel free to click here to read that article or watch the associated videos.

Width
If you can get your back set in rigid and flat extension on the deadlift using a 4” belt (i.e., the belt is 4” wide), then go ahead and get a 4” belt. If you can’t, then you probably need to go with a 3” belt. It’s possible that you need a 2.5” belt, but 3” and 4” are the most common widths.

When
When should you put your belt on? A good rule of thumb is to put your belt on for your last warm-up set and then wear it for all of your work sets as well. Time and experience will help you decide if you want to eventually take a different approach, but this is a good guide to start with. I recommend taking your belt off (or at least loosening it) between sets.

Where
Where should you place your belt? You can start by centering it on your belly button as a rough guideline, but the most important landmarks are your hips and your ribs. The belt should sit between your hips and your ribs, and it’s the space between these two regions that will largely determine your choice of a 3” or a 4” belt. It’s worth noting that you especially do not want your belt running into your ribs. It makes for a memorable - and uncomfortable - experience.

What
What do you do once your belt is on? Take a big breath, hold that breath with tightly contracted abs (i.e., Valsalva maneuver), and then perform the lift (watch the video on breathing and bracing). Release your breath only after the rep is completed - remember that if the bar is moving, you’re not breathing.

Don’t complicate the breathing, and don’t try to push your belly out against the belt. Simply take a breath, hold it, tighten your abs as if you’re about to take a punch or as if you’re constipated, and then continue holding that breath throughout the entire rep. You can do this with either a closed mouth or an open mouth - you shouldn’t be holding your breath against your lips with puffed out cheeks. Instead, you hold your breath against a closed glottis, which is located in your throat. Say the word “hick” out loud and hold the “ck” sound at the end - that’s how you do it.

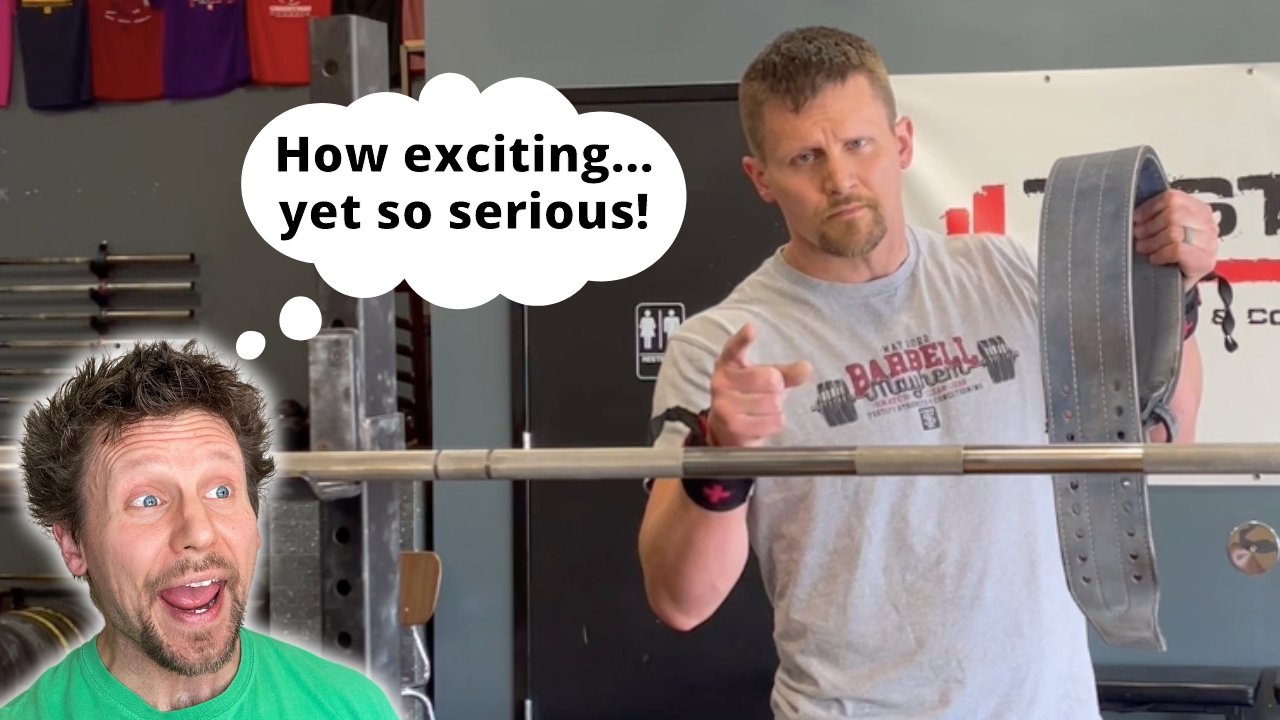
Need to Buy a Belt? Watch This First.
If you’re getting ready to buy a lifting belt, I’d recommend watching the included video here to get a good sense of what to look for when purchasing one. You’ll also find some links below to a few belts we recommend to our members.

Belts
My belt is from Best Belts, and I’d love to recommend them to you, but as of July 2023, they're backlogged and aren't taking orders, so with that in mind, here are the belt options we typically recommend:

As always, we hope this helps you get stronger and live better.

(Some links may be affiliate links. As an Amazon Associate, Testify earns from qualifying purchases.)
If you found this helpful, you’ll love our weekly email. It’s got useful videos, articles, and training tips just like the one in this article. Sign up below, and of course, if you don’t love it, you can unsubscribe at any time.


At Testify, we offer small group training, private coaching (in-person or remotely via Zoom), online coaching, and form checks. Would you like to get quality coaching from a Starting Strength Coach?

You Should Be Unloading Your Barbell Like This | EASY and FAST (plus BONUS tip)

How do you unload your bar after deadlifting, cleaning, rowing, etc. in a fast and easy manner? Phil explains and demonstrates and also provides a bonus tip.


At Testify, we offer small group training, private coaching (in-person or remotely via Zoom), online coaching, and form checks. Click the button below to get quality coaching from a Starting Strength Coach and start getting stronger TODAY.

How to Start Lifting: Learn to Power Clean

In this episode of the "How to Start Lifting" series, Phil, Maddie, and Carolyn help you learn how to power clean.

(This video is a Blast from the Past video originally published on 01/10/22.)


At Testify, we offer small group training, private coaching (in-person or remotely via Zoom), online coaching, and form checks. Click the button below to get quality coaching from a Starting Strength Coach and start getting stronger TODAY.

How to Start Lifting: Learn to Bench Press

In the sixth video of the "How to Start Lifting" series, Phil helps you learn how to bench press and also discusses how to go about your first bench press workout.

(This video is a Blast from the Past video originally published on 12/06/21.)


At Testify, we offer small group training, private coaching (in-person or remotely via Zoom), online coaching, and form checks. Click the button below to get quality coaching from a Starting Strength Coach and start getting stronger TODAY.