The Squat: Vertical Will Happen . . . Eventually.

(A Blast from the Past article originally posted on 04/01/22)

For both new and experienced lifters, a common problem in the squat is that of trying to make the back angle become more vertical right away as the lifter starts the ascent. In other words, the lifter is lifting the chest when he starts his ascent instead of maintaining his “lean” and driving his hips up.

If you have this problem, here’s something to remember: Vertical will happen eventually, but wait for it.

In other words, your back angle will become more vertical eventually - we do finish the lift in a completely upright position - but don’t try to make your back angle more vertical (i.e., don’t raise your chest) - right away. It makes life difficult, uncomfortable, and it makes for a weaker squat.

Drive your hips. Stay in your lean. Stay leaned over. Keep your chest pointed at the floor. These are simply different cues for the same motion, and reminding yourself that “vertical happens eventually, but wait for it” might be a good reminder for you as well.

So, unlike Jester and Maverick, don’t go vertical - at least not right away. As always, we hope this helps you get stronger and live better.

(Some links may be affiliate links. As an Amazon Associate, Testify earns from qualifying purchases.)

If you found this helpful, you’ll love our weekly email. It’s got useful videos, articles, and training tips just like the one in this article. Sign up below, and of course, if you don’t love it, you can unsubscribe at any time.


At Testify, we offer small group training, private coaching (in-person or remotely via Zoom), online coaching, and form checks. Would you like to get quality coaching from a Starting Strength Coach?

How to SQUAT (in 60 seconds!)

Learn to squat in 1 minute! We cover the basics of the squat in a straightforward manner.


At Testify, we offer small group training, private coaching (in-person or remotely via Zoom), online coaching, and form checks. Click the button below to get quality coaching from a Starting Strength Coach and start getting stronger TODAY.

How to Squat: The Setup | STOP Doing This!

Welcome back to our series on fixing some common setup errors (and therefore how to correctly set up) for several of the lifts. We covered the bench press and the press in previous articles in this series, and today, we’re going to address the squat.

The main principle is constant throughout this series: Everything that can be set up before you unrack the bar should be set up before you unrack the bar.

Therefore, anything that can be tight, rigid, and correctly positioned before lifting the barbell off the hooks . . . should be. If you need to make a bunch of adjustments after you unrack the bar, this is a problem (Figure 1) - you’re accidentally setting up a habit that won’t work as the bar gets heavier. You might get away with this habit with the empty bar, but you don’t want to have 135 lb, 225 lb, 315 lb, etc. on your back and then try to adjust your grip, adjust your hand position, lift your chest, squeeze your back, etc.

figure 1: Don’t be like this fool. The bar’s too high, the grip is too wide, and the upper back is not set.

With this in mind, get everything set properly in position before unracking the bar. Here’s how to do it (and watch the included video above for a demonstration of the process):

Before You Unrack the Bar

1: Grip
Take the correct grip - as narrow as you can make it, but wide enough to permit the bar to sit in the correct position on your delts. If you end up making any grip adjustments after you unrack the bar, you didn’t do this step correctly in the first place. Do better next time.

figure 2: This . . . is much better.

2: Squeeze Yourself Under the Bar
Without moving your hands, slide under the bar and wedge yourself into position with the bar sitting on your delts (Figure 2). It should take some effort to do this correctly. If you can simply slide into place easily, you probably need to move your grip in a bit (i.e., narrower).

3: Stance
Take your squat stance (heels at roughly shoulder width with toes pointed out at about 30 degrees) with the middle of your feet directly under the bar. This doesn’t need to be a carbon copy of your squat stance - after all, you’re still going to back out of the rack and assume your actual squat stance - but it should be pretty close.

4: Chest up and Valsalva
Lift your chest, take a breath, and then hold that breath while simultaneously clamping down on your trunk with every possible muscle in your midsection.

Unracking the Bar

5: Stand Up
This should look like the last 2-3 inches of the ascent of your squat. In other words, straighten your hips and knees until you’re completely standing up. Stand up tall.

6: Two Steps
Take two steps back from the rack - one with your right foot and one with your left foot. At this point, you’re far enough from the rack, so take your squat stance. You’ll probably need to make a few minor adjustments to get your stance just right, but don’t walk a mile back from the rack.

At this point, you’re ready to squat without needing to make any adjustments to your grip, hand position, bar position, back extension, etc. Under a heavy load - at best - these adjustments are difficult and a waste of time and energy, and at worst, they’re impossible to accomplish, so take care of them deliberately and early.

As always, we hope this helps you get stronger and live better.

(Some links may be affiliate links. As an Amazon Associate, Testify earns from qualifying purchases.)

If you found this helpful, you’ll love our weekly email. It’s got useful videos, articles, and training tips just like the one in this article. Sign up below, and of course, if you don’t love it, you can unsubscribe at any time.


At Testify, we offer small group training, private coaching (in-person or remotely via Zoom), online coaching, and form checks. Would you like to get quality coaching from a Starting Strength Coach?

How to Squat with BAD KNEES | Knee Pain? Follow these 9 Tips

Do you have knee pain when squatting? Phil provides 9 tips to help you squat with less pain.


At Testify, we offer small group training, private coaching (in-person or remotely via Zoom), online coaching, and form checks. Click the button below to get quality coaching from a Starting Strength Coach and start getting stronger TODAY.

Improve Your Squat in ONE Easy Step!

(A Blast from the Past article originally posted on 02/25/22)

Want to improve your squat in one easy step? It’s ridiculously simple.

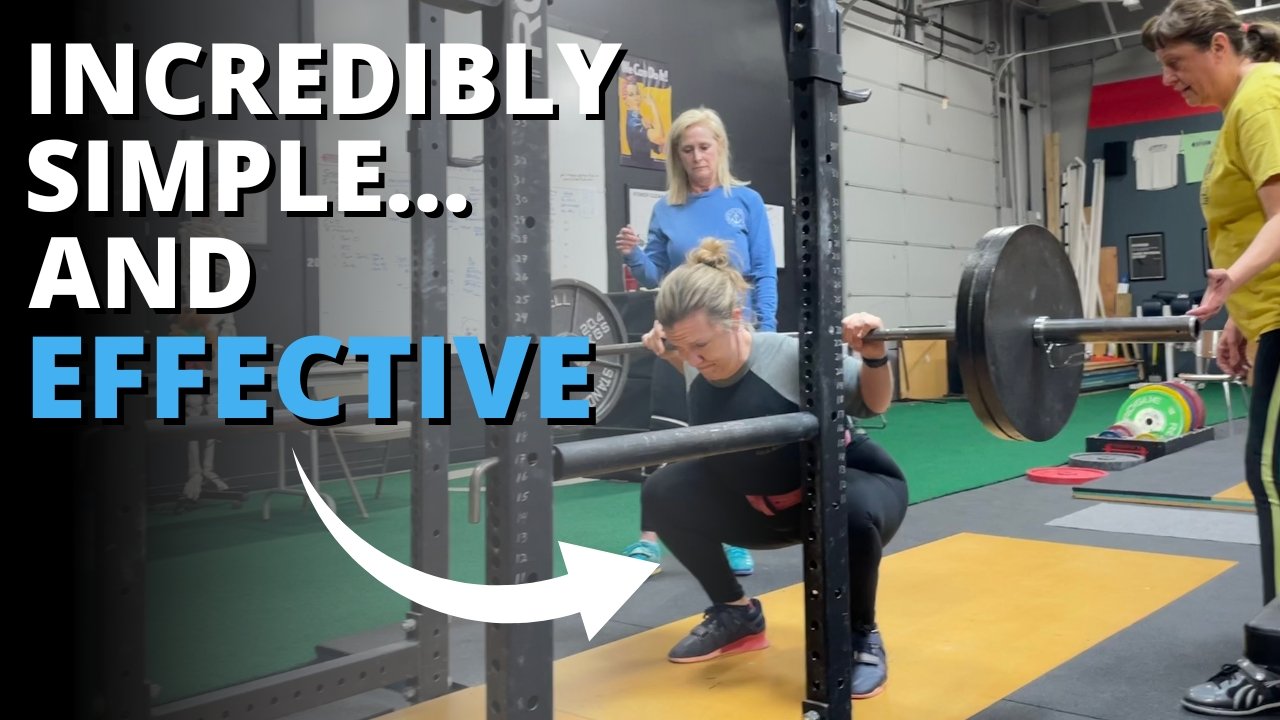
Squat with spotters.

Seriously, that’s it. Now, of course, squatting with safeties (AKA pins, crash bars, spotter arms) is just fine, and if you train on your own, that’s the only option you have. However, if you train with some other reasonably intelligent and educated lifters, get two of them to spot you.

One person stands on either side of you (watch the included video for more on how to spot the squat . . . and how not to spot the squat). Do not have a single person spot you from behind because that’s stupid. It’s common, but it’s still stupid (the physics of this situation becomes rather obvious and untenable with heavy loads . . . try holding 300, 400, or 500+ lb out in front of you, and you’ll quickly agree).

You’ll squat better because the pressure of having two people right next to you will force you to do so. You’ll focus better and work harder because you don’t want to fail and make your spotters actually take the bar. You’re using peer pressure for good instead of evil. This is a very real effect, and we see it all the time.

If you’re not used to being spotted when you squat, you probably won’t like it at first, but you’ll get used to it, and in the long run, you’ll squat better for having done it. We hope this helps you get stronger and live better!

(Some links may be affiliate links. As an Amazon Associate, Testify earns from qualifying purchases.)

If you found this helpful, you’ll love our weekly email. It’s got useful videos, articles, and training tips just like the one in this article. Sign up below, and of course, if you don’t love it, you can unsubscribe at any time.


At Testify, we offer small group training, private coaching (in-person or remotely via Zoom), online coaching, and form checks. Would you like to get quality coaching from a Starting Strength Coach?

These Aren't the Rests You're Looking For - Part Deux

(A Blast from the Past article originally posted on 02/04/22)

A while back in These Aren't the Rests You're Looking For - Part 1, we covered the importance of being economical with your time between reps in the deadlift. It’s important not to spend any more time than necessary with the barbell sitting on the floor because that semi-crouched position is not a very good resting position.

The same advice applies to the top of the squat as well. When the weight gets heavy, it’s easy to fall into the habit of taking too much time between reps in the squat. You’ve seen this in the gym - the lifter who takes 10-20 seconds between reps 4 and 5 of their work set.

Don’t be this lifter.

Yes, the top of the squat is the easiest place to support the weight, and thus, we take our breath at this position, but don’t spend any more time than necessary here. You’re still supporting a heavy load, and you want to get done with squatting, not simply put off the next rep. Taking 8 breaths and waiting 20 seconds before you squat the next rep simply makes the next rep harder.

Keep it simple. Keep it short. Take 1 breath between each rep, get tight (remember the Valsalva maneuver?), and then squat. You might take 2 breaths (maybe even 3) before your last rep, but don’t use breathing as a stalling technique. That chair over in the corner is a much better resting position than standing at the top of the squat with a bunch of weight on your back. Get the set done - you’ll be glad you did.

We hope this helps you get stronger and live better!

(Some links may be affiliate links. As an Amazon Associate, Testify earns from qualifying purchases.)
If you found this helpful, you’ll love our weekly email. It’s got useful videos, articles, and training tips just like the one in this article. Sign up below, and of course, if you don’t love it, you can unsubscribe at any time.


At Testify, we offer small group training, private coaching (in-person or remotely via Zoom), online coaching, and form checks. Would you like to get quality coaching from a Starting Strength Coach?