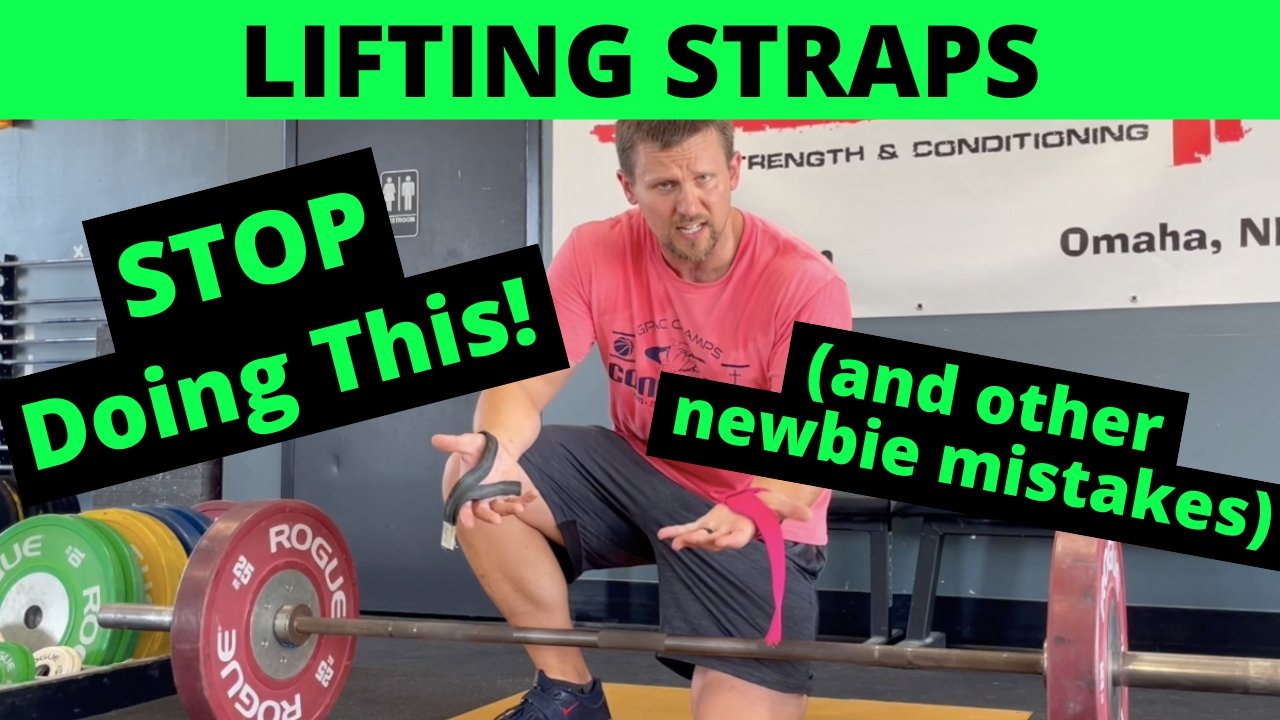
Lifting Straps | What You're Doing WRONG (common mistakes)

If you’re new to using lifting straps (or even if you’re not so new), there are a few common mistakes that you might be making. At best, these mistakes make the use of straps cumbersome, and at worst, these mistakes make straps a liability instead of an asset.

With that said, these mistakes are relatively easy to fix, and once we’ve solved them, you’ll never make them again, so let’s get to it.

As a quick side note, all of these mistakes and their solutions are far more easily seen and understood on video than in print, so be sure to watch the included video.

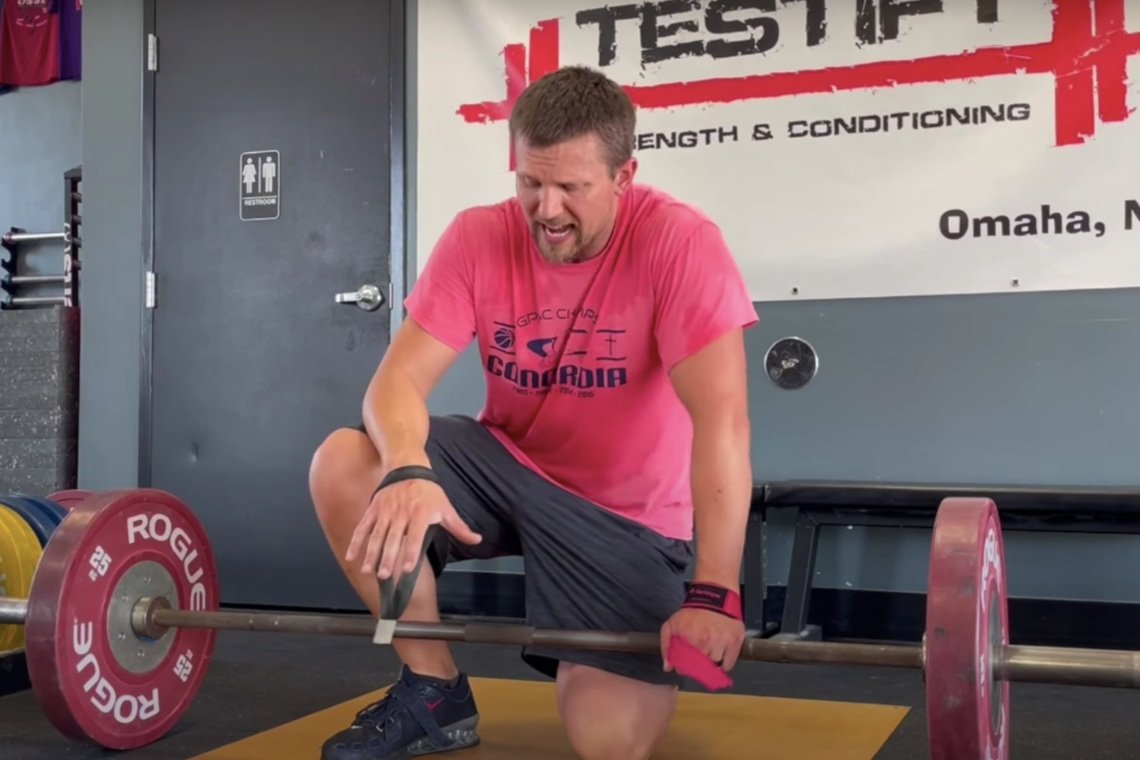
Figure 1: The correct position for straps (on the hand)

Mistake #1: Wearing straps in the wrong spot
Lifting straps are worn down on the hand (Figure 1) - not up on the wrist or arm. Although lifting straps are sometimes referred to as “wrist straps,” that can be a bit misleading - if you wear them on the wrist, you are wearing them too high. Whether it’s the type of DIY straps that we recommend (the black strap you see in these photos) or the “strap-and-loop” style of straps, be sure to wear them down on the hands.

See the included video for how to easily, cheaply, and quickly make yourself a pair of virtually indestructible lifting straps.

Mistake #2: Wrapping the straps in the wrong direction
When setting up and wrapping the strap around the bar, always wrap toward the thumb, i.e., toward the middle of the bar (Figure 2). Do not wrap the strap so that it heads toward the plates. This brings us to . . .

Figure 2: Correctly wrapping (the black strap) toward the middle of the bar

Mistake #3: Setting up the straps incorrectly
If you are using the “strap-and-loop” style of strap, make sure you have it positioned so that the strap points toward your thumb (Figure 3). If you have it set up so that it points toward your pinky, you won’t be able to wrap the strap in the correct direction (i.e., toward the middle of the bar). The straps for your right and left hands will need to be set up so that they mirror each other.

Figure 3: Positioning the strap so that it points toward the thumb

Mistake #4: Wrapping the strap multiple times
Wrap the strap around the bar once (Figure 4). That’s it - just once. Some straps do not have much excess length (like the black straps in these photos), so wrapping the strap around the bar won’t be a temptation anyway, but for straps that do have a lot of extra material, you still just wrap the strap once. Wrapping it around the bar multiple times is a waste of time and effort, and it doesn’t improve the grip of the strap. One time around.

Figure 4: wrap the strap only once as shown here. the extra material just hangs there.

Mistake #5: Wrapping in front of the bar
This will be obvious if you’ve used straps correctly, but it’s not very obvious for those who are new to straps - when you initially grab the bar, your palm goes in front of the bar, but the strap goes BEHIND the bar (Figure 5).

figure 5: correctly positioning the strap behind the bar when initially taking your grip

If you mess this up and put the strap in front of the bar (i.e., on the same side as your palm), the strap will not help your grip at all, and in fact, it will make the situation worse and make the bar harder to grip. The bar will simply want to roll right out of your hand, so be sure to put the strap behind the bar when you reach down to grab the bar.

As always, we hope these tips help you get stronger and live better.

(Some links may be affiliate links. As an Amazon Associate, Testify earns from qualifying purchases.)

If you found this helpful, you’ll love our weekly email. It’s got useful videos, articles, and training tips just like the one in this article. Sign up below, and of course, if you don’t love it, you can unsubscribe at any time.


At Testify, we offer small group training, private coaching (in-person or remotely via Zoom), online coaching, and form checks. Would you like to get quality coaching from a Starting Strength Coach?

Weightlifting vs Powerlifting vs Hybrid Barbells in 2 minutes!

What's with the different markings on barbells? Phil quickly and simply explains what they mean, what purpose they serve, and how to know which one to use.

(This is a Blast from the Past video originally published on 02/12/22.)


At Testify, we offer small group training, private coaching (in-person or remotely via Zoom), online coaching, and form checks. Click the button below to get quality coaching from a Starting Strength Coach and start getting stronger TODAY.

Build a Lifting Platform in 3 Minutes!

In less than 3 minutes, Phil, Becky, and Barb show you how to build a lifting platform. Whether you're using it for general strength training, weightlifting, or powerlifting, this platform is durable, protects your equipment and floor, and is easy to put together.

(This is a Blast from the Past video originally published on 02/05/22.)


At Testify, we offer small group training, private coaching (in-person or remotely via Zoom), online coaching, and form checks. Click the button below to get quality coaching from a Starting Strength Coach and start getting stronger TODAY.

Ain't Nothing Worse than a Slippery Bench!

Braveheart meme2.jpeg

(This is a Blast from the Past article originally posted on 09/24/21.)

If you’re dealing with a bench that has a slippery surface, this is a situation that needs to be remedied.

We use our legs on the bench press as they provide lateral stability and support our arch, but we can only effectively drive up the bench with our legs if our shoulders are firmly pinned to the bench itself. In other words, sliding up the bench is not what we want, so if you’re training on a bench that’s a bit slick, this is a problem. Below are a few solutions, and if you don’t feel like reading, you can watch our videos on this topic instead.

Figure 1

Figure 1

Option 1
Take a couple of strength bands (AKA resistance bands) and place one (lengthwise) around each side of the bench as shown in Figure 1. The bands will stick to the bench quite nicely, and you, in turn, will stick to the bands quite nicely. Since many commercial gyms have these bands, this can be a handy solution if you’re training at a commercial gym while traveling.

Figure 2

Figure 2

Option 2
Find and buy a non-slip rug pad (or non-slip shelf liner). A 2 ft x 4 ft section should be more than sufficient, and you can get something in this size for under $10. Simply place the rug pad on the bench as shown in Figure 2, and you now have a very grippy bench on which to train.

This is probably my favorite option as it’s flexible, rolls up easily and compactly, and is therefore easy to bring with you in your training bag.

Option 3
If Options 1 and 2 aren’t available for whatever reason, you can substitute a yoga mat for the rug pad listed in Option 2. Most commercial gyms have something like this lying around. It will be a bit on the wide side, but it will usually get the job done.

Option 4
There are a few companies out there that manufacture shirts with grippy sections of material. These are designed to help keep the bar secure on your back when squatting as well as keep you in place on the bench when benching. A7 is one such company, but you can simply google “bench grip shirt” or “bar grip shirt” to find other options. I don’t have any personal experience with these types of shirts, but I’ve heard excellent reviews from those I know who train with them.

As always, we hope this helps you get stronger and live better!

(Some links may be affiliate links. As an Amazon Associate, Testify earns from qualifying purchases.)

If you found this helpful, you’ll love our weekly email. It’s got useful videos, articles, and training tips just like the one in this article. Sign up below, and of course, if you don’t love it, you can unsubscribe at any time.


At Testify, we offer small group training, private coaching (in-person or remotely via Zoom), online coaching, and form checks. Would you like to get quality coaching from a Starting Strength Coach?

EASY BARBELL RESTORATION - Rusty Barbell Transformation

Learn how to restore a rusty barbell and make it look new again.


At Testify, we offer small group training, private coaching (in-person or remotely via Zoom), online coaching, and form checks. Click the button below to get quality coaching from a Starting Strength Coach and start getting stronger TODAY.

Lifting Belts | Width, When, Where, and What!

Phil covers the 4 Ws of lifting belts: width of belts, when to use a belt, where to wear your belt, and what to do once the belt is on.

(This is a Blast from the Past video originally published on 01/22/22.)


At Testify, we offer small group training, private coaching (in-person or remotely via Zoom), online coaching, and form checks. Click the button below to get quality coaching from a Starting Strength Coach and start getting stronger TODAY.