How to Safely Bench Press Alone!

not like this . . . not like this.

(A Blast from the Past article originally posted on 06/09/23)

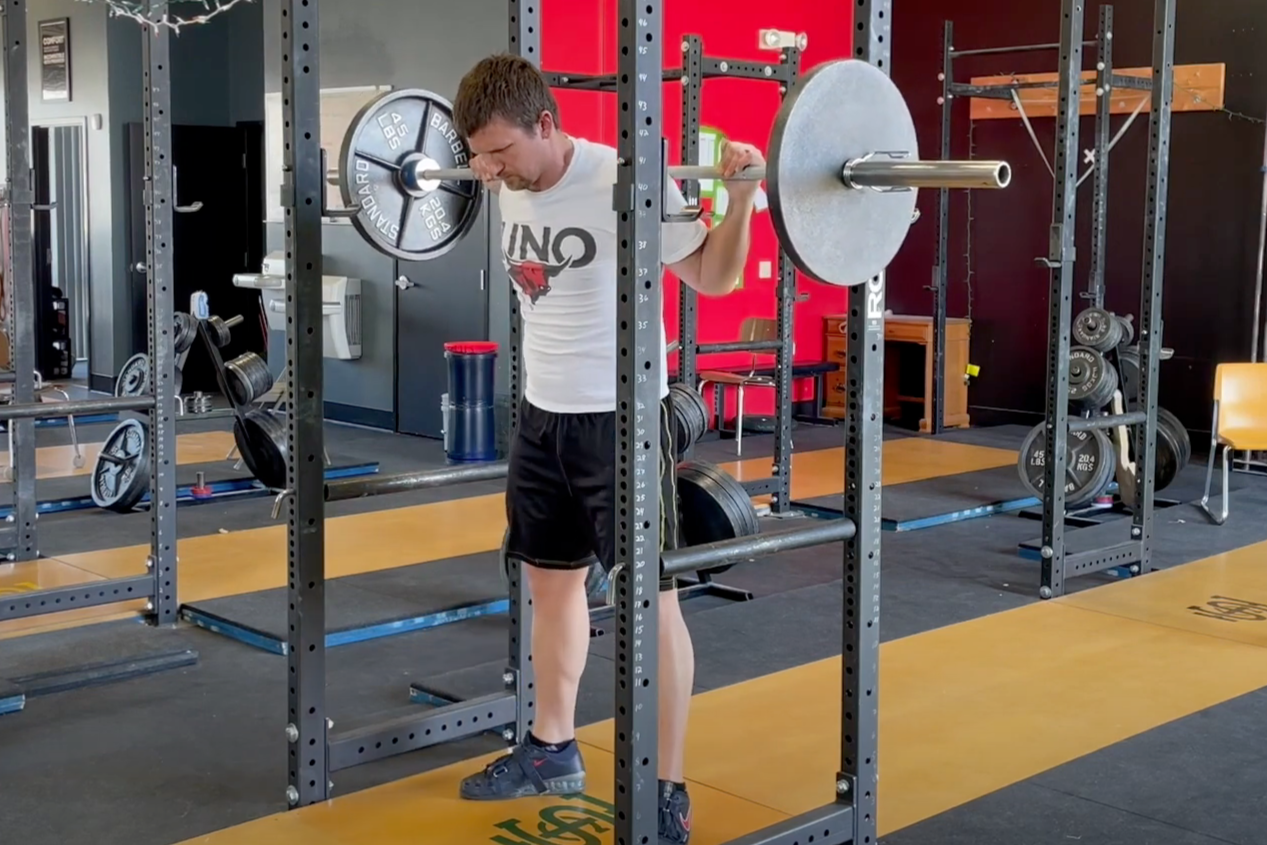
Don’t be that guy. Or gal. Just . . . don’t. The bench press is the most dangerous lift we perform in the weight room. It’s the only one wherein - should something go wrong - your face and/or neck could be trapped between something heavy (the bar) and something immovable (the bench). Ideally, you have a spotter when you bench press, but even when alone, you can perform the lift in a perfectly safe manner, so if you don’t want to end up with a barbell on your face, read on.

Equipment
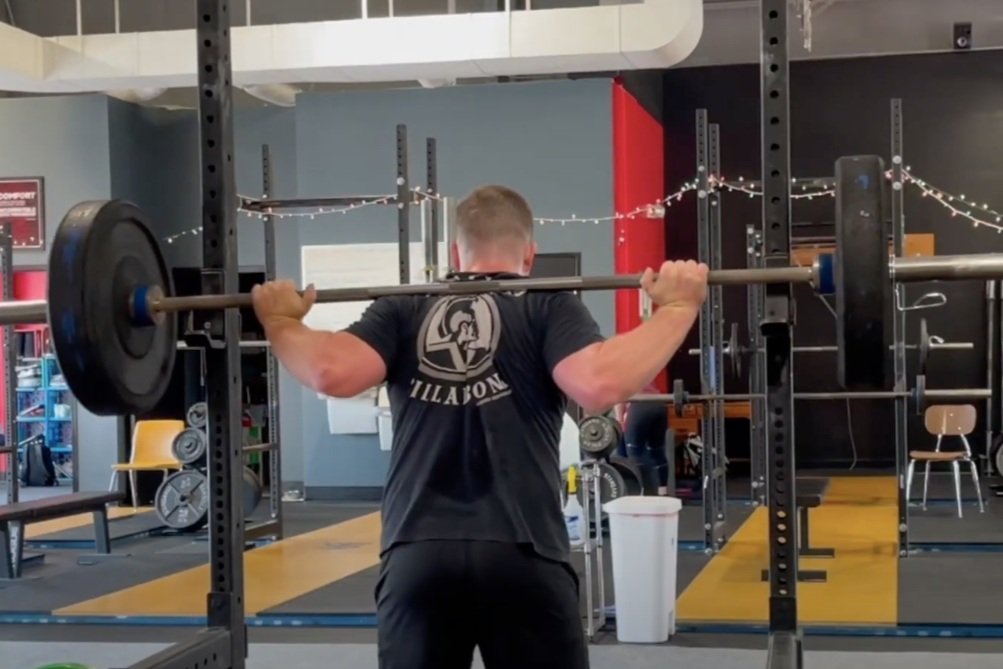
You need a power rack like the one in the included video, or you can use a squat stand with adjustable spotter arms. Your power rack should have safeties (also known as “pins” or “crash bars”). If it doesn’t, throw it out.

Setup Requirement #1
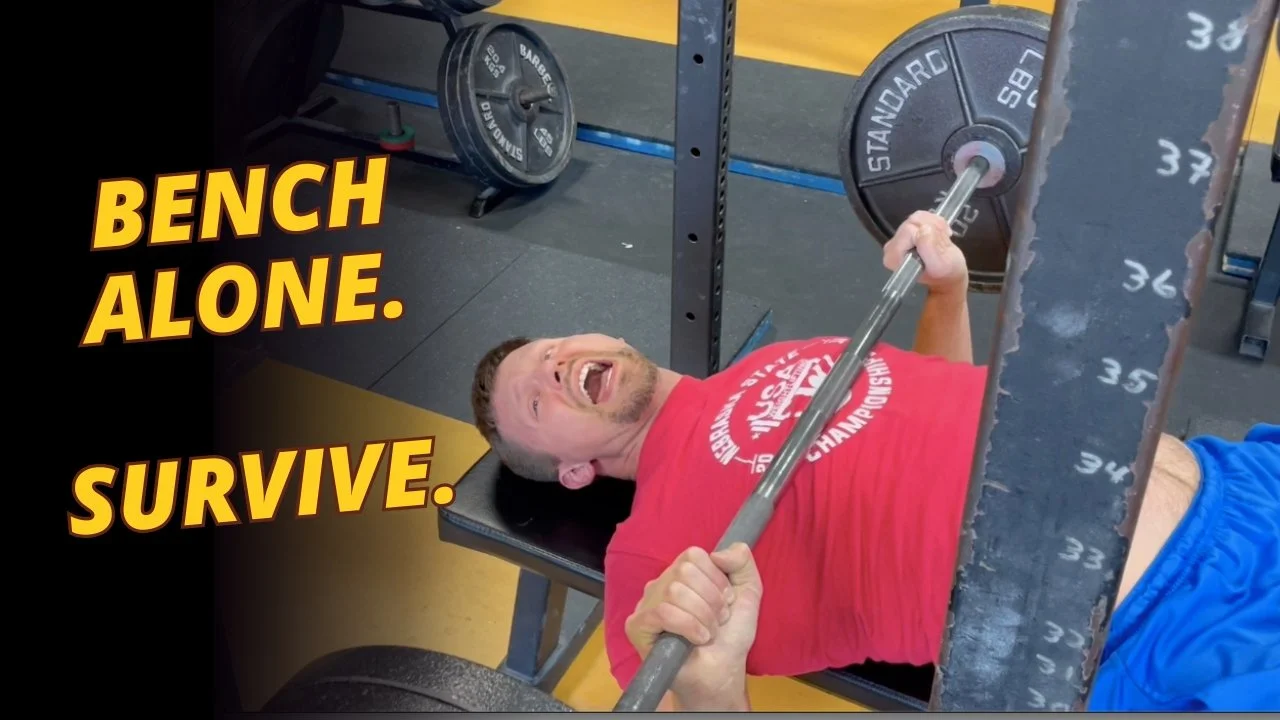
Set the safeties low enough that you can perform the bench press without having the barbell run into them when the bar touches your chest. Your legs are driving you up the bench, your arch is set, your shoulders are pinned back, and in this position, the safeties need to be just low enough that you don’t hit them with the bar.

Setup Requirement #2
The safeties also need to be high enough that - should you fail a rep - you can simply lower the bar back down, relax your body, and allow the bar to sit on the safeties. At this point, you roll the bar out of your way and get out safely from the situation.

In other words, the safeties must be low enough that they don’t cause a problem, and they must be high enough that they save you from any problems.

Test It Out
When you have your safeties set where you think they should be, test your setup. Perform a few reps with the empty bar to make sure the bar doesn’t hit the safeties, and then after that, set the bar down on the safeties (i.e., pretend to fail a rep), and make sure that you can get out from under the bar. It’s an especially good idea to roll the empty bar (when it’s sitting on the safeties) back toward your face to make sure the safeties are high enough to protect your face and neck.

Write It Down
Record the height of your safeties in your training log. If you train at home, you can write numbers on your rack (if it doesn’t already have them) with a permanent marker and then record your pin height in your log. If you train at a commercial gym, find a way to make sure that you set the safeties at the correct height and then write it down.

One Last Thing . . .
Don’t use collars when you bench press. The safeties will protect you, but just in case you forget to set them up, you can simply tip the bar to the side, and the plates will fall off (one side and then the other) in a rather loud and semi-disastrous manner, but you’ll be alive, and that’s the important part. This is not nearly as good of a solution as setting the safeties correctly, but it’s better than nothing.

As always, we hope this helps you get stronger and live better.

-Phil

PS: Whenever you want even more Testify in your life, here are some free resources:

  • Book a free intro and strategy session with us HERE.

  • Pick up a free copy of Testify’s Squat Guide: 12 Tips to Improve Your Squat Now HERE.

  • Get our free weekly email - containing useful videos, articles, and training tips - HERE.

  • Follow Testify on Instagram HERE.

  • Subscribe to Testify’s YouTube channel HERE.

(Some links may be affiliate links. As an Amazon Associate, Testify earns from qualifying purchases.)


At Testify, we offer small group training, private coaching (in-person or remotely via Zoom), online coaching, and form checks. Interested in getting stronger, looking better, and having more energy?

Stop Benching With Your Shoulders & Try This Instead

Tired of shoulder problems or stalled bench progress? Starting Strength Coach Phil Meggers breaks down two common shoulder-related mistakes and shows you how to improve your bench quickly and simply.

Whenever you want even more Testify in your life, here are some free resources:

  • Book a free intro and strategy session with us HERE.

  • Pick up a free copy of Testify’s Squat Guide: 12 Tips to Improve Your Squat Now HERE.

  • Get our free weekly email - containing useful videos, articles, and training tips - HERE.

  • Follow Testify on Instagram HERE.

  • Subscribe to Testify’s YouTube channel HERE.


At Testify, we offer small group training, private coaching (in-person or remotely via Zoom), online coaching, and form checks. Interested in getting stronger, looking better, and having more energy?

Testify Daily Townsman - August 4, 2025

THIS WEEK'S SUBMISSION

From our video When Deadlifting Heavy, Don't Stand Up & Try This Instead (click the title to watch):

Rune L
thinking of the deadlift as a push exercise with the legs instead of a pull exercise is the best cue I ever heard

Phil
I’m glad you found it useful! Another useful thing to remember is that all pulling exercises (deadlifts, snatches, cleans, rows, etc.) are simply classified as such because the bar is hanging in the hands as opposed to sitting on top of the hands (for example, as in a bench press).

A more humorous way to remember it is that if you let go of the bar and the bar goes away from you, it’s a pulling exercise. If, on the other hand, you let go of the bar, and the bar falls toward you and smashes you, it’s a pushing exercise.


TESTIFY ONLINE COACHING

Interested in getting stronger working one-on-one remotely with us? Click here to book your free strategy session.

Get Stronger. Live Better. Start Today.


ARTICLES & VIDEOS

Deadlift Pro Tips (The "Don't Stand Up" Trick)
Are you sabotaging your deadlift without even realizing it? In this video, Phil breaks down 7 common mistakes that can wreck your progress and stall your strength gains. Fix these now—and lift smarter and stronger. Click here to watch.


2 Squat Mistakes Every New Lifter Makes
You're trying to squat correctly, but this happens. Here's what to do about it. Click here to read.


Blast from the Past: This Dude's Deadlift was a TOTAL DISASTER! | Fixing Your Back for the Deadlift: Part 3
Having trouble getting your back flat and tight when you deadlift? In Part 3 of this Saturday Shorts series, we walk you through how to solve this problem. Click here to watch.


Blast from the Past: The Rower: Love It, Hate It, Do It Anyway
The rower (or "erg") is a great conditioning tool. Phil covers a few options for utilizing the rower for effective conditioning. Click here to read.


SLEEVES ARE OVERRATED - GRAB A TESTIFY TANK!

Sun's out, guns out, and we've got men's and women’s tank tops in multiple colors.

Get yours today and represent your favorite gym!

Click here to head to the Testify Store.


WHAT'S COMING UP

Below are a few of our upcoming events, and you can find out what else is on the calendar by heading to our events page at www.testifysc.com/events.

Deadapalooza! The Annual Testify Deadlift Festival

  • August 15, 2025

  • Deadapalooza is a strength meet wherein the only contested lift is - you guessed it - the deadlift. There will be one bar (possibly multiple bars if numbers dictate), and the meet will be conducted in a "rising bar" format, so the weight on the bar only goes up! It's a ton of fun, so come on out!

  • Click here to register or for more information.

Minneapolis, MN: Starting Strength Squat & Deadlift Camp

  • October 4, 2025

  • Spend the day learning the theory and practice of the low bar back squat and the deadlift.

  • Participants will spend lots of time on the platform receiving coaching and instruction on the squat and deadlift in a small group setting. We will also have a lecture and discussion on programming and cover how to identify and correct common technical problems.

  • Click here to register or for more information.

Benching Bonanza! The Annual Testify Bench Press Jubilee

  • November 21, 2025

  • Benching Bonanza is a strength meet wherein the only contested lift is - not surprisingly - the bench press. There will be one bar, and the meet will be conducted in a "rising bar" format, so the weight on the bar only goes up! It’s a great time for all involved, and we hope to see you there!

  • Click here to register or for more information.


THIS WEEK’S CONDITIONING

Option 1
Sled
Outdoors:
10 rounds of:
Push sled 100 ft
Pull sled 100 ft (hand over hand)

Indoors:
20 rounds of:
Push sled 50 ft
Pull sled 50 ft (hand over hand)

Compare to 2025.06.30.

Option 2
Bike/row:
4 x 800m

Rest 3 minutes between each round. Score = slowest time.

Compare to 2025.05.12.

Option 3
Outdoors:
10 rounds:
25 yd yoke carry
Rest 1 minute

Indoors:
10 rounds:
30 yd yoke carry (15 yd down-back)
Rest 1 minute

Compare to 2025.04.14.

Option 4
10 x 50 ft farmer carry
Each carry is 25 ft down and 25 ft back and is for time. Rest 1 minute between carries.

Women: 97# per handle (80# of plates)
Men: 137# per handle (120# of plates)
(Note: Each handle weighs 17#.)

Compare to 2025.04.14.


As always, we hope this helps you get stronger and live better!

Whenever you want even more Testify in your life, here are some free resources:

  • Book a free intro and strategy session with us HERE.

  • Pick up a free copy of Testify’s Squat Guide: 12 Tips to Improve Your Squat Now HERE.

  • Get our free weekly email - containing useful videos, articles, and training tips - HERE.

  • Follow Testify on Instagram HERE.

  • Subscribe to Testify’s YouTube channel HERE.

2 Squat Mistakes Every New Lifter Makes

Stop doing this. 

Today’s two squat mistakes make for inefficient training, they can be borderline dangerous, and . . . they make you look like a newb.

On the upside, both errors are quite easy to fix from a technical standpoint, so let’s grab this low hanging fruit real quick-like.

Mistake #1: Where are you going?
When you unrack the squat, don’t walk a marathon back from the rack to set up (Figure 1). Stay relatively close to the rack.

figure 1: An exaggeration, yes, but not by much

Most people who squat inside a power rack will typically do this well as lifters only have so far to walk back (Figure 2) before hitting the uprights behind them. However, when people train with a squat stand (Figure 3) or squat outside a power rack, they often walk ridiculously far back from the rack.

figure 2: squatting inside a power rack will force you to be reasonable, so Do this whether or not you’r inside a cage.

Don’t do that.

After standing the barbell up from the hooks, take one step back with your right foot, one step back with your left foot, make any small stance adjustments you need to make, and then you’re good to go.

figure 3: far enough back to clear the hooks yet close enough to be efficient and within the length of the spotter arms

No - you don’t want to stand so close that you risk running into the hooks when squatting, but you also don’t want to waste a bunch of energy by walking back five steps before starting to squat. On top of that, when you’re exhausted at the end of your set, you want a short, efficient distance to walk back to the rack - not the equivalent of a city block.

Mistake #2: What on earth are you looking for?
Stop looking for the hooks (Figure 4) when you re-rack the bar.

figure 4: don’t do this.

They didn’t go anywhere while you were squatting, so when you finish your set, keep staring at the same focal point you used during your set, walk forward until the bar makes solid contact with both uprights, and then slide the bar down the uprights until it’s back in the hooks (Figure 5).

figure 5: this . . . is much better.

Your torso tends to follow your head, so by looking side-to-side for the hooks, you tend to create a twisting effect, and you greatly increase the chances that you will someday miss one of the hooks when re-racking the bar.

It is safer, more efficient, and far easier to simply stay tall and walk straight ahead until the rack stops you - then “squat” down until the bar is in the hooks.

Although this error is easy to fix from a technical point of view, it also can be a difficult habit to break, so remind yourself that the goal is to hit the uprights - not the hooks - with the bar.

As always, we hope these tips help you get stronger and live better.

-Phil

PS: Whenever you want even more Testify in your life, here are some free resources:

  • Book a free intro and strategy session with us HERE.

  • Pick up a free copy of Testify’s Squat Guide: 12 Tips to Improve Your Squat Now HERE.

  • Get our free weekly email - containing useful videos, articles, and training tips - HERE.

  • Follow Testify on Instagram HERE.

  • Subscribe to Testify’s YouTube channel HERE.

(Some links may be affiliate links. As an Amazon Associate, Testify earns from qualifying purchases.)


At Testify, we offer small group training, private coaching (in-person or remotely via Zoom), online coaching, and form checks. Interested in getting stronger, looking better, and having more energy?

This Dude's Deadlift was a TOTAL DISASTER! | Fixing Your Back for the Deadlift: Part 3

Having trouble getting your back flat and tight when you deadlift? In Part 3 of this Saturday Shorts series, Starting Strength Coach Phil Meggers walks you through how to solve this problem.

(A Blast from the Past video originally published on 01/07/23)

Whenever you want even more Testify in your life, here are some free resources:

  • Book a free intro and strategy session with us HERE.

  • Pick up a free copy of Testify’s Squat Guide: 12 Tips to Improve Your Squat Now HERE.

  • Get our free weekly email - containing useful videos, articles, and training tips - HERE.

  • Follow Testify on Instagram HERE.

  • Subscribe to Testify’s YouTube channel HERE.


At Testify, we offer small group training, private coaching (in-person or remotely via Zoom), online coaching, and form checks. Interested in getting stronger, looking better, and having more energy?

The Rower: Love It, Hate It, Do It Anyway

Evan gets to work with some 1-minute intervals.

(A Blast from the Past article originally posted on 04/23/21)

The rower (AKA rowing machine, ergometer, or erg) is a great conditioning tool. It uses primarily concentric movement and thus doesn’t cause a lot of unnecessary soreness. As a result, you can get some effective conditioning from rowing, and if approached in an intelligent fashion, this conditioning should not get in the way of your strength training.

With this in mind, we’re going to take a look at a few sample rower workouts that you can implement in your training, and as you become better conditioned over time, you can modify these workouts to increase the stress.

Workout #1
5, 7, or 9 rounds of:
Row 1 minute
Rest 1 minute

For this workout, you’ll simply row for one minute, rest one minute, and then repeat this process until you’ve accumulated the desired number of rounds. You can use the rower’s timer (if it has one), you can use a continuously running stopwatch, or you can set a programmable timer to repeat one one minute intervals.

Over time, you can increase the conditioning stress by adding rounds (e.g., going from 5 rounds to 7 rounds) or increasing the distance rowed. You can record the distance for each individual round, or for ease of recording, you can simply record and score yourself on the shortest distance you rowed in any round.

Workout #2
6, 8, or 10 rounds of:
Row 30 seconds
Rest 2 minutes

For this workout, row for thirty seconds, then rest two minutes, and then repeat until you’ve completed the prescribed number of rounds. The goal is to cover the maximum distance in each round, so as with Workout #1, you can record and score yourself on each round, or you can simply record and score yourself on your slowest round (i.e., the shortest distance rowed).

Likewise, over time, the goal would be to increase the number of rounds or the distance rowed. An approach that combines these goals would be to perform six rounds one week, eight rounds the next week, and then ten rounds the third week - all while holding approximately the same pace (i.e., covering the same distance) - and then resetting back down to six rounds the following week and starting the process again but covering more distance.

Workout #3
5, 10, 15, or 20 minute time trial

This one is simple - set a timer for five, ten, fifteen, or twenty minutes, and then row as far as possible within the specified time. Over time, your goal would be to increase the distance rowed for a given time.

Have fun with these conditioning workouts, and a word to the wise - start conservatively with the first few sessions. You don’t want your conditioning to interfere with your strength training, and you’ve got plenty of time to increase the conditioning stress in later sessions.

We hope these tips and tricks help you get stronger - or at least better conditioned in this case - and live better.

-Phil

PS: Whenever you want even more Testify in your life, here are some free resources:

  • Book a free intro and strategy session with us HERE.

  • Pick up a free copy of Testify’s Squat Guide: 12 Tips to Improve Your Squat Now HERE.

  • Get our free weekly email - containing useful videos, articles, and training tips - HERE.

  • Follow Testify on Instagram HERE.

  • Subscribe to Testify’s YouTube channel HERE.

(Some links may be affiliate links. As an Amazon Associate, Testify earns from qualifying purchases.)


At Testify, we offer small group training, private coaching (in-person or remotely via Zoom), online coaching, and form checks. Interested in getting stronger, looking better, and having more energy?