What Lifters with Bad Knees Get Wrong About Squatting
/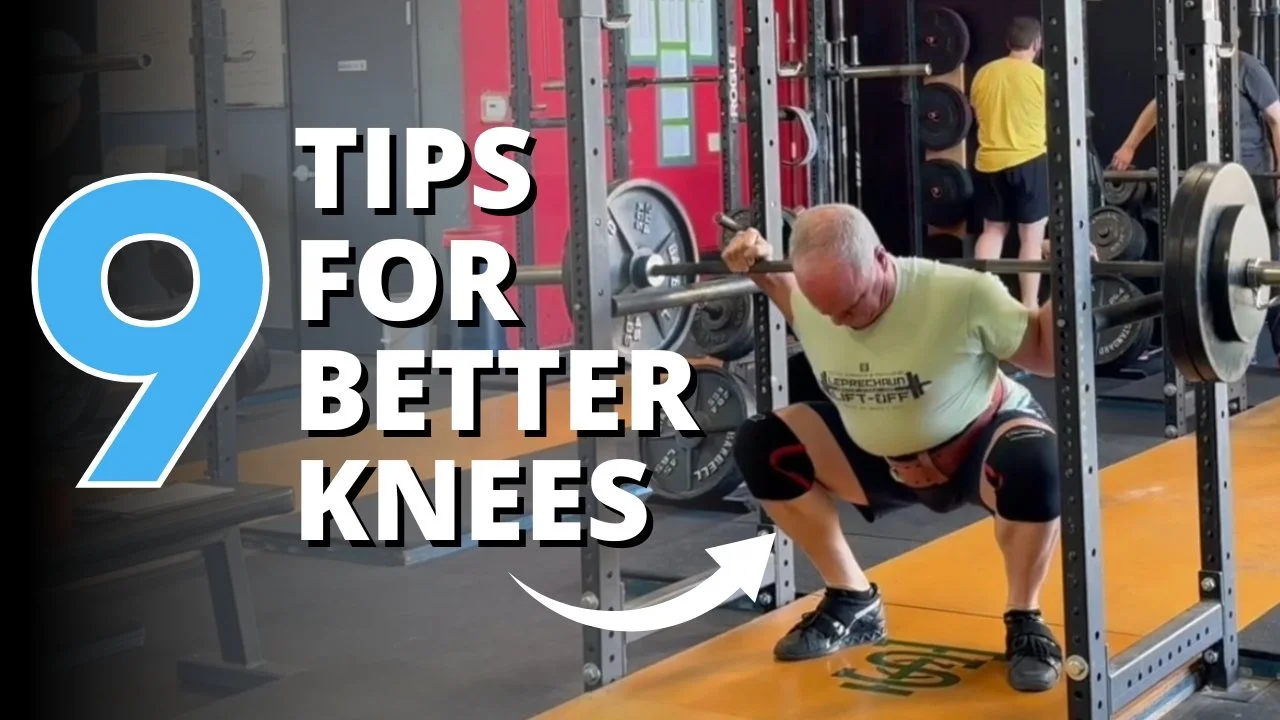
Here are nine squat tips that apply to everyone, but they especially apply to those of you with grumpy knees. We’ve also provided a number of short videos to help with some of these tips.
1. Bar Position
Get the bar below your traps – sitting on the nice shelf provided by your bunched up delts. This is because . . .
2. Lean Over
. . . you’re going to consciously lean over and point your chest at the floor as you start your descent. To facilitate this . . .
3. Hips Back
. . . you’re going to simultaneously reach backward with your hips. You squat with your knees and hips, of course, and we want to squat in such a way that we ask each joint to do its respective share of the work. The hips are larger and surrounded by more muscle mass than your knees, so reach back with your hips. In doing so, you take some of the load off the knees and shift it to the larger and stronger hips.
4. Stance and Knee Direction
Take a stance with your heels at roughly shoulder width and point your toes out about 30 degrees. You’ve now set up your toes as arrows for your knees, and with this in mind, make your knees travel in the direction of your toes (i.e., forward and out). Getting the knees out makes depth easier to achieve and also avoids any twisting of the knee.
5. Forward Knee Position
Your knees will travel forward (and out) in the direction of your toes, and about one half to one third of the way into your descent, you’re going to stop the knees roughly above your toes (possibly a half inch or so farther forward for those of you with longer femurs).
Your knees keep bending, of course, but you block the forward travel at this point.
Tip #8 will help with this, as will the video below.
6. Give Your Knees a Hug
Get yourself a pair of knee sleeves.
Knee sleeves provide a nice, warm hug for your knees, and the warmth and compression provided by a 7 mm pair of knee sleeves makes for a wonderful sensation.
Below are links to a few knee sleeve options that are popular with a number of our members at Testify:
7. Shoes
Get yourself a decent pair of lifting shoes and stop lifting in your squishy Chucks or running shoes.
The most important feature of a lifting shoe is the noncompressible sole and thus the very stable base it provides. This permits efficient force transfer between you and the floor and allows you to better execute the technical aspects that you’re working on, e.g., knee position, hips back, etc.
Below are some of the shoe recommendations and links we usually send to new members as a starting point for shopping:
Nike Romaleos 4
Inov-8 Fastlift 360
VS Athletics Weightlifting Shoe
Adidas Adipower
Do-Win Lifting Shoes
8. TUBOW
A TUBOW provides excellent cueing for knee position – both lateral and in terms of setting the knees’ forward position. Because it fixes the knee position, it forces the correct hip position and back angle as well.
A video is highly useful here, so check out the one below:
9. Get a Coach
You can work on all of these things on your own, but you will fix them far faster working with a good coach. Many things that often take weeks or months to address on your own can be fixed in a single coaching session, and we see this all the time.
We’d love to work with you – whether locally or remotely – but if that’s not in the cards, I’d recommend seeking out a Starting Strength Coach (SSC) to help you improve your squat. Click here if you’re interested in working with us or click here for the link to the SSC directory.
As always, we hope this helps you get stronger and live better.
-Phil
PS: Whenever you want even more Testify in your life, here are some free resources:
Book a free intro and strategy session with us HERE.
Pick up a free copy of Testify’s Squat Guide: 12 Tips to Improve Your Squat Now HERE.
Get our free weekly email - containing useful videos, articles, and training tips - HERE.
Follow Testify on Instagram HERE.
Subscribe to Testify’s YouTube channel HERE.
(Some links may be affiliate links. As an Amazon Associate, Testify earns from qualifying purchases.)