7 Ways You're Ruining Your Press: Part 2

(A Blast from the Past article originally posted on 09/01/23)

You’ve read Starting Strength: Basic Barbell Training, you’ve watched the videos, and you are endeavoring to press correctly. Yet . . . you still have problems. Let’s fix them.

In Part 1 of this series, which went up last week, we covered several common press mistakes. In today’s Part 2, we wrap things up by addressing a few more errors as well as how to fix them.

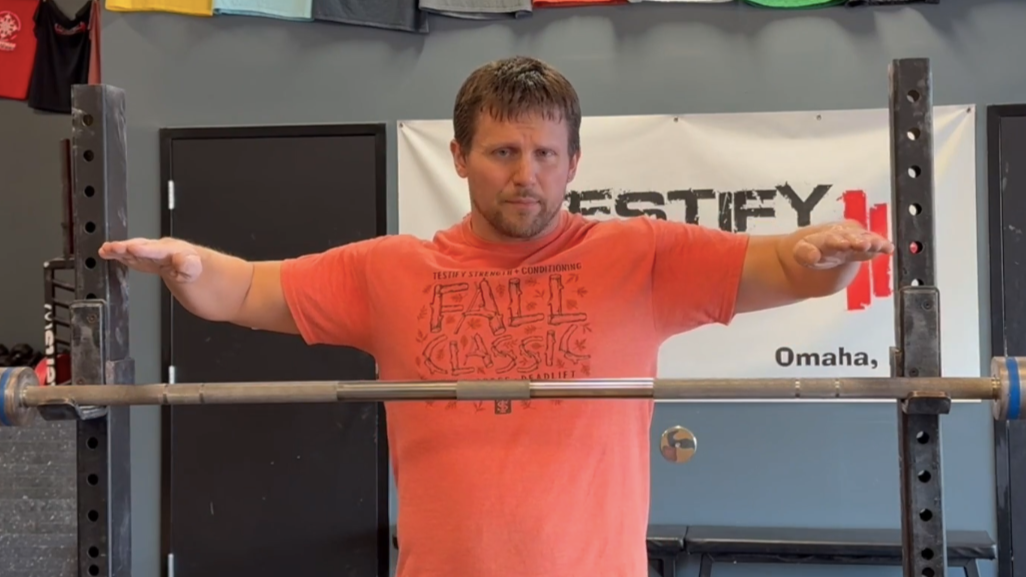
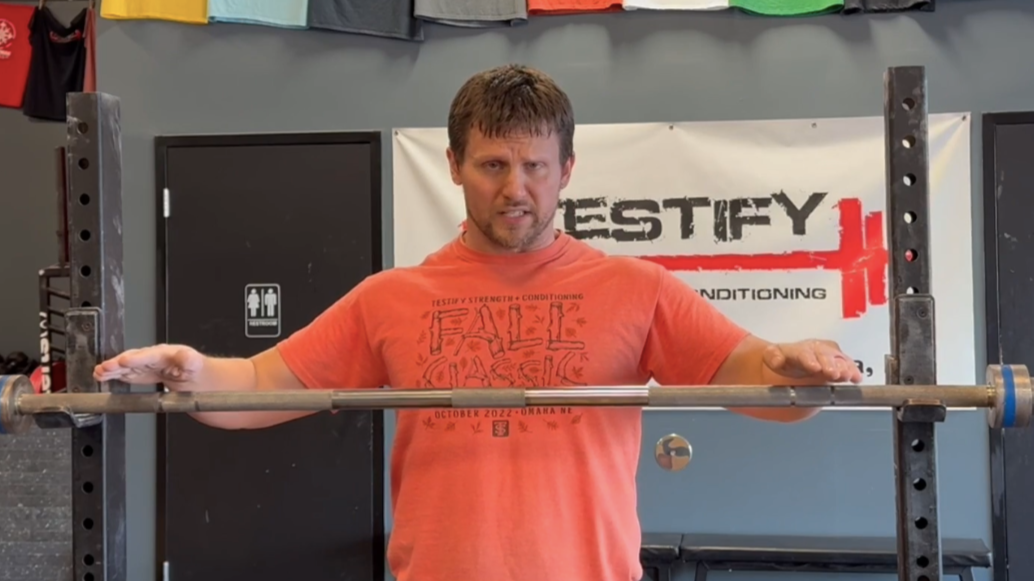
Mistake #5: Ridiculous or Nonexistent Focal Point
When pressing, pick a spot on the wall directly in front of you (at about eye height) and stare at that point the entire time. Stare at it before your first rep, through and between each rep, and until you’ve racked the bar.

Don’t let your gaze wander, and certainly don’t press with your eyes closed, no matter how hard you’re struggling through a particular rep. Focal point contributes mightily toward balance, and the press is very balance-dependent.

Mistake #6: Awful Knees
Don’t let your knees bend when pressing. This is the press, not the push press, and if your knees bend, the lift doesn’t count. To fix this issue, flex your quads before starting the rep and keep them flexed during the entire rep. You can cue yourself to “pull your kneecaps up” or simply tell yourself to “keep your knees tight,” but don’t let your knees get loose when pressing.

Mistake #7: Comically Bad Hip Timing
Remember, the timing is “hips-then-press” - your hips reach forward and then slam back into place, i.e., it’s when you stand back up that you launch the bar upward. The mistake we’re talking about here happens to almost every new lifter when learning the press at some point, especially if you are teaching yourself how to do it.

Here’s what happens - you get a few solid reps, and then you simply get the timing wrong on the next rep. You accidentally reach forward with your hips and try to press the barbell upward at the same time. It feels awkward, and if you record yourself on camera and watch afterward, it makes you want to throw up mentally - just a bit - because something isn’t quite right.

The timing is the issue - you did “hips-and-press-at-the-same-time” when you meant to do “hips-then-press.” And, in fact, that’s exactly how you solve the problem, simply tell yourself “hips-THEN-press,” and you’ll do just fine.

As always, we hope these tips help you get stronger and live better.

-Phil

PS: Whenever you want even more Testify in your life, here are some free resources:

  • Book a free intro and strategy session with us HERE.

  • Pick up a free copy of Testify’s Squat Guide: 12 Tips to Improve Your Squat Now HERE.

  • Get our free weekly email - containing useful videos, articles, and training tips - HERE.

  • Follow Testify on Instagram HERE.

  • Subscribe to Testify’s YouTube channel HERE.

(Some links may be affiliate links. As an Amazon Associate, Testify earns from qualifying purchases.)


At Testify, we offer small group training, private coaching (in-person or remotely via Zoom), online coaching, and form checks. Interested in getting stronger, looking better, and having more energy?

book a free intro

Still Benching the Old Way? 6 Tips for Better Results

You don’t need a brand-new program—you just need to bench better. These 6 changes clean up your setup, improve consistency, and help you get more out of the lift. Starting Strength Coach Phil Meggers explains.

Whenever you want even more Testify in your life, here are some free resources:

  • Book a free intro and strategy session with us HERE.

  • Pick up a free copy of Testify’s Squat Guide: 12 Tips to Improve Your Squat Now HERE.

  • Get our free weekly email - containing useful videos, articles, and training tips - HERE.

  • Follow Testify on Instagram HERE.

  • Subscribe to Testify’s YouTube channel HERE.


At Testify, we offer small group training, private coaching (in-person or remotely via Zoom), online coaching, and form checks. Interested in getting stronger, looking better, and having more energy?

book a free intro

Testify Mercury - January 12, 2026

THIS WEEK'S SUBMISSION

From our video The Press, Corrected. 7 Errors Most Lifters Never Notice (click the title to watch):

KH Mak
My family gym has no rack, so I have to power clean every set. More volume 💪

Phil
Way to do those power cleans!


TESTIFY ONLINE COACHING

Interested in getting stronger working one-on-one remotely with us? Click here to book your free strategy session.

Get Stronger. Live Better. Start Today.


ARTICLES & VIDEOS

This One Cue Will Change How You Squat Forever
If your squat feels inconsistent, inefficient, or harder than it should, you might be missing this. One cue can change the entire lift. Click here to watch.


Stop Using a Vertical Bar Path. The Correct Bench Press Technique
Are you bench pressing in a nice, straight, vertical line? Well . . . don't do that. Phil covers how and why to bench correctly. Click here to read.


Blast from the Past: What You Should NEVER Do When Pressing!
Is your bar path all sorts of terrible when you press? It's destroying your press. We help you fix it with 3 simple cues. Click here to watch.


Blast from the Past: 7 Ways You're Ruining Your Press: Part 1
Quit making these press mistakes! In Part 1 of this series, Phil covers 4 common press errors as well as how to fix them. Click here to read.


TESTIFY TRUCKER CAPS ARE AVAILABLE!

Represent your favorite gym with this trucker cap in several color options - perfect for outdoors or a training session.

Click here to head to the Testify Store.


WHAT'S COMING UP

Below is one of our upcoming events, and you can find out what else is on the calendar by heading to our events page at www.testifysc.com/events.

Testify Strengthlifting Challenge

  • April 11, 2025

  • The annual Testify Strengthlifting Challenge is back, and we invite you to be a part of it! This is a strengthlifting meet, which means the contested lifts will be the squat, press, and deadlift.

  • Click here to register or for more information.


THIS WEEK’S CONDITIONING

Option 1
“Prowler Base+1”
1. Load up a manageable weight.
2. Sprint 40m at 85% intensity.
3. Rest 30 sec.
4. Repeat 5-15 times.

Courtesy of “Death by Prowler” (on Starting Strength).

Compare to 2025.12.08.

Option 2
Bike/row:
4 x 3 minutes

Rest 3 minutes between each round. Score = lowest distance.

Compare to 2025.10.20.

Option 3
1. Work up to a heavy single on the axle clean-and-press (i.e., ground to overhead).
2. 5 x 100 ft Zercher carry (50 ft down-back). Add weight each round. Rest as needed.

Compare to 2025.09.22.

Option 4
Outdoors:
5 rounds:
15 cal row
50 yd sled push, 100#/50#

Indoors:
5 rounds:
15 cal row
100 ft sled push, 250#/125#

Push sled slow for recovery. Score is slowest row.

Compare to 2025.09.22.


As always, we hope this helps you get stronger and live better!

Whenever you want even more Testify in your life, here are some free resources:

  • Book a free intro and strategy session with us HERE.

  • Pick up a free copy of Testify’s Squat Guide: 12 Tips to Improve Your Squat Now HERE.

  • Get our free weekly email - containing useful videos, articles, and training tips - HERE.

  • Follow Testify on Instagram HERE.

  • Subscribe to Testify’s YouTube channel HERE.

Stop Using a Vertical Bar Path. The Correct Bench Press Technique

Want to change your life? Two suggestions.

First, get a bidet. Once you bidet, you never stray. (Check out the Luxe Bidet Neo 120 if you’re in the market - basic, but oh-so-glorious.)

Second, quit performing the bench press with a vertical bar path.

We aim for as vertical of a path as possible on the other major barbell lifts - but not the bench press, and there are two types of error that lifters commit when it comes to benching with a vertical bar path.

To see these errors in action as well as how to solve them, check out the video below.

Error #1: Vertical Descent
The barbell starts at lockout directly above your shoulders, but don’t take the bar in a straight, vertical path down toward your shoulders. Instead, the correct touch point is on your sternum a couple of inches lower than the level of your shoulders. 

figure 1: 90° of abduction - this is no good.

Looking at Figure 1 above, you don’t want 90° of abduction (i.e., you don’t want a 90° degree angle from your torso to your arms) when the bar reaches its touch point. Instead, you’re aiming for something closer to 70° of abduction (Figure 2), and as a result, the touch point is lower on the sternum.

figure 2: roughly 70° of abduction - this is much better.

The bench press sometimes gets a reputation for being rough on the shoulders, and it gets that reputation because lifters perform it incorrectly. However, we don’t get to drive a car purposely into a concrete wall and then claim that driving is therefore dangerous, and likewise, we don’t get to bench press incorrectly and claim that benching is dangerous.

Let’s be sensible, and with this in mind, aim for a point on your sternum a couple of inches lower than the level of your shoulders, and this will greatly reduce the likelihood of any shoulder impingement when benching (setting your arch and pinching your shoulder blades back helps as well, but those are topics for another day).

Error #2: Vertical Ascent
Lifters will sometimes perform the descent correctly but then proceed to drive the bar straight and vertically upward.

This is no good.

We want to finish the bench press with the bar in the same place that it started, and this means you need to drive the barbell up and slightly backward so that it finishes above your shoulders.

Don’t watch the barbell (since it’s a moving object); instead, before your start the rep, choose a focal point on the ceiling. You can see the barbell (at lockout) in your peripheral vision, and you remind yourself that the bar will finish in the same place in your peripheral vision each time.

To help with this, remember to drive the bar slightly backward as you drive it upward. The bar path will still feel mostly vertical if performed correctly, but it needs to be slightly backward as well.

As always, we hope this helps you get stronger and live better.

-Phil

PS: Whenever you want even more Testify in your life, here are some free resources:

  • Book a free intro and strategy session with us HERE.

  • Pick up a free copy of Testify’s Squat Guide: 12 Tips to Improve Your Squat Now HERE.

  • Get our free weekly email - containing useful videos, articles, and training tips - HERE.

  • Follow Testify on Instagram HERE.

  • Subscribe to Testify’s YouTube channel HERE.

(Some links may be affiliate links. As an Amazon Associate, Testify earns from qualifying purchases.)


At Testify, we offer small group training, private coaching (in-person or remotely via Zoom), online coaching, and form checks. Interested in getting stronger, looking better, and having more energy?

book a free intro

What You Should NEVER Do When Pressing!

Is your bar path all sorts of terrible when you press? It's destroying your press. Starting Strength Coach Phil Meggers helps you fix it with 3 simple cues.

(A Blast from the Past video originally published on 03/27/23)

Whenever you want even more Testify in your life, here are some free resources:

  • Book a free intro and strategy session with us HERE.

  • Pick up a free copy of Testify’s Squat Guide: 12 Tips to Improve Your Squat Now HERE.

  • Get our free weekly email - containing useful videos, articles, and training tips - HERE.

  • Follow Testify on Instagram HERE.

  • Subscribe to Testify’s YouTube channel HERE.


At Testify, we offer small group training, private coaching (in-person or remotely via Zoom), online coaching, and form checks. Interested in getting stronger, looking better, and having more energy?

book a free intro

7 Ways You're Ruining Your Press: Part 1

(A Blast from the Past article originally posted on 08/25/23)

Let’s cover several mistakes you might be making with your press, and then let’s fix them fast. We address a few issues this week in Part 1, and we’ll return next week and wrap things up with a few more errors in Part 2.

Mistake #1: Poor Stance
When you unrack the bar, don’t walk a mile back from the rack, and don’t take a narrow stance. Simply take two small steps back - right, then left - that’s it. Two half-steps, if you will - i.e., stay relatively close to the rack. When you do so, set up with a nice, wide stance. Your squat stance will serve as a good approximation of the stance you’re looking for, and you can even stand a bit wider than that, but don’t take a narrow stance.

Mistake #2: Atrocious Grip Width
Don’t take a wide grip. When pressing, the grip is fairly narrow - when taking your grip, simply reach out in front of you like you’re Frankenstein’s monster, and that will serve quite well for your grip width. Don’t use a grip width that looks even remotely as wide as your bench press grip.

For a lot of guys, this will place the grip right on the edge of the knurl, and for a lot of gals, this will place the index finger on the smooth part of the bar and the rest of the fingers on the knurl. These are very general approximations, so to check your grip width, remember that - when you’re setup and ready to press (i.e., at the bottom of the movement) - you want vertical forearms as seen from directly in front of you.

Mistake #3: Terrible Elbows
Don’t let your elbows be situated behind the barbell when you’re set up and ready to press. When unracking the bar, do so with your legs. Dip down far enough (with your legs) so that you can move your elbows into the correct position, which is slightly in front of the bar as viewed from the side. Every single rep should start with your elbows in this position. If the elbows are behind the bar, you will tend to press the bar forward, which makes for a miserable pressing experience.

Mistake #4: Hideous Wrists
Your wrists should not be bent back in extreme extension. Go ahead and make a tight fist - yes, right now . . .while you’re reading this . . . seriously. Notice the amount of wrist extension you see, i.e., notice how much - or rather how little - your wrists are bent backward. We’re looking for that position when pressing as well - about 10-15 degrees of wrist extension.

We want the base of the palm to support the bar so that the bar is situated directly over the bones of the forearm. On the other hand, if the wrists are bent back in extreme extension, the bar sits up near the pads at the base of your fingers with your wrists in a very floppy and inefficient position (see the video above).

Your wrists shouldn’t be totally straight (although we may sometimes use the overcue “straight wrists” when setting up), but they definitely shouldn’t be in extreme extension, so get your elbows in the correct position (see Mistake #3), and that permits you to achieve the correct wrist position as well. As the weight gets heavier, you’ll find that a decent pair of correctly worn wrist wraps will certainly help this positioning, but most of the solution is up to you.

We’ll see you next week in Part 2 of this series, and as always, we hope this helps you get stronger and live better.

-Phil

PS: Whenever you want even more Testify in your life, here are some free resources:

  • Book a free intro and strategy session with us HERE.

  • Pick up a free copy of Testify’s Squat Guide: 12 Tips to Improve Your Squat Now HERE.

  • Get our free weekly email - containing useful videos, articles, and training tips - HERE.

  • Follow Testify on Instagram HERE.

  • Subscribe to Testify’s YouTube channel HERE.

(Some links may be affiliate links. As an Amazon Associate, Testify earns from qualifying purchases.)


At Testify, we offer small group training, private coaching (in-person or remotely via Zoom), online coaching, and form checks. Interested in getting stronger, looking better, and having more energy?

book a free intro