How to (EASILY) Put on Tight & Stiff Knee Sleeves (TWO METHODS)
/
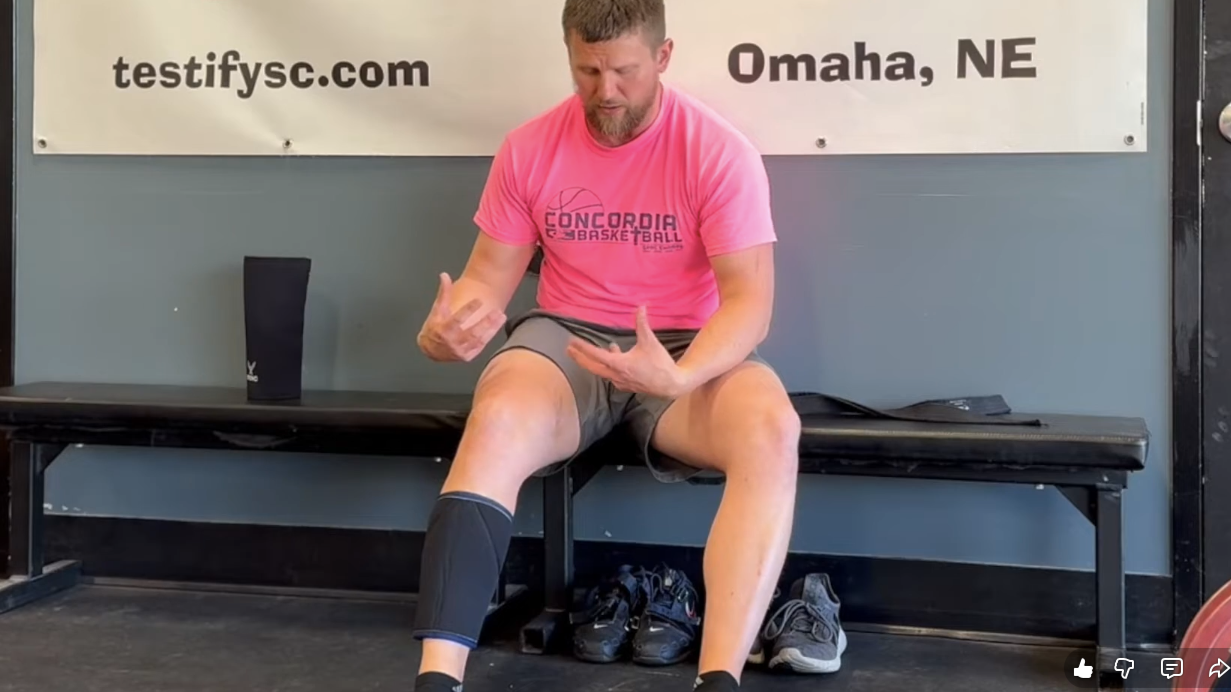
Knee sleeves are wonderful, but if you find yourself struggling to put them on in the first place, today’s two tips are for you.
I would highly recommend watching the video below to see these two methods in action (all the photos in this article come from this video) as it’s easier to learn from a demonstration.
Method 1 – Basic 7 mm Knee Sleeve (or thinner)
This first approach works very well with the typical 7 mm thick knee sleeve such as a Rehband or IronBull sleeve, and it works equally well with thinner sleeves such as 5 mm thick sleeves. With that said, don’t get a 5 mm sleeve - once you try out a 7 mm sleeve, you’ll never go back.
Step 1
Orient the knee sleeve so that it is right-side out with the correct side up and facing forward.
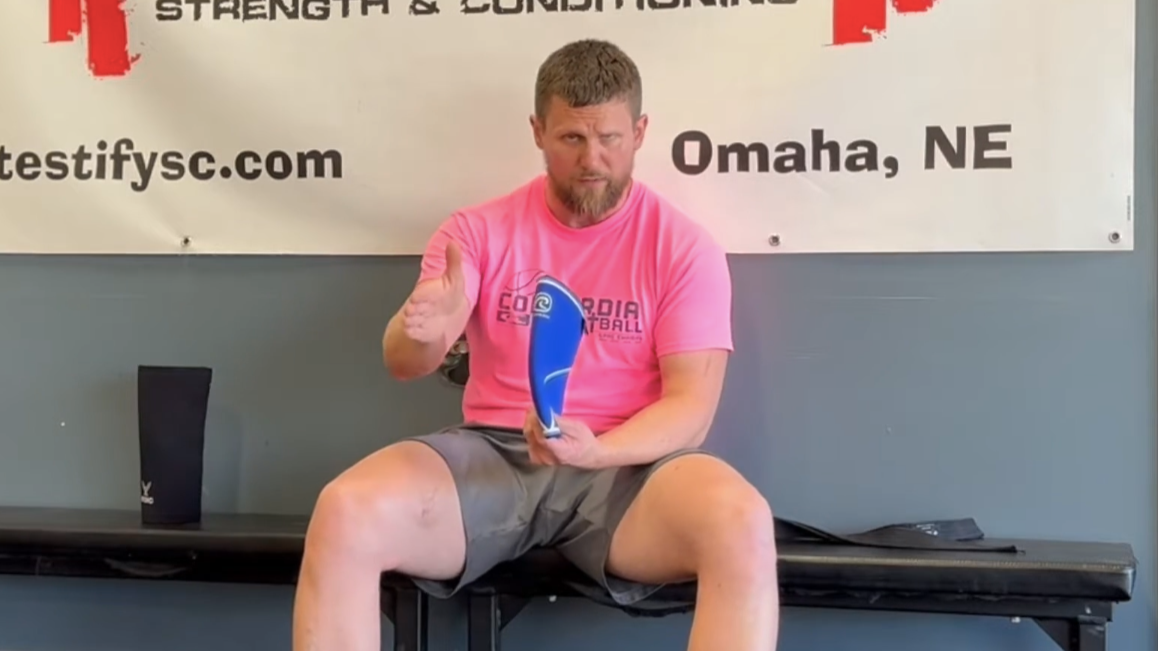
step 1
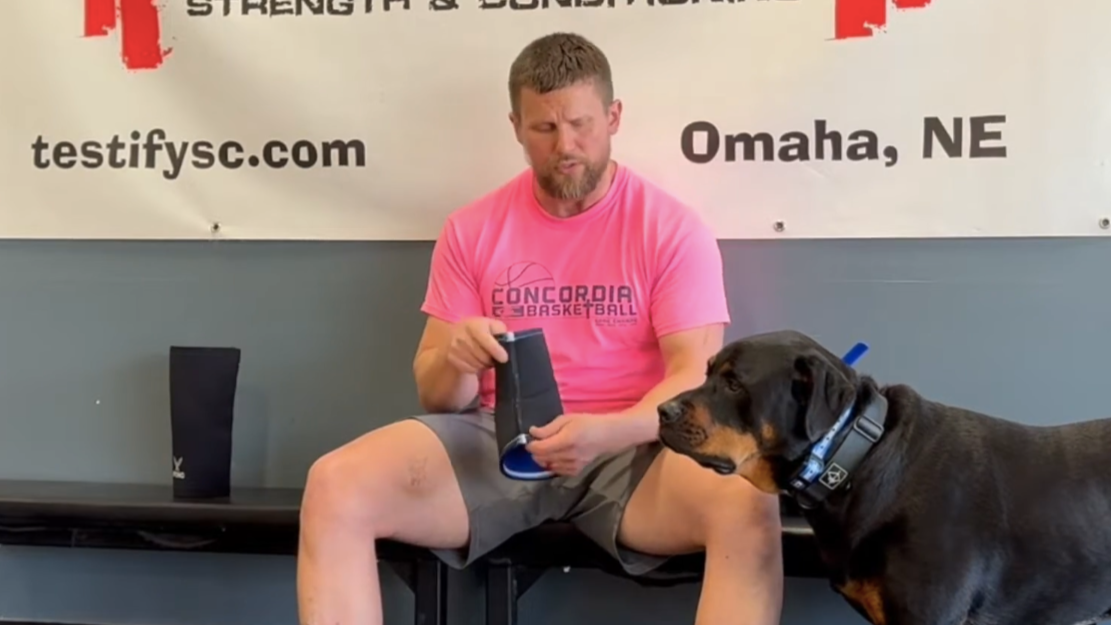
Step 2
Turn the knee sleeve inside out, and in the process, you will also turn the sleeve upside down.

step 2
Step 3
Rotate the sleeve so that the front faces backward. This part is optional, but it makes it slightly easier to get the sleeve around the ankle due to the bend in most sleeves.
step 3
Step 4
Slide the knee sleeve over your foot.
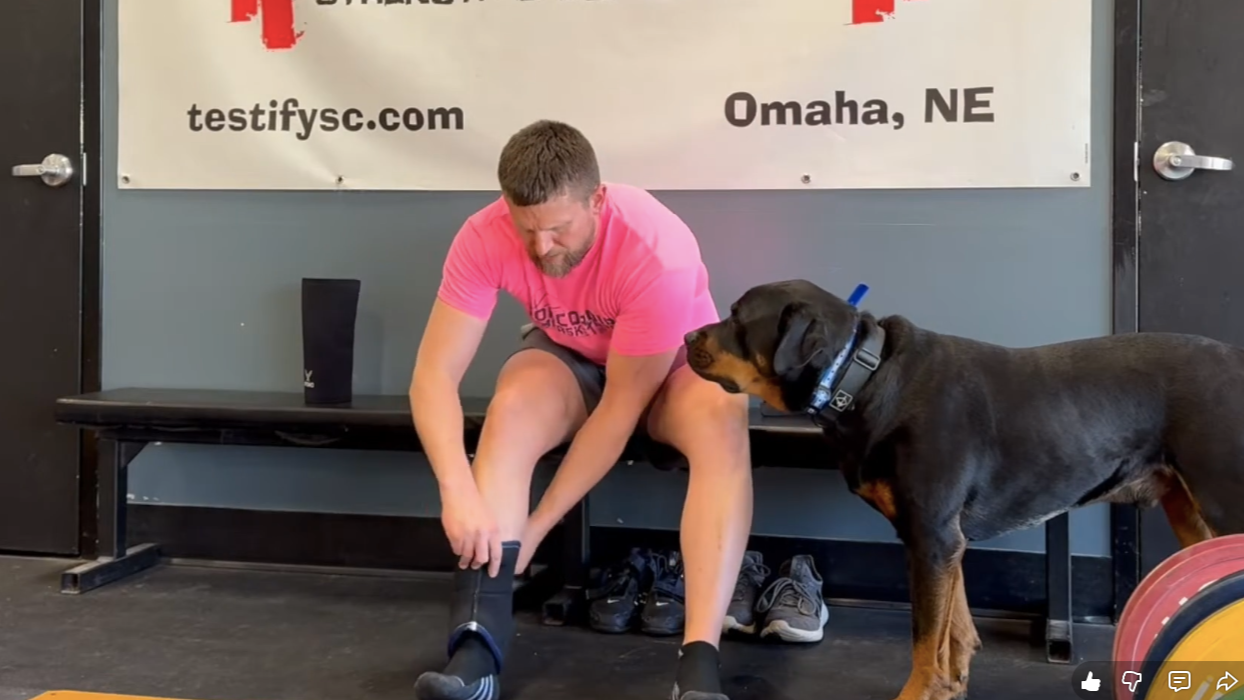
step 4
Step 5
Rotate the knee sleeve so the front side faces forward again.
step 5
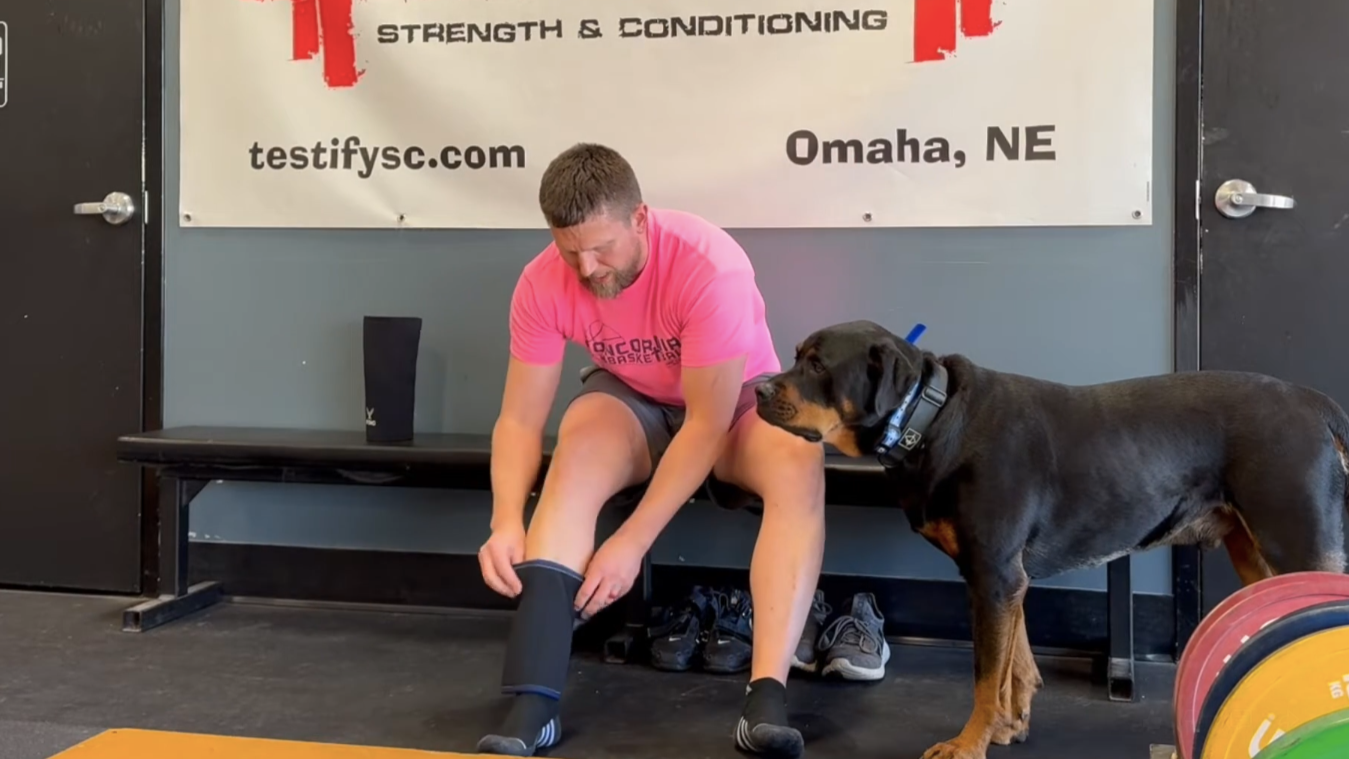
Step 6
Drag the knee sleeve up your leg until it reaches where you want the bottom of the sleeve to sit (i.e., in the upper shin region).
step 6
Step 7
Grab the top of the sleeve (which is currently located low on the leg) and peel it all the way upward. At this point - potentially with a few minor adjustments to get the placement just right - you’re done.
step 7
finished!
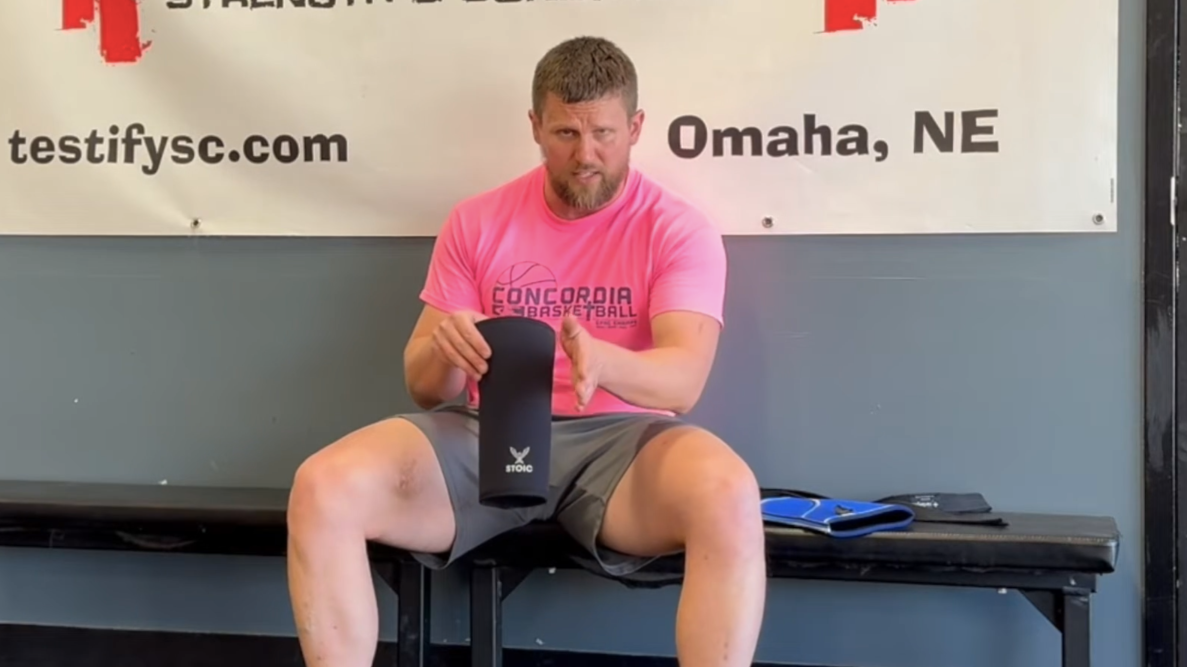
Method 2 - Stiff 7 mm Knee Sleeve
If you have a very robust, stiffer, and longer 7 mm thick knee sleeve such as a Stoic, Pioneer, or SBD sleeve, you’ll find the following method extraordinarily useful:
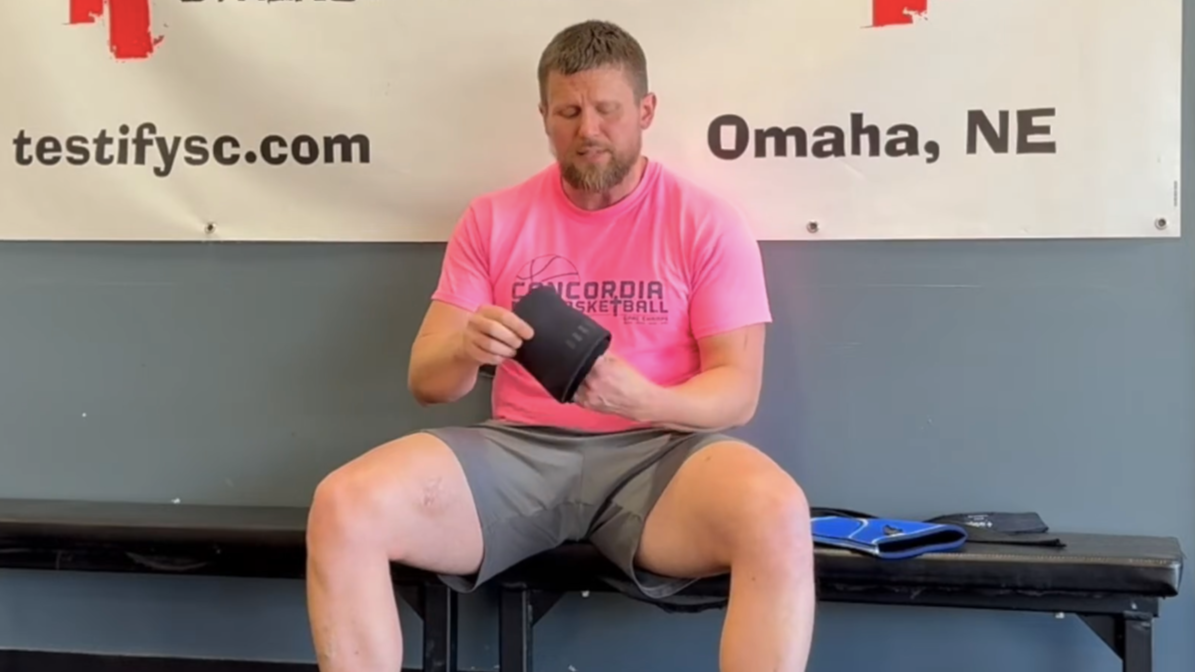
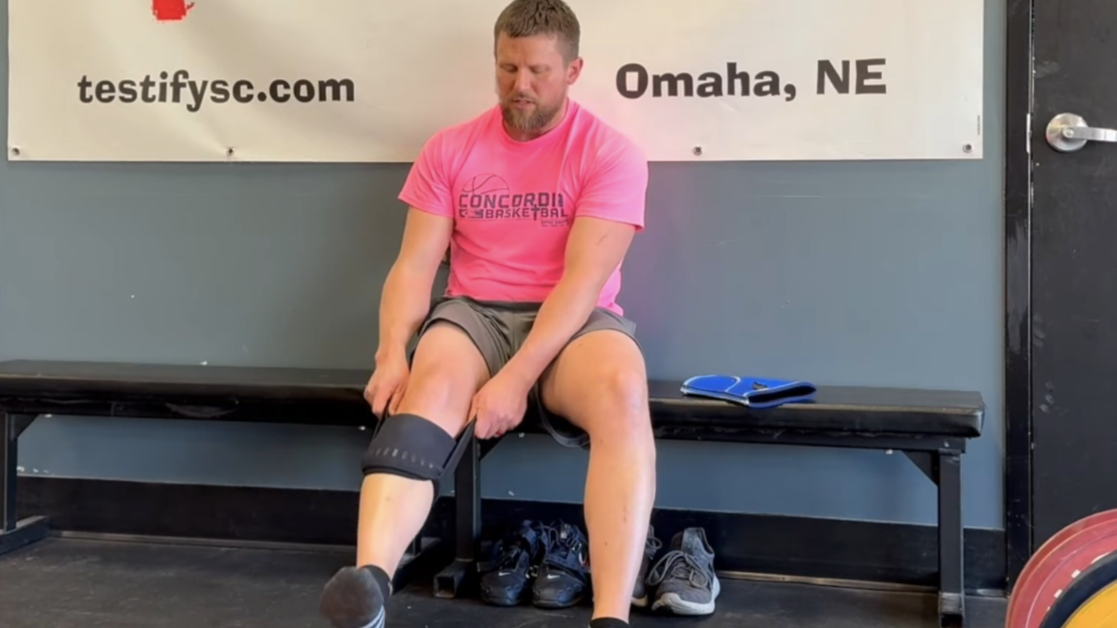
Step 1
As with Method 1, orient the knee sleeve so that it is right-side out with the correct side up and facing forward.
step 1
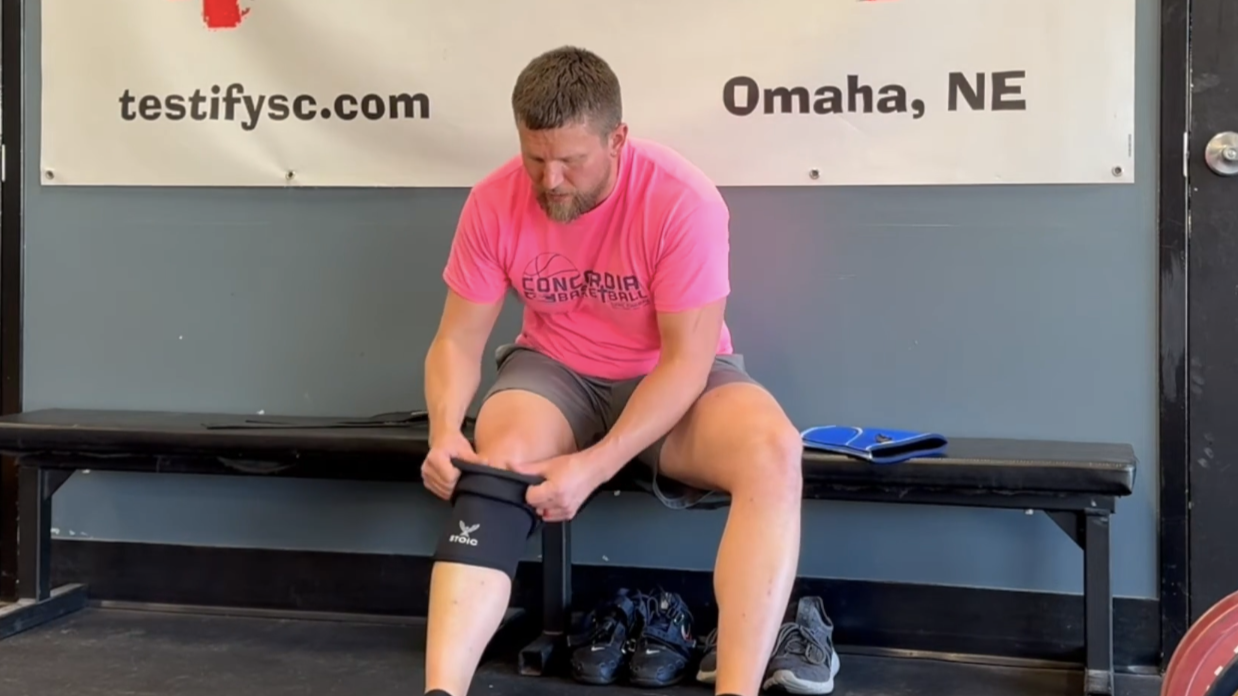
Step 2
Grab the top and fold it down until the upper half of the sleeve covers the lower half.
step 2
Step 3
Slide the knee sleeve over your foot.
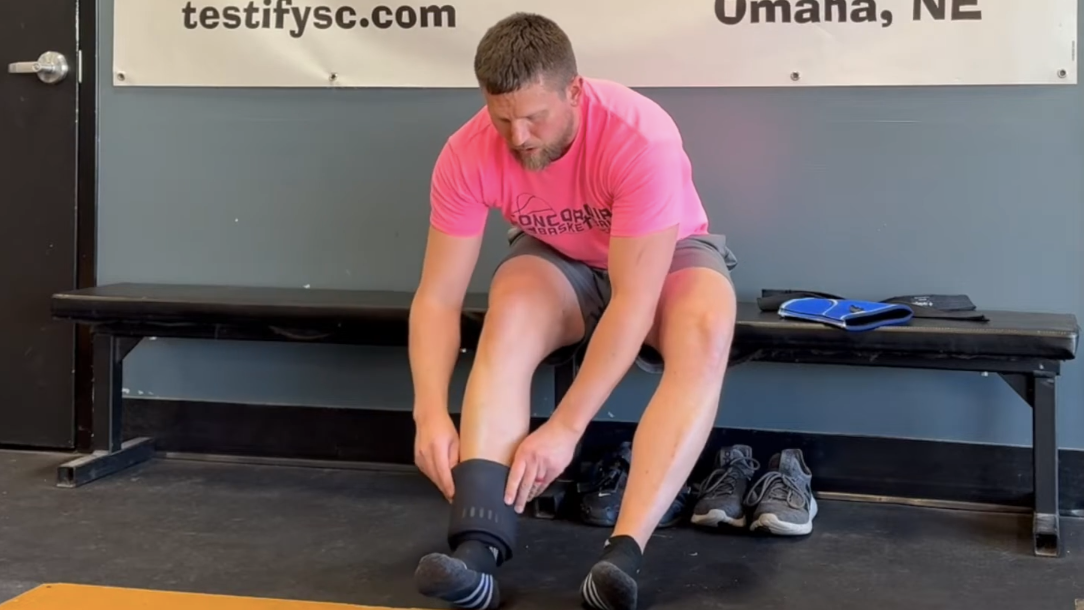
step 3
Step 4
Grab two straps or something similar. I’m using cloth lifting straps in the accompanying video (and thus these photos), and that is the only time we ever recommend using cloth lifting straps as they will eventually tear when used for actual training (e.g., when deadlifting). However, leather lifting straps or some other piece of webbing (we use climbing webbing to make our DIY lifting straps), fabric, or even rope will work.
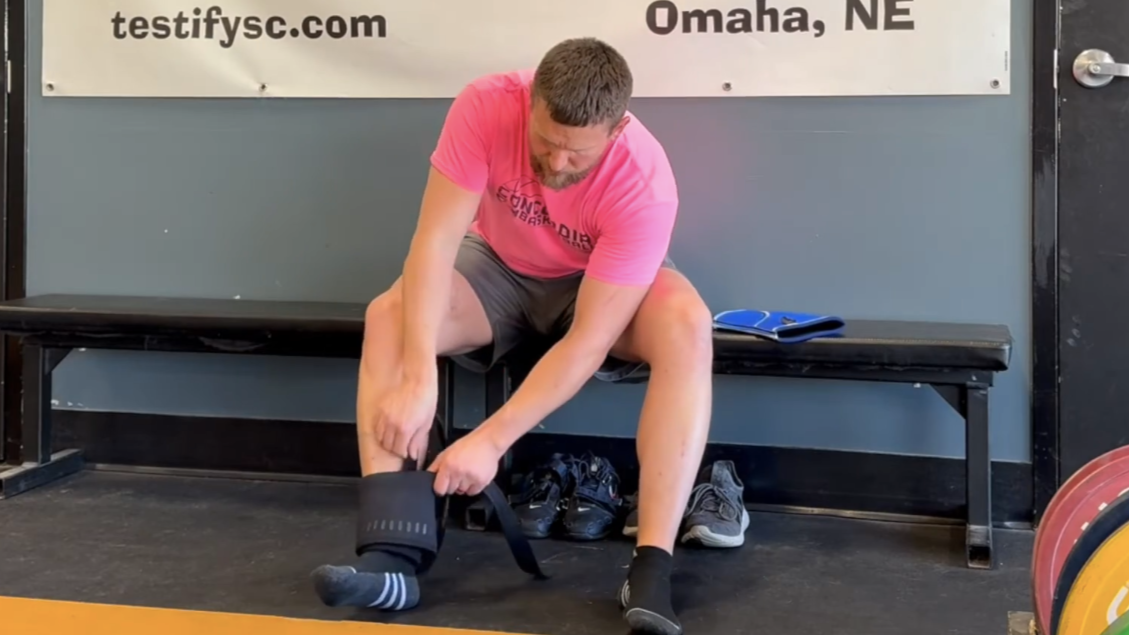
step 4 - insert straps
Slide a strap down between one side of the sleeve and your leg. Repeat the process on the opposite side with the other strap. You now have two handles to grab.
step 4 - handles
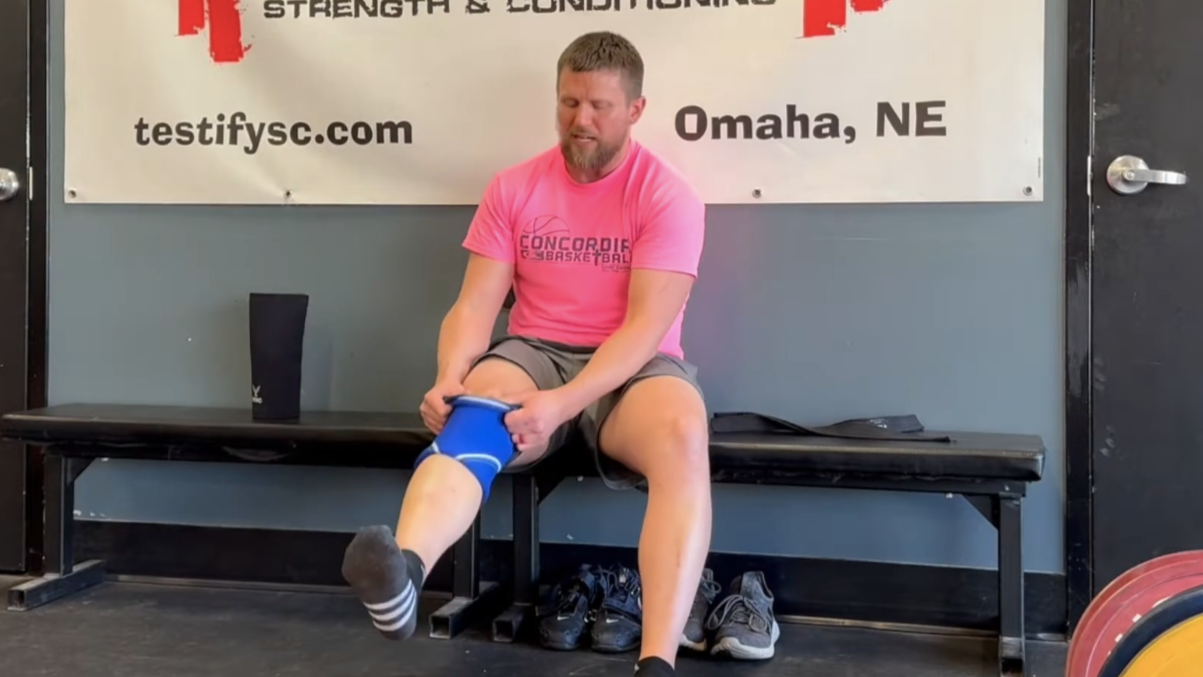
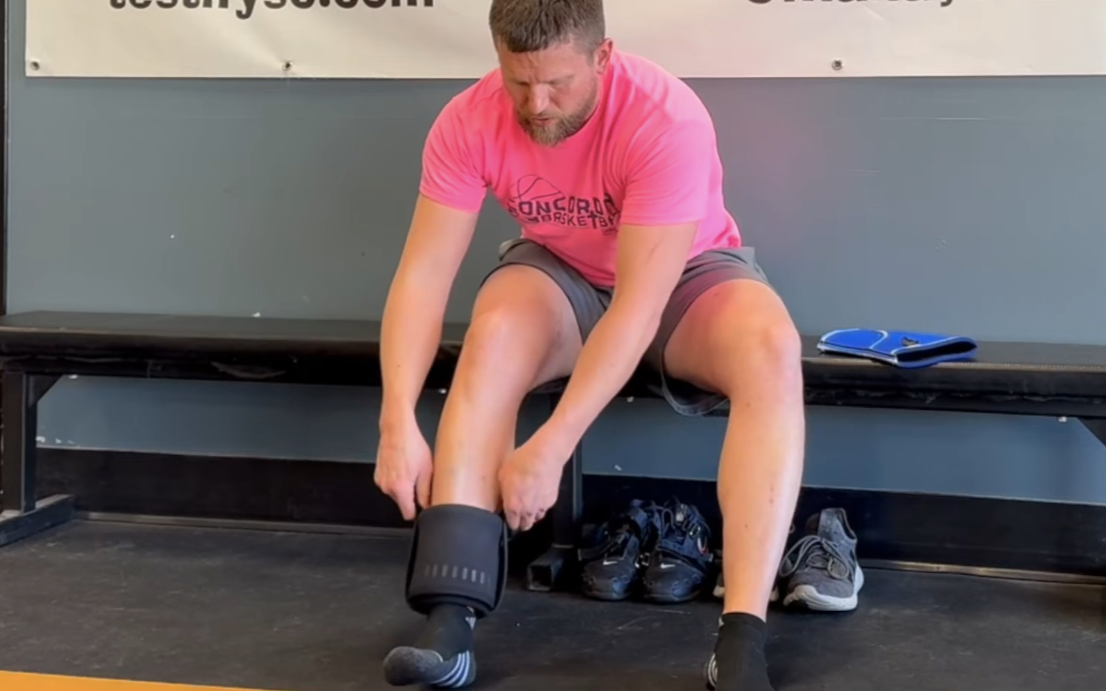
Step 5
Double check to make sure the front of the sleeve is still facing forward, and then pull on the handles, sliding the sleeve up your leg until it reaches your knee.
step 5
Step 6
Pull the straps out.
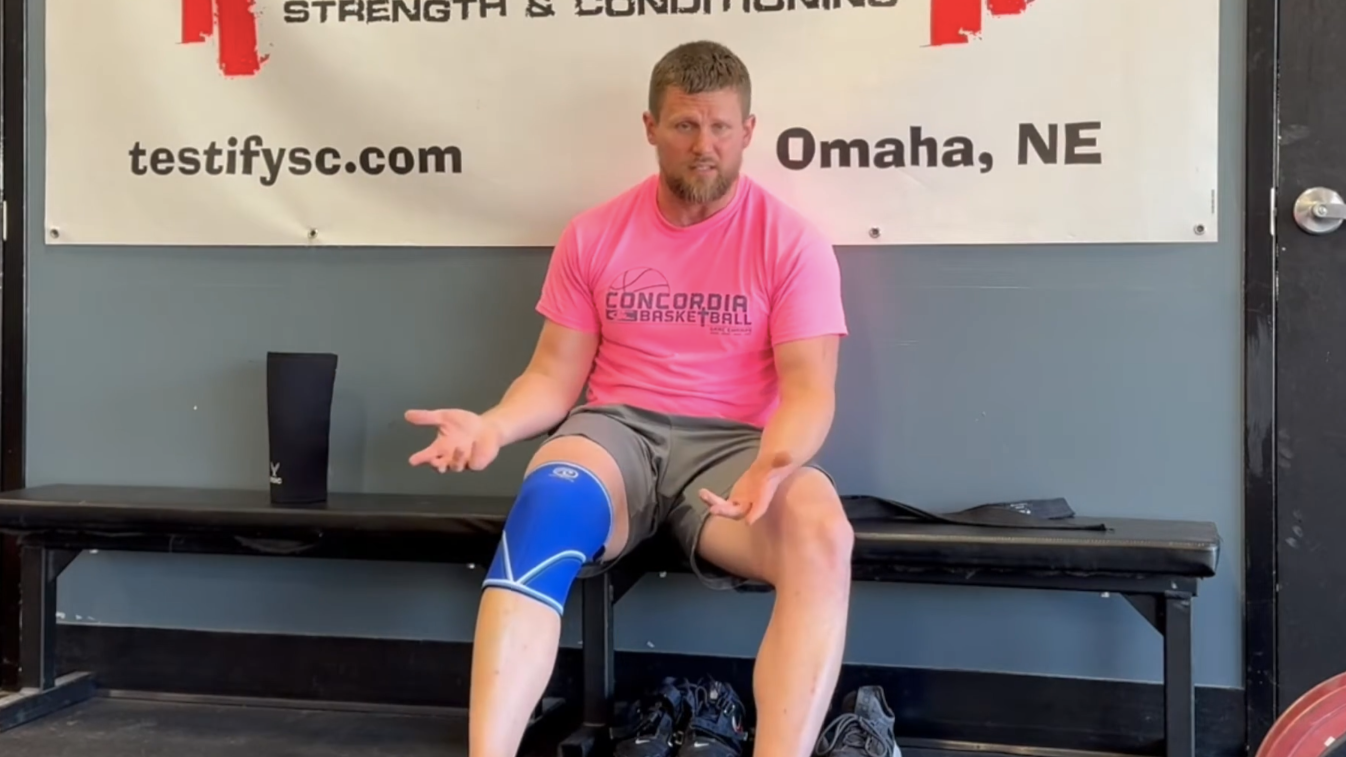
Step 7
Grab the top of the sleeve (which is currently located below the fold of the double-over sleeve) and peel it all the way upward. At this point - potentially with a few minor adjustments to get the placement just right - you’re done.
step 7
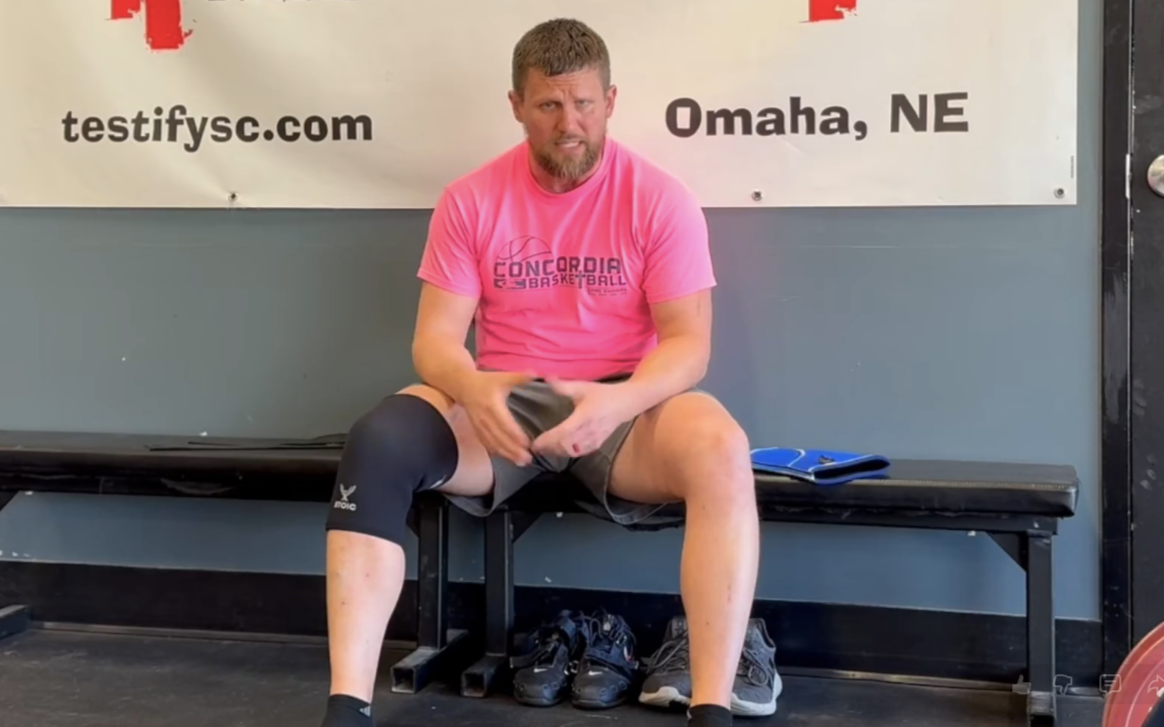
finished!
As always, we hope this helps you get stronger and live better.
-Phil
PS: Whenever you want even more Testify in your life, here are some free resources:
Book a free intro and strategy session with us HERE.
Pick up a free copy of Testify’s Squat Guide: 12 Tips to Improve Your Squat Now HERE.
Get our free weekly email - containing useful videos, articles, and training tips - HERE.
Follow Testify on Instagram HERE.
Subscribe to Testify’s YouTube channel HERE.
(Some links may be affiliate links. As an Amazon Associate, Testify earns from qualifying purchases.)