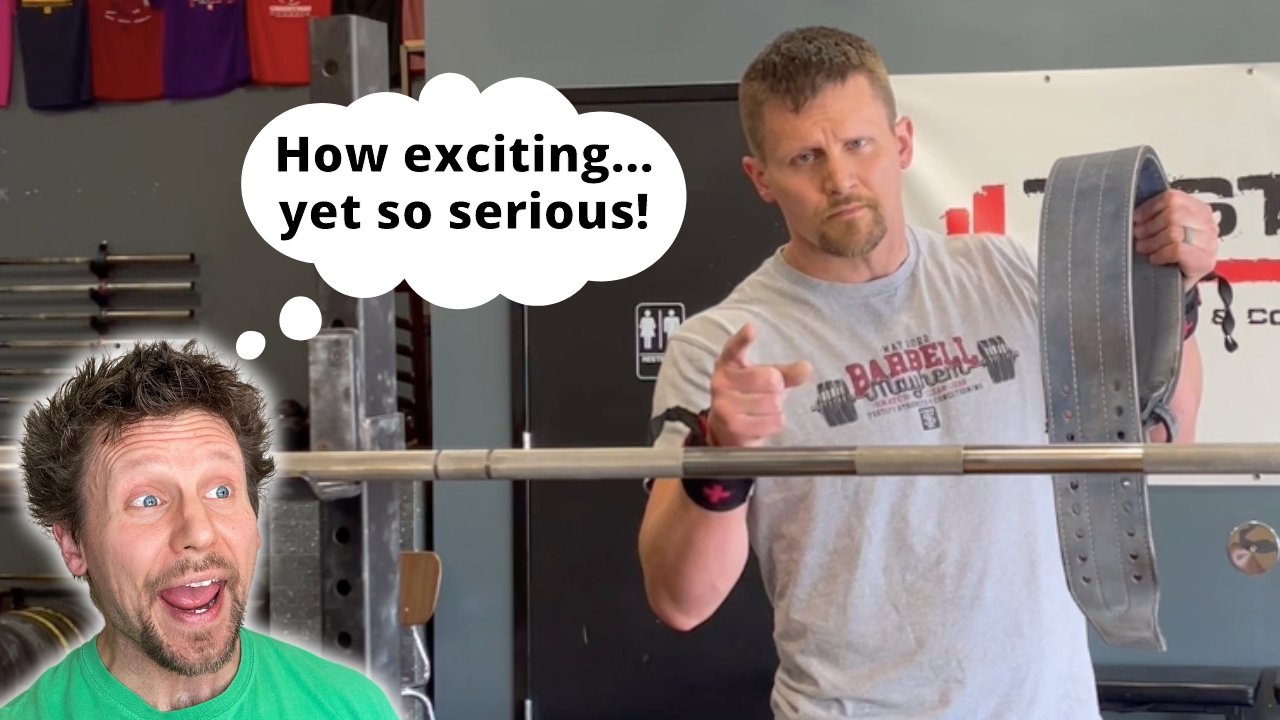
Everything You Need to Know About Lifting Belts . . . QUICK!
/
(A Blast from the Past article originally posted on 07/14/23)
Today’s topic is a quick dive into lifting belts - specifically, the four Ws of belts: width, when, where, and what. We covered how to efficiently and quickly put on your belt in another article about a month back, so feel free to click here to read that article or watch the associated videos.
Width
If you can get your back set in rigid and flat extension on the deadlift using a 4” belt (i.e., the belt is 4” wide), then go ahead and get a 4” belt. If you can’t, then you probably need to go with a 3” belt. It’s possible that you need a 2.5” belt, but 3” and 4” are the most common widths.
When
When should you put your belt on? A good rule of thumb is to put your belt on for your last warm-up set and then wear it for all of your work sets as well. Time and experience will help you decide if you want to eventually take a different approach, but this is a good guide to start with. I recommend taking your belt off (or at least loosening it) between sets.
Where
Where should you place your belt? You can start by centering it on your belly button as a rough guideline, but the most important landmarks are your hips and your ribs. The belt should sit between your hips and your ribs, and it’s the space between these two regions that will largely determine your choice of a 3” or a 4” belt. It’s worth noting that you especially do not want your belt running into your ribs. It makes for a memorable - and uncomfortable - experience.
What
What do you do once your belt is on? Take a big breath, hold that breath with tightly contracted abs (i.e., Valsalva maneuver), and then perform the lift (watch the video on breathing and bracing). Release your breath only after the rep is completed - remember that if the bar is moving, you’re not breathing.
Don’t complicate the breathing, and don’t try to push your belly out against the belt. Simply take a breath, hold it, tighten your abs as if you’re about to take a punch or as if you’re constipated, and then continue holding that breath throughout the entire rep. You can do this with either a closed mouth or an open mouth - you shouldn’t be holding your breath against your lips with puffed out cheeks. Instead, you hold your breath against a closed glottis, which is located in your throat. Say the word “hick” out loud and hold the “ck” sound at the end - that’s how you do it.
Need to Buy a Belt? Watch This First.
If you’re getting ready to buy a lifting belt, I’d recommend watching the included video here to get a good sense of what to look for when purchasing one. You’ll also find some links below to a few belts we recommend to our members.
Belts
My belt is from Best Belts and I’d love to recommend them to you, but they’ve closed up shop, so with that in mind, here are the belt options we typically recommend:
Pioneer Cut Leather Powerlifting Prong Belt 10mm
Pioneer 10mm Lever Powerlifting Belt PAL V2 (if you’re looking for a lever belt)
Dominion Strength Training Leather Weight Lifting Belt - 3 inch wide x 10 mm thick
Dominion Strength Training Leather Weight Lifting Belt - 4 inch wide x 10 mm thick
As always, we hope this helps you get stronger and live better.
-Phil
PS: Whenever you want even more Testify in your life, here are some free resources:
Book a free intro and strategy session with us HERE.
Pick up a free copy of Testify’s Squat Guide: 12 Tips to Improve Your Squat Now HERE.
Get our free weekly email - containing useful videos, articles, and training tips - HERE.
Follow Testify on Instagram HERE.
Subscribe to Testify’s YouTube channel HERE.
(Some links may be affiliate links. As an Amazon Associate, Testify earns from qualifying purchases.)