


Week 2020.10.12
/New on the Testify YouTube channel!
This Week’s Conditioning
Option 1
Sled
Outdoors:
10 rounds of:
Push sled 100 ft
Pull sled 100 ft (hand over hand)
Indoors:
20 rounds of:
Push sled 50 ft
Pull sled 50 ft (hand over hand)
Compare to 2020.08.31.
Option 2
Bike/row:
8 x 30 sec on/2:00 off
Score = least distance covered in any 30 second interval
Compare to 2020.08.17.
Option 3
5-10 rounds:
50 ft yoke carry
50 ft yoke push
100 ft sandbag carry and S.O.B. (sandbag-over-bar)
Perform 1 round every 2-3 minutes.
Compare to 2020.07.20.
Option 4
Outdoors:
5 rounds:
15 cal row
50 yd sled push, 100#/50#
Indoors:
5 rounds:
15 cal row
100 ft sled push, 250#/125#
Push sled slow for recovery. Score is slowest row.
Compare to 2020.07.13.
Magnesium Carbonate: The Most Important Supplement
/
magnesium carbonate . . . it does a lifter good.
Chalk is important to your training. We’re talking about lifting chalk here, i.e., magnesium carbonate, not calcium carbonate. Your kid’s sidewalk chalk won’t really cut it at the gym.
Why is it important? I’m glad you asked. Chalk increases the friction between your hands and the bar by absorbing the natural oils and moisture (e.g., sweat) on your hands, and as an added benefit, this also means you don’t go around leaving your oil and sweat on the bar.
Increased friction between your hands and the bar makes for a more secure grip, and a secure grip is vital for your training. A secure grip is also vital in sports such as climbing and gymnastics, and we use chalk in the weight room for the same reason that climbers and gymnasts use it.

The advantage provided by chalk is most evident in lifts such as the deadlift, the clean, the snatch, and any other lift that involves tension in the arms such as a pull-up or a row, but a secure grip is important in all of your other lifts as well. When the grip starts to fail, many things go out the window - backs start to flex, weights feels heavier than they should, bars starts to slip, and the list goes on.
Some people are of the opinion that they don’t need chalk, but popular phrases notwithstanding, people are not always entitled to their own opinions. There are also those who simply don’t like the feel of chalk on their hands, but then again, we are not particularly interested in what we would like to do to get stronger; rather, we are interested in what we need to do to get stronger. If we are going to subject ourselves to a heavy set of soul-sucking deadlifts, we might as well make that process a bit more manageable and therefore productive.

In light of this, anti-chalkers need to ignore their opinions and their preferences and simply trust those who are both far more experienced and are willing to actually think logically about this. When the weight becomes heavy enough, you will need chalk, and if you are in the camp that avoids chalk and you’ve trained longer than a month or so, your lack of chalk use has already limited the amount of weight on your bar. Stop this silliness. Stop it right now.
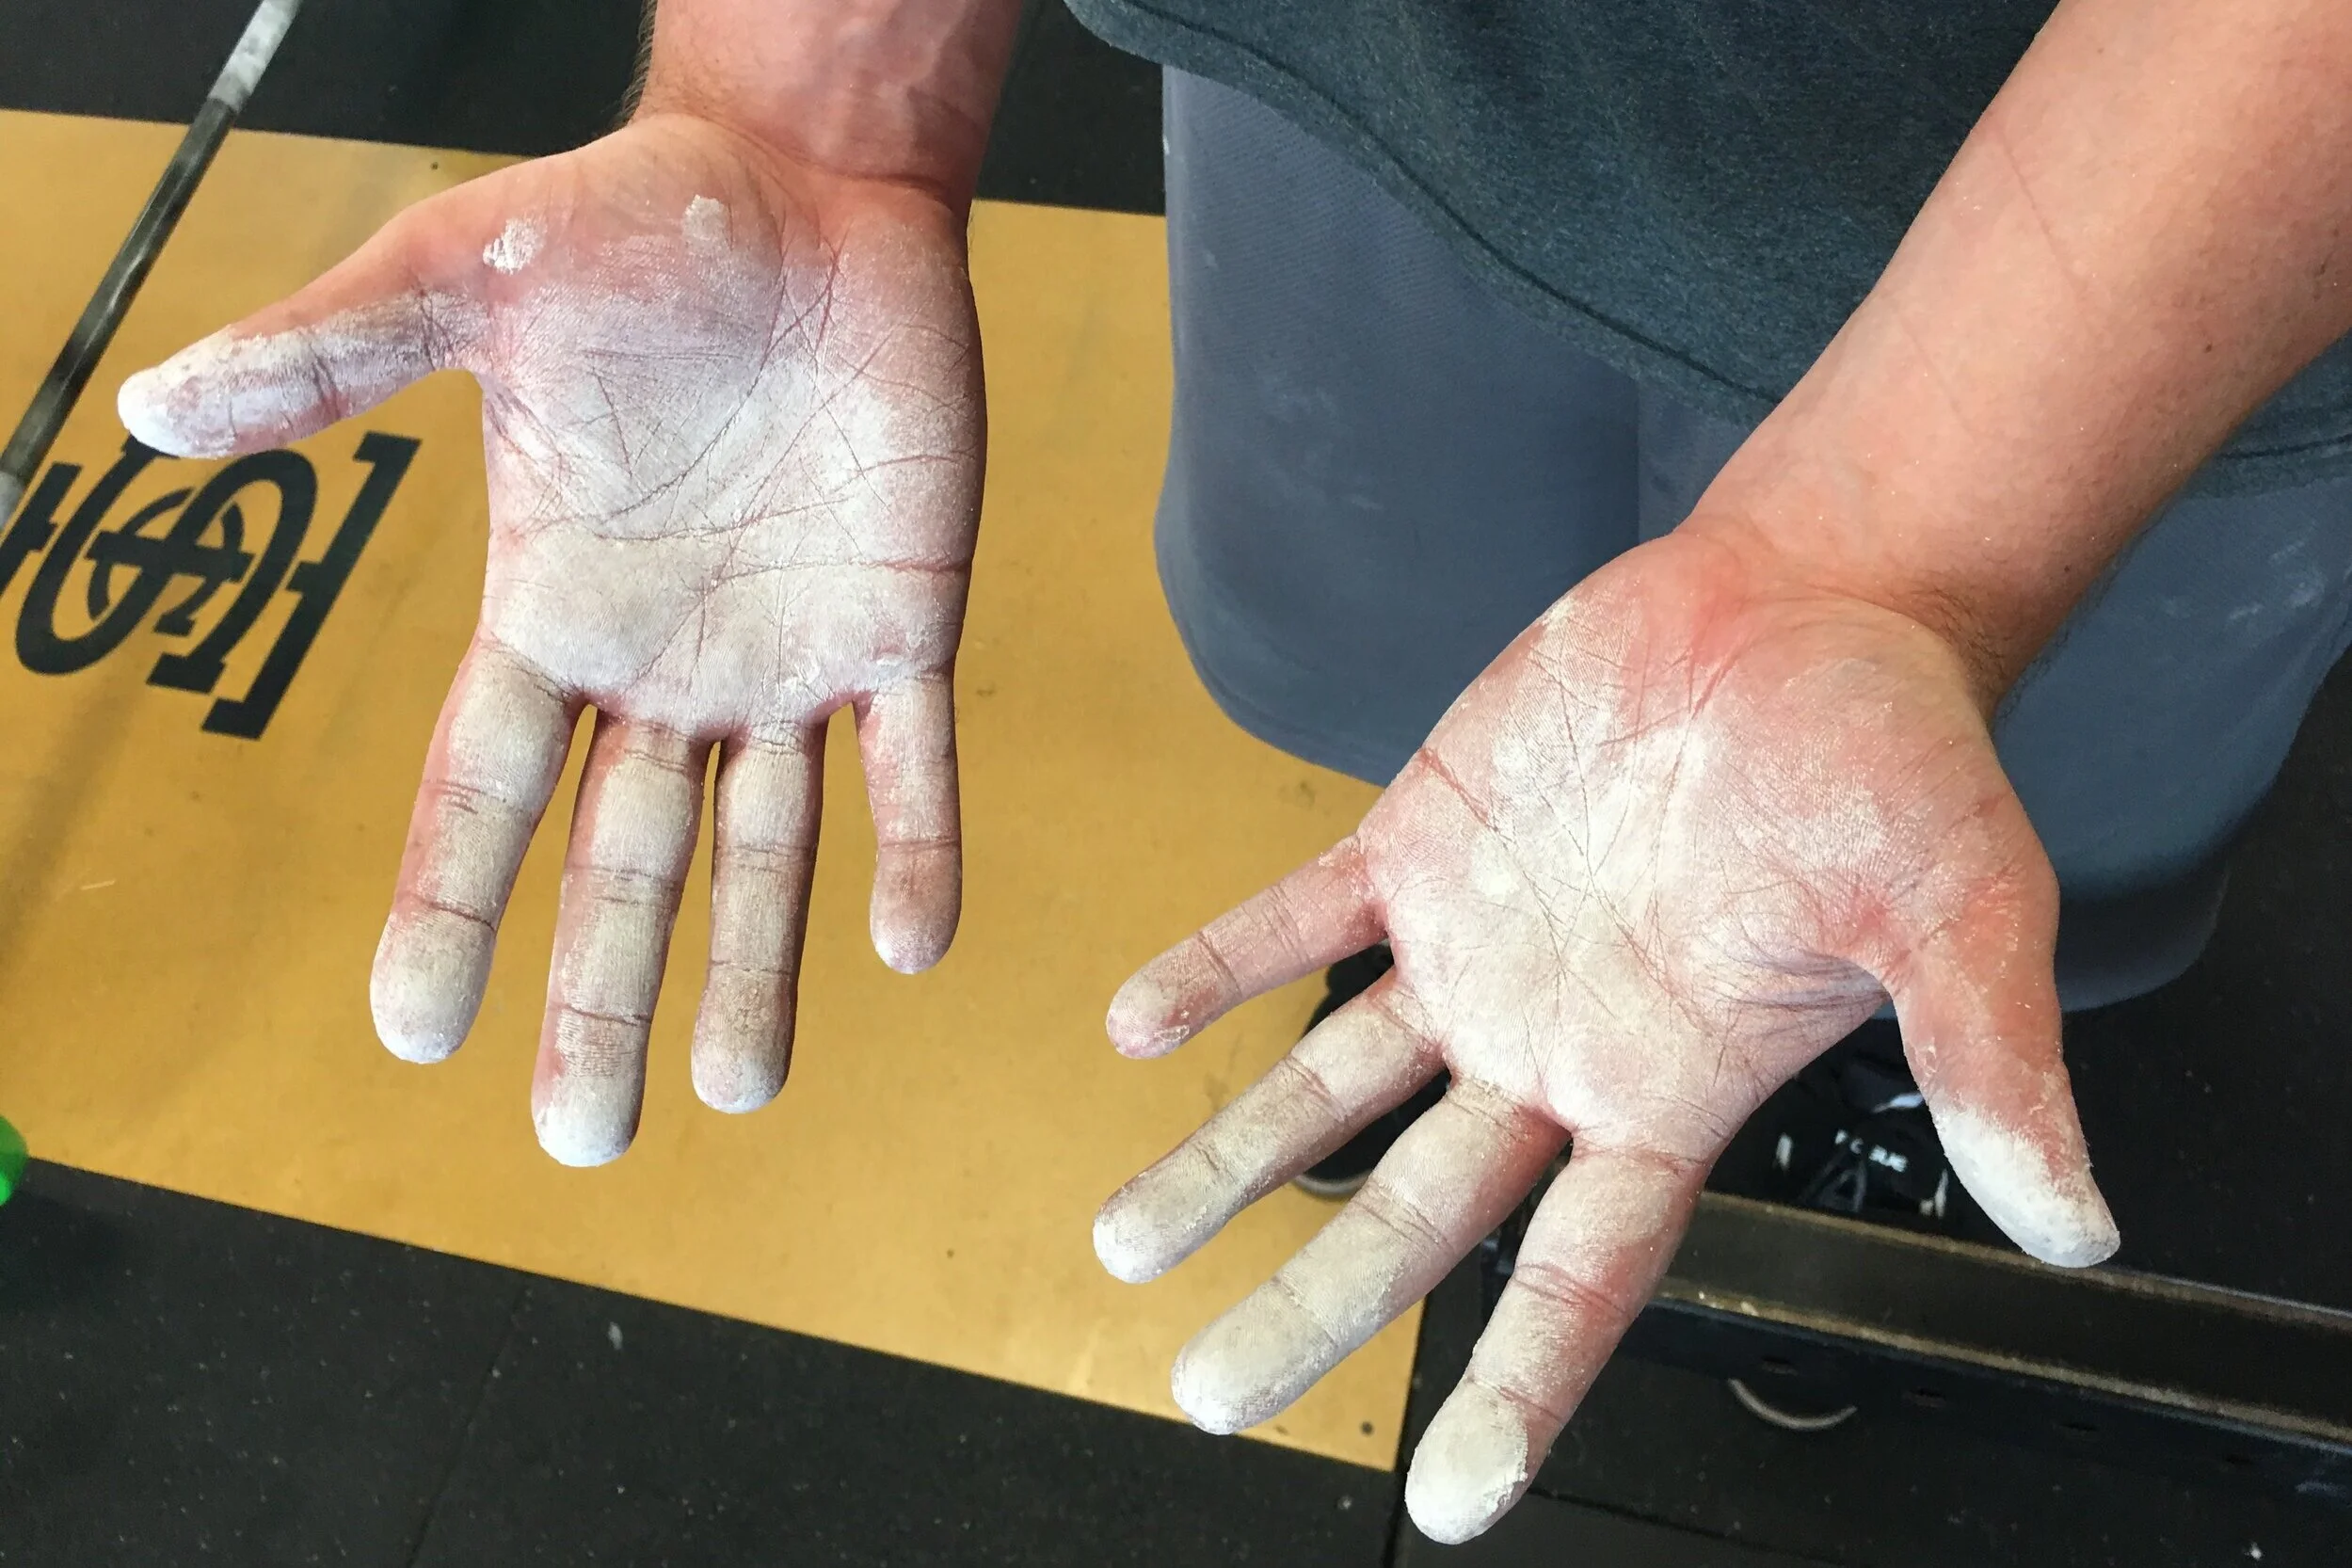
With all of this in mind, here’s an easy plan for using chalk. Before warming up your squats (or whatever other lift you might be doing first that day), get some chalk on your hands. Rub the block onto both hands and then rub your hands together lightly to make sure that you have a nice distribution of chalk covering your hands. For most people, that initial “chalking” will probably last them until they get to their deadlifts. Once you start deadlifting, treat chalk like you do your belt. Chalk up for your last warm-up (earlier if needed), and then chalk up for your work set (or each work set if you have more than one).
Chalk early and chalk often. It’s the most important supplement out there. Just don’t ingest it, ok?
(Some links may be affiliate links. As an Amazon Associate, Testify earns from qualifying purchases.)
If you found this helpful, you’ll love our weekly email. It’s got useful videos, articles, and training tips just like the one in this article. Sign up below, and of course, if you don’t love it, you can unsubscribe at any time.
At Testify, we offer small group training, private coaching (in-person or remotely via Zoom), online coaching, and form checks. Would you like to get quality coaching from a Starting Strength Coach?
Week 2020.10.05
/New on the Testify YouTube channel!
This Week’s Conditioning
Option 1
Sled Pyramid – 4, 5, or 6 tiers
Go up and down a 4, 5, or 6 tier “sled pyramid” – rest as needed. The distance for each round is 80 m indoors (a down-back on the 40m course) or 200 ft outdoors (2 down-backs on the 50 ft course). Rest as needed.
For example, Bob does the following (4 tiers):
Round 1: Empty sled
Round 2: 25#
Round 3: 50#
Round 4: 75#
Round 5: 50#
Round 6: 25#
Round 7: Empty sled
Compare to 2020.08.24.
Option 2
Bike/row:
4 x 800m
Rest 3 minutes between each round. Score = slowest time.
Compare to 2020.08.10.
Option 3
Outdoors:
5-10 rounds:
10 sledgehammer strikes (5R, 5L)
50 yd farmer carry (25 yd down-back)
Rest 1 minute
Indoors:
5-10 rounds:
10 sledgehammer strikes (5R, 5L)
100 ft farmer carry (50 ft down-back)
Rest 1 minute
Compare to 2020.07.13.
Option 4
5 rounds:
4 tire flips
8 sledgehammer strikes
6 pull-ups
10 push-ups
Pull-ups and push-ups can be modified – talk to the coaches for options.
Compare to 2020.07.06.
The Deadlift: A Trick for Setting Your Stance
/In the deadlift, we approach the bar and set our stance with our shins one inch from the bar. We do this because this process places the bar right over the middle of the foot for the vast majority of people (and no, you’re not in the minority here - sorry, you’re just not). Simple as this approach may be, people still get it wrong, and this often has to do with shin position when we look down at the bar.
We want our shins to be vertical when we look down at the bar and take our stance. If you find that you have to lean over to actually see the bar’s position relative to your shins, as is often the case due to loose sweatshirts, stomachs getting in the way, carelessness, etc., you will naturally shift your hips backward to maintain balance. If this happens, the shins will shift backward as well, and they will no longer be vertical. This is a problem since a vertical shin is the reference point against which you measure bar position.

Correct shin position, i.e., vertical shins

Here, the lifter’s stomach prevents him from seeing the bar’s position relative to his shins.

Incorrect shin position (shifted backward) caused by leaning over
If you use this incorrect (i.e., “shifted backward”) shin position as a reference point, you’ll unwittingly set up too close to the bar. This can be seen in the pictures below. With the shins in an incorrect position, the lifter sets up one inch from the bar, but you’ll notice that when he stands up straight again (i.e., with vertical shins), his shins are too close to the bar, which tells us that he is too close to the bar. The fool.

Due to an incorrect shin position, the lifter is standing too close to the bar, which we can see . . .

. . . when he stands up straight again. Now, he is so close that his shins are almost touching the bar. This is no good.
The solution is simple - stand straight up, and look at your right or left foot by turning your head to the side and looking down (i.e., you are bending over to the side, not bending forward). See the photo below for an example. Your hips won’t need to shift backward to do this, which means your shins won’t shift backward, which means you’ll still have a nice, vertically oriented shin position to use as a reference. From there, you make sure that your shins are one inch from the bar, which means you’re well on your way to an excellent and satisfying set of heavy deadlifts. And life is grand.

Simply look to the side and then down.
Week 2020.09.28
/New on the Testify YouTube channel!
This Week’s Conditioning
Option 1
”Prowler Base+1”
1. Load up a manageable weight.
2. Sprint 40m at 85% intensity.
3. Rest 30 sec.
4. Repeat 5-15 times.
Courtesy of “Death by Prowler” (on Starting Strength).
Compare to 2020.08.17.
Option 2
Bike/row:
4 x 3 minutes
Rest 3 minutes between each round. Score = lowest distance.
Compare to 2020.08.03.
Option 3
5-10 rounds of:
30 sec ME tire flips
30 sec rest
Compare to 2020.07.06.
Option 4
Row/Tire 10 min ladder:
2 cal row
2 tire flips
4 cal row
4 tire flips
6 cal row
6 tire flips
…
Climb the ladder as high as possible in 10 minutes.
Compare to 2020.06.29.