


Week 2020.09.21
/New on the Testify YouTube channel!
This Week’s Conditioning
Option 1
“Prowler Base”
1. Load up a manageable weight.
2. Sprint 40m at 85% intensity.
3. Rest until breathing and heart rate slow down. (45 sec – 2 min)
4. Repeat 5-15 times.
Courtesy of “Death by Prowler” (on Starting Strength).
Compare to 2020.08.10.
Option 2
Bike/row:
5 min on
4 min off
4 min on
3 min off
3 min on
2 min off
2 min on
1 min off
1 min on
Record distance for each interval and add for total distance.
Compare to 2020.07.27.
Option 3
Outdoors:
5-10 rounds:
50 yd sled push (25 yd down-back)
50 yd farmer carry (25 yd down-back)
Rest 1 min
Indoors:
5-10 rounds:
100 ft sled push (50 ft down-back)
100 ft farmer carry (50 ft down-back)
Rest 1 min
Compare to 2020.06.29.
Option 4
5-8 rounds:
50 ft sled push
50 ft sled pull (hand over hand)
Row 1 minute
Rest 1 minute
This can also be done in a group of three where the sledder determines how long the other two people row and rest.
Compare to 2020.06.22.
Stop Winding Up the Press
/
When we move the hips forward at the start of the press, we do so for a couple of reasons. First, it gets the head out of the way to clear a path for the bar to travel vertically, and second, it initiates a stretch reflex out of the bottom of the press to help propel the bar upward.
A common problem, however, with this “reach-and-bounce” or “reach-and-press” movement at the start of the press is that of winding up the press. When you use the hips at the start of the press, the hips should begin by moving forward and then back to their starting position. You absolutely should NOT initiate the press by moving the hips backward first, then forward - this is winding up the press. It creates unnecessary horizontal movement of the bar - a forward-and-backward motion of the bar that is a waste of time and energy, and what is more, this horizontal movement has to be managed, which becomes very difficult indeed at heavy weights. We are trying to move the bar vertically upward, so any unnecessary horizontal motion makes our job that much harder.
To fix this problem, let’s first focus on the start position. Simply put, you stand as tall as possible before initiating the movement. You may find that you tend to lower the previous, finished rep to a position wherein your hips are already reaching forward of neutral; in other words, you look like you’re about to perform the limbo at a birthday party (but with straight knees, which is a terrible way to perform the limbo anyway) instead of returning to a normal, upright, standing position. This will either reduce the effectiveness of a correct hips movement as your hips are already in a “pre-reached” position, or you will start the next rep by yanking your hips backward first - the winding up motion that we are trying so diligently to avoid. If you find that you tend to start your press in this pre-reached position, then at the completion of each rep, after lowering the bar, simply cue yourself to “stand up” or even “stand up tall.”

Some lifters start the press in the correct position but still move the hips backward first. This is sometimes due to a subconscious effort to get a bigger bounce out of the hips. As this bigger bounce doesn’t actually occur, and since that hateful horizontal movement of the bar does occur, we’re going to stop doing this. To do so, try this: as you’re getting set to press, take a breath, get tight (performing your usual Valsalva maneuver), and then cue yourself, “Forward. Only forward.” In other words, you are commanding your hips to move in the forward direction only. Backward movement is never considered.
If you wind up your press, give one of these cues a try. Use the cue on every single warm-up rep - making a change when the weight is already heavy is very difficult to do, and focusing on the cue during your warm-ups allows you to think about and execute the cue at a weight at which you actually can spare some mental bandwidth. Give it a shot.
Week 2020.09.14
/New on the Testify YouTube channel!
This Week’s Conditioning
Option 1
“Prowler Sprint Test”
1. Load up a heavier weight.
2. Time a 15 yards sprint at 100% intensity.
3. Rest 30 seconds.
4. Repeat sprint until times slows down 10%.
5. Goal is to increase # of sprints under the time standard.
Courtesy of “Prowler Sprint Test” (on JTS) as well as “Death by Prowler” (on Starting Strength).
Compare to 2020.08.03.
Option 2
5 rounds:
10 cal bike
1 min rest
4 sandbag-over-bars
1 min rest
Set the yoke crossmember at 35/33, and the weight is 150#/75#.
Compare to 2020.07.20.
Option 3
8 rounds:
Outdoors:
4 tire flips
50 yd sled push (25 yd down-back)
Rest 1 minute
Indoors:
4 tire flips
100 ft sled push (50 ft down-back)
Rest 1 minute
Compare to 2020.06.22.
Option 4
1. 5 yoke carries @ 30 yd (15 yd downback) – work up to heaviest carry
2. 5 rounds of 5 reps on the axle “clean and press away” – work up to heavy set of 5
Compare to 2020.06.15.
The Stretch Reflex and Thinking "Up" in the Squat
/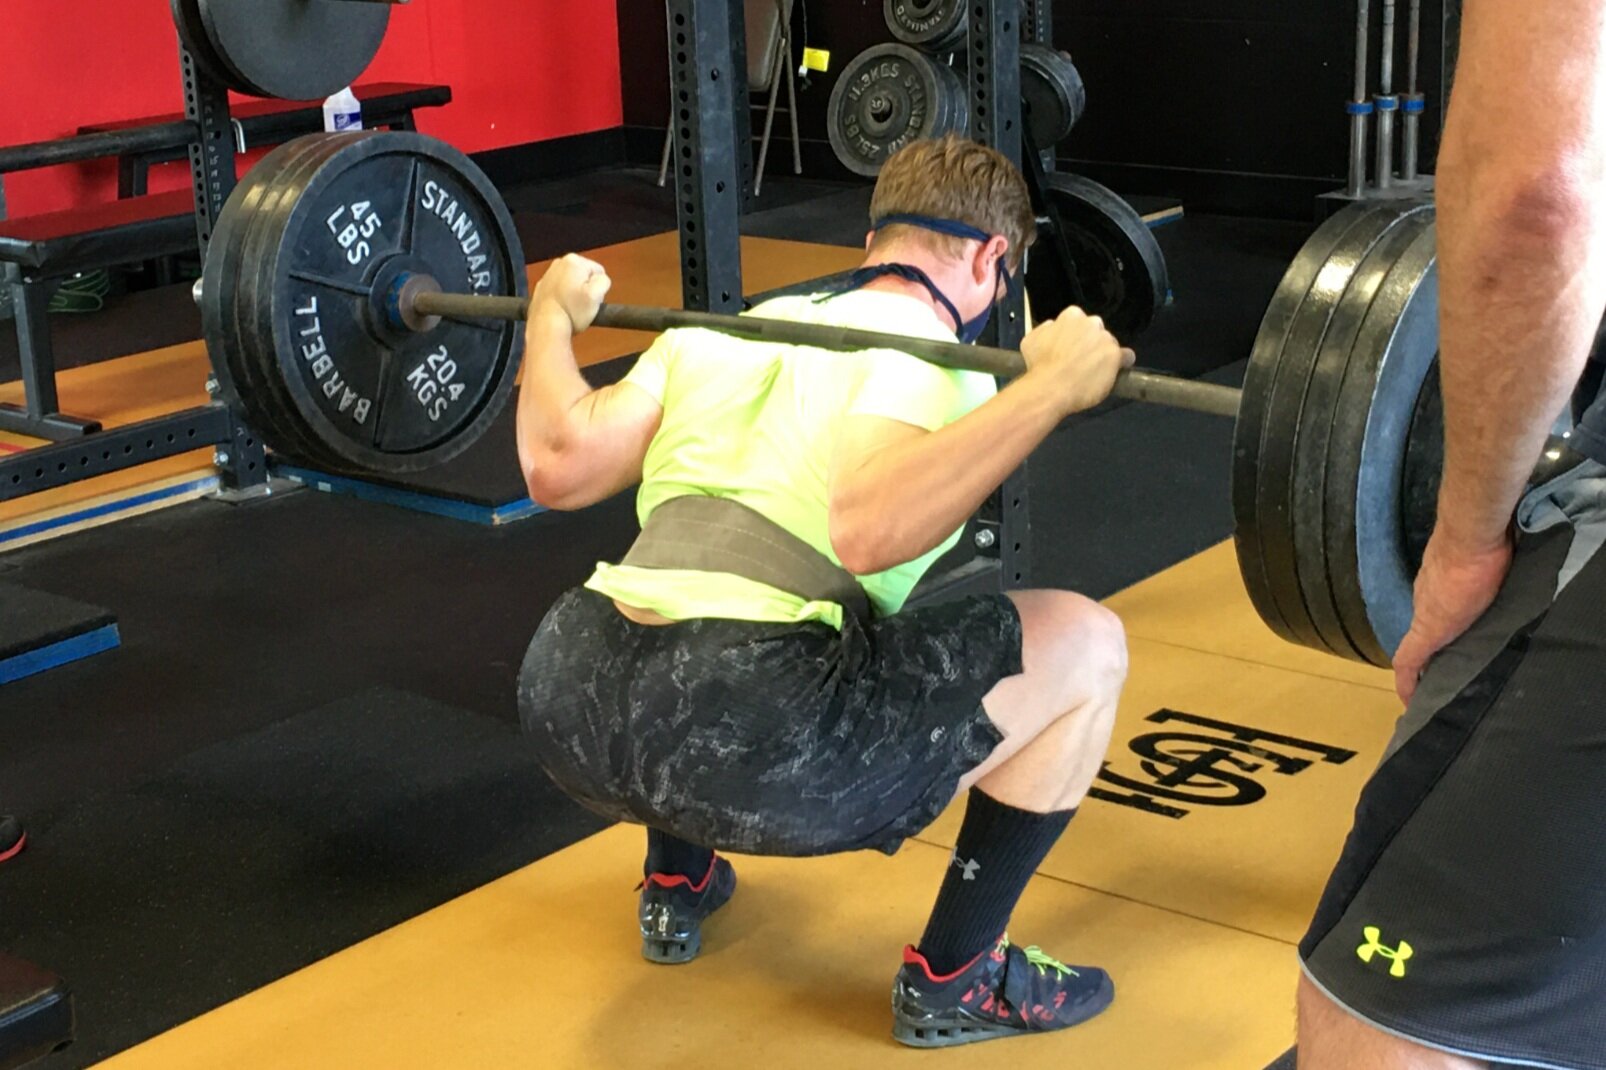
When we squat, we like to do so as effectively and efficiently as possible, and to do that, we utilize something called the stretch reflex, or the bounce, to come up out of the bottom of the hole. A stretch reflex is your body’s response to the stretching (i.e., lengthening) of your muscles - in this case, during the descent of the squat - and if you take advantage of it, it makes for a stronger squat.
For a new lifter, two common problems with the stretch reflex are that the lifter will either pause at the bottom of the squat or the lifter will descend too quickly. Pausing mutes the effect of the stretch reflex and makes the squat harder than it should be. On the other hand, descending too quickly means the lifter is going to have to deal with a lot of unnecessary downward momentum to turn the squat around, and this results in a loose, sloppy, and quite difficult turnaround at the bottom of the movement, and once again, the benefit of the stretch reflex is lost.
If you find yourself either pausing at the bottom of your squat or descending too quickly, try this - think “UP” all the way down. As soon as you start your descent, you think “up,” and you keep thinking “up” until you reach the bottom of the squat, at which point you immediately execute this “up” motion that you’ve been thinking about and preparing for throughout the entire descent.
It’s a simple cue, and it tends to correct both the “pausers” as well as the “dive-bombers.” If you fit either label, give it a try.
Week 2020.09.07
/Reminder: The gym will be closed on Monday, 09/07/20, in observance of Labor Day.
New on the Testify YouTube channel!
This Week’s Conditioning
Option 1
Sled
Outdoors:
10-20 x 25 yds EMOM at a weight of your choice
Every minute, push the sled 25 yards, i.e., if pushing the sled takes 20 seconds, then you have 40 seconds to rest. Perform 10-20 rounds.
Indoors:
10-20 x 100 ft EMOM at a weight of your choice
Every minute, push the sled 100 feet, i.e., if pushing the sled takes 20 seconds, then you have 40 seconds to rest. Perform 10-20 rounds.
Compare to 2020.07.27.
Option 2
Bike/Row for 9 rounds:
1 min on
1 min off
Record distance for each round.
Compare to 2020.07.13.
Option 3
Outdoors:
10 rounds:
25 yd yoke carry
Rest 1 minute
Indoors:
10 rounds:
30 yd yoke carry (15 yd down-back)
Rest 1 minute
Compare to 2020.06.15.
Option 4
10 x 50 ft farmer carry
Each carry is 25 ft down and 25 ft back and is for time. Rest 1 minute between carries.
Women: 97# per handle (80# of plates)
Men: 137# per handle (120# of plates)
(Note: Each handle weighs 17#.)
Compare to 2020.06.08.