How to Handle a Misload (it's NOT what you think)

You’ve misloaded your barbell, so what do you do now? Hint: There’s more to it than just correcting the math.

The Situation
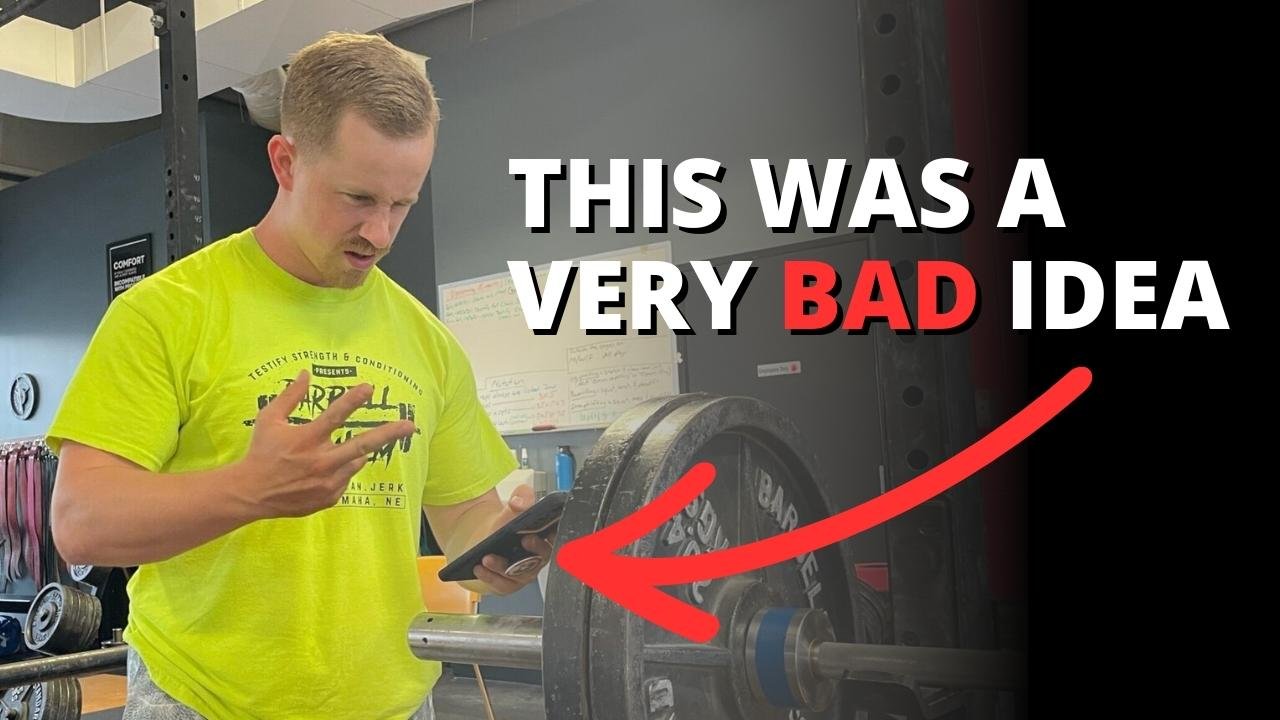
Specifically, how do you handle the type of misload wherein you unevenly load your barbell? For example, you mean to load 175 lb (i.e., total weight) on the bar, but instead of putting a 45 lb plate and two 10 lb plates on each side, you correctly put a 45 and two 10s on the left side and then accidentally put a 45 and only one 10 on the right side.

An uneven misload like this can happen for a number of reasons, and you might be surprised at how much you’ll notice a 5 lb or even a 2.5 lb difference between the two sides of the barbell when it’s uneven (watch the included video for what this looks like in action). Using the above 175 lb squat for our example, let’s go through the scenario.

You’ve unevenly - but unknowingly - misloaded your barbell as described above, and you go to unrack it. During the unrack, you immediately notice the difference as you start to stand the bar up from the j-hooks. The right side lifts off faster and higher than the left, you quickly realize that something is amiss, and you wisely re-rack the bar.

What to do?

Step #1: Fix the misload.
This part is fairly obvious - you check both sides of the bar, realize your mistake, and add the missing 10 lb plate to the right side of the bar. You double check the situation and get ready to unrack the bar again.

Step #2: Recalibrate yourself.
(Note: This process is demonstrated in the video below)
This part is not obvious. When you unracked the unevenly loaded bar a moment ago, your brain started adapting to the situation immediately (yes, without your permission); in other words, your brain starts to treat the uneven bar as normal. This means that after you’ve added the correct amount of weight to the right side of the bar, the right side will now feel oddly heavier than the left side.

To address this situation and recalibrate yourself, you simply unrack the correctly loaded barbell (which will feel slightly uneven), stand it up, and then set it right back in the hooks. Don’t even walk it out from the rack. Just stand it up for a few seconds and then set it back down again. By doing this, you’ve forced your brain to adapt to the feeling of the correctly loaded weight.

Step #3: Perform the work set
Now that you’ve gotten a sense of what the weight should feel like, you immediately unrack the bar again, take a step back, and perform your work set.

This 3-step solution is simple, fast, very effective, and it works for the squat, press, and bench press (obviously, there’s no “walking the bar out of the rack” with the bench press, but you get the idea). However, the deadlift requires a slightly different approach.

The Deadlift
The deadlift’s equivalent of “unracking the bar” to recalibrate would be picking the bar up off the floor a few inches, which is actually part of the first rep anyway. As a result - and unlike the situation with the squat, press, or bench press - the deadlift doesn’t provide a great opportunity to recalibrate before starting the set.

Instead, simply remind yourself that - after you’ve corrected the misload - one side of the bar is going to feel a bit heavier than the other side. However, this will only be the case for the first rep, because your brain will use that first rep to recalibrate itself to the correct loading, so all subsequent reps will feel normal.

In other words, the first rep IS the recalibration, so prepare for it. Remind yourself to pull a bit harder on the “formerly-lighter-side” and you’ll be good to go.

If you’d rather, you could choose to pull the bar off the floor a few inches and then set it back down again to mimic the recalibration process used for the squat, press, and bench press, but my recommendation is to not waste the effort - once you get the bar moving, keep it moving and just finish the rep.

As always, we hope this helps you get stronger and live better.

(Some links may be affiliate links. As an Amazon Associate, Testify earns from qualifying purchases.)

If you found this helpful, you’ll love our weekly email. It’s got useful videos, articles, and training tips just like the one in this article. Sign up below, and of course, if you don’t love it, you can unsubscribe at any time.


At Testify, we offer small group training, private coaching (in-person or remotely via Zoom), online coaching, and form checks. Would you like to get quality coaching from a Starting Strength Coach?

Fix All of Your Lifts with this ONE Solution!

Want to fix ALL of your lifts with one easy technique? Watch this short video and find out how.

(This is a Blast from the Past video originally published on 03/21/22.)


At Testify, we offer small group training, private coaching (in-person or remotely via Zoom), online coaching, and form checks. Click the button below to get quality coaching from a Starting Strength Coach and start getting stronger TODAY.

Pull-up vs Chin-up | The Difference & Which One You Should Do!

What is the difference between a pull-up and a chin-up? Which one should you do? Phil breaks it down in just a few minutes.

(This is a Blast from the Past video originally published on 03/07/22.)


At Testify, we offer small group training, private coaching (in-person or remotely via Zoom), online coaching, and form checks. Click the button below to get quality coaching from a Starting Strength Coach and start getting stronger TODAY.

Why do I Keep FAILING?!

Are you missing reps on your linear progression? Let’s address one potential problem, and it’s one that’s easy to fix.

Specifically, let’s talk about rest periods (i.e., how long you’re resting between sets). I know - not very exciting. However, rest periods are important because they can either support your training, or - if chosen poorly - they can derail your training.

When someone starts training with us here at Testify, we have a conversation on day one wherein we discuss rest periods, and during this conversation, we address two things:

1. Resting Between Warm-up Sets
The short version? You don’t need to do it. That’s right. Don’t rest between warm-up sets. The act of changing your weights will provide enough rest while you're warming up. These are warm-up weights and don’t require much of a break between sets. You are welcome to rest several minutes, but most people don’t have all day to train, and this is the place to save time in the workout.

One caveat - you’ll probably want to rest a few minutes after your last warm-up set, i.e., before your first work set, which brings us to . . .

2. Resting Between Work Sets
You definitely want to rest between work sets. When you’re getting started with the Starting Strength linear progression, somewhere between three and five minutes will probably suffice. Treat that range as a minimum.

Want to squat 225 lb like Sarah? be sure to rest long enough between your work sets.

Remember that the purpose of strength training is - not surprisingly - to get stronger. To get stronger, you need to do the prescribed training for the day - you need to lift what you said you were going to lift - and to lift that weight, you need to rest enough to complete all the reps of your work sets.

The Main Point
That last part is the main point - rest long enough to ensure that you complete the next set successfully. When you read “three to five minutes,” remind yourself that this is appropriate for when you’re starting out, and also remind yourself that this is a minimum. When things get heavier and more challenging, there will come a time when you need to rest longer - you’ll rest six minutes, seven minutes, etc.

Establish the Habit
One of the most enjoyable parts of lifting weights is . . . not lifting weights, so force yourself to get used to resting - even at the beginning of your strength training journey.

If it’s your second workout, take the three, four, or five minute break even if you know you could get back under the bar and complete the next set with a shorter rest break. Start establishing the habit of getting adequate rest right away in your training. If you tend to rush things, a timer can be a handy tool to ensure that you’re waiting long enough before starting your next set.

Practical Limitations
There are, of course, some practical limitations to how long you’ll actually rest, and you’ll notice that I’m not suggesting that you rest 15 minutes between sets. Even if a 10-15 minute rest period might be useful, it simply may not be practical in terms of your schedule for the day.

Wrapping Up
In general, though, rest long enough to ensure that you can complete the next set. Completing your work sets will allow you to get stronger, and in this way, you will still be making progress on your linear progression four months, five months, or even six months into it instead of missing reps in the first or second month.

It may help to remember that this isn’t conditioning; of course, there will still be a conditioning benefit, but that’s not why you’re strength training. You’re doing it to get stronger, so take the appropriate rest, and as always, we hope this helps you get stronger and live better.

(Some links may be affiliate links. As an Amazon Associate, Testify earns from qualifying purchases.)

If you found this helpful, you’ll love our weekly email. It’s got useful videos, articles, and training tips just like the one in this article. Sign up below, and of course, if you don’t love it, you can unsubscribe at any time.


At Testify, we offer small group training, private coaching (in-person or remotely via Zoom), online coaching, and form checks. Would you like to get quality coaching from a Starting Strength Coach?

Do These FOUR Things When Starting Strength Gets Hard

What should you do when Starting Strength gets hard? Here are 4 steps to follow (plus 3 bonus tips).


At Testify, we offer small group training, private coaching (in-person or remotely via Zoom), online coaching, and form checks. Click the button below to get quality coaching from a Starting Strength Coach and start getting stronger TODAY.

Bar Math: Stop Doing This!

(This is a Blast from the Past article originally posted on 10/01/21.)

Bar math can be tricky, and if you’re a new lifter (or even an experienced one!), you might find that simply loading the correct weight on the bar is one of the more difficult aspects of your training experience. Let’s solve this (if you like, you can just scroll to the end of this article and watch the video instead!).

First - what not to do. Do NOT use the “subtract-and-divide” (SAD) method to figure out your bar math. Here’s an example - we want 110 lb on the bar (i.e., 110 lb total - including the bar’s weight), so we subtract the 45 lb bar from 110 lb, and we get 65 lb left over. We then divide 65 by 2 since we have to split that 65 lb between each side of the barbell to get 32.5 lb, and now we need to figure out how to load 32.5 lb on each side.

Again - do NOT do this. Mathematically, yes, it makes sense, but in the long run, it’s neither the easiest nor the quickest way to go about this process. We’ve seen people break out calculators to do this, and we’ve even seen people working some long division to accomplish this process, but no matter what tools you have at your disposal, SAD isn’t very practical, and it’s rather error prone as well.

The best method is to simply load the largest possible plate (without going over your target weight) that you can every single time. Your brain works decently with subtraction and division, but it works quite a bit better with addition and multiplication, and this “largest possible plate” (LPP) method takes advantage of this fact. An additional advantage to this method is that you’ll start to memorize some “milestone weights” or “landmark weights” along the way (this will happen whether you mean to do so or not!), and this is extremely useful.

Let’s run through the 110 lb example again - this time using LPP. (Warning - this looks bad on paper, but it’s far easier in practice.)

  • Can I add a 45 lb plate (on each side)? 45 x 2 = 90, and adding 90 lb to the bar is too much, so no, I can’t. Move on.

  • Can I add a 25? 25 x 2 = 50, and 50 + 45 (bar’s weight) = 95, so yes, I can.

    • By the way, 95 lb is one of those landmark weights you’ll eventually have memorized, which is very useful as you’ll build upon that for other weights.

  • Now we’re at 95 lb. Can I add a 10? 10 x 2 = 20, and 20 + 95 = 115, and that’s too much, so no, I can’t add a 10. Move on.

  • We’re still at 95 lb. Can I add a 5? 5 x 2 = 10, and 10 + 95 = 105, so yes, I can.

  • Now we’re at 105 lb, and I’m close enough to 110 that I realize that I need 5 more lb total, so I simply add a 2.5 lb plate to each side, and I’m done. (Technically, there’s a little “subtract-and-divide” going on here at the end, but I get to do it with very small numbers, which is nice.)

To recap:

  • Adding 25s (i.e., one to each side) takes us to 95 lb (in total weight).

  • Adding 5s takes us to 105 lb.

  • Adding 2.5s takes us to 110 lb.

This is actually far simpler in practice than it looks on paper, but you’ll have to try it out to believe me. Again, all you need to do is put the largest possible plate on every single time without actually going above the weight that you’re trying to reach.

By doing this repeatedly as you train each day, you’ll eventually know that 25-lb plates take you to 95 lb, 45-lb plates take you to 135 lb, etc., and this type of accidental memorization speeds up the process even more. In the long run, if you force yourself to keep doing your bar math in this manner, you’ll be a faster and more accurate “bar mathematician” than if you stuck with the ol’ SAD method.

Feel free to check out our video on this topic, and as always, we hope this helps you get stronger and live better!

(Some links may be affiliate links. As an Amazon Associate, Testify earns from qualifying purchases.)

If you found this helpful, you’ll love our weekly email. It’s got useful videos, articles, and training tips just like the one in this article. Sign up below, and of course, if you don’t love it, you can unsubscribe at any time.


At Testify, we offer small group training, private coaching (in-person or remotely via Zoom), online coaching, and form checks. Would you like to get quality coaching from a Starting Strength Coach?