Want a BIGGER Bench Press? | Use These FOUR Tactics
/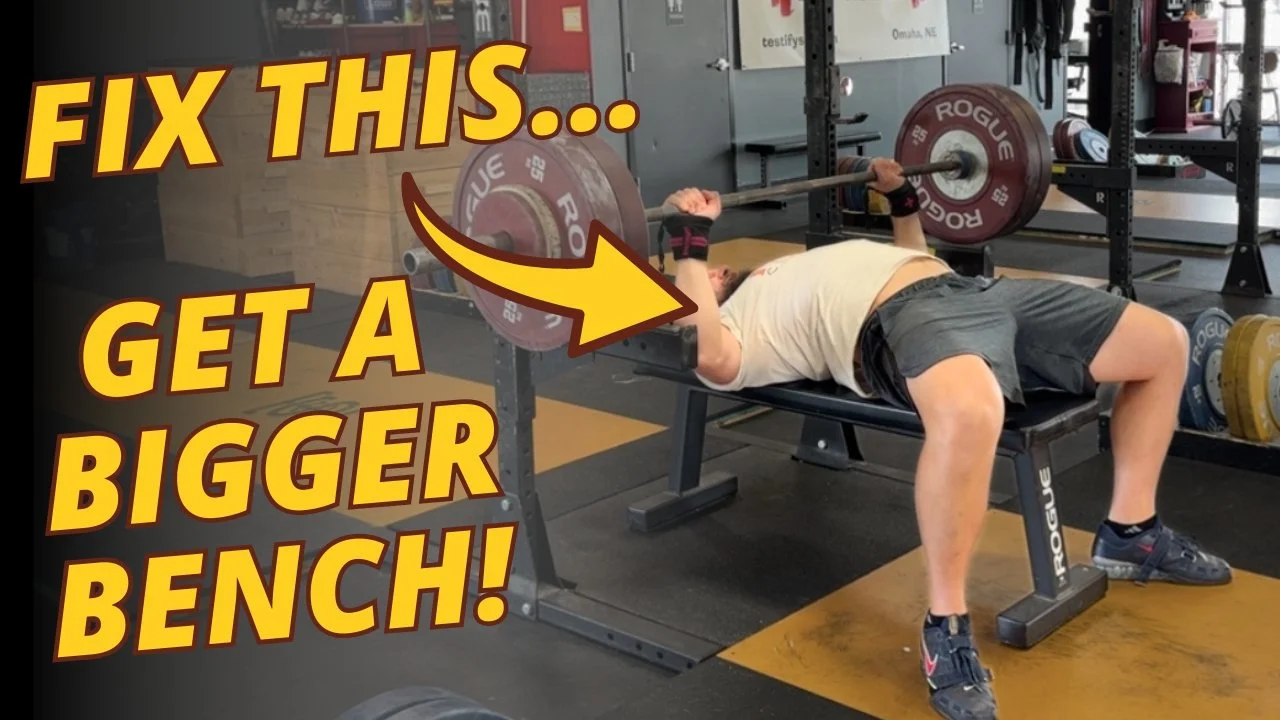
Today, let’s quickly cover four tactics to help you get a better – and therefore bigger – bench press.
Remember, if you don't have a coach, then by default, you are your own coach, so be sure to check for these items when you watch your own bench on video.
These are not the only things to look for, of course, but they certainly are large “bang-for-your-buck” items. Solve these issues, and you’re well on your way to a much-improved bench press.
#1 Focal Point
Have one, and no – it’s not the barbell. You want a stationary focal point, and the moving barbell obviously fails this criterion.
When the bar is locked out overhead, i.e., before you start your first rep, find a point on the ceiling to stare at – you're going to stare at this point before each rep, during each rep, and between reps. You'll note that you can see the bar in your periphery when it’s locked out overhead, and to help achieve the desired bar path, you're going to make sure that that bar finishes in the same place in your periphery every single time
#2 Shoulders
Performed correctly, the bench press requires effort to get and keep your shoulders in the correct position when bench pressing. You want your shoulders retracted and pulled down – think “back and down.” This puts your shoulders in a stronger, more stable, and safer position from which to bench so lift your chest (more on that in a moment) and pull your shoulders back and down.
A solid cue for shoulder retraction is “grip the bench with your shoulders.”
#3 Touch Point (and bonus tip)
The bar starts (i.e., at lockout) directly above your shoulders, but you do not bench straight down. The bench is the one lift wherein we're not trying to have a vertical bar path. Instead, you touch the bar to your chest a little lower than the level of your shoulders. The precise point will depend on anthropometry, but let’s say roughly 2 inches as a general ballpark figure. To help with this, check to make sure your elbows are oriented vertically when viewed from the 6 o’clock position (as if someone was standing at the foot of the bench).
Be consistent with your touch point, and be sure that you drive the bar up and slightly backward on the ascent (since the bar needs to finish directly above the shoulders).
Here’s the bonus - to assist with the “up and back” bar path, make sure that the tips of your elbows are just a bit forward of the bar (i.e., slightly in front of the bar when viewed from the side).
#4 Leg Drive
When we lay down on the bench, we’re just a mushy mess of humanity, but we want to be as rigid and stable as possible to achieve efficient force transfer.
To achieve this, drive hard with your legs. Get your feet flat on the floor, and drive your body in the direction of your head. You don’t actually slide in that direction because the bar is pinning you to the bench, but this allows you to correctly set your arch, gets your chest up as much as you can without your hips coming up off the bench, and it has a compressive effect as well.
Check out the video below for a demonstration of the error as well as the solution.
As always, we hope this helps you get stronger and live better.
-Phil
PS: Whenever you want even more Testify in your life, here are some free resources:
Book a free intro and strategy session with us HERE.
Pick up a free copy of Testify’s Squat Guide: 12 Tips to Improve Your Squat Now HERE.
Get our free weekly email - containing useful videos, articles, and training tips - HERE.
Follow Testify on Instagram HERE.
Subscribe to Testify’s YouTube channel HERE.
(Some links may be affiliate links. As an Amazon Associate, Testify earns from qualifying purchases.)