4 Easy Ways to Load Your Deadlift

If you’re new to lifting, it may seem like loading and unloading your deadlift sometimes take an unseemly amount of effort. Let’s improve this situation, shall we?

Option 1
If you’re using bumper plates, simply grab the plate about halfway down or just slightly lower than that, lean back a bit, and simply pull. You’re using your bodyweight to help pull the plate along - the plate will slide lightly along the floor, and you’ll be good to go.

One of the advantages to this method is that if there is some slop at the other end of the barbell, this tends to tighten up both sides simultaneously.

Option 2
Deadlifting with metal plates is preferable to deadlifting with bumper plates because, when you add other plates like 25s or 10s, you’re not adding a full size plate, so loading extra plates is relatively effortless until it’s time to add another 45 to each side.

When it’s time to add a 45 to each side, grab a 2.5 lb plate (5s or 10s also work, but 2.5s are best), and roll one side of the bar up onto the plate. This raises the bar enough that you can slide the next 45 on easily.

This method is also very useful when unloading your bar at the end. Simply roll the innermost 45 up onto a 2.5, which leaves the outer 45s off the ground. As a result, they are easy to slide off the bar.

Option 3
Whether you’re using metal plates or bumper plates, you can use a commercially available deadlift jack. On one hand, a deadlift jack is the best option in terms of ease of use, but it’s also the most expensive option as some models will cost you $150-$200 or more. It’s great . . . but it can be pricey. A more economical version of a deadlift jack would be . . .

Option 4
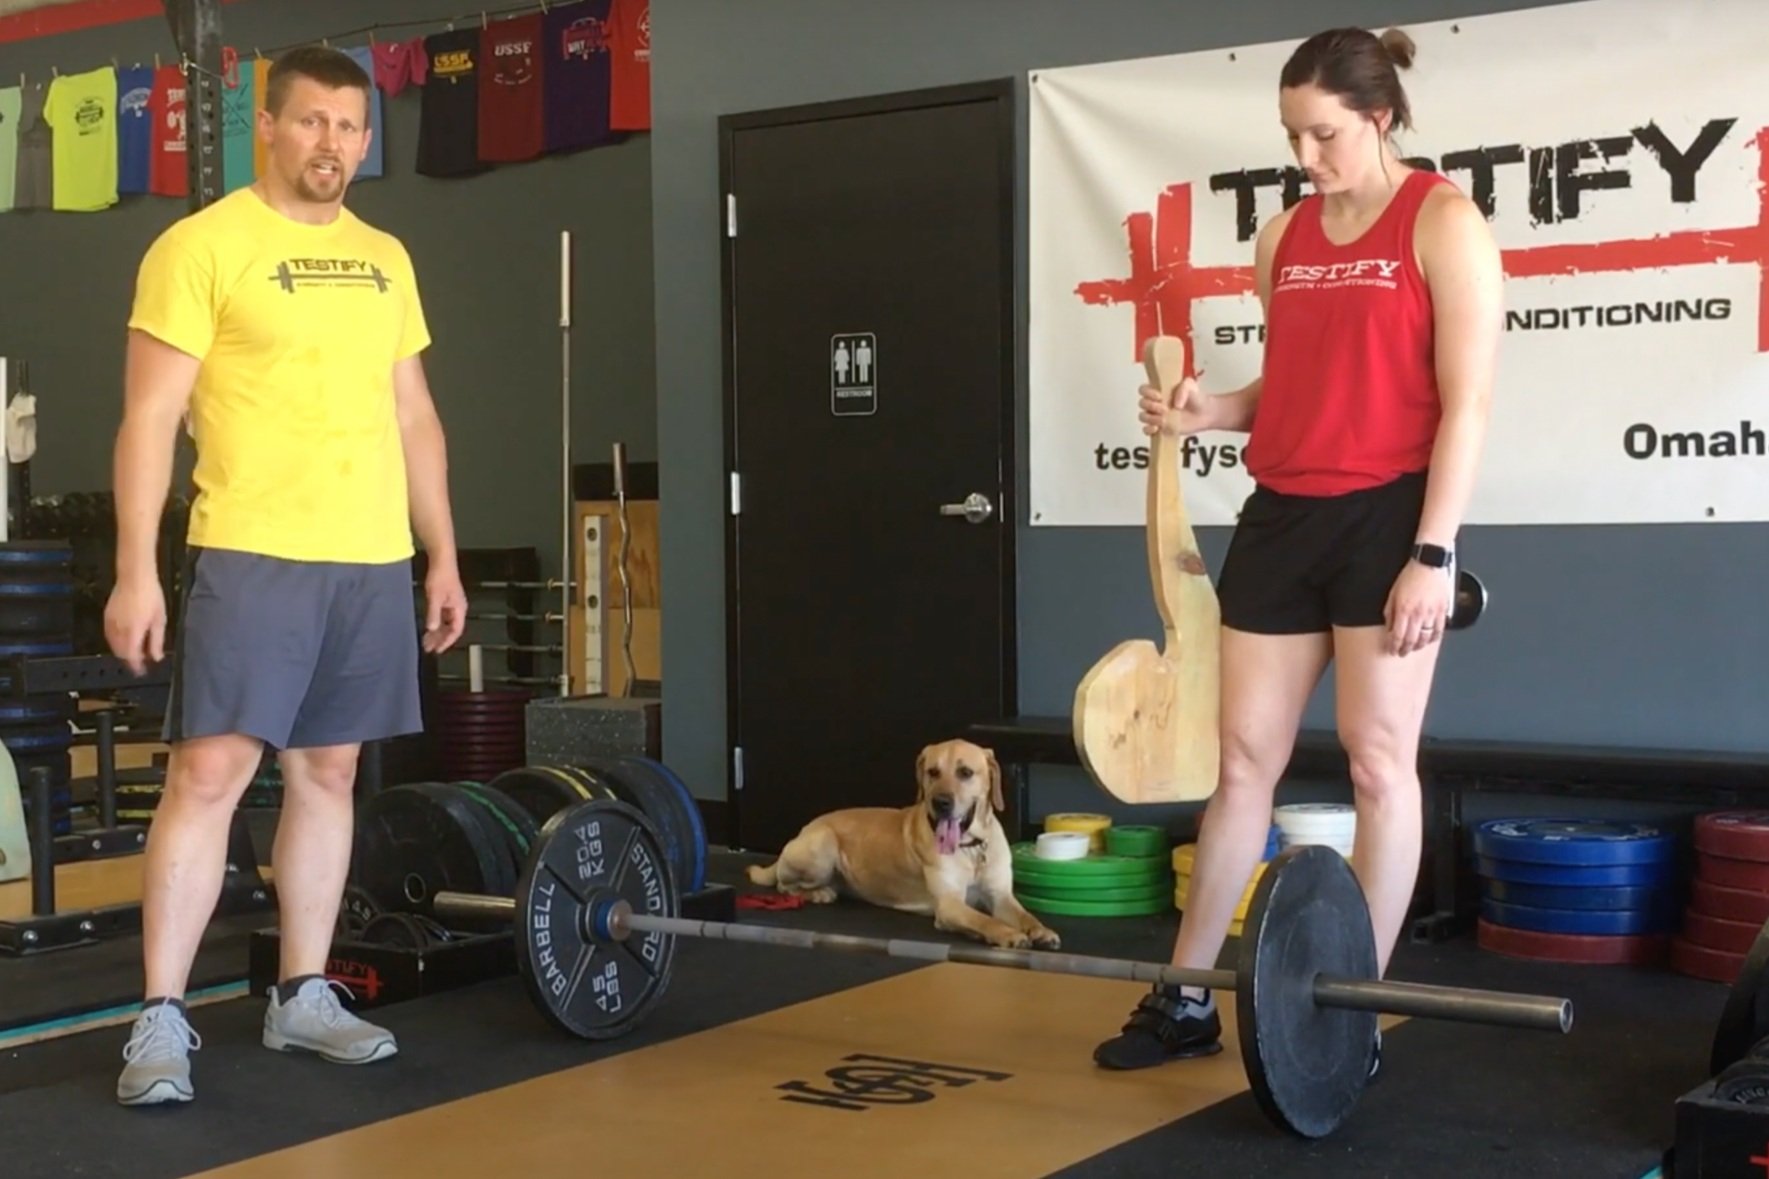
The fishhook! (if you’ve seen the movie “Moana,” you’ll understand the name) Anyone can make one of these - the process is simple, cheap, and we have a video covering the entire project (thanks to one of our coaches, Tyler Holm!), and you can scroll down to the end of this article to view that video.

With the fishhook, you can easily jack up one side of the bar, which makes it very easy to slide on either a bumper plate or a metal 45.

We hope these tips help you get stronger and live better!

(Some links may be affiliate links. As an Amazon Associate, Testify earns from qualifying purchases.)

If you found this helpful, you’ll love our weekly email. It’s got useful videos, articles, and training tips just like the one in this article. Sign up below, and of course, if you don’t love it, you can unsubscribe at any time.


At Testify, we offer small group training, private coaching (in-person or remotely via Zoom), online coaching, and form checks. Would you like to get quality coaching from a Starting Strength Coach?

click here to start today

The Deadlift Dry-heaves . . . Don't Get 'Em!

IMG_8509.PNG

Have you seen that guy at the gym who gets the deadlift dry-heaves? You know the guy - the one who sets his back two, three, or four times before pulling the bar off the floor? If this guy happens to be you, let’s fix this.

When you set up for your deadlift, keep it simple with the 5-step setup:

  1. Stance: Take a relatively narrow stance with your shins one inch from the bar.

  2. Grip: Bend at the waist (not the knees - keep them “straight-ish” for now) and take a narrow grip on the bar - just wide enough to ensure that your hands are on the knurl and that your thumbs don’t drag up your legs on the pull.

  3. Shins: Drop your shins to the bar by bending your knees slightly (do NOT rock forward).

  4. Chest: Squeeze your chest up ONCE to set your back in extension.

  5. Pull: Drag the bar up your legs as you stand up.

On step 4, don’t complicate things (and exhaust yourself!) by squeezing your chest up (i.e., setting your back) and then relaxing multiple times. You are not a ratchet strap, so setting your back multiple times doesn’t make it any tighter than setting it once, and it’s also a waste of energy, which, as you know, is also bad for the climate.

Again, keep it simple. When you get to step 4, squeeze your chest up hard, which sets off a wave of contraction down your back, and then drag the bar up your legs. Set the back once. Set it hard - but set it once.

For a video on this topic, see below. We hope this helps you get stronger and live better!

These Aren't the Rests You're Looking For

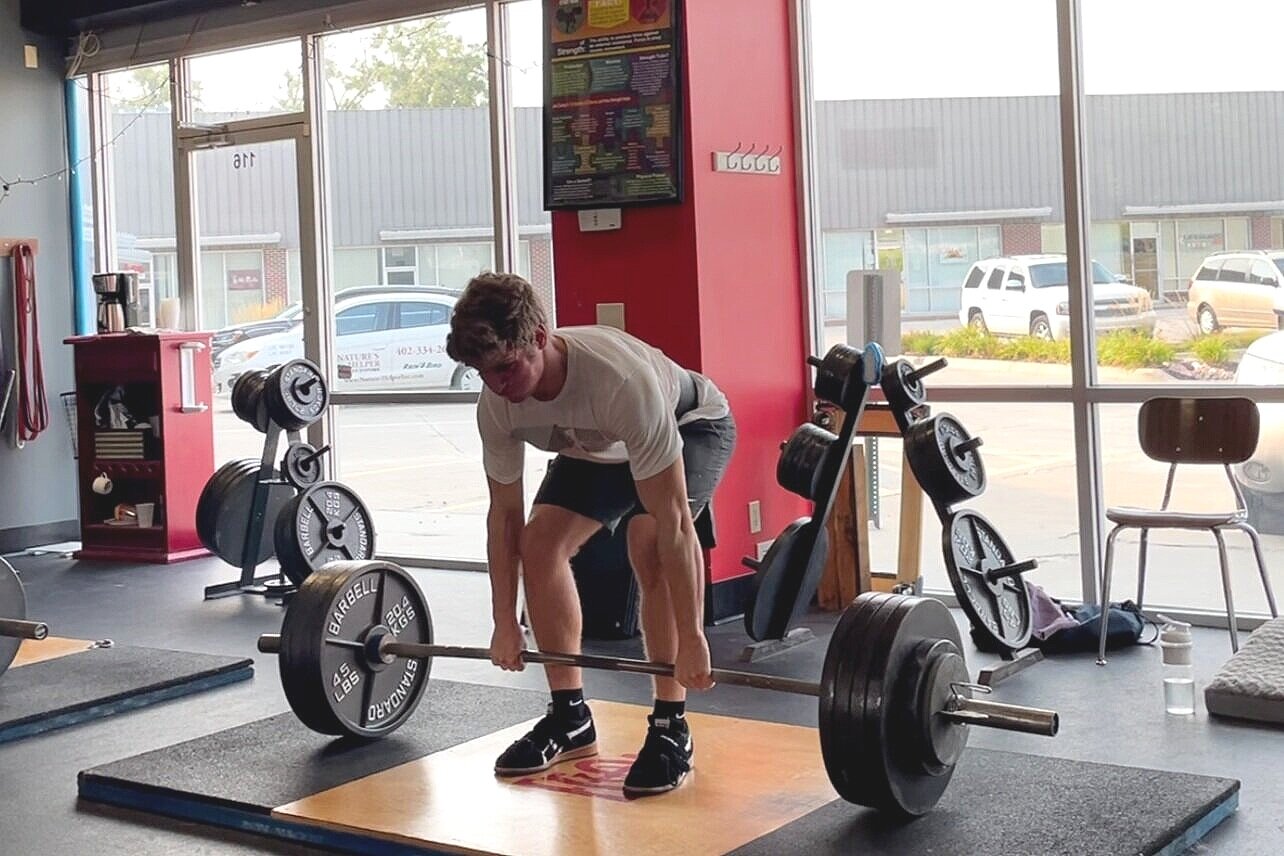
Take a look at Figure 1 . . . this isn't the rest position you think it is.

Figure 1: Not a great resting position

You know that moment - that moment when you’ve pulled three heavy reps on your deadlift, you’ve set the barbell down, you still have two more reps to go, and . . . you start fidgeting around before you pull the next rep.

Let me offer a suggestion - don’t do that.

The temptation to hang out down there is understandable; after all, you’ve already done something extremely challenging multiple times, and you’re getting tired.  The problem is that this position in the deadlift - the position with you crouched over a heavy bar sitting on the floor - isn’t really a resting position.

Yes, it is where you’ll take your breath, and yes, you’re not supporting the weight of the bar at this point, but this is still not a good resting position (ask yourself - would you normally choose to rest in a semi-crouched-over position?). The longer you stay down there, the more tired you’ll get, and the longer the set will take. The best resting position for a set of deadlifts? Taking a well deserved seat after you’re done with the set.

So, the next time you deadlift, I challenge you - be efficient with your time when the bar is on the floor. Give yourself one breath between reps, set the back in rigid extension with tension on the bar, and then smoothly pull the next rep. Don’t rush the setup, but don’t dilly-dally either. Be efficient.

One breath between reps. No muss. No fuss. And you’ll be done with your set a lot sooner than that silly person who takes five breaths between each rep.

As always, we hope this helps you get stronger and live better.

(Some links may be affiliate links. As an Amazon Associate, Testify earns from qualifying purchases.)

If you found this helpful, you’ll love our weekly email. It’s got useful videos, articles, and training tips just like the one in this article. Sign up below, and of course, if you don’t love it, you can unsubscribe at any time.


At Testify, we offer small group training, private coaching (in-person or remotely via Zoom), online coaching, and form checks. Would you like to get quality coaching from a Starting Strength Coach?

click here to start today