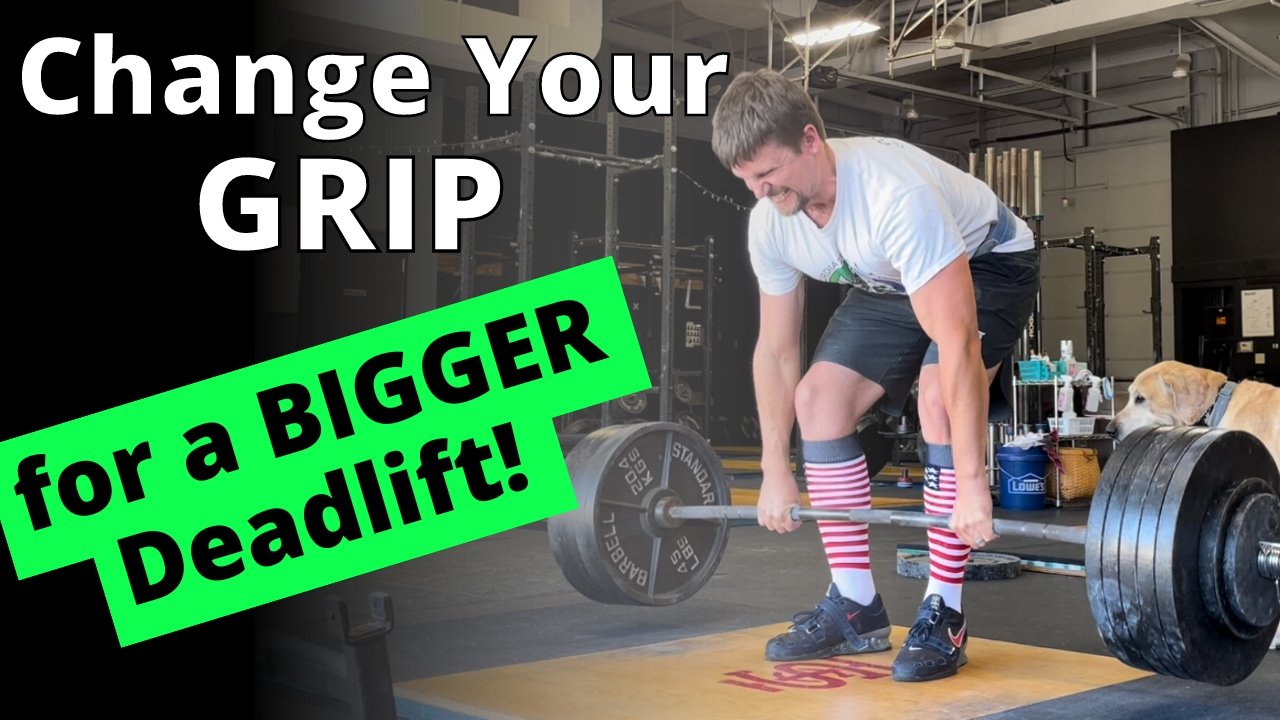
Use This Grip for a BIGGER Deadlift! (Tension Grip)

What is a tension grip, and why should you use it for pulling movements like the deadlift, row, and clean? This is the second article in our short series on the correct grip for each lift. In the first article, we discussed the compression grip, which is useful for pressing movements such as the bench press, press, close grip bench press, etc., and you can read that article by clicking here.

Today’s Topic: Pulling Movements
The grip we are covering today is the type of grip you would take for pulling movements such as the deadlift, the row, the clean, etc. This grip is commonly referred to as a tension grip (watch the included video for a demonstration).

Whether you execute a pulling lift (e.g., deadlift) or a pressing movement (e.g., bench press), the same principle is true - gravity wants the bar to go down, so your grip should put the bar in the lowest stable position possible. In this way, the bar cannot accidentally reach a lower position than that which it’s already occupying.

What NOT To Do
In a pressing movement - as discussed in the compression grip article - you place the bar at the base of the palm. However, since the hand will be pointing downward in a pulling movement, putting the base of the palm against the bar puts the bar in an unstable position. The compression grip is very strong for pushing and pretty terrible for pulling.

Figure 1: compression grip (shown in reverse for viewing purposes): good for pushing - terrible for pulling

Placing the base of the palm against the bar - this will look like you’re pushing down on the bar (Figure 1) - compromises the grip, and this will show up in several ways. First, if you can even break the bar off the floor, it may result in a soft lockout at the top of the lift (e.g., knees that are still bent) or the complete inability to finish the lift at all. Second, when your grip is compromised, everything else starts to compensate - your back starts to round, the weight feels heavier, and it will actually be harder to pull the bar off the floor.

Figure 2: tension grip (shown in reverse for viewing purposes): good for pulling

The Answer
Take a grip that permits the bar to sit a little lower in the hand - down by the fingers a bit more (Figure 2).

(As a side note, don’t take a monkey grip - you shouldn’t have a visible air gap between your hands and the bar.)

Put simply, it should look like you’re pulling up on the bar and not pushing down on the bar. Note the differences between a compression grip (bad for pulling) and a tension grip (good for pulling) in the photos below.

Whether you use a double overhand grip, a hook grip, or an alternate grip, make sure the bar is carried down by the fingers and not positioned up by the base of the palm. When in doubt, put some upward tension on the bar, and voilà - your wrists will straighten out, and the bar will be positioned correctly.

As always, we hope these tips help you get stronger and live better.

(Some links may be affiliate links. As an Amazon Associate, Testify earns from qualifying purchases.)
If you found this helpful, you’ll love our weekly email. It’s got useful videos, articles, and training tips just like the one in this article. Sign up below, and of course, if you don’t love it, you can unsubscribe at any time.


At Testify, we offer small group training, private coaching (in-person or remotely via Zoom), online coaching, and form checks. Would you like to get quality coaching from a Starting Strength Coach?

Easy Setup for Deadlift, Snatch, & Clean (in less than 3 minutes!)

In less than 3 minutes, learn how to setup for your deadlift, snatch, and clean in a manner that is simple, efficient, and consistent.

(This is a Blast from the Past video originally published on 02/26/22.)


At Testify, we offer small group training, private coaching (in-person or remotely via Zoom), online coaching, and form checks. Click the button below to get quality coaching from a Starting Strength Coach and start getting stronger TODAY.

Cleans vs Power Cleans vs Hang Cleans - What's the Difference?!

Cleans, hang cleans, power cleans, hang power cleans - what are the differences between these lifts, and how can we remember these differences in an easy and practical manner? To sort this out, we first need to understand two words - hang and power.

HANG
Hang refers to a starting position, so if you see the word hang, then you know the lift starts with the bar hanging in your hands. Common hang positions include the mid-thigh, low thigh, above the knee, below the knee, and even mid-shin, but most often (without any other specific qualifiers), hang typically refers to a start position at the mid to low thigh. 

Finally, note that if you don’t see the word hang, then you know the lift starts with the bar resting on the floor.

POWER
Power refers to a landing position (AKA receiving position), i.e., the position in which you catch or rack the bar. When you see the word power, simply think partial squat (tip: power and partial both start with the letter “p”). Thus, if you see the word power, you’re going to receive the clean in a partial depth squat (i.e., not a full depth squat). If you don’t see the word power, then you know you’re going to receive the clean in a full depth squat.

Now that you’ve got those two terms down, it’s time for the actual lifts . . 

CLEAN (AKA squat clean or full clean)
Since you don’t see the word hang, the bar starts on the floor, and since you don’t see the word power, it’s not received in a partial squat and is therefore received in a full depth front squat before being stood up. 

In summary, the clean starts with the bar on the floor, the bar is accelerated upward, it is received in a full depth front squat, and then the lifter recovers (i.e., stands up).

POWER CLEAN
You don’t see the word hang, so the bar starts on the floor, but you do see the word power, so the bar is received in a partial depth front squat.

In summary, the power clean starts with the bar on the floor, the bar is accelerated upward, it is received in a partial depth front squat, and then the lifter recovers.

HANG CLEAN
You see the word hang, so the bar starts hanging in the lifter’s hands, but you don’t see the word power, so the bar is received in a full depth front squat.

In summary, the hang clean starts with the bar hanging in the hands, the bar is accelerated upward, it is received in a full depth front squat, and then the lifter recovers.

HANG POWER CLEAN
Not surprisingly, this is a combination of both the power clean and the clean - the love child of both of those lifts. You see the word hang, so the bar starts hanging in the lifter’s hands, and you also see the word power, so the bar is received in a partial depth front squat.

In summary, the hang power clean starts with the bar hanging in the hands, the bar is accelerated upward, it is received in a partial depth front squat, and then the lifter recovers.

By knowing what hang and power mean - and knowing what it means when those words aren’t present - you’ll be able to consistently figure out these variations of the clean. As always, we hope this helps you get stronger and live better.

(Some links may be affiliate links. As an Amazon Associate, Testify earns from qualifying purchases.)

If you found this helpful, you’ll love our weekly email. It’s got useful videos, articles, and training tips just like the one in this article. Sign up below, and of course, if you don’t love it, you can unsubscribe at any time.


At Testify, we offer small group training, private coaching (in-person or remotely via Zoom), online coaching, and form checks. Would you like to get quality coaching from a Starting Strength Coach?

4 Ways You're Ruining Your Clean!

Quit making these mistakes when cleaning (whether it's a power clean, split clean, or squat clean)! We cover 4 common clean errors as well as how to fix these mistakes.

(This is a Blast from the Past video originally published on 01/31/22.)


At Testify, we offer small group training, private coaching (in-person or remotely via Zoom), online coaching, and form checks. Click the button below to get quality coaching from a Starting Strength Coach and start getting stronger TODAY.

Get a Better Clean Rack Position | Olympic Weightlifting

If your wrists and elbows despise you when you clean, you need to stop using your hands to rack your cleans. The shoulders catch the clean - not the hands - and we explain and demonstrate how to get this done.

(This is a Blast from the Past video originally published on 01/03/22.)


At Testify, we offer small group training, private coaching (in-person or remotely via Zoom), online coaching, and form checks. Click the button below to get quality coaching from a Starting Strength Coach and start getting stronger TODAY.

The Jerk: Landing Positions

Jonny performs a power jerk..

Jonny performs a power jerk.

(This is a Blast from the Past article originally posted on 07/02/21.)

We’ve covered the three landing positions for both the snatch and the clean in past articles, and not surprisingly, there are also three landing positions for the jerk. Again, each has its own advantages, so let’s briefly cover them:

POWER JERK

Landing Position: Partial squat

Advantage: The power jerk is the simplest to learn as your feet do not travel far from their original position. Your feet don’t move very much as they barely leave the ground and then immediately land in a squat-width stance. You receive the bar overhead with your hips and legs in a partial-depth squat position. Due to its simplicity, the power jerk often serves as an intermediate step on the way to learning either the squat jerk or the split jerk.

Note: If your feet never leave the ground during this movement, many coaches will call this a push jerk to distinguish it from a power jerk (but some coaches use the terms interchangeably).

Jonny performs a squat jerk.

Jonny performs a squat jerk.

SQUAT JERK

Landing Position: Squat (i.e., full-depth squat)

Advantage: Of the three landing positions, the squat jerk allows lifters to drop the farthest under the bar, which means the bar doesn’t have to be lifted as high before locking it out overhead. With this in mind, there is great potential with the squat jerk, but this potential is tempered by two drawbacks - first, the lifter needs excellent flexibility to achieve what is essentially a narrow-grip overhead squat position in the receiving position for this jerk, and second, the lifter has relatively little stability from front-to-back due to the lack of a split (see the split jerk below), so the squat jerk is extremely unforgiving of jerks that are slightly forward or backward.

Jonny performs a split jerk.

Jonny performs a split jerk.

SPLIT JERK

Landing Position: Split stance

Advantage: The split jerk allows the lifter to drop further under the bar than the power jerk without requiring the ability to drop into the squat jerk position, and due to the front-to-back split, the split jerk is more stable. For this reason, the split jerk is - by far - the most commonly executed jerk in training and competition.

If you found this helpful, you’ll love our weekly email. It’s got useful videos, articles, and training tips just like the one in this article. Sign up below, and of course, if you don’t love it, you can unsubscribe at any time.


At Testify, we offer small group training, private coaching (in-person or remotely via Zoom), online coaching, and form checks. Click the button below to get quality coaching from a Starting Strength Coach and start getting stronger TODAY.