Week 2022.11.28

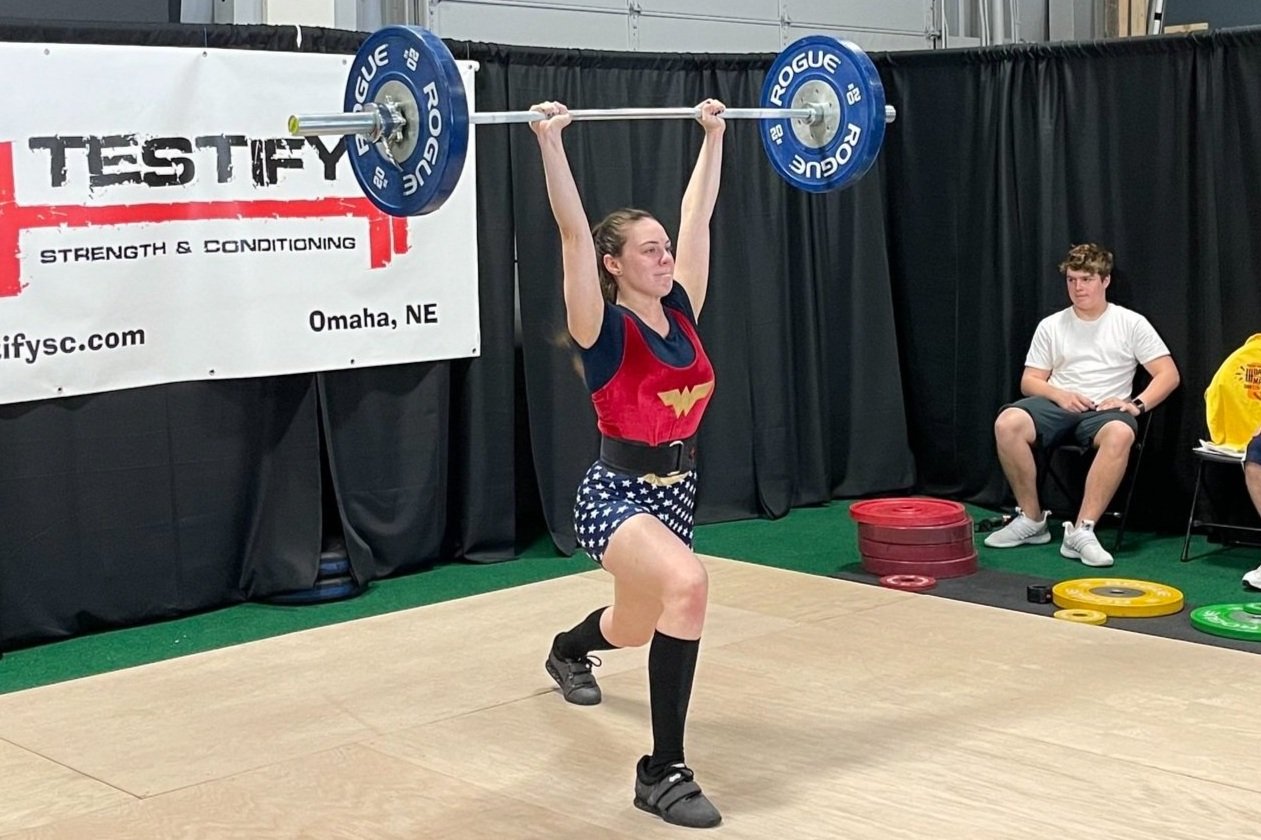
Reminder: The gym will be closed for training this Saturday (12/03/22) as we are hosting the annual Testify Christmas Classic weightlifting meet.

2nd Reminder: The annual Testify Christmas Party is also this Saturday after the meet (at 5:30 p.m.). This year’s party is a taco bar, is BYOB, and the sign-up sheet for sides and/or taco fixings is at the gym. Please sign up soon as this helps Jamie, Cameron, and Brianne tremendously with logistics!

This Week’s Conditioning

Option 1
“Prowler Base”
1. Load up a manageable weight.
2. Sprint 40m at 85% intensity.
3. Rest until breathing and heart rate slow down. (45 sec – 2 min)
4. Repeat 5-15 times.

Courtesy of “Death by Prowler” (on Starting Strength).

Compare to 2022.09.26.

Option 2
Bike/Row for 9 rounds:
1 min on
1 min off

Record distance for each round.

Compare to 2022.09.05.

Option 3
Outdoors:
5-10 rounds:
10 sledgehammer strikes (5R, 5L)
50 yd farmer carry (25 yd down-back)
Rest 1 minute

Indoors:
5-10 rounds:
10 sledgehammer strikes (5R, 5L)
100 ft farmer carry (50 ft down-back)

Rest 1 minute

Compare to 2022.08.08.

Option 4
5-8 rounds:
50 ft sled push
50 ft sled pull (hand over hand)
Row 1 minute
Rest 1 minute

This can also be done in a group of three where the sledder determines how long the other two people row and rest.

Compare to 2022.08.08.

The Press: Make the Bar Go DOWN?!

Not sure about the hips movement in the press? Maybe you can “reach and bounce” just fine without the barbell, but when you add the bar to the movement, everything turns to garbage. Perhaps you just don’t know what it’s supposed to look like. Let’s fix it with a simple cue.

Becky in the start position (note the bar’s position relative to the horizontal barbell in the background)

Bar Cue vs Body Cue
Cueing yourself to “reach and bounce” with your hips is a perfectly good approach, but if the timing of your hips and pressing is still off, trying using a bar cue instead of a body cue, i.e., try telling yourself what you want the bar to do, and let your body figure out the rest.

Becky demonstrates the initial downward movement of the bar (again, note the bar’s position relative to the horizontal barbell in the background)

The Bar Goes DOWN First
When the hips reach forward, you get a bit shorter (since you’re no longer standing up straight), and since you are getting shorter - briefly - the bar should go down, so remind yourself of this. Simply tell yourself to make the bar go down before it goes up.

When the hips go forward, the bar goes down, and as the hips bounce back into place (i.e., as you stand up), the bar starts to go up. The cue is: “Make the bar go down.” More simply, you can cue yourself: “Down-then-up.”

Try this out the next time you press and see if it helps. Additionally, watching this motion in action can be very helpful, so I’d recommend watching the video at the end of this article. In the meantime, we hope this helps you get stronger and live better.

(Some links may be affiliate links. As an Amazon Associate, Testify earns from qualifying purchases.)

If you found this helpful, you’ll love our weekly email. It’s got useful videos, articles, and training tips just like the one in this article. Sign up below, and of course, if you don’t love it, you can unsubscribe at any time.


At Testify, we offer small group training, private coaching (in-person or remotely via Zoom), online coaching, and form checks. Interested in getting stronger, looking better, and having more energy?

book a free intro

Week 2022.11.21

Reminder: Below are the hours for Thanksgiving week (you can also find these on our Location & Hours page). Any days not listed retain their normal hours.

Wednesday, 11/23/22: Regular hours
Thursday, 11/24/22: Closed
Friday, 11/25/22: 7:00 a.m. - 10:00 a.m.
Saturday, 11/26/22: Regular hours

This Week’s Conditioning

Option 1
Sled
Outdoors:
10-20 x 25 yds EMOM at a weight of your choice

Every minute, push the sled 25 yards, i.e., if pushing the sled takes 20 seconds, then you have 40 seconds to rest. Perform 10-20 rounds.

Indoors:
10-20 x 100 ft EMOM at a weight of your choice

Every minute, push the sled 100 feet, i.e., if pushing the sled takes 20 seconds, then you have 40 seconds to rest. Perform 10-20 rounds.

Compare to 2022.09.19.

Option 2
Bike/row:
3 rounds of:
8 x 20 sec on/40 sec off
Rest 3 min between rounds
Score = lowest distance

Compare to 2022.08.29.

Option 3
5-10 rounds of:
30 sec ME tire flips
30 sec rest

Compare to 2022.08.01.

Option 4
1. 5 yoke carries @ 30 yd (15 yd downback) – work up to heaviest carry
2. 5 rounds of 5 reps on the axle “clean and press away” – work up to heavy set of 5

Compare to 2022.08.01.

Timing and Bounce on the Jerk

Let’s briefly address the “bounce and drive” aspect of the jerk. This applies to the split jerk, the power jerk, and the squat jerk. Note that we’re not referring to this motion as a “dip and drive” because we want the bounce of the jerk - i.e., the turnaround at the bottom of the movement - to be sharp and quick.

(Today’s topic is far more easily understood when watching it in action, so I’d strongly recommend watching the included video.)

By aiming for a short, quick, sharp bounce out of the bottom of the movement, we’re not only trying to impart as much upward momentum to the barbell as possible - we’re also endeavoring to take advantage of the flex (or whip) of the bar, and a sharp bounce does exactly this.

To achieve the proper “bounce and drive” that we’re aiming for, cue yourself “hard bounce” the next time you’re practicing your jerks. After the clean, immediately before starting the downward motion of the jerk, mentally remind yourself “hard bounce” and then try to get exactly that motion out of the bottom of the jerk.

As mentioned earlier, watching this motion in action is very helpful, so I’d recommend watching the video included earlier in this article. In the meantime, we hope this helps you get stronger and live better.

(Some links may be affiliate links. As an Amazon Associate, Testify earns from qualifying purchases.)

If you found this helpful, you’ll love our weekly email. It’s got useful videos, articles, and training tips just like the one in this article. Sign up below, and of course, if you don’t love it, you can unsubscribe at any time.


At Testify, we offer small group training, private coaching (in-person or remotely via Zoom), online coaching, and form checks. Interested in getting stronger, looking better, and having more energy?

book a free intro

Week 2022.11.14

This Week’s Conditioning

Option 1
Sled
Outdoors:
10 rounds of:
Push sled 100 ft
Pull sled 100 ft (hand over hand)

Indoors:
20 rounds of:
Push sled 50 ft
Pull sled 50 ft (hand over hand)

Compare to 2022.09.12.

Option 2
Bike/row:
12 min TT
Score = distance

Compare to 2022.08.22.

Option 3
Outdoors:
5-10 rounds:
50 yd sled push (25 yd down-back)
50 yd farmer carry (25 yd down-back)
Rest 1 min

Indoors:
5-10 rounds:
100 ft sled push (50 ft down-back)
100 ft farmer carry (50 ft down-back)
Rest 1 min

Compare to 2022.07.25.

Option 4
10 x 50 ft farmer carry
Each carry is 25 ft down and 25 ft back and is for time. Rest 1 minute between carries.

Women: 97# per handle (80# of plates)
Men: 137# per handle (120# of plates)
(Note: Each handle weighs 17#.)

Compare to 2022.07.25.

Are You Finishing Your Deadlift Wrong?

A common problem in the deadlift is a misunderstanding of what finishing the lift should look and feel like. This typically results in one of two situations - a lifter who doesn’t completely open the hips and therefore doesn’t actually complete the rep or a lifter who overdoes it and ends up finishing the lift with the back in overextension.

One of these results is insufficient, and the other is unnecessary. Both of them look ridiculous, so we’re going to try and fix this.

To see these errors demonstrated as well as how to correct them, watch the video below.

A finished deadlift (Figure 1) will have the knees fully extended, the hips fully extended, the chest up, and the shoulders back. In other words, the knees will be straight, the hips will be straight, and the shoulders will be behind the barbell. In even simpler terms, the lifter simply stands all the way up.

Figure 1: A correctly finished deadlift

If you find that you’re not finishing your deadlift, i.e., if your hips don’t open all the way and you look like you’re leaning over the bar like the fool in Figure 2, simply cue yourself to “Stand up” or “Stand up tall.”

Figure 2: An unfinished deadlift - don’t be like this fool.

If, on the other hand, you find that you’re overdoing the top of the deadlift, i.e., if you’re finishing the lift with your lumber spine in overextension (Figure 3), you can still use the cue “Stand up” (or “stand tall”) or you can also simply tell yourself, “Don’t lean back.”

Figure 3: An “overdone” deadlift - don’t be like this fool, either.

Fixing either of these problems is not complicated, but you’ve got to be aware that you have the problem in order to fix it, so we recommend that you either have a coach, or if that’s not possible, make sure that you record your lifts so that you can watch them.

As always, we hope this helps you get stronger and live better.

(Some links may be affiliate links. As an Amazon Associate, Testify earns from qualifying purchases.)

If you found this helpful, you’ll love our weekly email. It’s got useful videos, articles, and training tips just like the one in this article. Sign up below, and of course, if you don’t love it, you can unsubscribe at any time.


At Testify, we offer small group training, private coaching (in-person or remotely via Zoom), online coaching, and form checks. Interested in getting stronger, looking better, and having more energy?

book a free intro