The Squat: You're Going to Do This Wrong

You’ve read the Blue Book, you’ve watched the videos, the bar is sitting in that nice, low bar position, and you’ve correctly performed the Valsalva maneuver - you’re ready to squat.

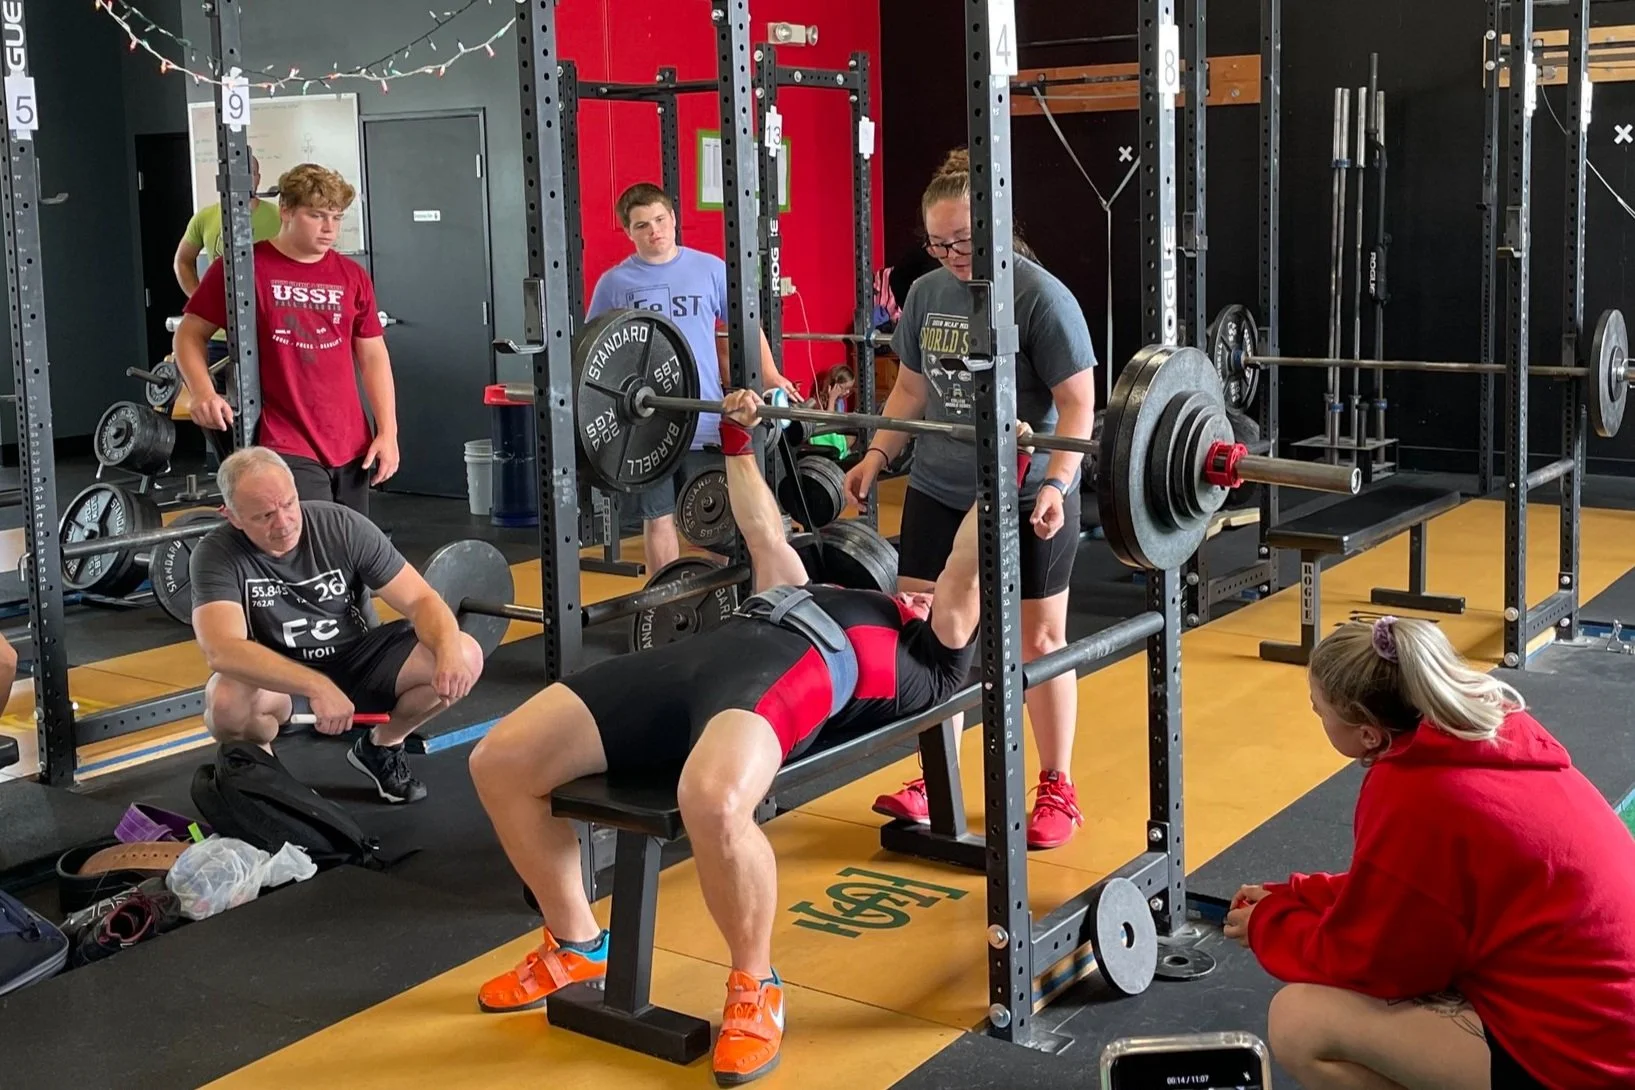
Don’t be like this fool.

If you’re new to squatting, though, you’re about to do something wrong . . .

You’re going to try and maintain a vertical back angle as you descend - in other words, you’re going to try and keep your torso as upright as possible.

Everyone does this at first, so don’t worry, you’re not a mutant, but we need to correct it, and we want to correct it right away. Simply tell yourself, “Point my chest at the floor” as you start your descent. In other words, reach back with your butt and lean over as you squat (check out the video below for a demonstration).

It’s easy to accidentally confuse “vertical back” with “straight back.” We want a straight, rigid back, but we don’t want a vertical back while squatting.

This . . . is much better.

Of course, it will be vertical at the beginning and the end of the movement (when we’re standing up), but your squat will be stronger and more efficient if your point your chest at the floor as you start your descent and then keep it pointed at the floor as you drive back up out of the bottom as well.

As always, we hope this helps you get stronger and live better.

(Some links may be affiliate links. As an Amazon Associate, Testify earns from qualifying purchases.)

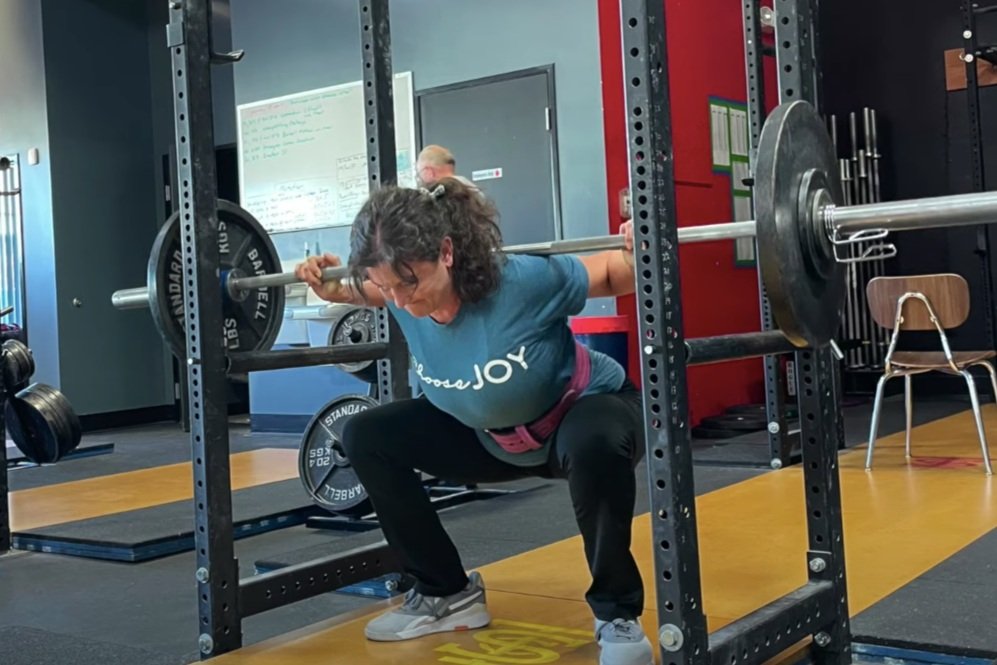
This . . . is also much better.

If you found this helpful, you’ll love our weekly email. It’s got useful videos, articles, and training tips just like the one in this article. Sign up below, and of course, if you don’t love it, you can unsubscribe at any time.


At Testify, we offer small group training, private coaching (in-person or remotely via Zoom), online coaching, and form checks. Would you like to get quality coaching from a Starting Strength Coach?

click here to start today

Week 2022.04.25

This Week’s Conditioning

Option 1
Sled
Outdoors:
10 rounds of:
Push sled 100 ft
Pull sled 100 ft (hand over hand)

Indoors:
20 rounds of:
Push sled 50 ft
Pull sled 50 ft (hand over hand)

Compare to 2022.02.21.

Option 2
Bike/row:
4 x 3 minutes

Rest 3 minutes between each round. Score = lowest distance.

Compare to 2022.01.31.

Option 3
5-10 rounds:
50 ft yoke carry
50 ft yoke push
100 ft sandbag carry and S.O.B. (sandbag-over-bar)

Perform 1 round every 2-3 minutes.

Compare to 2022.01.03.

Option 4
Row/Tire 10 min ladder:
2 cal row
2 tire flips
4 cal row
4 tire flips
6 cal row
6 tire flips

Climb the ladder as high as possible in 10 minutes.

Compare to 2022.01.03.


At Testify, we offer small group training, private coaching (in-person or remotely via Zoom), online coaching, and form checks. Would you like to get quality coaching from a Starting Strength Coach?

click here to start today

The Bench Press: You're Forgetting to Do This - Part 1

You’re all set to bench - your grip is pronated, your shoulder blades are pinched back, and you’ve got your focal point nailed down, but you’re forgetting one thing . . .

Use. Your. Legs.

Don’t worry - Dave is NOT forgetting to do this.

When benching, drive up the bench with your legs. In other words, use your legs to drive your body in the direction of your head (i.e., “up the bench”). You should be driving in such a manner that - if the barbell wasn’t pinning your shoulders to the bench - you might actually start sliding up the bench.

Make sure you’re driving horizontally and not vertically - remember that the rep doesn’t count if your butt comes up off the bench. Drive with your legs throughout the entire rep - drive hard on the descent and drive even harder on the ascent.

Leg drive is easy to forget about - especially if you’re new to the bench press - but it’s important. Your legs give you lateral stability (the bench doesn’t help much here as it’s not very wide), they support your arch, and they help make everything between your feet and your shoulders that much more rigid, which makes for a more stable platform from which to bench.

So use your legs next time, and if you find that you keep forgetting, write “leg drive” down in your training log as a cue for yourself next time.

As always, we hope this helps you get stronger and live better.

(Some links may be affiliate links. As an Amazon Associate, Testify earns from qualifying purchases.)

If you found this helpful, you’ll love our weekly email. It’s got useful videos, articles, and training tips just like the one in this article. Sign up below, and of course, if you don’t love it, you can unsubscribe at any time.


At Testify, we offer small group training, private coaching (in-person or remotely via Zoom), online coaching, and form checks. Would you like to get quality coaching from a Starting Strength Coach?

click here to start today

Week 2022.04.18

This Week’s Conditioning

Option 1
Sled
Outdoors:
10-20 x 25 yds EMOM at a weight of your choice

Every minute, push the sled 25 yards, i.e., if pushing the sled takes 20 seconds, then you have 40 seconds to rest. Perform 10-20 rounds.

Indoors:
10-20 x 100 ft EMOM at a weight of your choice

Every minute, push the sled 100 feet, i.e., if pushing the sled takes 20 seconds, then you have 40 seconds to rest. Perform 10-20 rounds.

Compare to 2022.02.14.

Option 2
Bike/row:
4 x 800m

Rest 3 minutes between each round. Score = slowest time.

Compare to 2022.01.24.

Option 3
Outdoors:
5-10 rounds:
10 sledgehammer strikes (5R, 5L)
50 yd farmer carry (25 yd down-back)
Rest 1 minute

Indoors:
5-10 rounds:
10 sledgehammer strikes (5R, 5L)
100 ft farmer carry (50 ft down-back)

Rest 1 minute

Compare to 2021.12.27.

Option 4
5-8 rounds:
50 ft sled push
50 ft sled pull (hand over hand)
Row 1 minute
Rest 1 minute

This can also be done in a group of three where the sledder determines how long the other two people row and rest.

Compare to 2021.12.27.

Get the Most Out of Your Warm-up

(A Blast from the Past article originally posted on 03/27/19)

You know - sage lifter that you are - that the purpose of your warm-up is to prepare you for the work ahead of you that day. You know it’s important, and you know that whether you’re going to squat 145 lbs or 345 lbs for your work sets, it is neither prudent nor productive to simply load the work weight on the barbell and have at it without the appropriate warm-up.

But . . . there is an additional purpose to the warm-up. Perhaps it’s not even an additional purpose, but rather a purpose that is merely hidden in the concept of preparing for the work ahead. Put simply, you can (and should) use your warm-up to become a better lifter.

The weights are (relatively) light when warming up, so this is a great time to work on refining your technique. Because you haven’t yet reached the soul-crushing, mind-altering load that is your work weight for the day, the warm-up is when you can spare some mental bandwidth and put into practice any changes or cues that you and your coach have recently discussed.

Maybe you’re trying to fix some pesky knee slide in the squat. Break out the TUBOWs and get to squatting. Perhaps you’re attempting to improve the bar path in the press or the bench press. The warm-up is a great time to do exactly that. Are you inconsistent when it comes to hitting depth in the squat? Grab a coach (or a fellow well-informed lifter) and ask him or her to check your depth as you warm-up.

The warm-up is a precious time. A magical time. Don’t just plow through it - get the most out of it. You can finish your warm-up a better lifter than when you started. Don’t miss out on this opportunity.

(Some links may be affiliate links. As an Amazon Associate, Testify earns from qualifying purchases.)

If you found this helpful, you’ll love our weekly email. It’s got useful videos, articles, and training tips just like the one in this article. Sign up below, and of course, if you don’t love it, you can unsubscribe at any time.


At Testify, we offer small group training, private coaching (in-person or remotely via Zoom), online coaching, and form checks. Would you like to get quality coaching from a Starting Strength Coach?

click here to start today

Week 2022.04.11

Congratulations to everyone who competed at this past weekend’s Testify Strengthlifting Challenge and thank you so much to everyone who helped out! Judges, loaders, table officials, those who helped set up and tear down - you all were wonderful, and we absolutely could not have done it without you!

This Week’s Conditioning

Option 1
Sled
Outdoors:
10 rounds of:
Push sled 100 ft
Pull sled 100 ft (hand over hand)

Indoors:
20 rounds of:
Push sled 50 ft
Pull sled 50 ft (hand over hand)

Compare to 2022.02.07.

Option 2
Bike/row:
4 x 3 minutes

Rest 3 minutes between each round. Score = lowest distance.

Compare to 2022.01.17.

Option 3
5-10 rounds of:
30 sec ME tire flips
30 sec rest

Compare to 2021.12.20.

Option 4
1. 5 yoke carries @ 30 yd (15 yd downback) – work up to heaviest carry
2. 5 rounds of 5 reps on the axle “clean and press away” – work up to heavy set of 5

Compare to 2021.12.20.