Week 2021.11.15

Reminder: Below are the hours for Thanksgiving week (you can also find these on our Location & Hours page). Any days not listed retain their normal hours.

Wednesday, 11/24/21: Regular hours
Thursday, 11/25/21: Closed
Friday, 11/26/21: 7:00 a.m. - 10:00 a.m.
Saturday, 11/27/21: Regular hours
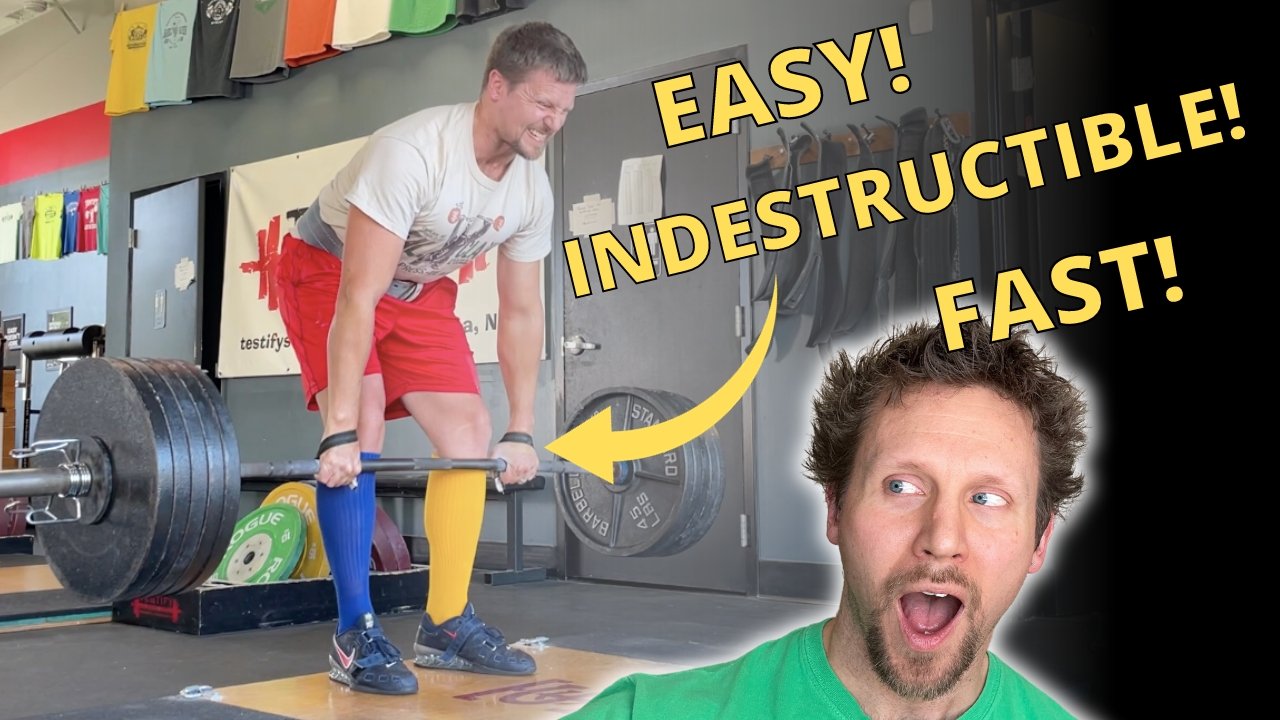
This Week’s Conditioning

Option 1
“Prowler Base”
1. Load up a manageable weight.
2. Sprint 40m at 85% intensity.
3. Rest until breathing and heart rate slow down. (45 sec – 2 min)
4. Repeat 5-15 times.

Courtesy of “Death by Prowler” (on Starting Strength).

Compare to 2021.09.13.

Option 2
Bike/row:
5 min on
4 min off
4 min on
3 min off
3 min on
2 min off
2 min on
1 min off
1 min on

Record distance for each interval and add for total distance.

Compare to 2021.08.23.

Option 3
5-10 rounds of:
30 sec ME tire flips
30 sec rest

Compare to 2021.07.26.

Option 4
Sandbag-over-bars
Set yoke at #33 for women or #35 for men.
1. 1 minute AMRAP
2. 5 rounds of 2 reps every 2 minutes (speed!)
3. 1 minute AMRAP

Weights
Female under 40 years
140 lbs and under: 75 lbs
140.1 lbs – 185 lbs: 100 lbs
185.1 lbs and over: 150 lbs

Female 40 years and over
140 lbs and under: 50 lbs
185 lbs and under: 75 lbs
185.1 lbs and over: 100 lbs

Male under 40 years
185 lbs and under: 150 lbs
185.1 lbs – 235 lbs: 200 lbs
235.1 lbs and over: 250 lbs

Male 40 years and over
185 lbs and under: 100 lbs
185.1 lbs – 235 lbs: 150 lbs
235.1 lbs and over: 200 lbs

Compare to 2021.07.26.

Deadlift Fix: 4 Cues for a Stronger, Smoother Pull

Attempting to jerk or yank the bar off the floor when starting the deadlift is a common problem for new lifters.

Don’t do this.

You might be able to get away with it when the weight is light, but you won’t be able to get away with it when the weight gets heavy, and by that time, you’ll have accidentally ingrained a very counterproductive habit.

In the 5-step setup for the deadlift - stance, grip, shins, chest, pull/drag - this is typically a problem with step 4: squeezing your chest up to set your back in extension. When you lift your chest to set your back, you must start applying tension to the bar – you must start pulling on the bar even though you're not lifting it off the floor just yet. Treat the bar as an anchor against which you start to pull to help you set your back. 

Here are 4 cues that you can use to help with this process:

Cue #1: Bend the bar.
When you start applying tension to the bar - when you squeeze your chest up to set your back in extension - picture yourself bending the bar upward in the middle (i.e., make the bar look like a mountain, not a valley). Will it actually bend? That depends on how much weight is on the bar, but you visualize yourself bending it nonetheless.

Cue #2: Bend it before you break it.
Bend the bar before you break it off the floor. Very similar to the first cue, but it reminds you to put a lot of tension on the bar before you decide to break it off the floor.

Plus, it's catchy - this is the “try it before you buy it” cue of the deadlift world.

Figure 1A: Note the dark gap or “slop” between the top of the shaft and the collar.

Cue #3: Pull the slack out of the bar.
Barbells have some slop in them. Take a close look at your barbell and note that there’s a little gap between the shaft of the bar and the collar of the bar (Figure 1A). Set your back hard enough - pull hard enough with long, straight arms - that this slop nearly or completely disappears (Figure 1B).

Figure 1B: Note that the gap has almost disappeared.

Plates (even competition plates to a small degree) also have some slop between themselves and the bar - this is what allows you to slide them on and off. When you walk up to your deadlift, the bar is resting on the plates. When you squeeze your chest up and start to apply tension, pull up hard enough that the plates start to rest or hang on the bar instead.

Cue #4: Pull the click out of the bar.
Same idea as the previous cue, but this emphasizes that you should hear it when you apply tension and pull the slack out of the bar. 

Once you’ve applied a significant amount of tension to the bar using one of these cues - and you’ll find one that works best for you - then you squeeze the bar smoothly off the floor.

Remember, breaking the deadlift off the floor isn’t digital - it’s not a switch that you flip from off to on. It’s analog - it’s a dial that you keep turning up and turning up - pulling harder and harder - until the bar starts moving. This is a skill - not a particularly complicated one, but a skill nonetheless - and it’s one that you need to - and can - develop.

We hope these cues help you get stronger and live better!

(Some links may be affiliate links. As an Amazon Associate, Testify earns from qualifying purchases.)

If you found this helpful, you’ll love our weekly email. It’s got useful videos, articles, and training tips just like the one in this article. Sign up below, and of course, if you don’t love it, you can unsubscribe at any time.


At Testify, we offer small group training, private coaching (in-person or remotely via Zoom), online coaching, and form checks. Would you like to get quality coaching from a Starting Strength Coach?

click here to start today

Week 2021.11.08

This Week’s Conditioning

Option 1
Sled
Outdoors:
10-20 x 25 yds EMOM at a weight of your choice

Every minute, push the sled 25 yards, i.e., if pushing the sled takes 20 seconds, then you have 40 seconds to rest. Perform 10-20 rounds.

Indoors:
10-20 x 100 ft EMOM at a weight of your choice

Every minute, push the sled 100 feet, i.e., if pushing the sled takes 20 seconds, then you have 40 seconds to rest. Perform 10-20 rounds.

Compare to 2021.09.06.

Option 2
Bike/row:
4 x 3 minutes

Rest 3 minutes between each round. Score = lowest distance.

Compare to 2021.08.16.

Option 3
Outdoors:
5-10 rounds:
10 sledgehammer strikes (5R, 5L)
50 yd farmer carry (25 yd down-back)
Rest 1 minute

Indoors:
5-10 rounds:
10 sledgehammer strikes (5R, 5L)
100 ft farmer carry (50 ft down-back)
Rest 1 minute

Compare to 2021.07.19.

Option 4
1. 5 yoke carries @ 30 yd (15 yd downback) – work up to heaviest carry
2. 5 rounds of 5 reps on the axle “clean and press away” – work up to heavy set of 5

Compare to 2021.07.19.

4 Easy Ways to Load Your Deadlift

If you’re new to lifting, it may seem like loading and unloading your deadlift sometimes take an unseemly amount of effort. Let’s improve this situation, shall we?

Option 1
If you’re using bumper plates, simply grab the plate about halfway down or just slightly lower than that, lean back a bit, and simply pull. You’re using your bodyweight to help pull the plate along - the plate will slide lightly along the floor, and you’ll be good to go.

One of the advantages to this method is that if there is some slop at the other end of the barbell, this tends to tighten up both sides simultaneously.

Option 2
Deadlifting with metal plates is preferable to deadlifting with bumper plates because, when you add other plates like 25s or 10s, you’re not adding a full size plate, so loading extra plates is relatively effortless until it’s time to add another 45 to each side.

When it’s time to add a 45 to each side, grab a 2.5 lb plate (5s or 10s also work, but 2.5s are best), and roll one side of the bar up onto the plate. This raises the bar enough that you can slide the next 45 on easily.

This method is also very useful when unloading your bar at the end. Simply roll the innermost 45 up onto a 2.5, which leaves the outer 45s off the ground. As a result, they are easy to slide off the bar.

Option 3
Whether you’re using metal plates or bumper plates, you can use a commercially available deadlift jack. On one hand, a deadlift jack is the best option in terms of ease of use, but it’s also the most expensive option as some models will cost you $150-$200 or more. It’s great . . . but it can be pricey. A more economical version of a deadlift jack would be . . .

Option 4
The fishhook! (if you’ve seen the movie “Moana,” you’ll understand the name) Anyone can make one of these - the process is simple, cheap, and we have a video covering the entire project (thanks to one of our coaches, Tyler Holm!), and you can scroll down to the end of this article to view that video.

With the fishhook, you can easily jack up one side of the bar, which makes it very easy to slide on either a bumper plate or a metal 45.

We hope these tips help you get stronger and live better!

(Some links may be affiliate links. As an Amazon Associate, Testify earns from qualifying purchases.)

If you found this helpful, you’ll love our weekly email. It’s got useful videos, articles, and training tips just like the one in this article. Sign up below, and of course, if you don’t love it, you can unsubscribe at any time.


At Testify, we offer small group training, private coaching (in-person or remotely via Zoom), online coaching, and form checks. Would you like to get quality coaching from a Starting Strength Coach?

click here to start today

Week 2021.11.01

This Week’s Conditioning

Option 1
Sled
Outdoors:
10 rounds of:
Push sled 100 ft
Pull sled 100 ft (hand over hand)

Indoors:
20 rounds of:
Push sled 50 ft
Pull sled 50 ft (hand over hand)

Compare to 2021.08.30.

Option 2
Bike/row:
4 x 800m

Rest 3 minutes between each round. Score = slowest time.

Compare to 2021.08.09.

Option 3
Outdoors:
10 rounds:
25 yd yoke carry
Rest 1 minute

Indoors:
10 rounds:
30 yd yoke carry (15 yd down-back)
Rest 1 minute

Compare to 2021.07.12.

Option 4
10 x 50 ft farmer carry
Each carry is 25 ft down and 25 ft back and is for time. Rest 1 minute between carries.

Women: 97# per handle (80# of plates)
Men: 137# per handle (120# of plates)
(Note: Each handle weighs 17#.)

Compare to 2021.07.12.

Quick & Easy DIY Lifting Straps!

You can buy lifting straps, or you can make this practically indestructible pair for about two bucks. Here we go:

Step 1
Purchase some 1-inch climbing tubular webbing (it will be flat even though it’s actually a tube). You can simply type in “climbing tubular webbing” into the search engine of your choice, and you’ll see a host of options, or you can just click here.

You can get something a bit wider than an inch if you like, but the 1-inch material will do just fine. Climbing webbing is extremely durable - remember, climbers trust this stuff with their lives. We’re just trusting it with our deadlifts, rows, etc.

Step 2: Cut a length of webbing about 2 ft long.

Step 2
Cut a length of webbing that is about two feet long. The exact length will vary by person, but you’ll want to err on the longer side. If the straps are too big for your liking, you can easily make them shorter later on. If you have large hands, you might want to go a bit longer than two feet.

steps 3 and 4 (left and right, respectively)

Step 3
Burn the cut ends so the straps don’t fray. A few seconds of burning is all that is necessary.

Be sure to let the burnt ends cool before touching them. This may seem obvious, but trust me - it’s worth mentioning.

Step 4
Place one end of a strap on top of the opposite end of the same strap so that they overlap by an inch or so.

steps 5 and 6 (left and right, respectively)

Step 5
Wrap 6-8 inches of athletic tape around the overlapped ends.

Step 6
Repeat steps 2-5 to create the other strap, and you’re done!

As always, we hope this helps you get stronger and live better.

(Some links may be affiliate links. As an Amazon Associate, Testify earns from qualifying purchases.)

If you found this helpful, you’ll love our weekly email. It’s got useful videos, articles, and training tips just like the one in this article. Sign up below, and of course, if you don’t love it, you can unsubscribe at any time.


At Testify, we offer small group training, private coaching (in-person or remotely via Zoom), online coaching, and form checks. Would you like to get quality coaching from a Starting Strength Coach?

click here to start today