Week 2021.08.30

Announcement: We will be closed on Monday, 09/06/21, in observance of Labor Day.
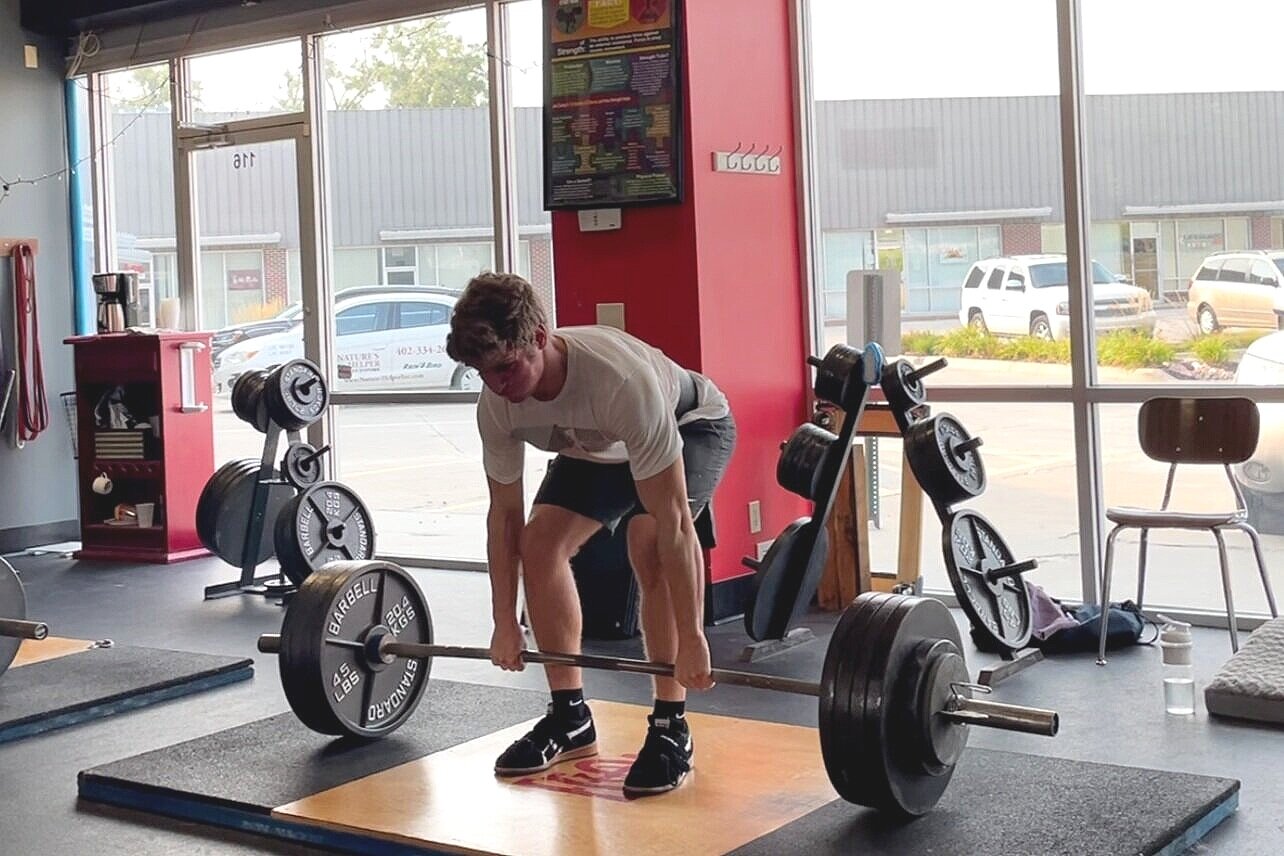
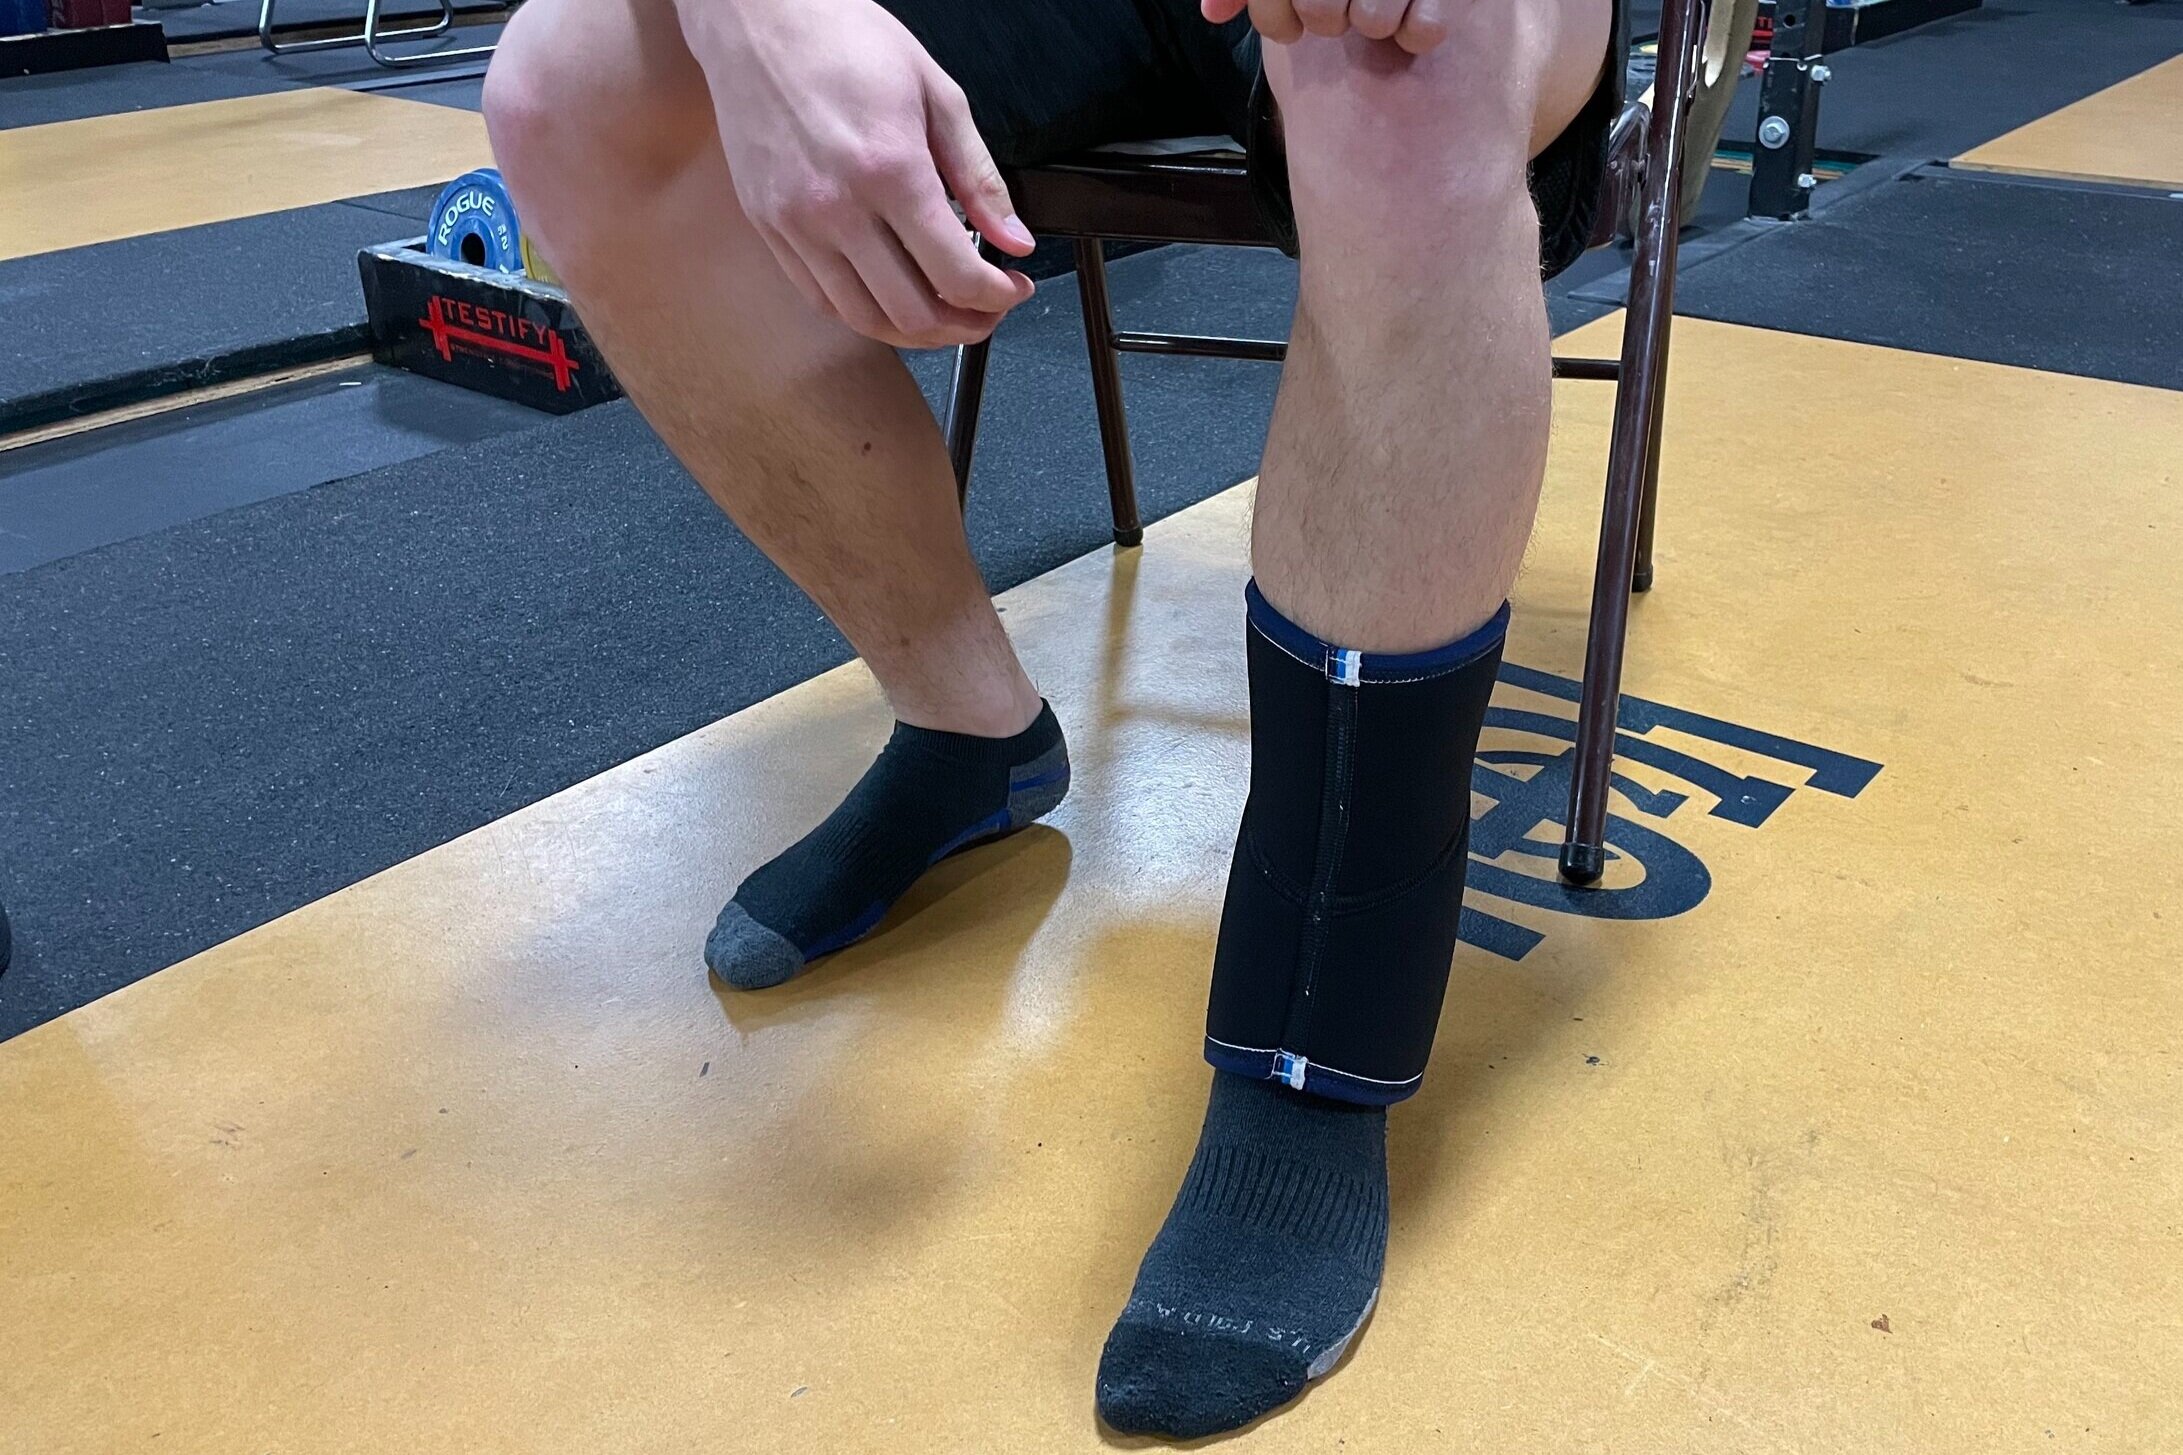
This Week’s Conditioning

Option 1
Sled
Outdoors:
10 rounds of:
Push sled 100 ft
Pull sled 100 ft (hand over hand)

Indoors:
20 rounds of:
Push sled 50 ft
Pull sled 50 ft (hand over hand)

Compare to 2021.06.28.

Option 2
Bike/row:
4 x 3 minutes

Rest 3 minutes between each round. Score = lowest distance.

Compare to 2021.06.07.

Option 3
5-10 rounds of:
30 sec ME tire flips
30 sec rest

Compare to 2021.05.10.

Option 4
1. 5 yoke carries @ 30 yd (15 yd downback) – work up to heaviest carry
2. 5 rounds of 5 reps on the axle “clean and press away” – work up to heavy set of 5

Compare to 2021.05.10.

Barbell Rings - What Are These Things For?!

Every barbell has one or two pairs of rings - also known as score marks or knurl marks. Today, we’re going to talk about the two types of rings, the purpose of the rings, and how they might pose a problem for a new or inexperienced lifter.

For further explanation and demonstration of the topics covered in this article, be sure to check out any of the included videos.

From top to bottom - barbells with (A) power rings only, (B) weightlifting and powerlifting rings, and (C) weightlifting rings only

From top to bottom - barbells with (A) power rings only, (B) weightlifting and powerlifting rings, and (C) weightlifting rings only

The 2 Types of Rings
Using a dual-ringed bar (i.e., a bar with both sets of rings) for reference, the inner rings are known as the powerlifting rings or simply the power rings, and these marks are 81 cm apart (approximately 32 in). The outer rings are known as the weightlifting rings or the olympic rings, and these marks are 91 cm apart (approximately 36 in).

Purpose
Both sets of rings are used for reference points when you take your grip on the bar. In the sport of powerlifting, the power rings on a dedicated powerlifting barbell (or “power bar”) represent the maximum legal grip width for the bench press (i.e., at the widest legal grip, the index fingers still need to be in contact with the rings). In lifts other than the bench press (e.g., the squat) the rings still serve as a reference point upon which to base your grip.

In the sport of weightlifting - i.e., the snatch and clean-and-jerk - due to the wider grip widths used in the clean, the jerk, and specifically the snatch, it is useful to have a wider set of rings for reference, and thus, the weightlifting rings are set a bit wider than the power rings.

The Problem
A potential problem arises when a lifter switches from one barbell to a different barbell. Suppose, for example, that Jack is accustomed to training on a bar that only has one set of rings, and then he travels somewhere and ends up using a dual-ringed bar. Suddenly, Jack’s not sure which set he should be using for his reference point for his grip. 

Conversely, let’s say Jill has been training with a dual-ringed bar, and then she goes to her first competition, and the competition bar only has one set of rings. As Jill steps onto the competition platform, she isn’t sure whether she’s looking at the power rings or the weightlifting rings.

The solution here is pretty simple - know your equipment. If you’re not sure which rings you’ve been using, you can easily figure it out. If it’s a dual-ringed bar, you hopefully already know whether you’ve been using the inner set or outer set, and if it's a single-ringed bar, break out your tape measure and check the distance between the rings (32 inches = powerlifting rings and 36 inches = weightlifting rings).

If you have to go train or compete on a different bar, know the following points:

  • At a powerlifting meet, you’ll either encounter a power bar (i.e., a bar with power rings) or a bar with both sets of rings (less common at a meet).

  • At a weightlifting meet, you’ll either encounter a weightlifting bar (i.e., a bar with weightlifting rings) or a bar with both sets of rings (again, less common at a meet).

  • In general training, if you encounter a single-ringed bar, you’re probably - probably - looking at the power rings as these bars are far more common than dedicated weightlifting bars.

  • While the above points are useful, your best bet is to still measure.

Knowing these facts, you can keep your technique reproducible and therefore consistent wherever you go.

As always, we hope this helps you get stronger and live better.

-Phil

PS: Whenever you want even more Testify in your life, here are some free resources:

  • Follow Testify on Instagram HERE.

  • Subscribe to Testify’s YouTube channel HERE.

  • Book a free intro and strategy session with us HERE.

  • Pick up a free copy of Testify’s Squat Guide: 12 Tips to Improve Your Squat Now HERE.

  • Get our free weekly email - containing useful videos, articles, and training tips - HERE.

(Some links may be affiliate links. As an Amazon Associate, Testify earns from qualifying purchases.)


At Testify, we offer small group training, private coaching (in-person or remotely via Zoom), online coaching, and form checks. Interested in getting stronger, looking better, and having more energy?

book a free intro

Week 2021.08.23

This Week’s Conditioning

Option 1
Sled Pyramid – 4, 5, or 6 tiers
Go up and down a 4, 5, or 6 tier “sled pyramid” – rest as needed. The distance for each round is 80 m indoors (a down-back on the 40m course) or 200 ft outdoors (2 down-backs on the 50 ft course). Rest as needed.

For example, Bob does the following (4 tiers):
Round 1: Empty sled
Round 2: 25#
Round 3: 50#
Round 4: 75#
Round 5: 50#
Round 6: 25#
Round 7: Empty sled

Compare to 2021.06.21.

Option 2
Bike/row:
5 min on
4 min off
4 min on
3 min off
3 min on
2 min off
2 min on
1 min off
1 min on

Record distance for each interval and add for total distance.

Compare to 2021.05.31.

Option 3
Outdoors:
5-10 rounds:
50 yd sled push (25 yd down-back)
50 yd farmer carry (25 yd down-back)
Rest 1 min

Indoors:
5-10 rounds:
100 ft sled push (50 ft down-back)
100 ft farmer carry (50 ft down-back)
Rest 1 min

Compare to 2021.05.03.

Option 4
10 x 50 ft farmer carry
Each carry is 25 ft down and 25 ft back and is for time. Rest 1 minute between carries.

Women: 97# per handle (80# of plates)
Men: 137# per handle (120# of plates)
(Note: Each handle weighs 17#.)

Compare to 2021.05.03.

The Deadlift Dry-heaves . . . Don't Get 'Em!

IMG_8509.PNG

Have you seen that guy at the gym who gets the deadlift dry-heaves? You know the guy - the one who sets his back two, three, or four times before pulling the bar off the floor? If this guy happens to be you, let’s fix this.

When you set up for your deadlift, keep it simple with the 5-step setup:

  1. Stance: Take a relatively narrow stance with your shins one inch from the bar.

  2. Grip: Bend at the waist (not the knees - keep them “straight-ish” for now) and take a narrow grip on the bar - just wide enough to ensure that your hands are on the knurl and that your thumbs don’t drag up your legs on the pull.

  3. Shins: Drop your shins to the bar by bending your knees slightly (do NOT rock forward).

  4. Chest: Squeeze your chest up ONCE to set your back in extension.

  5. Pull: Drag the bar up your legs as you stand up.

On step 4, don’t complicate things (and exhaust yourself!) by squeezing your chest up (i.e., setting your back) and then relaxing multiple times. You are not a ratchet strap, so setting your back multiple times doesn’t make it any tighter than setting it once, and it’s also a waste of energy, which, as you know, is also bad for the climate.

Again, keep it simple. When you get to step 4, squeeze your chest up hard, which sets off a wave of contraction down your back, and then drag the bar up your legs. Set the back once. Set it hard - but set it once.

For a video on this topic, see below. We hope this helps you get stronger and live better!

Week 2021.08.16

This Week’s Conditioning

Option 1
Sled
Outdoors:
10 rounds of:
Push sled 100 ft
Pull sled 100 ft (hand over hand)

Indoors:
20 rounds of:
Push sled 50 ft
Pull sled 50 ft (hand over hand)

Compare to 2021.06.14.

Option 2
Bike/row:
4 x 3 minutes

Rest 3 minutes between each round. Score = lowest distance.

Compare to 2021.05.24.

Option 3
8 rounds:
Outdoors:
4 tire flips
50 yd sled push (25 yd down-back)
Rest 1 minute

Indoors:
4 tire flips
100 ft sled push (50 ft down-back)
Rest 1 minute

Compare to 2021.04.26.

Option 4
Sandbag-over-bars
Set yoke at #33 for women or #35 for men.
1. 1 minute AMRAP
2. 5 rounds of 2 reps every 2 minutes (speed!)
3. 1 minute AMRAP

Weights
Female under 40 years
140 lbs and under: 75 lbs
140.1 lbs – 185 lbs: 100 lbs
185.1 lbs and over: 150 lbs

Female 40 years and over
140 lbs and under: 50 lbs
185 lbs and under: 75 lbs
185.1 lbs and over: 100 lbs

Male under 40 years
185 lbs and under: 150 lbs
185.1 lbs – 235 lbs: 200 lbs
235.1 lbs and over: 250 lbs

Male 40 years and over
185 lbs and under: 100 lbs
185.1 lbs – 235 lbs: 150 lbs
235.1 lbs and over: 200 lbs

Compare to 2021.04.26.

The Super Secret Way to Put on Knee Sleeves!

Knee+sleeve+1.jpg

Oooh . . . secrets! We love us some secrets!

Not everyone knows this - and this is especially true if you’re a new lifter or at least new to using knee sleeves - but when it comes to putting on your knee sleeves, there is one method to rule them all. Anything else is a waste of your time and energy, so let’s take a look at how you should put on a sleeve (photos below):

  1. Turn the sleeve inside-out.

  2. Grab the sleeve with both hands so that it’s upside down and backward (i.e., the front of the sleeve - the part that will cover your kneecap - is facing backward).

  3. Before you put on your shoe, pull the sleeve over your foot until it comes up just past your ankle.

  4. Spin the sleeve around so that it’s facing forward again (i.e., the front of the sleeve is facing forward).

  5. Pull on the uppermost part of the sleeve - sliding the sleeve upward until it reaches a point a few inches below your knee. (If you like, you can perform step 5 before step 4.)

  6. Grab the lowermost part of the sleeve (it’s actually the “top” of the sleeve, but it’s still upside down right now, remember?) and pull upward so that that portion of the sleeve starts sliding over the rest of the sleeve. As you continue doing this, the sleeve will be turning right-side-out again.

  7. Feel free to make some minor adjustments, but really, at this point, you’re done.

Now, go out and tell your friends because - after all - this is a secret that everyone kneeds to know.

Steps 1 & 2: The sleeve is inside-out, upside down, and backward . . . and this is a good thing.

Steps 1 & 2: The sleeve is inside-out, upside down, and backward . . . and this is a good thing.

Step 3

Step 3

Step 4

Step 4

Step 5

Step 5

Step 6

Step 6

Step 7 - done!

Step 7 - done!