If you’re new to lifting, you might have seen these things called wrist wraps, but you might not be sure what purpose they actually serve, so let’s chat.
What are wrist wraps?
Your basic wrist wrap consists of a thumb loop at one end, the elastic body of the wrap, and a hook-and-loop closure system (i.e., Velcro). Countless manufacturers sell wrist wraps with this basic structure - some common ones include Harbinger, SBD, Rogue, Schiek, and the list goes on. A very popular length of wrap is 18”, but you can find plenty of wraps that are both shorter or longer than this (longer is fine, but for most lifters, I wouldn’t recommend anything shorter than 18”). Some manufacturers (e.g., SBD) also make variations of their wraps that are either more rigid or more flexible depending on the lifter’s preference.
Why might I use wrist wraps?
You use wrists wraps when your wrists are in compression, i.e., when you’re pushing on something - not when you’re pulling on something. A wrap gives support to your wrist by acting as an external skeleton for your wrist - you can think of it as a cast or a lifting belt for your wrist. Since the wrap is wrapped around your wrist, it lends support to your wrist and makes it very difficult for the wrist to be in positions of extreme extension (i.e., positions where you wrist is bent very far backward). Lifts that benefit from wrists wraps include all the pressing movements (press, bench press, close grip bench, etc.), snatches, jerks, cleans (this is a gray area as you need your wrists to be in extension to rack a clean), and the squat for those who wrap their thumbs around the bar and have their wrists in extension. Even if you don’t normally use a wrist wrap, it’s probably a good idea to use one if you are dealing with and training through a wrist injury.
When might I use wrist wraps?
A reasonable approach is to treat your wrist wraps the same way you treat your belt - put the wraps on for your last warm-up set, and then use them for all of your work sets as well. With some experience under your belt (under your wraps?), you may decide to put them on earlier than your last warm-up, and that’s fine as well.
How do I use wrist wraps?
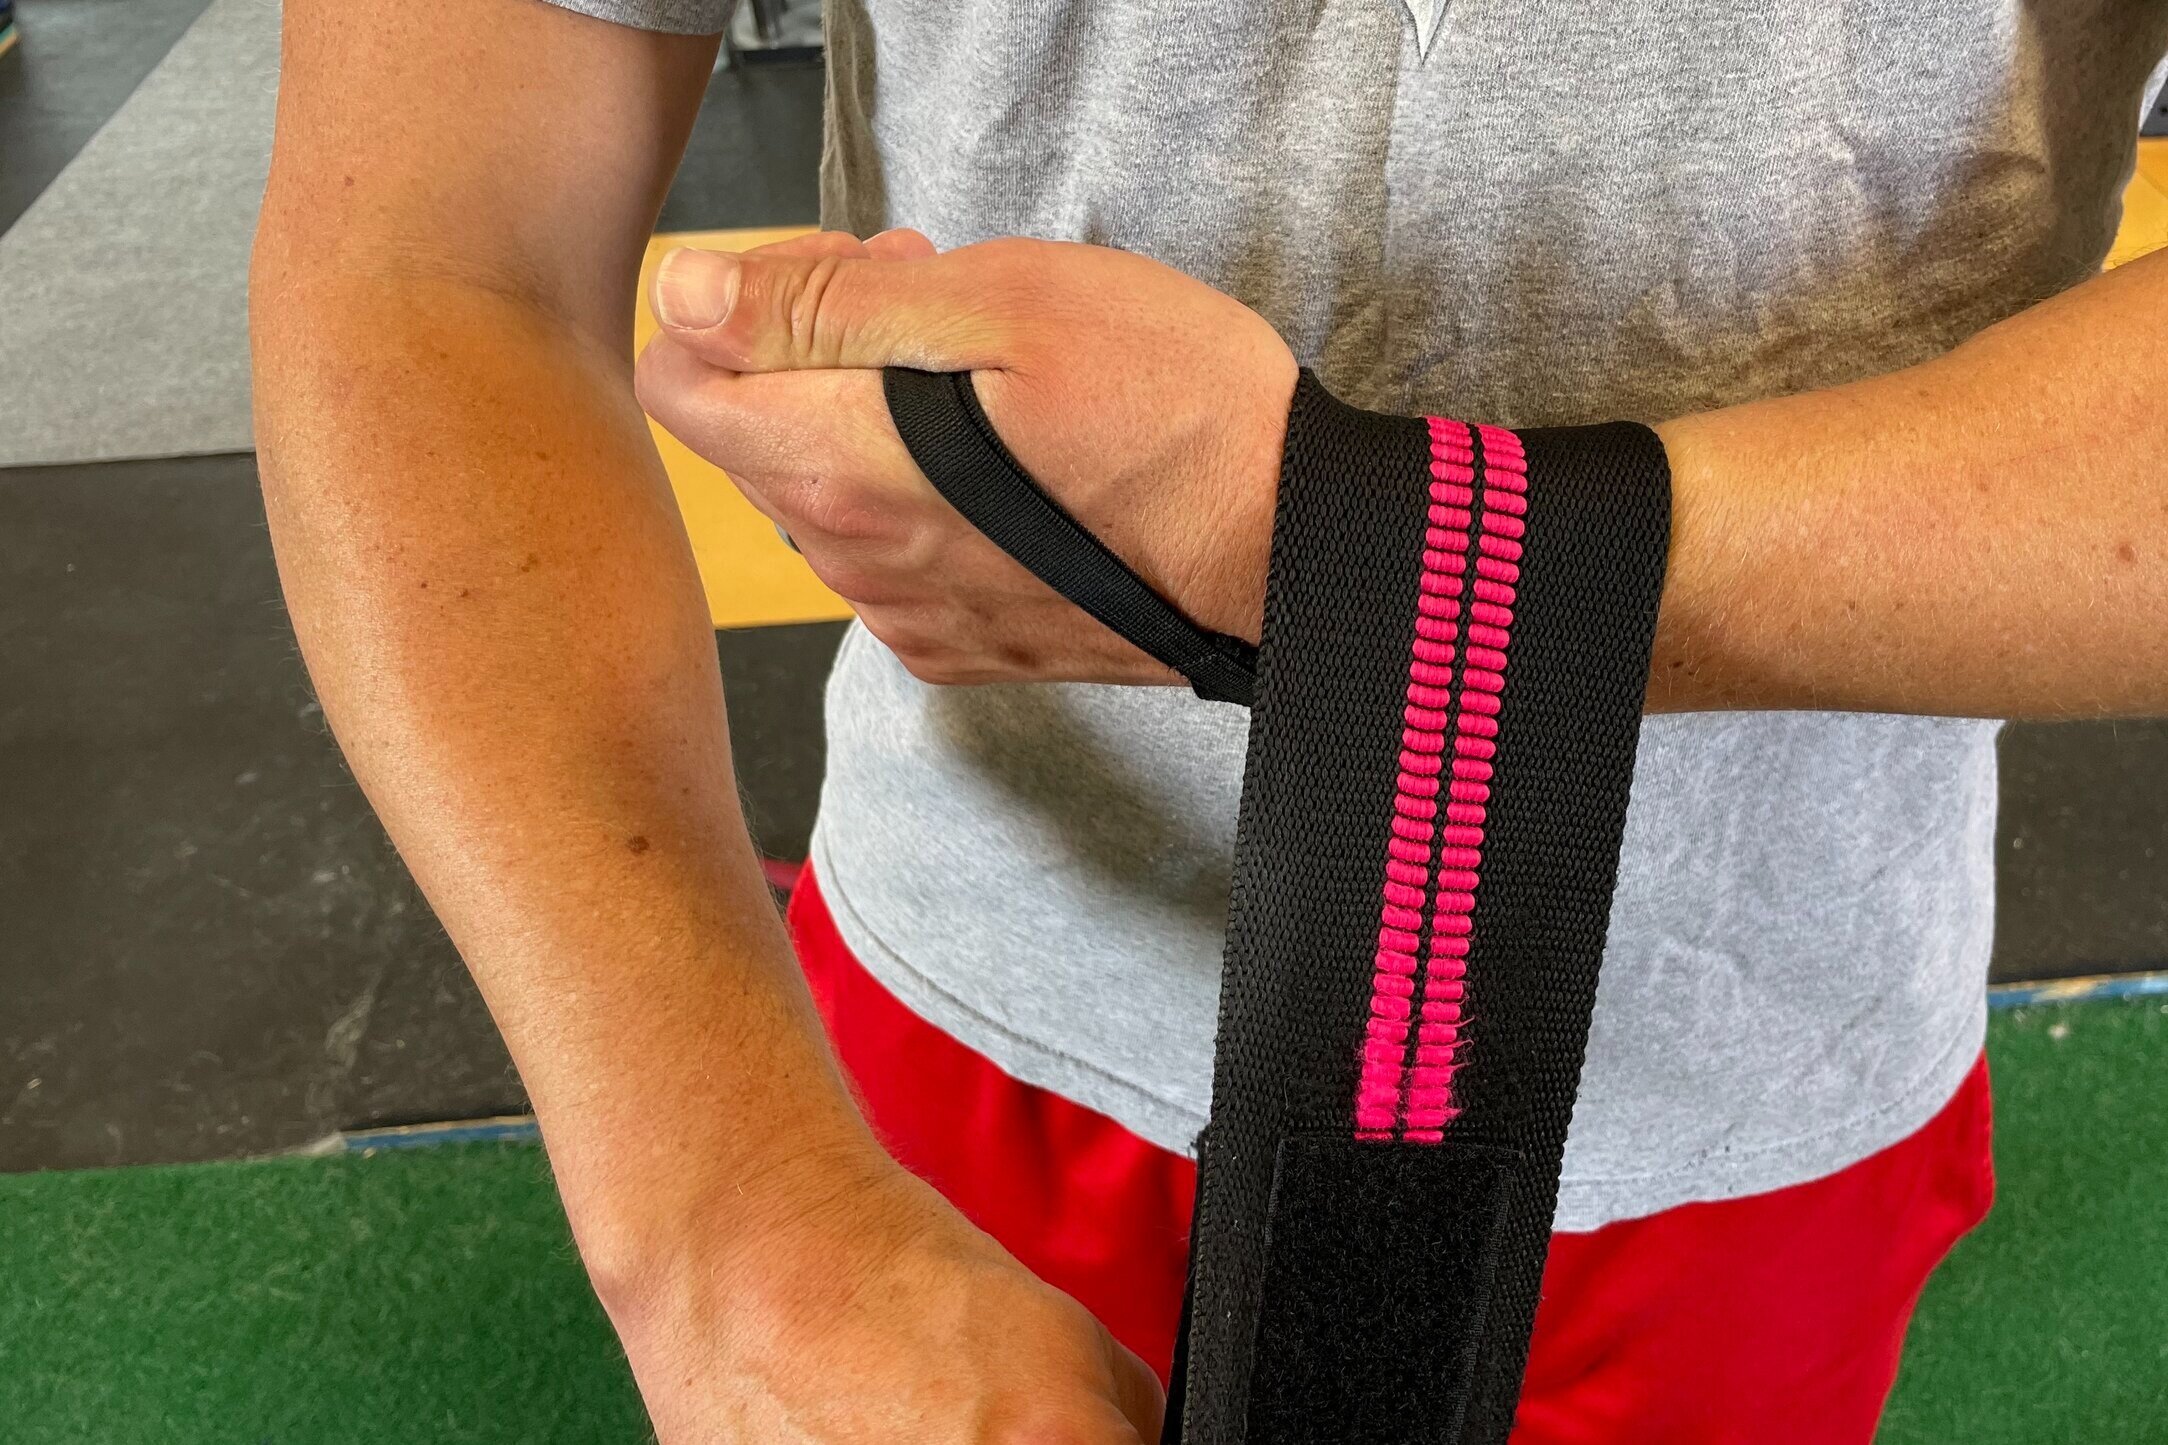
Place your thumb through the thumb loop so that the wrap drapes over the back of your wrist (see the photo sequence at the end of this article).
Position the body of the wrap so that it lies half on your forearm and half on your hand.
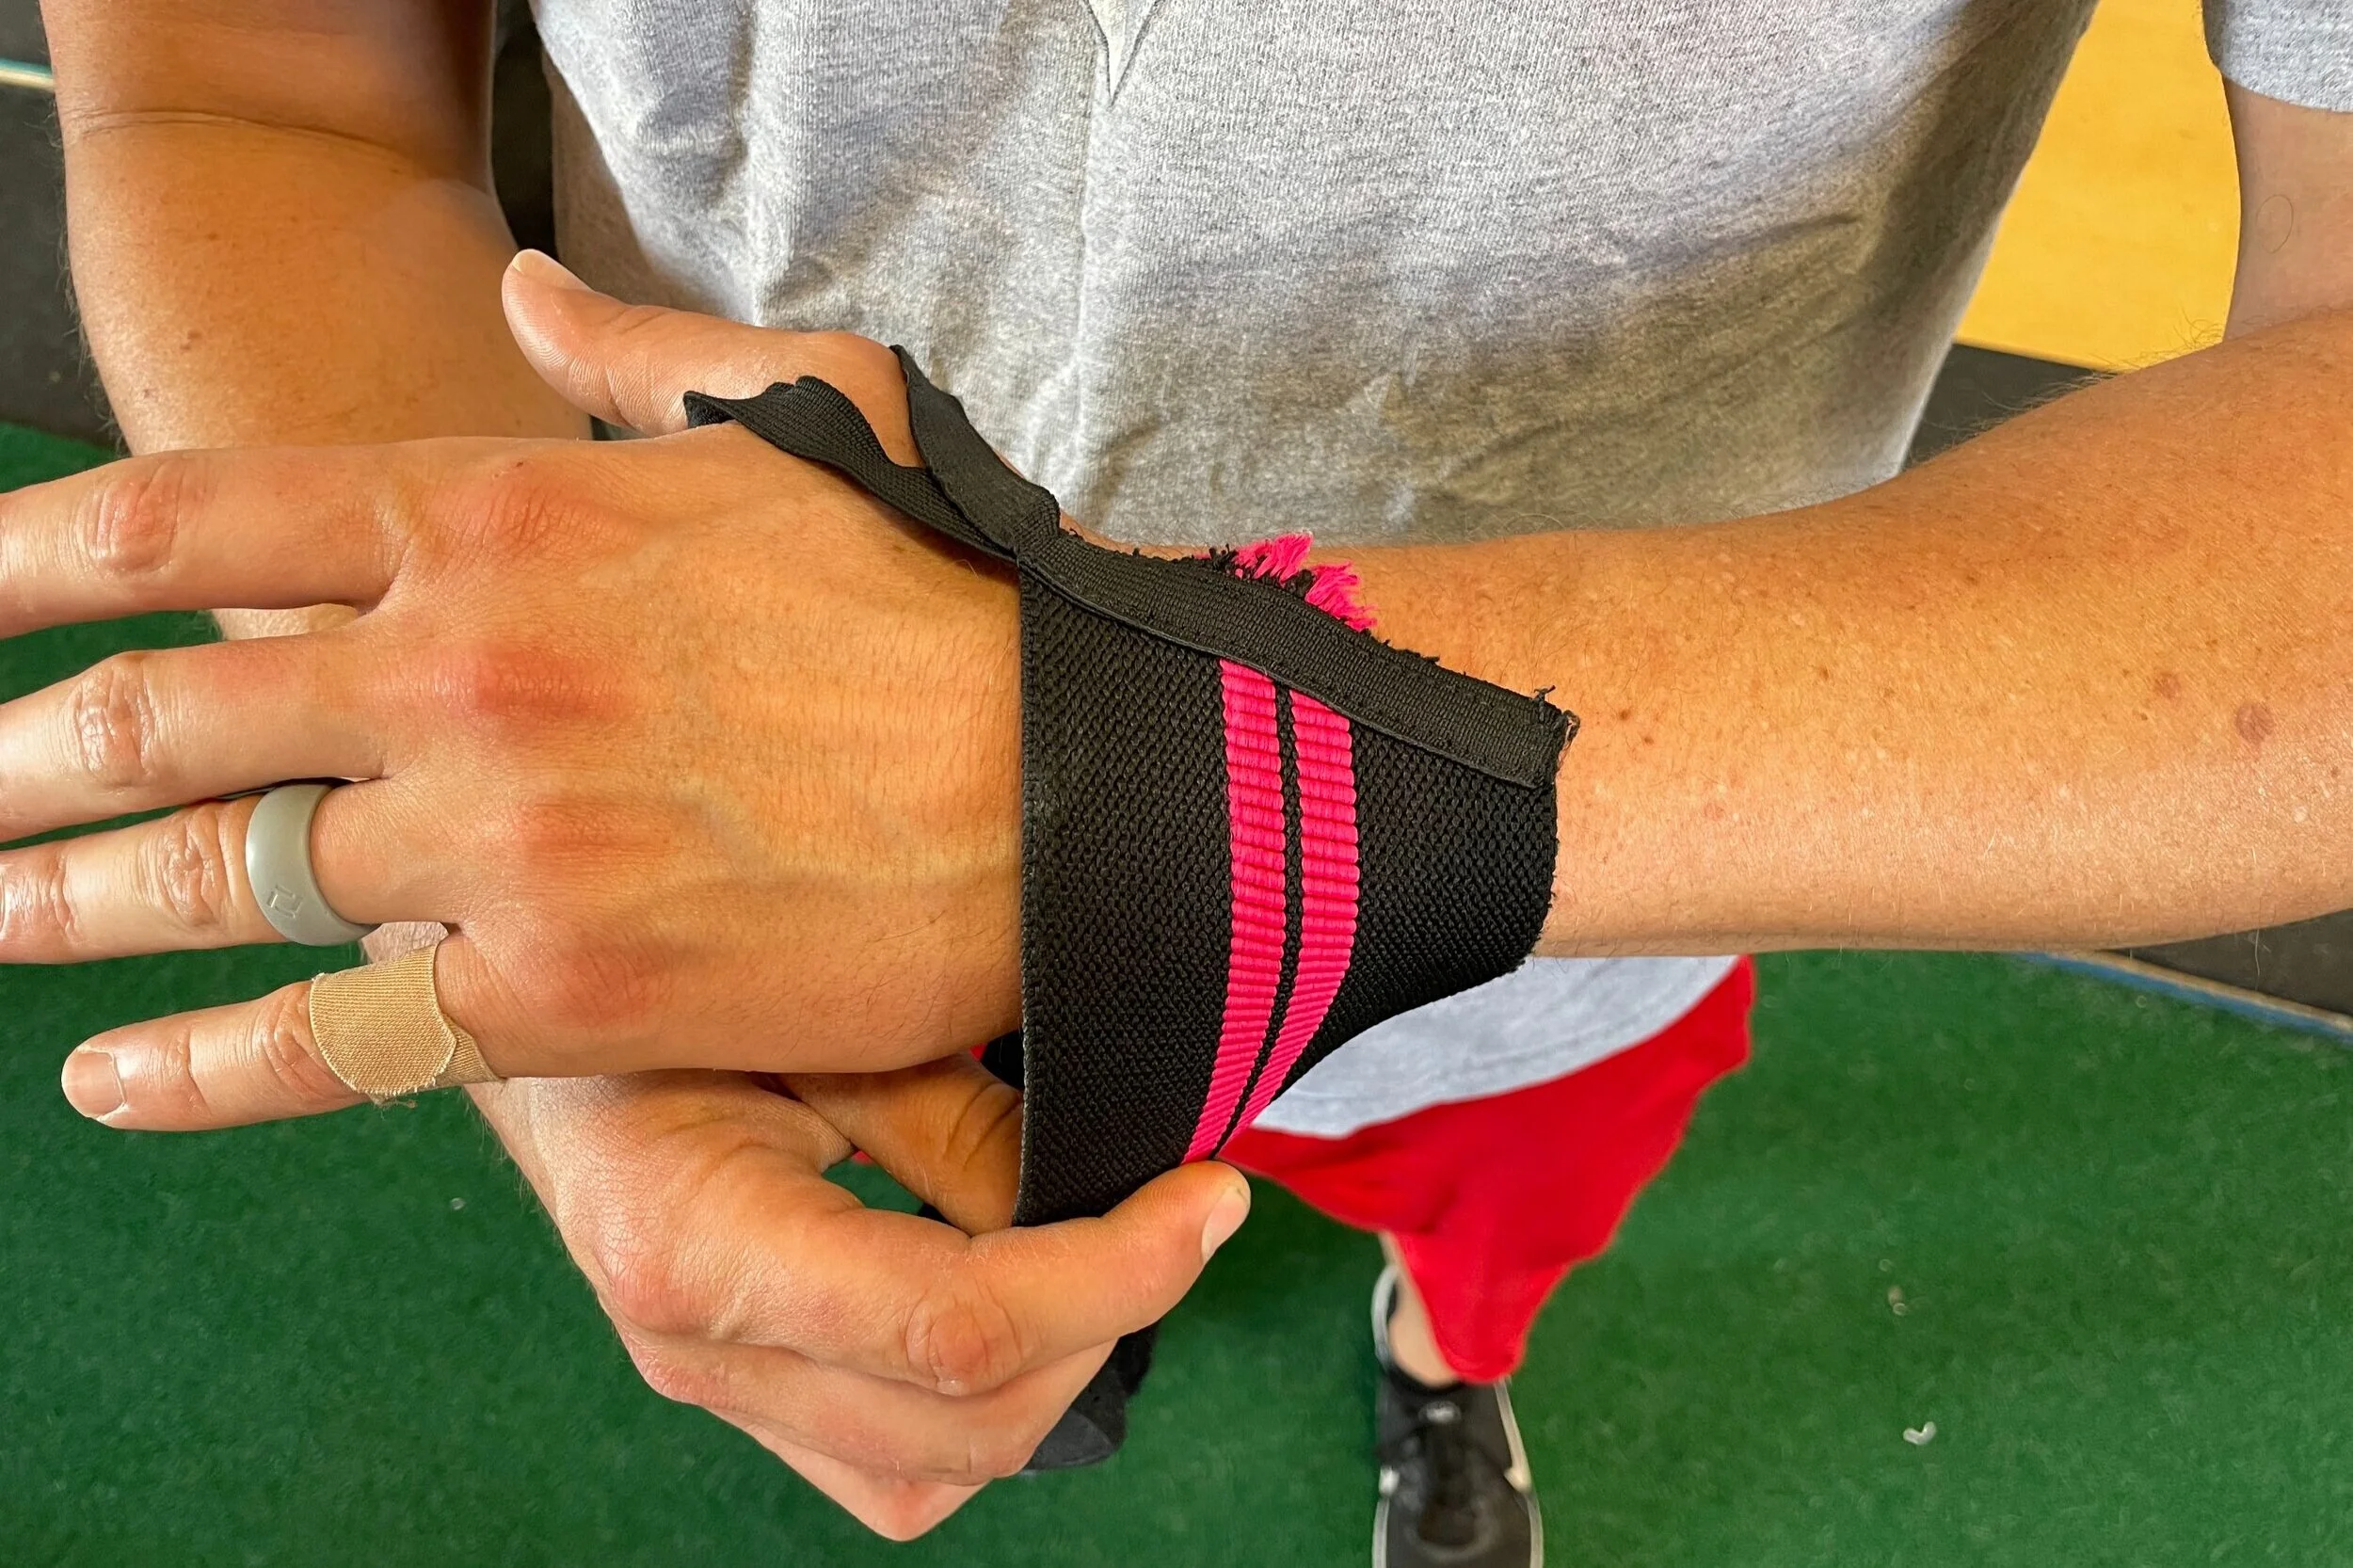
Apply tension and wrap the length of the wrap around your wrist until you reach the end of the wrap.
Close off the wrap by attaching it to itself using the Velcro strap.
Remove the thumb loop from your thumb (it is simply there to keep the wrap from spinning in place while you apply the wrap, so you no longer need it).